這篇文章會介紹使用 Python 的 moviepy 第三方函式庫,讀取影片並將影片轉換成 gif 動畫,最後還會將加入文字的影片轉換成 gif 動畫,做出有趣的梗圖效果。
原文參考:影片轉換為 gif 動畫
本篇使用的 Python 版本為 3.7.12,所有範例可使用 Google Colab 實作,不用安裝任何軟體 ( 參考:使用 Google Colab )

輸入下列指令安裝 moviepy,根據個人環境使用 pip 或 pip3。
!pip install moviepy
由於影片轉檔會使用 ffmpeg,因此也要安裝 ffmpeg ( 影片存檔常見錯誤「TypeError: must be real number, not NoneType」往往都是 ffmpeg 沒有安裝導致 ),根據個人環境使用 pip 或 pip3,Anaconda Jupyter 可以使用 conda install。
!pip install ffmpeg
載入 moviepy 讀取影片後,使用 write_gif 方法,就能將影片轉換成 gif 圖檔。
import os
os.chdir('/content/drive/MyDrive/Colab Notebooks')  # 使用 Colab 要換路徑使用

from moviepy.editor import *
video = VideoFileClip("oxxostudio.mp4")  # 讀取影片
output = video.resize((360, 180))        # 壓縮影片
output = output.subclip(13, 15)          # 取出 13~15 秒的片段
output.write_gif("output.gif")           # 將這個片段轉換成 gif
print('ok')
透過設定 write_gif 的參數,就能做出更進階的 gif 動畫檔案設定,常用的參數如下:
| 參數 | 說明 |
|---|---|
| filename | 動畫檔案名稱。 |
| fps | 一秒多少格,預設跟影片相同。 |
| loop | 是否重複播放,可設定 True ( 預設 ) 或 False 或數字 ( 重複幾次 )。 |
| colors | 色彩數量,預設 256,範圍 2~256。 |
| program | 使用哪種編碼器轉換,可設定 ffmpeg ( 預設 ) 或 imageio。 |
下方的程式碼執行後,會產生四張長度為兩秒的 gif 動畫。
import os
os.chdir('/content/drive/MyDrive/Colab Notebooks')  # 使用 Colab 要換路徑使用

from moviepy.editor import *
video = VideoFileClip("oxxostudio.mp4")
output = video.resize((360,180))
output = output.subclip(13,15)
output.write_gif("output_fps24.gif", fps=24)               # 256 色一秒 24 格
output.write_gif("output_fps8.gif", fps=8)                 # 256 色一秒 8 格
output.write_gif("output_fps8_c2.gif", fps=8, colors=2)    # 2 色一秒 8 格
output.write_gif("output_fps8_c16.gif", fps=8, colors=16)  # 16 色一秒 8 格
print('ok')
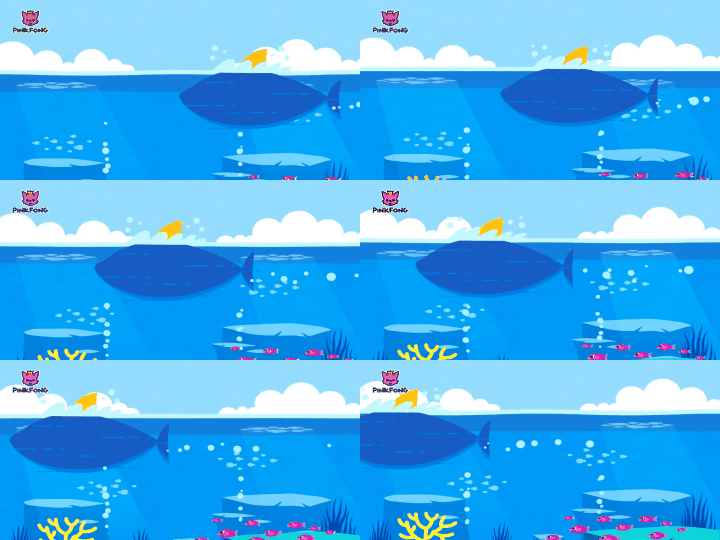
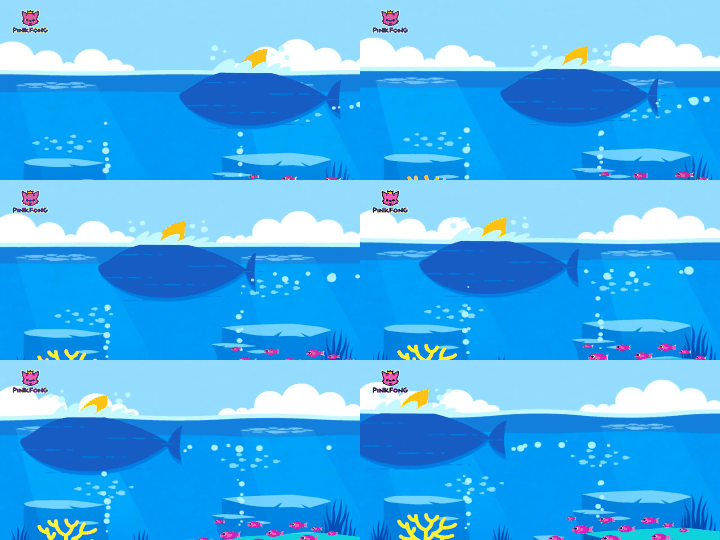
256 色一秒 24 格

256 色一秒 8 格

2 色一秒 8 格

16 色一秒 8 格

了解影片加入文字的原理後,參考「剪輯影片」和「影片中加入文字」文章,就能將一段影片分割成多段影片,分別加入對應的文字,製做出有趣的梗圖 gif 動畫 ( 詳細說明寫在程式碼內,影片來源:無間道梁朝偉超神演技 )。
import os
os.chdir('/content/drive/MyDrive/Colab Notebooks')  # 使用 Colab 要換路徑使用

from moviepy.editor import *
from PIL import Image, ImageFont, ImageDraw

img_empty = Image.new('RGBA', (360, 180))                  # 產生 RGBA 空圖片
font = ImageFont.truetype('NotoSansTC-Regular.otf', 24)    # 設定文字字體和大小
video = VideoFileClip("oxxostudio.mp4").resize((360,180))  # 讀取影片,改變尺寸
output_list = []      # 記錄最後要組合的影片片段

# 建立文字字卡函式
def text_clip(xy, text, name):
    img = img_empty.copy()      # 複製空圖片
    draw = ImageDraw.Draw(img)  # 建立繪圖物件,並寫入文字
    draw.text(xy, text, fill=(255,255,255), font=font, stroke_width=2, stroke_fill='black')
    img.save(name)              # 儲存

# 建立影片和文字合併的函式
def text_in_video(t, text_img):
    clip = video.subclip(t[0],t[1])    # 剪輯影片到指定長度
    text = ImageClip(text_img, transparent=True).set_duration(t[1]-t[0])  # 讀取字卡,調整為影片長度
    combine_clip = CompositeVideoClip([clip, text])  # 合併影片和文字
    output_list.append(combine_clip)   # 添加到影片片段裡

# 文字串列,包含座標和內容
text_list = [
    [(100,140),'你到底要怎樣?'],
    [(90,140),'給我 CDPRO2 呀!'],
    [(60,140),'但是 CDPRO2 過時啦!']
]

# 影片串列,包含要切取的時間片段
video_list = [
    [13,16],
    [21,24],
    [38,41]
]

# 使用 for 迴圈,產生文字字卡
for i in range(len(text_list)):
    text_clip(text_list[i][0], text_list[i][1], f'text_{i}.png')

# 使用 for 迴圈,合併字卡和影片
for i in range(len(video_list)):
    text_in_video(video_list[i], f'text_{i}.png')

output = concatenate_videoclips(output_list)      # 合併所有影片片段
output.write_gif("output.gif", fps=6, colors=32)  # 轉換成 gif 動畫
print('ok')

大家好,我是 OXXO,是個即將邁入中年的斜槓青年,我已經寫了超過 400 篇 Python 的教學,有興趣可以參考下方連結呦~ ^_^
