
繼續加其他文字資料到圖卡上,增加圖片 title 到圖卡上。
在 /components/ImageCard.js 加上下列指令。
<div className="px-6 py-2">
  <div className="font-bold text-xl mb-l">{twimg.title}</div>
</div>
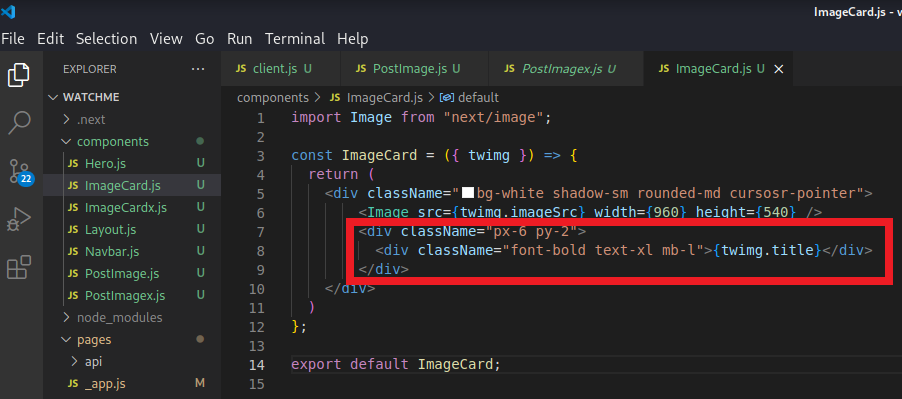
顯示 title (紅框部分):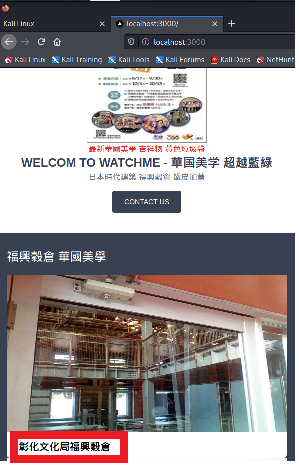
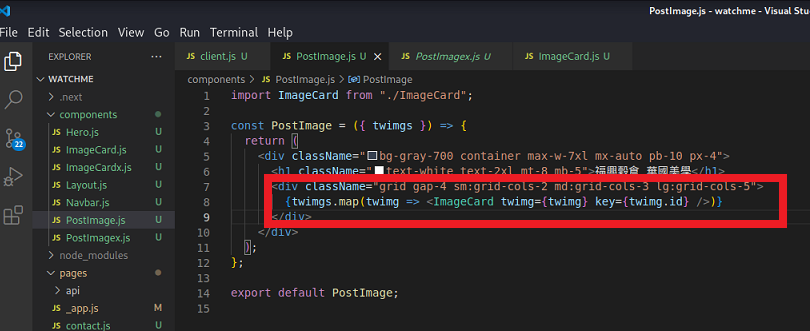
修改圖卡在螢幕上的排列方式,大螢幕一列將顯示五張圖卡,手機一列顯示一張圖卡。
在 /components/PostImage.js,加上一個設定螢幕大小與每列圖卡數的 grid container,把 ImageCard 元件,放進這個 container。
<div className="grid gap-4 sm:grid-cols-2 md:grid-cols-3 lg:grid-cols-5">
  {twimgs.map(twimg => <ImageCard twimg={twimg} key={twimg.id} />)}
</div>
大螢幕: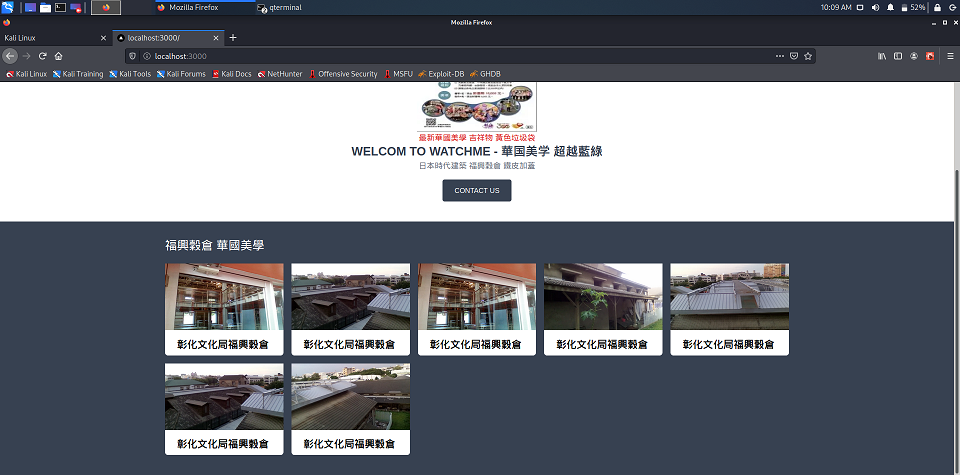
手機螢幕: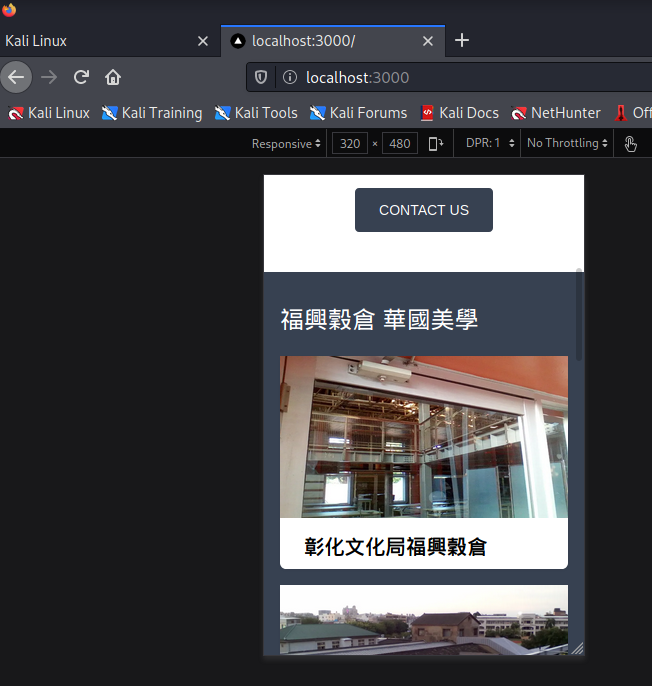
接下來,增加點選圖卡,能進入看到單張圖卡詳細內容的網頁:
(1) 修改 /components/ImageCard.js,加入 Link 元件,設定單張圖卡路徑。將圖卡內容放入 Link 元件內。
import Image from "next/image";
import Link from "next/link";

const ImageCard = ({ twimg }) => {
  return (
    <Link href={`/twimg/${twimg.id}`}>
      <div className="bg-white shadow-sm rounded-md cursosr-pointer">
       ...
      </div>
    </Link>
點選圖卡: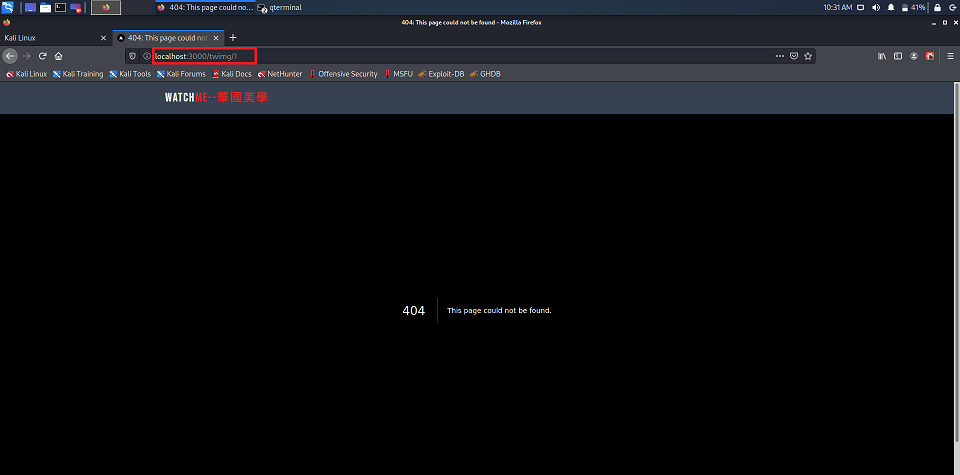
(2)接下來,到 pages 目錄,新增 twimg 目錄,在 twimg 目錄下新增 [id] 目錄,最後在 [id] 目錄下,新增 index.js 檔案。
(3) /pages/twimg/[id]/index.js 程式中,使用 getStaticProps() 和 getStaticPaths() 元件存取資料, getStaticProps() 中 props 回傳的資料,將會在 build time 時 預先提交資料給網頁。
import { supabaseAdmin } from "../../../client";
import Image from "next/image"

const Twimg = ({ twimg }) => {
  return (
    <div className="container max-w-4xl mx-auto pt-6">
      <div className="px-3">
        <Image src={twimg.imageSrc} width={960} height={540} className="rounded-md" />
        <h1 className="fond-bold text-xl my-2">{twimg.title}</h1>
        <p className="text-gray-600 mt-4">{twimg.description}</p>
      </div>
    </div>
  );
};

export async function getStaticProps(context) {
  const { id } = context.params;
  const { data } = await supabaseAdmin
    .from('images')
    .select( )
    .filter('id', 'eq', id)
    .single()
  const twimg = data
  return {
    props: { twimg }
  }
}

export async function getStaticPaths() {
  const { data } = await supabaseAdmin.from('images').select('*');
  const twimg = data

  const ids = twimg.map(twimg => twimg.id);
  const paths = ids.map(id => ({ params: { id: id.toString() } }));

  return {
    paths,
    fallback: false
  }
}

export default Twimg;
點選圖片,看明細內容。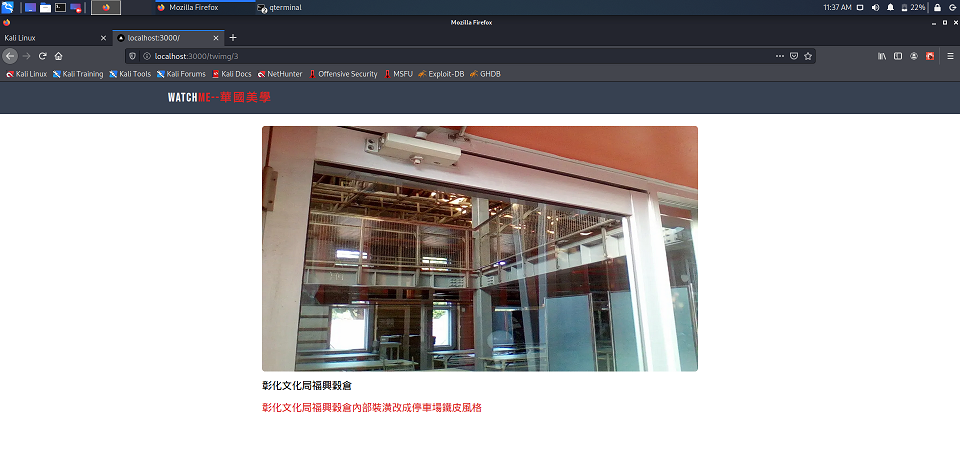

 iThome鐵人賽