今天來使用firebase auth來處理我們app的登入登出。
在開始之前,我們先修改一下我們project的架構
1.創建services資料夾並將db_provider移至裡面並重新命名db_service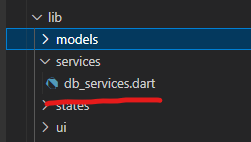
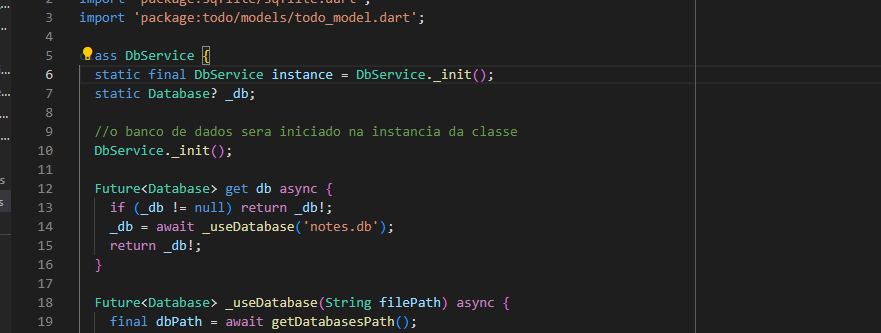
2.打開todo\lib\services\db_services.dart,右鍵點擊將所有的DbProvider重命名
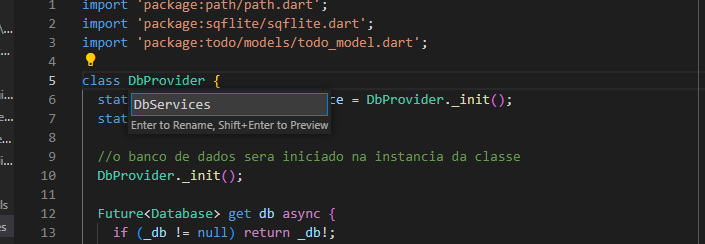
=>
安裝依賴firebaase_core和firebase_auth
dependencies:
  firebase_core: ^1.24.0
  firebase_auth: ^3.11.1
a) 打開firebase,並創建專案
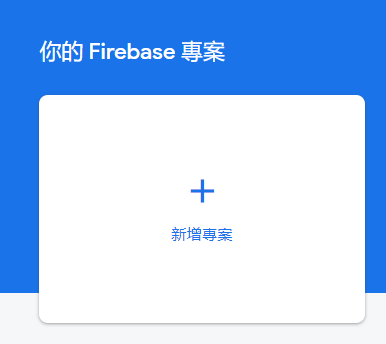
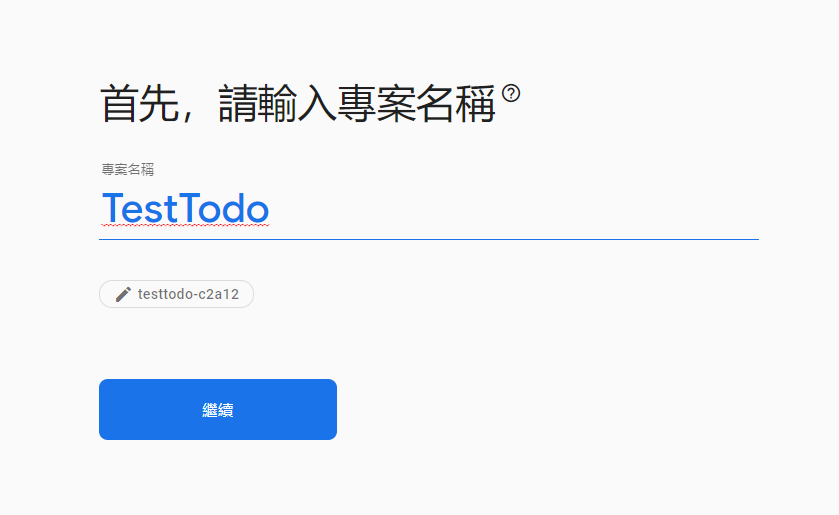
點擊繼續並建立專案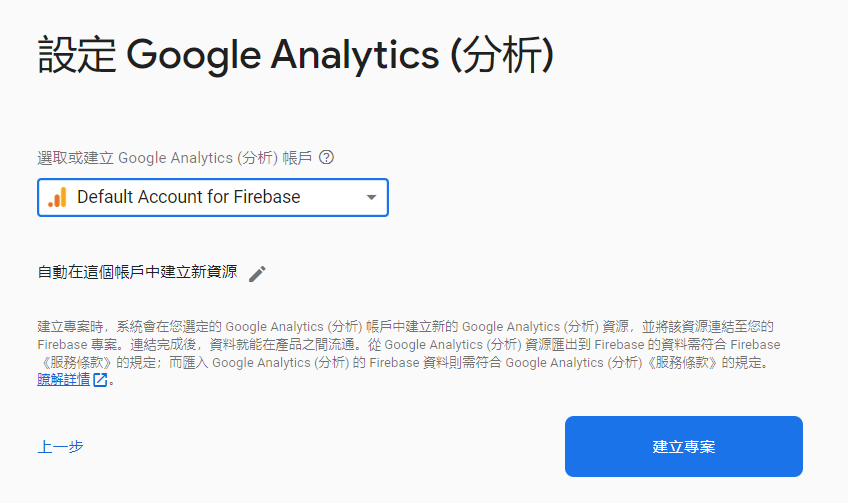
b) 完成後,我們選擇要使用的裝置,我們這邊選擇android
接著打開我們專案中的android,並找到todo\android\app\build.gradle,並找到applicationId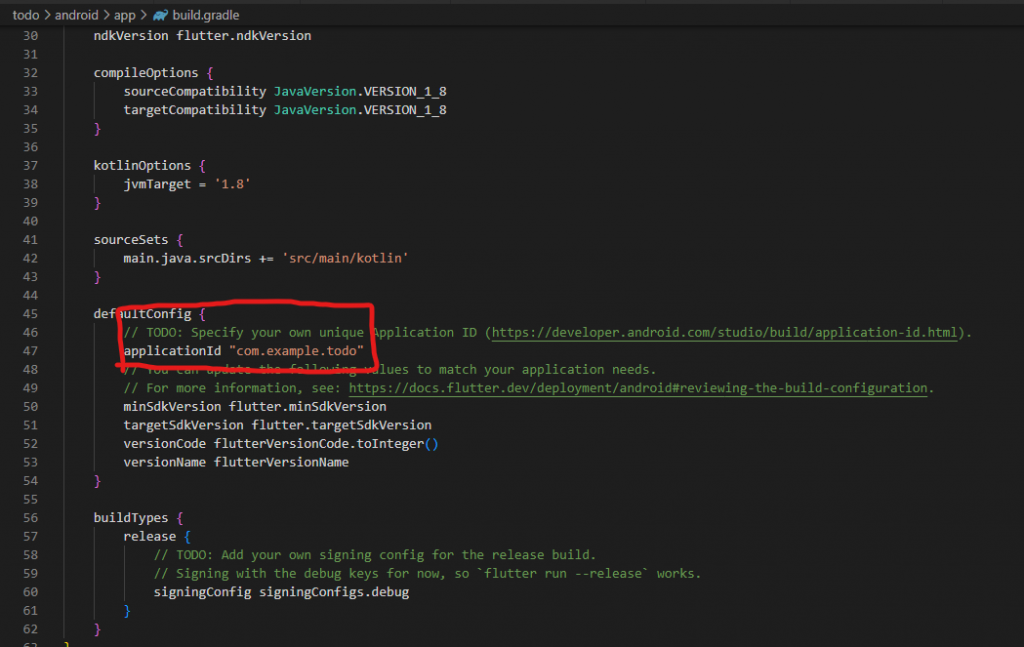
1.註冊應用程式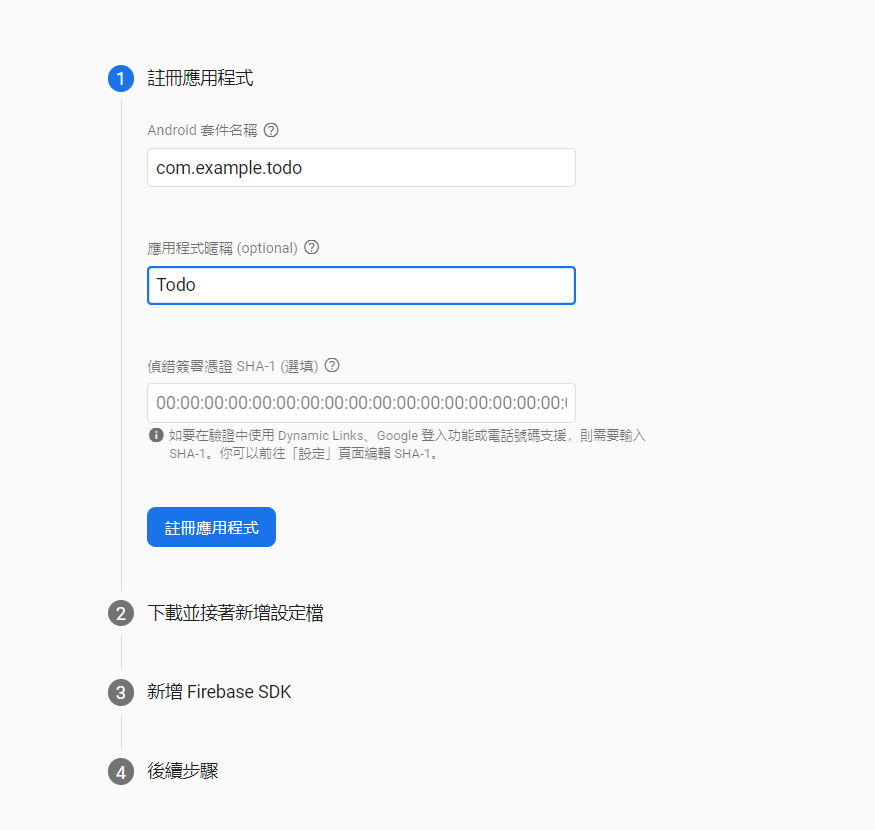
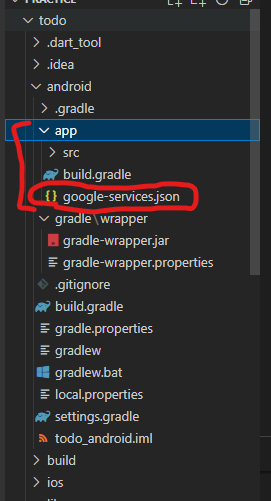
2.將下載的設定檔google-services.json加入到模組 (應用程式層級) 根目錄中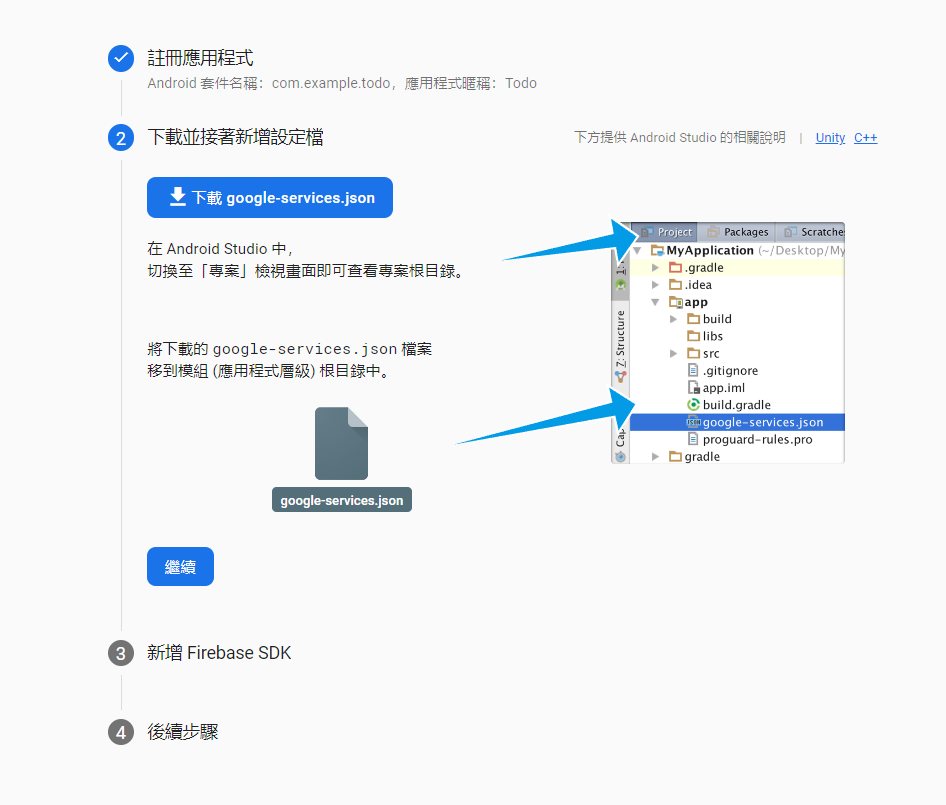
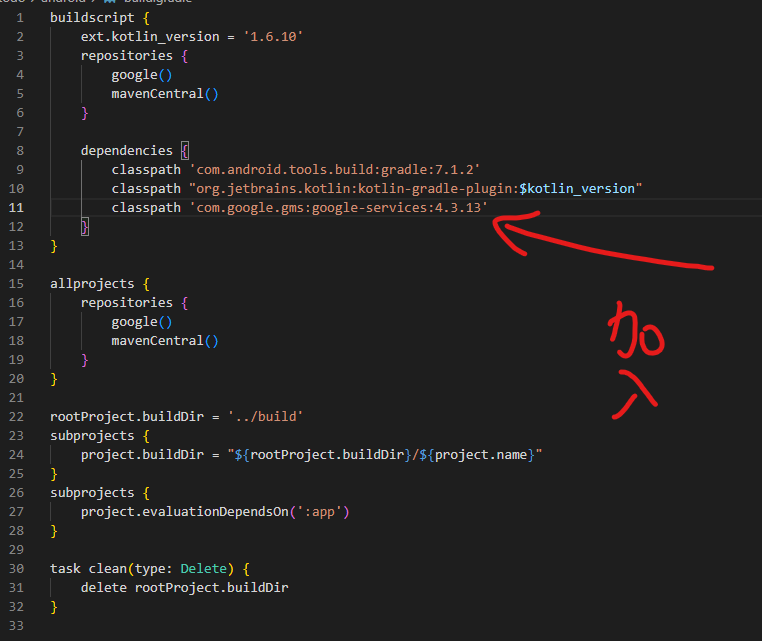
3.照著步驟3,我們打開todo\android\build.gradle加入依賴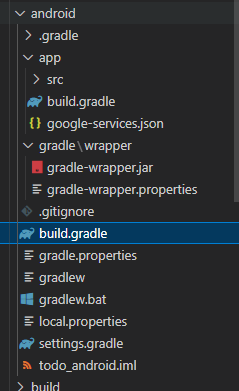
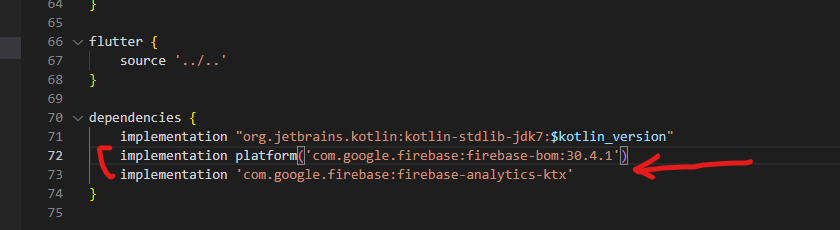
接著打開todo\android\app\build.gradle加入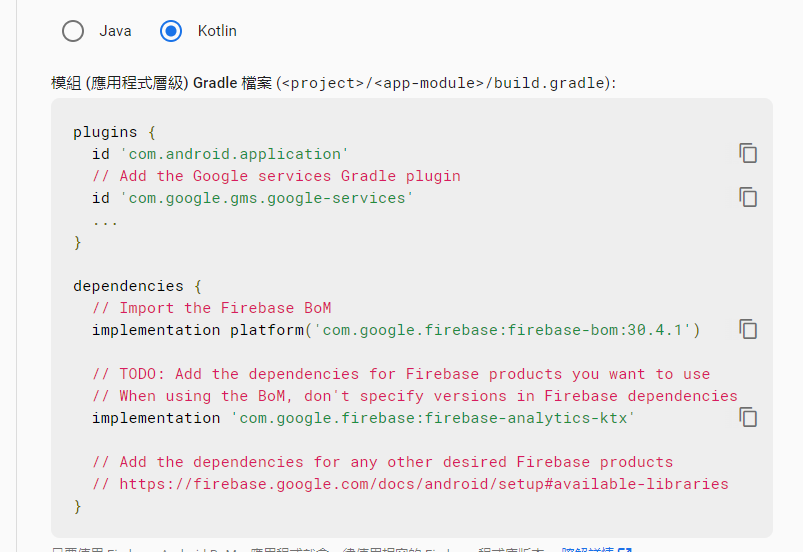

並且修改minSdkVersion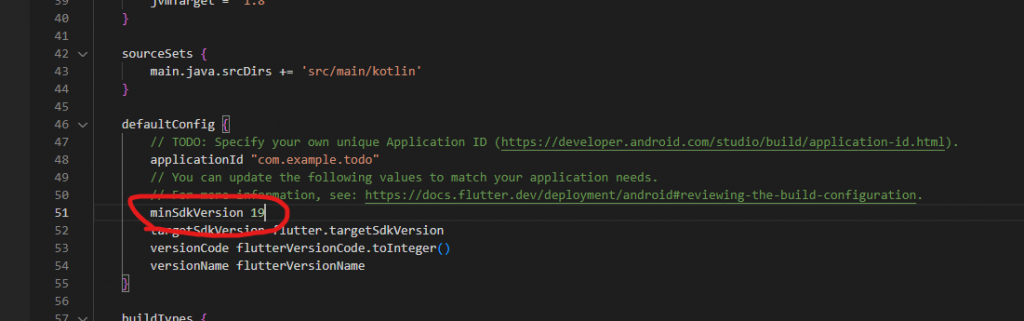
4.我們已經設定完了,接著回到主控台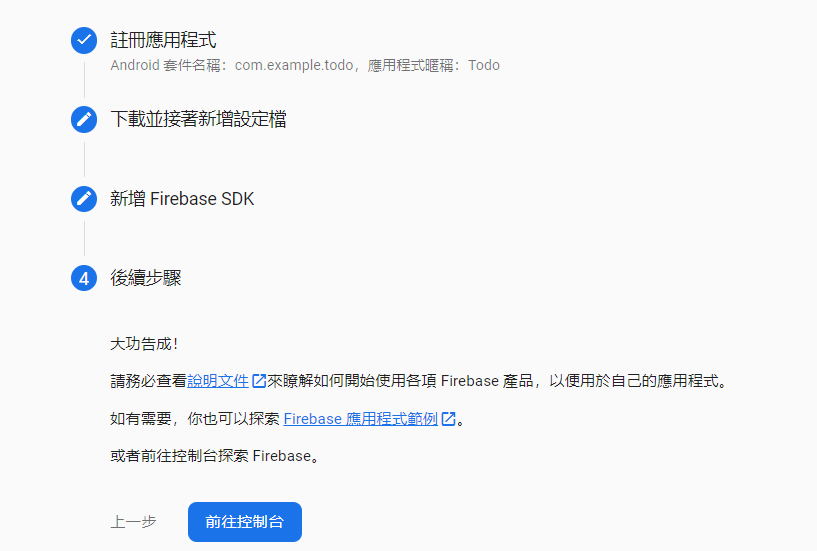
c) 啟動Auth功能
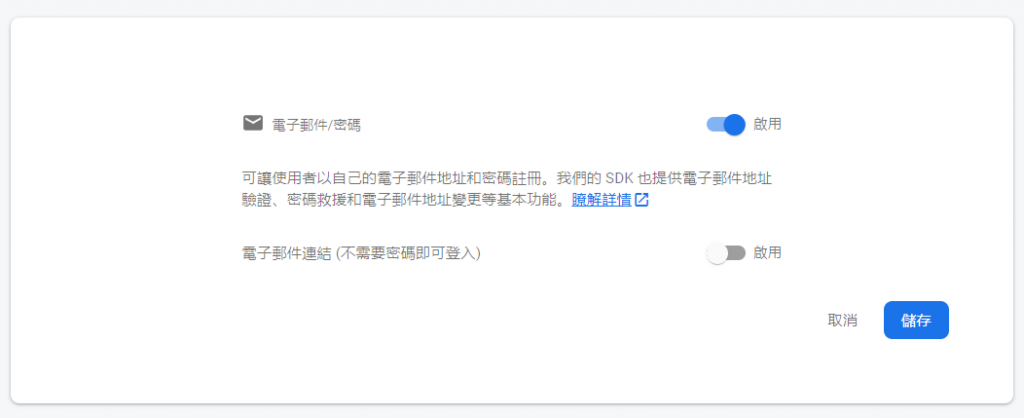
我們來啟動Auth功能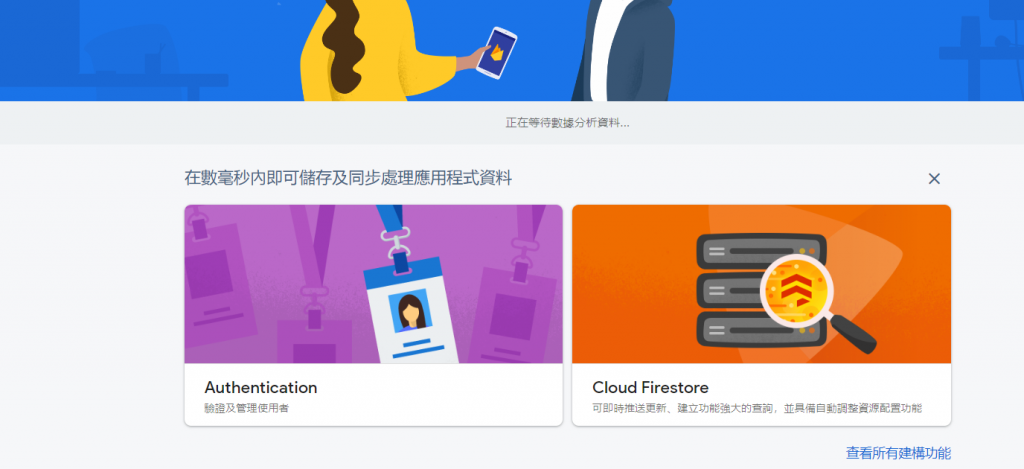
選擇email
我們創建todo\lib\services\auth_services.dart並加入Auth功能
import 'package:firebase_auth/firebase_auth.dart';

class AuthService {
  final FirebaseAuth _firebaseAuth = FirebaseAuth.instance;

  User? get currentUser => _firebaseAuth.currentUser;

  Future<void> sendPasswordResetEmail({
    required String email,
  }) async {
    await _firebaseAuth.sendPasswordResetEmail(email: email);
  }

  Future<void> signInWithEmailAndPassword({
    required String email,
    required String password,
  }) async {
    await _firebaseAuth.signInWithEmailAndPassword(
      email: email,
      password: password,
    );
  }

  Future<void> createUserWithEmailAndPassword({
    required String email,
    required String password,
  }) async {
    await _firebaseAuth.createUserWithEmailAndPassword(
      email: email,
      password: password,
    );
  }

  Future<void> signOut() async {
    await _firebaseAuth.signOut();
  }
}
我們創建新的screen,todo\lib\ui\screens\auth_screen.dart
import 'package:firebase_auth/firebase_auth.dart';
import 'package:flutter/cupertino.dart';
import 'package:flutter/material.dart';
import 'package:flutter/src/foundation/key.dart';
import 'package:flutter/src/widgets/framework.dart';
import 'package:todo/services/auth_services.dart';

class AuthScreen extends StatefulWidget {
  const AuthScreen({Key? key}) : super(key: key);

  @override
  State<AuthScreen> createState() => _AuthScreenState();
}

class _AuthScreenState extends State<AuthScreen> {
  String? errorMessage = '';
  bool isLogin = true;

  final TextEditingController _controllerEmail = TextEditingController();
  final TextEditingController _controllerPassword = TextEditingController();

  Future<void> signInWithEmailAndPassword() async {
    try {
      await AuthService().signInWithEmailAndPassword(
        email: _controllerEmail.text,
        password: _controllerPassword.text,
      );
    } on FirebaseAuthException catch (e) {
      setState(() {
        errorMessage = e.message;
      });
    }
  }

  Future<void> createUserWithEmailAndPassword() async {
    try {
      await AuthService().createUserWithEmailAndPassword(
        email: _controllerEmail.text,
        password: _controllerPassword.text,
      );
    } on FirebaseAuthException catch (e) {
      setState(() {
        errorMessage = e.message;
      });
    }
  }

  Widget _entry(
    String title,
    TextEditingController controller,
  ) {
    return TextField(
      controller: controller,
      decoration: InputDecoration(
        labelText: title,
      ),
    );
  }

  Widget _message() {
    return Text(errorMessage == '' ? '' : '$errorMessage');
  }

  Widget _submitButton() {
    return ElevatedButton(
      onPressed:
          isLogin ? signInWithEmailAndPassword : createUserWithEmailAndPassword,
      child: Text(isLogin ? 'Login' : 'Register'),
    );
  }

  Widget _authButton() {
    return TextButton(
      onPressed: () {
        setState(() {
          isLogin = !isLogin;
        });
      },
      child: Text(isLogin ? 'Register instead' : 'Login instead'),
    );
  }

  @override
  Widget build(BuildContext context) {
    return Scaffold(
      appBar: AppBar(),
      body: Container(
        width: double.infinity,
        height: double.infinity,
        padding: const EdgeInsets.all(8.0),
        child: Column(
          crossAxisAlignment: CrossAxisAlignment.center,
          mainAxisAlignment: MainAxisAlignment.center,
          children: [
            _entry('email', _controllerEmail),
            _entry('password', _controllerPassword),
            _message(),
            _submitButton(),
            _authButton(),
          ],
        ),
      ),
    );
  }
}
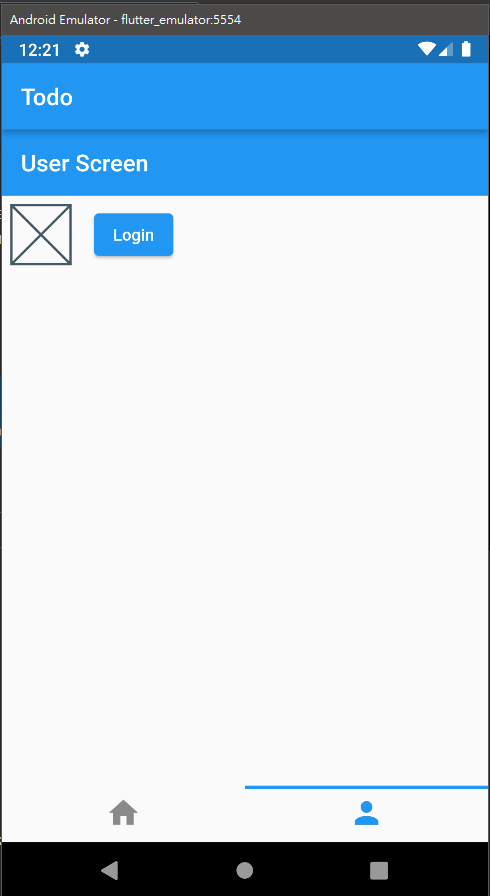
並且打開我們的todo\lib\ui\widgets\user_header_widget.dart
import 'package:firebase_auth/firebase_auth.dart';
import 'package:flutter/cupertino.dart';
import 'package:flutter/material.dart';
import 'package:flutter/src/foundation/key.dart';
import 'package:flutter/src/widgets/framework.dart';
import 'package:hooks_riverpod/hooks_riverpod.dart';
import 'package:todo/models/user_model.dart';
import 'package:todo/services/auth_services.dart';
import 'package:todo/states/user_state.dart';
import 'package:todo/ui/screens/auth_screen.dart';

class UserHeader extends ConsumerWidget {
  const UserHeader({
    Key? key,
  }) : super(key: key);

  @override
  Widget build(BuildContext context, WidgetRef ref) {
    final User? user = AuthService().currentUser;

    UserModel _testUser = UserModel(
      username: 'username',
      isLogin: false,
      bio: 'bio',
      email: 'email@test.com',
      message: '',
    );

    // bool isLogin = ref.watch(userProvider).isLogin;
    bool isLogin = (user != null ? true : false);
    // String message = ref.watch(userProvider).message;

    return Container(
      child: Row(children: [
        Placeholder(
          fallbackHeight: 50,
          fallbackWidth: 50,
        ),
        const SizedBox(
          width: 20,
        ),
        isLogin
            ? ElevatedButton(
                onPressed: () {},
                child: Text('Logout'),
              )
            : ElevatedButton(
                onPressed: () {
                  // ref.read(userProvider.notifier).login(_testUser);
                  Navigator.push(
                    context,
                    MaterialPageRoute(
                      builder: (context) => const AuthScreen(),
                    ),
                  );
                },
                child: Text('Login'),
              ),
      ]),
    );
  }
}
並修改我們的main.dart來init firebase
import 'dart:math';

import 'package:firebase_core/firebase_core.dart';
import 'package:flutter/material.dart';
import 'package:hooks_riverpod/hooks_riverpod.dart';
import 'package:todo/states/todo_state.dart';
import 'package:todo/ui/screens/nav_screen.dart';

void main() {
  runApp(
    ProviderScope(
      child: MyApp(),
    ),
  );
}

class MyApp extends StatelessWidget {
  const MyApp({Key? key}) : super(key: key);

  // This widget is the root of your application.
  @override
  Widget build(BuildContext context) {
    return MaterialApp(
      title: 'Flutter Demo',
      theme: ThemeData(
        primarySwatch: Colors.blue,
      ),
      home: FutureBuilder(
        future: Firebase.initializeApp(),
        builder: (context, snapshot) {
          if (snapshot.hasError) {
            return Text('Something Wrong');
          }
          if (snapshot.connectionState == ConnectionState.done) {
            return NavScreen();
          }

          return CircularProgressIndicator();
        },
      ),
      debugShowCheckedModeBanner: false,
    );
  }
}
點擊登入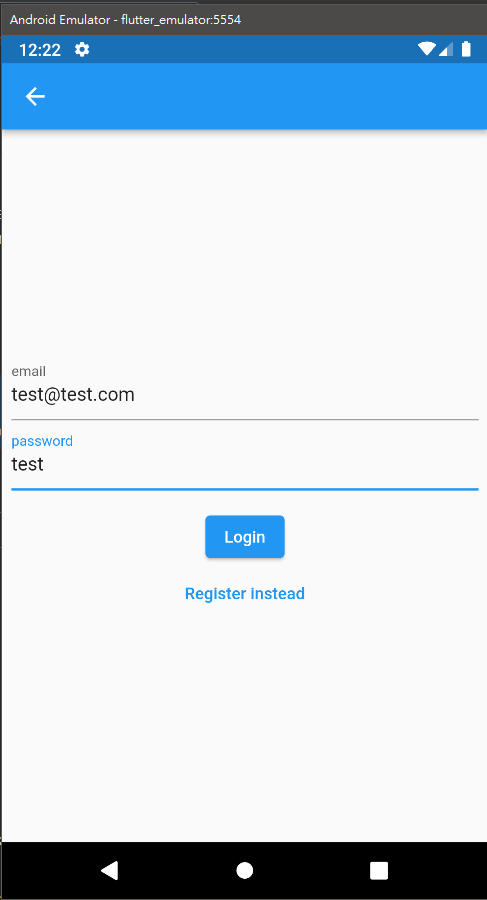
出現Error Message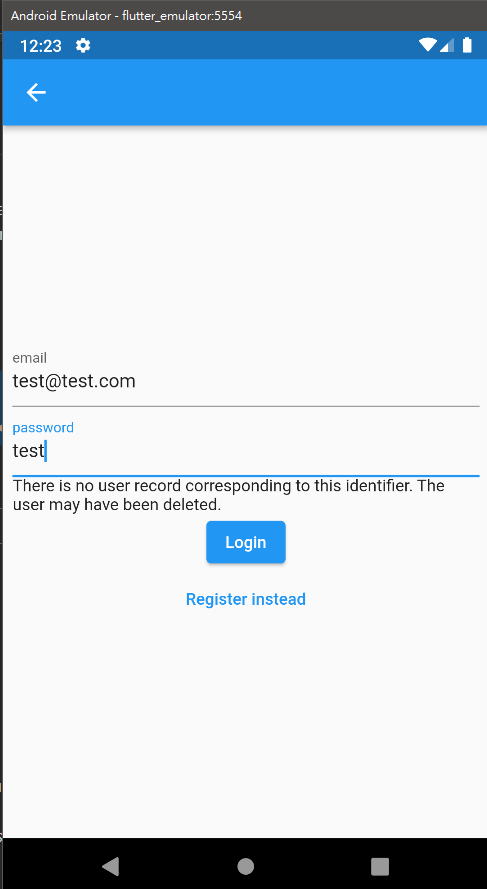
接著,我們測試使用註冊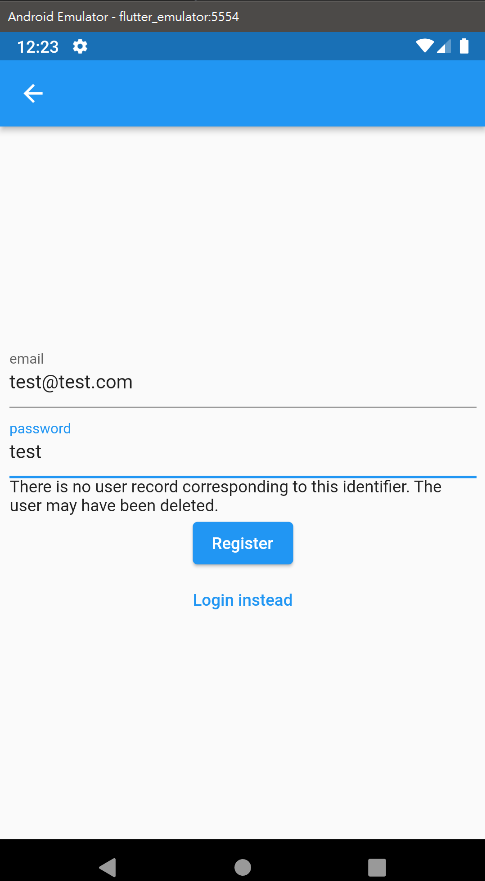
點擊註冊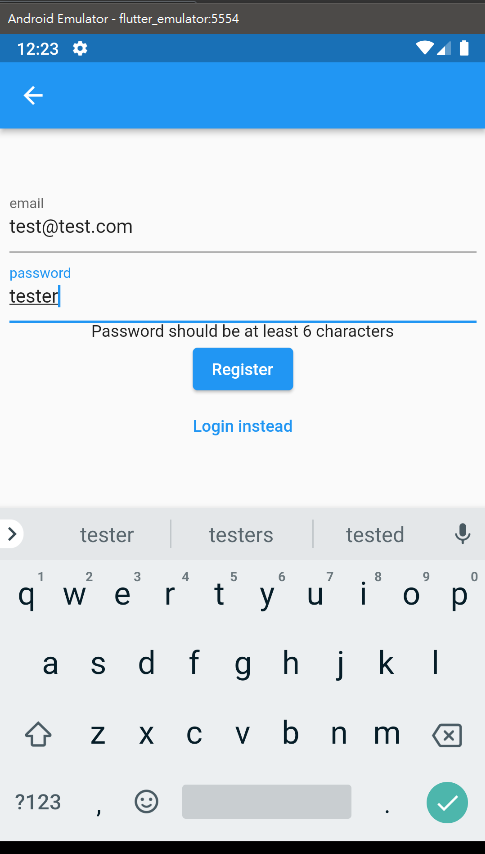
接著我們到firebase看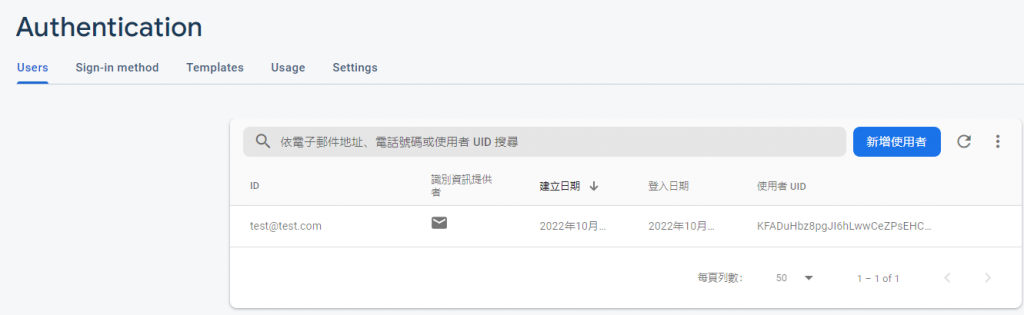
我們已經成功註冊了


 iThome鐵人賽