上回我們模擬了給API參數及回傳結果,並且透過Assert逐一驗證內容,今天我們來使用另一種直觀的語法套件-FluentAssertions來做驗證,而FluentAssertions可以讓我們的測試Case增加可讀性,詳細可點此閱讀官方文件。
首先,我們打開上方工具→NuGet套件管理員→管理方案的NuGet套件,並且搜尋Fluent Assertions可以找到我們所要的套件,接著右方可以選擇要安裝的專案,一般我們會安裝在測試專案中,所以盡量不要全選安裝,詳細畫面如下圖: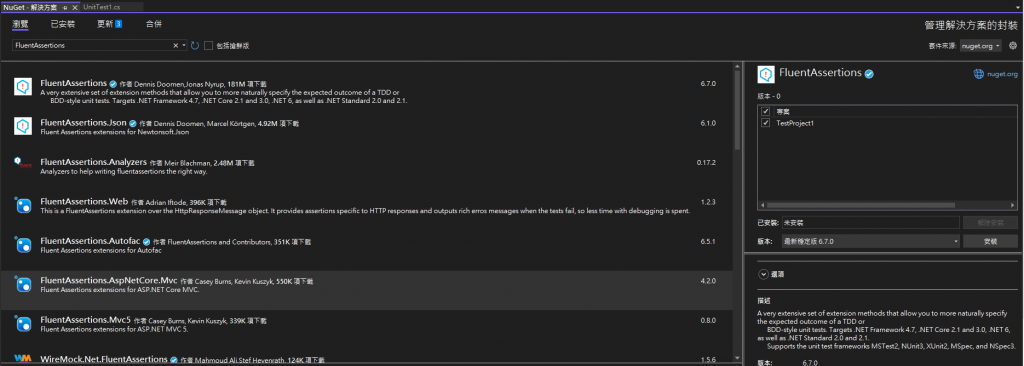
安裝完成後,我們在上方Using加入Fluent Assertions就能使用了,如下:
using FluentAssertions;
接著我們先另外建立一個測試Case,並且輸入簡單的Assert,語法如下:
        [Fact]
        public void TestCase()
        {
            var expected = 1;
            var actual = 1;
            Assert.Equal(expected, actual);
        }
再來,我們試試看用新安裝的語法套件來做驗證,語法如下:
        [Fact]
        public void TestCase()
        {
            var expected = 1;
            var actual = 1;
            Assert.Equal(expected, actual);
            actual.Should().Be(expected);
        }
我們可以執行看看,兩條驗證結果會是一樣的,在這邊要注意預期結果和實際結果的位置不要顛倒,不過在FluentAssertions因為本身就有很直觀的可讀性,所以就不太會有這個問題發生。
再來我們來試試將上回的程式碼使用FluentAssertions做一些改寫,原測試Case如下:
        [Theory]
        [InlineData(100, "電器")]
        public void TestCase1(decimal price, string category)
        {
            var actual = GetProductList(price, category);

            List<Product> expected = new List<Product>()
            {
                new Product() {
                    ProductID=1,
                    Name ="吹風機",
                    Price=100,
                    Category = "電器"
                    ,IsSale=true},
            };
            Assert.Equal(expected.Count(), actual.Count());
            Assert.Equal(expected[0].ProductID, actual[0].ProductID);
            Assert.Equal(expected[0].Name, actual[0].Name);
            Assert.Equal(expected[0].Price, actual[0].Price);
            Assert.Equal(expected[0].Category, actual[0].Category);
            Assert.Equal(expected[0].IsSale, actual[0].IsSale);
        }
其他關於物件以及API這邊就不列出,使用FluentAssertions改寫後的測試Case如下:
        [Theory]
        [InlineData(100, "電器")]
        public void TestCase1(decimal price, string category)
        {
            var actual = GetProductList(price, category);

            List<Product> expected = new List<Product>()
            {
                new Product() {
                    ProductID=1,
                    Name ="吹風機",
                    Price=100,
                    Category = "電器"
                    ,IsSale=true},
            };

            actual.Should().BeEquivalentTo(expected);
        }
其中BeEquivalentTo是可以直接做物件驗證的(不含排序),如此我們的測試Case也變得簡單好閱讀,並且在撰寫上提升了不少的效率。
更多小知識,我們下次見~~


 iThome鐵人賽