快到文章尾聲,最後兩天將會教你實作,前面每一章節從建立專案、新增Issue、Kanban及自動化等功能,再帶你複習一次。以下範例以建立Kanban為主。
這章節你將會實作
首先我們先來建立一個新專案,點擊Header上方的「Project」選項 → 點擊「Create project」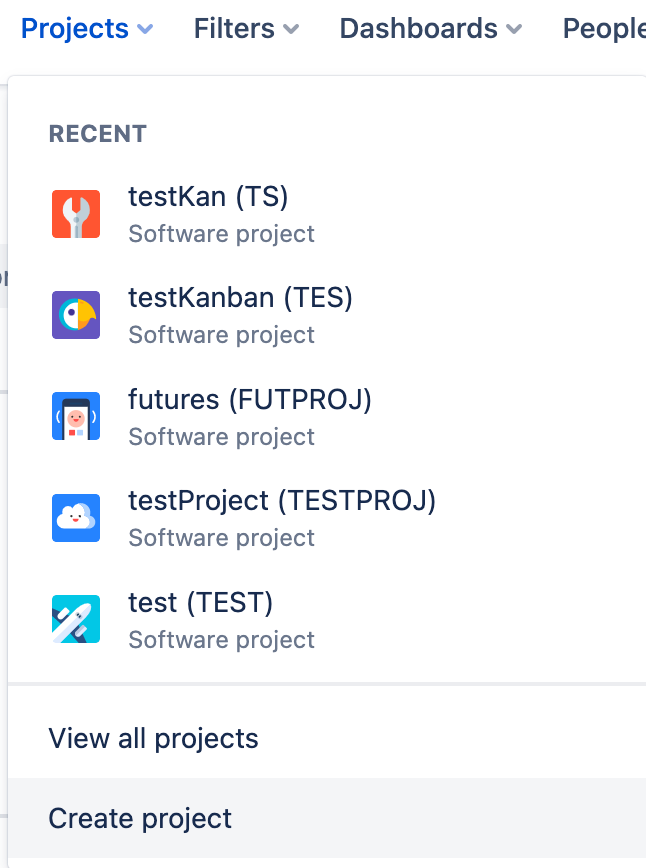
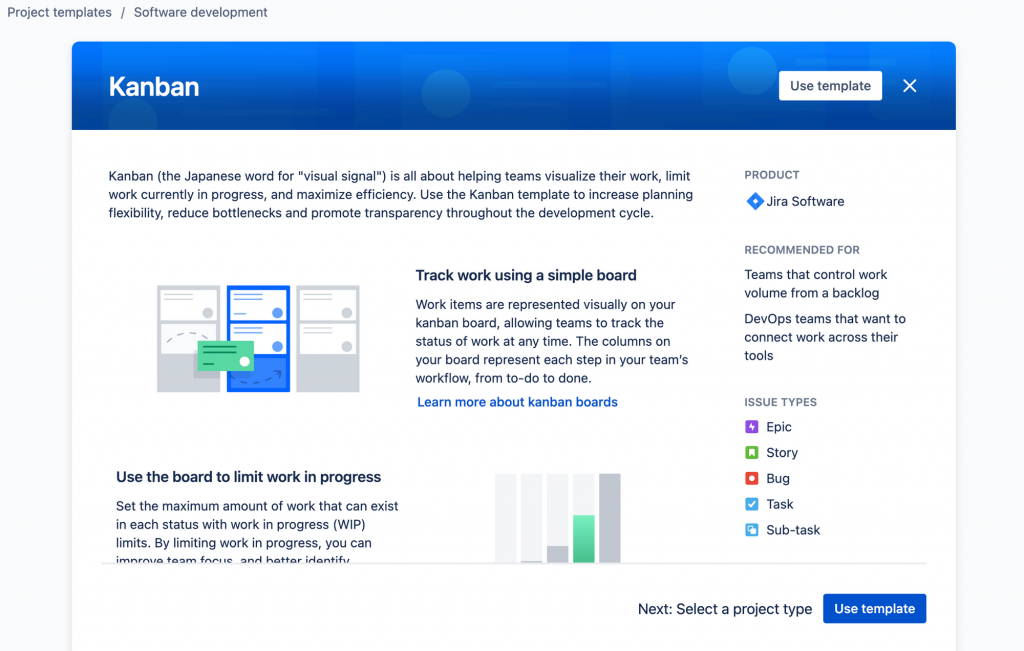
接著選擇Kanban(這次的實作範例以Kanban)→ 點擊「Use template」按鈕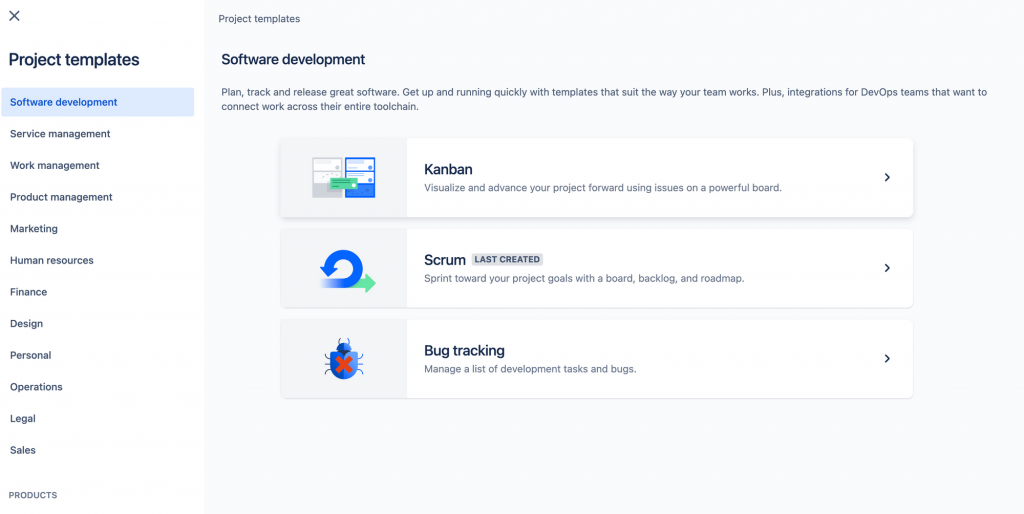
接著選擇右邊「Select a company-managed project」按鈕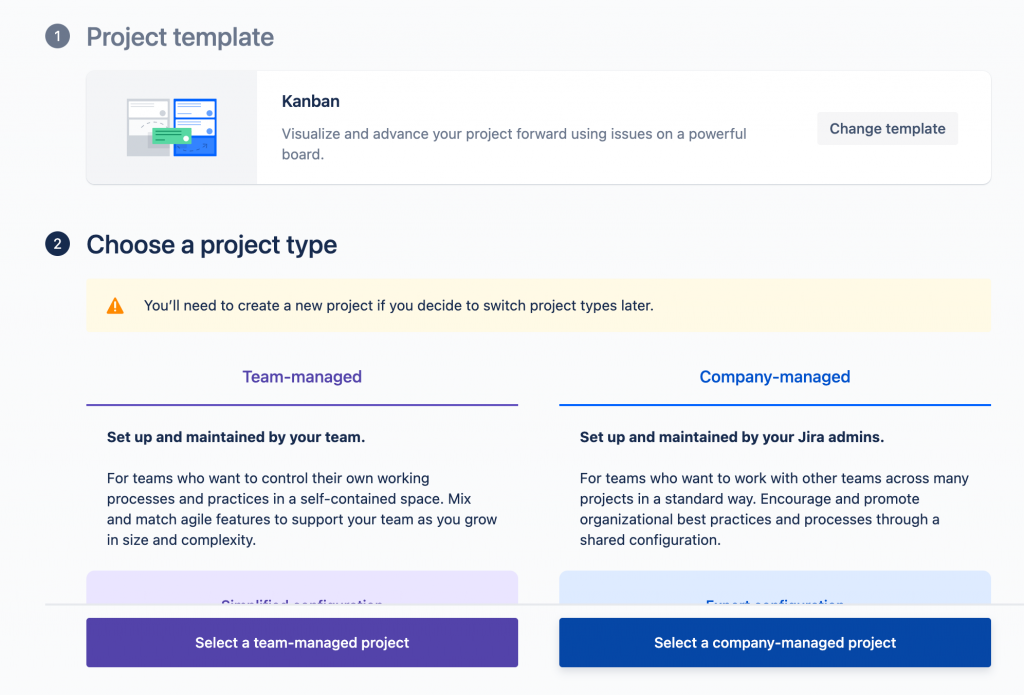
輸入專案的名稱及Key → 點擊「Create project」按鈕,專案就建立完成啦~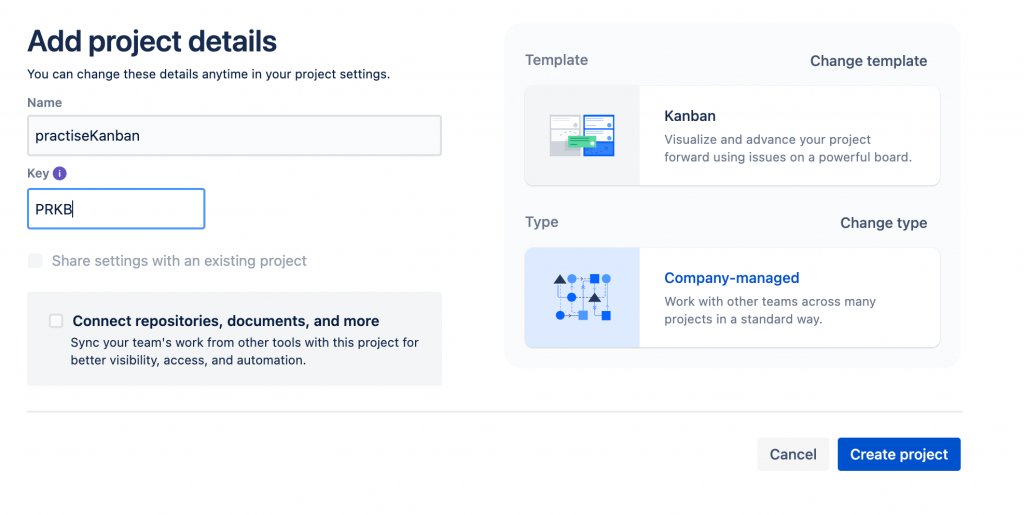
再來要建立專案的任務,點擊上方「Create」按鈕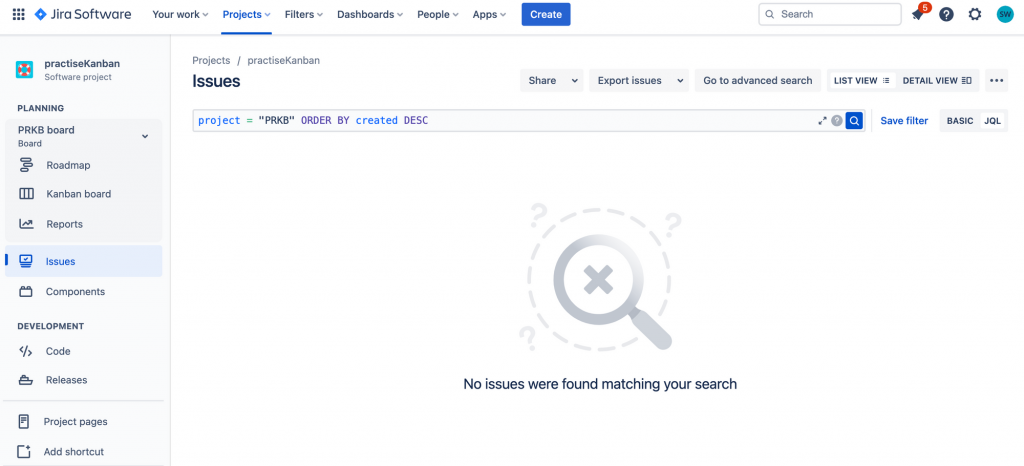
在建立Issue前,發現有些用不到的欄位,你可以選擇隱藏起來。點擊右上角(…) → 「Show fields」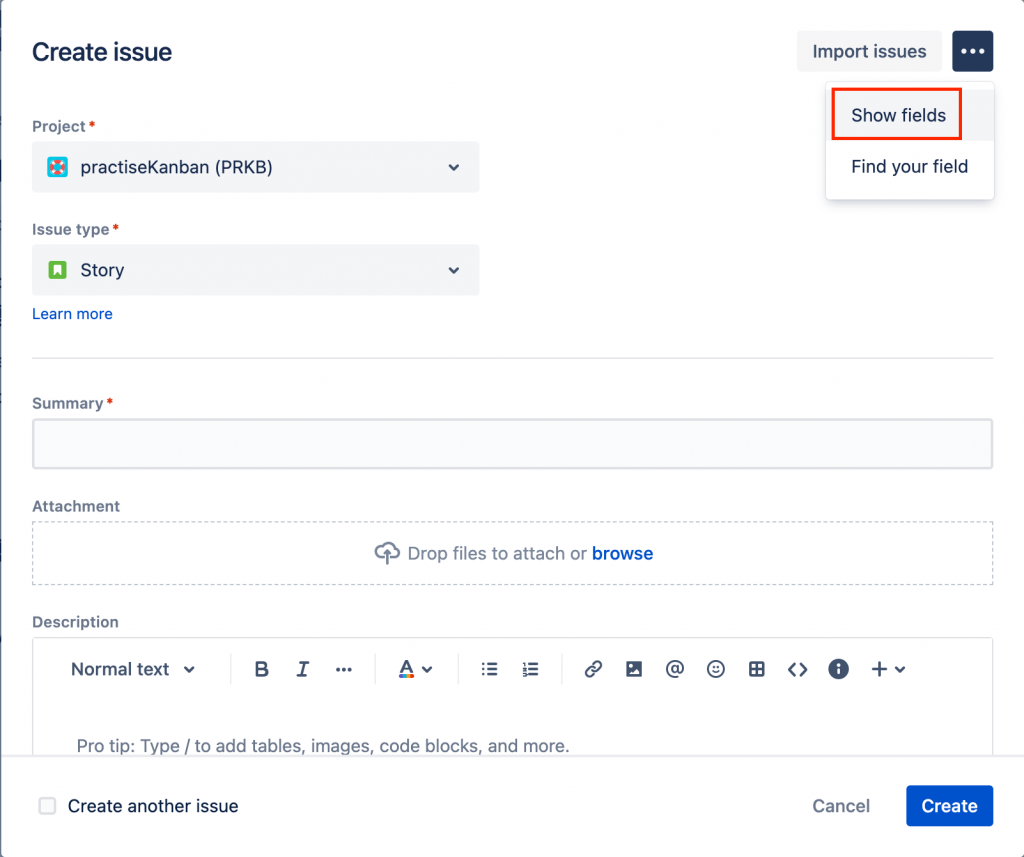
下拉選單選擇「Custom fields」 → 「Apply」按鈕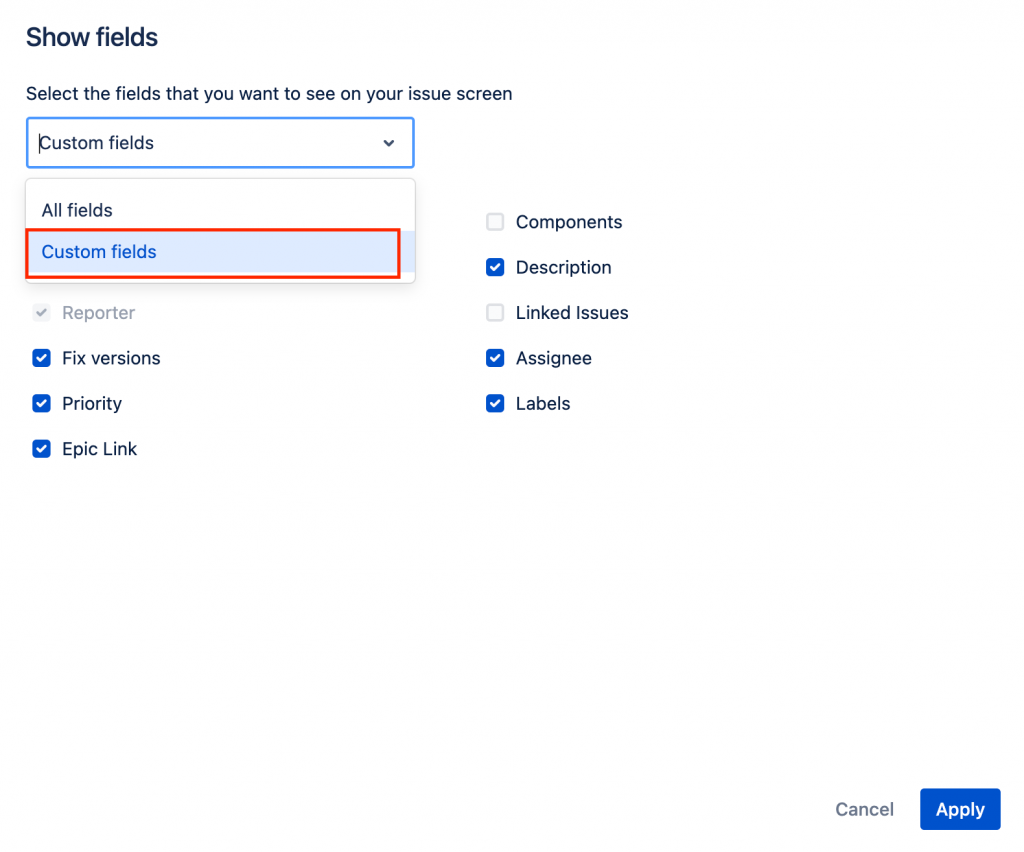
再來就可以根據團隊的需求建立Issue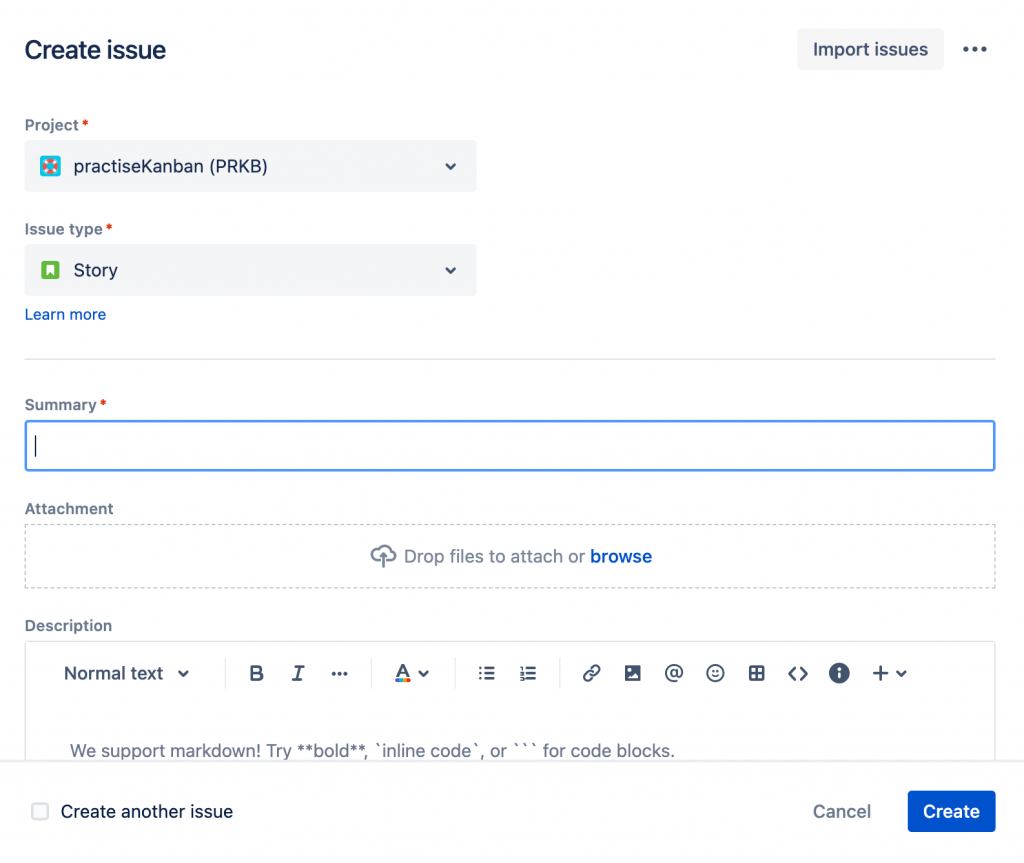
建立好Issue後,你可以點擊左側選單中的「Issue」查看你所有的Issue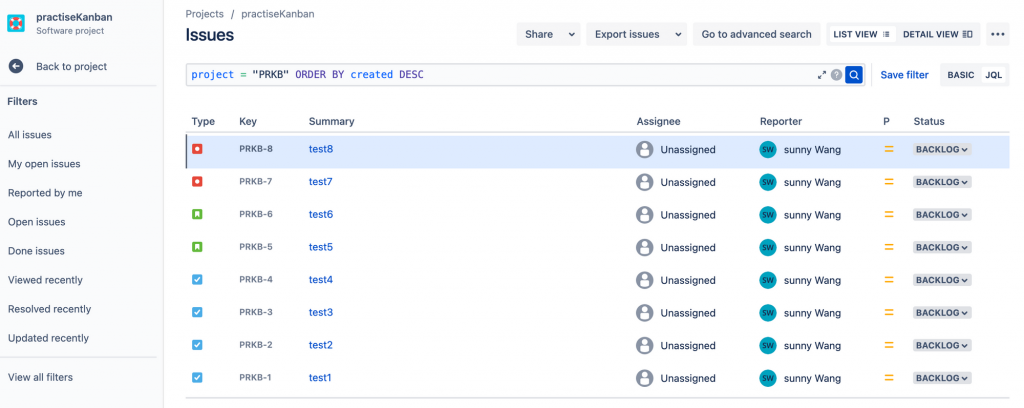
在建立時,每次在描述時都有固定的文字格式,所以這邊我想將Issue描述內容自動加入範本文字,新增方式可參考「[Day25]Automation之Issue-第一次使用Jira就上手」文章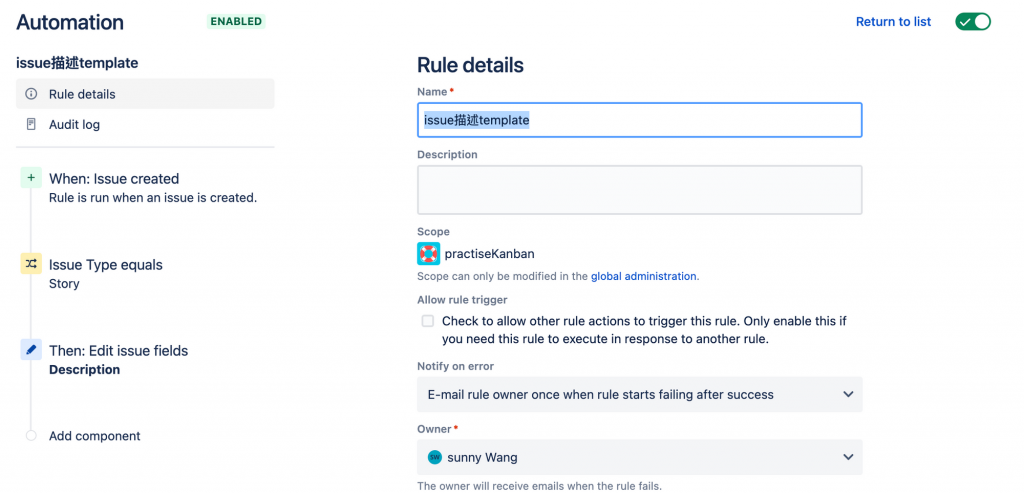
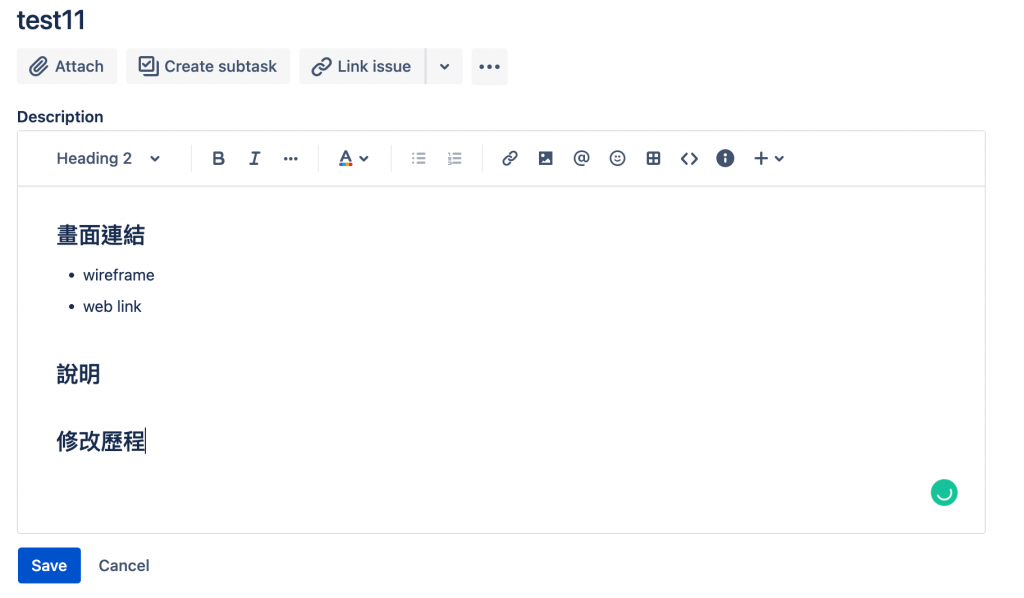
建立完Issue後,只要Issue type為「Story」描述的地方就會顯示剛建立好的描述範本。
點擊描述區塊,就可以修改描述內容,輸入完成後點擊「Save」按鈕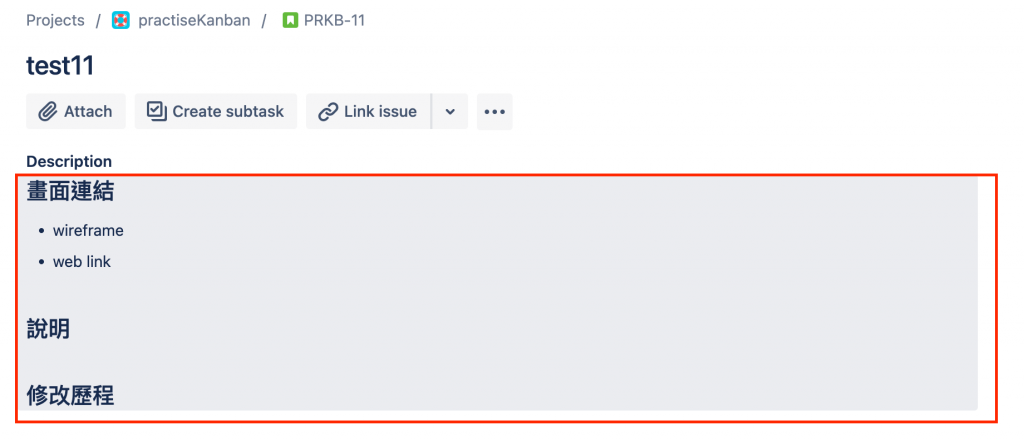
系統預設是所有狀態都可以任意移動到每一列,但這樣會可能會有其他成員誤移動到其他的任務,所以我們要將流程做限制,為了讓團隊的工作流程能更順暢。詳細建置Workflows可參考「[Day21]Workflows-第一次使用Jira就上手」文章。
點擊上方「Settings」 → 「Issue」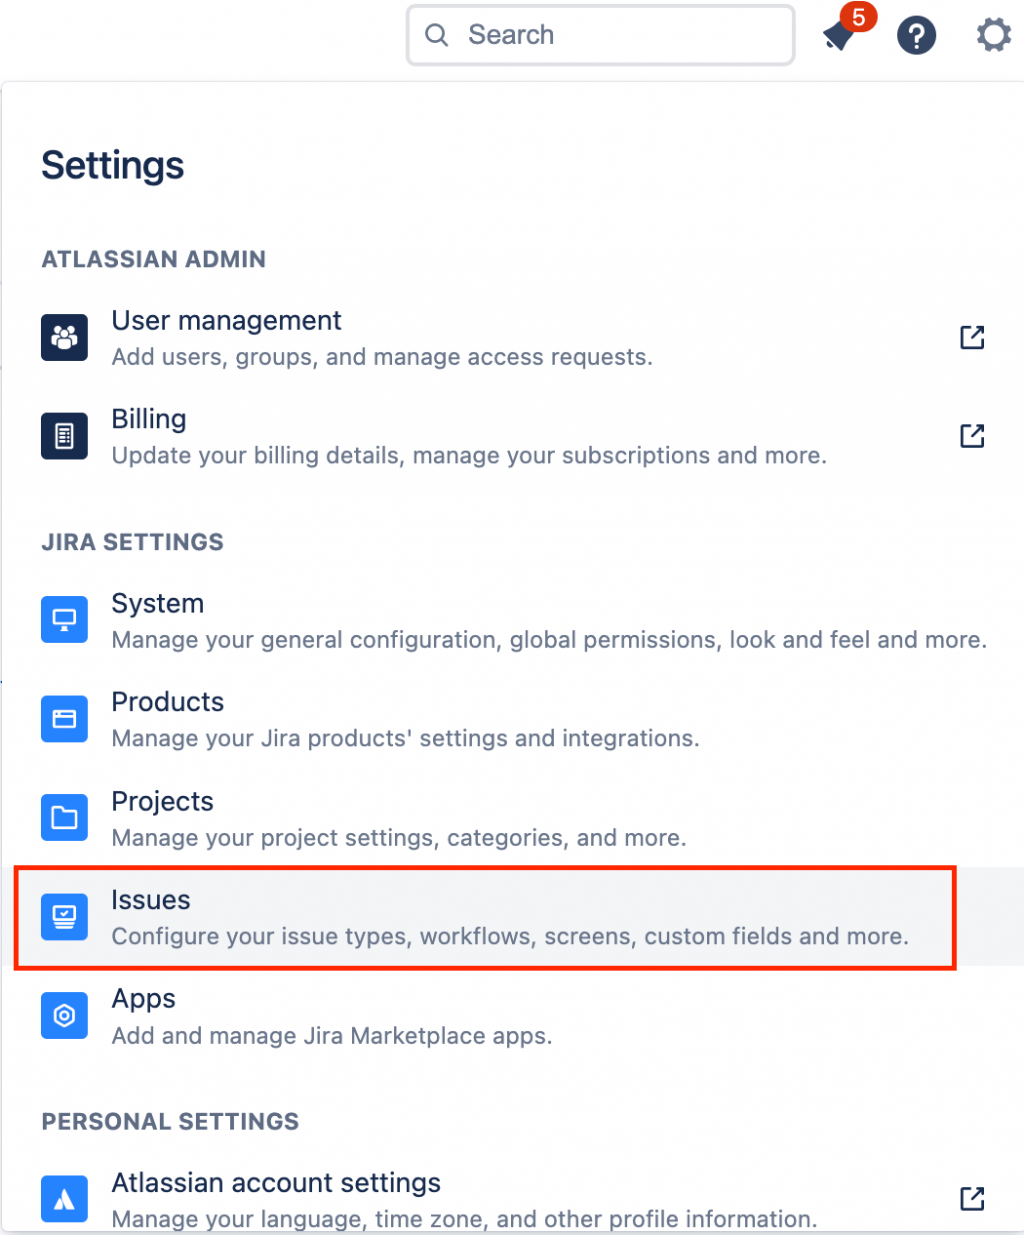
找到「practiseKanban」,最右邊點擊「Copy」選項,因為不能修改預設的Workflow
接著輸入Workflow名稱,這裡輸入「simple practice workflow」 → 點擊「Copy」按鈕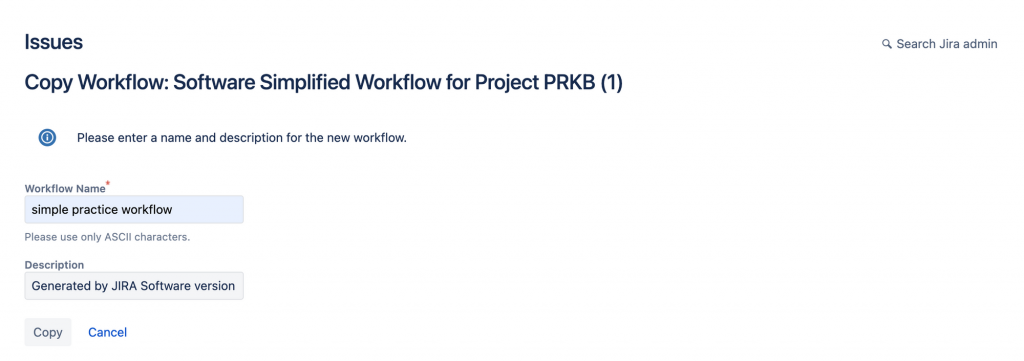
修改想要的流程,如下圖這邊簡單的設定流程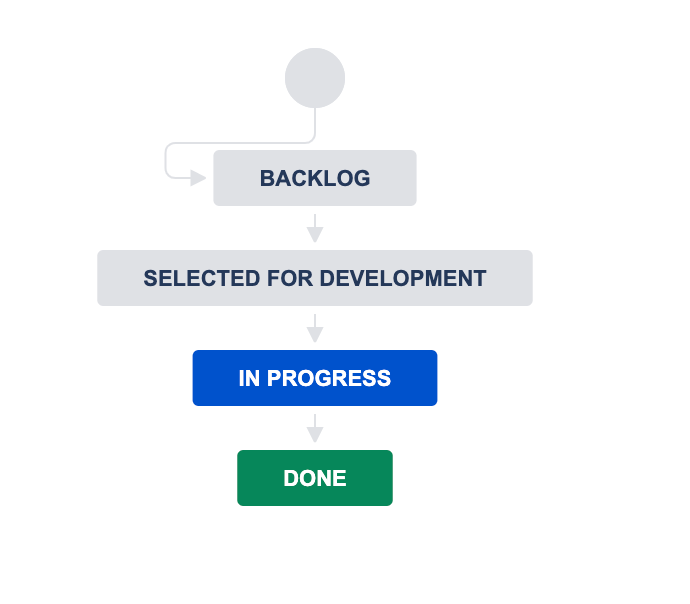
接著點擊左邊「Workflow schemes」選項,找到「practiseKanban」,點擊右側「Edit」選項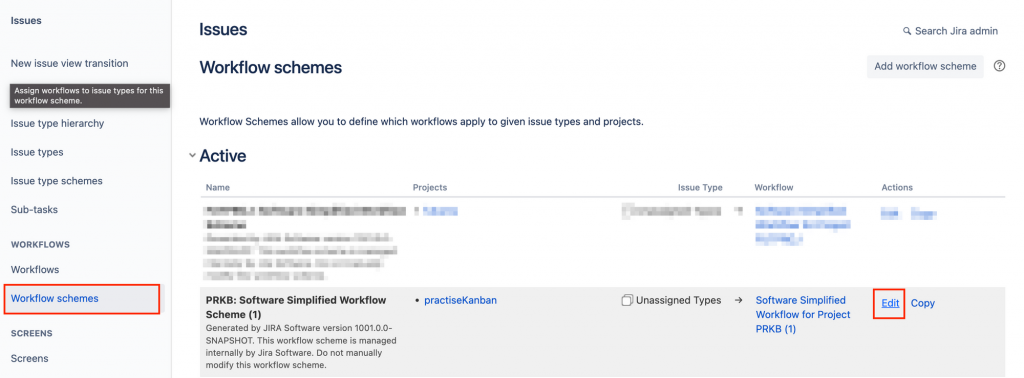
再來點擊左上「Add workflow」選擇「Add Existing」選項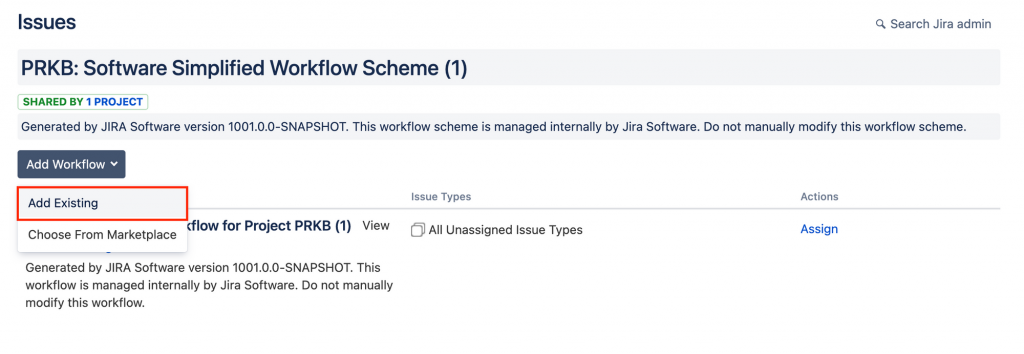
找到剛建立的「simple practice workflow」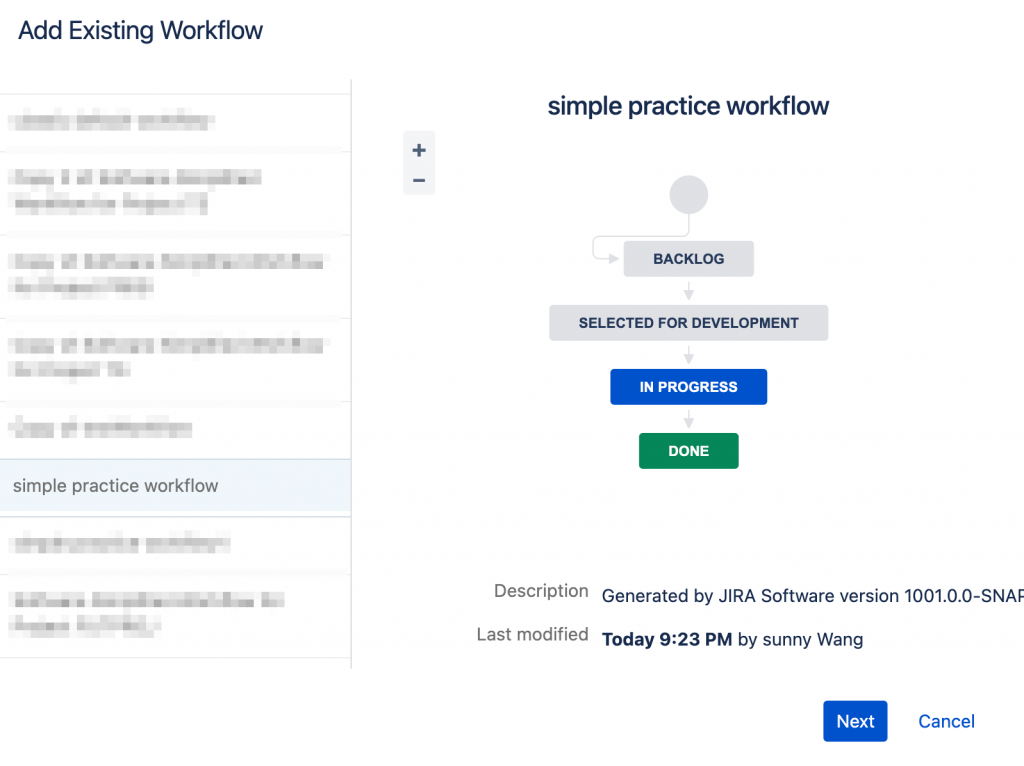
將所有Issue type都選取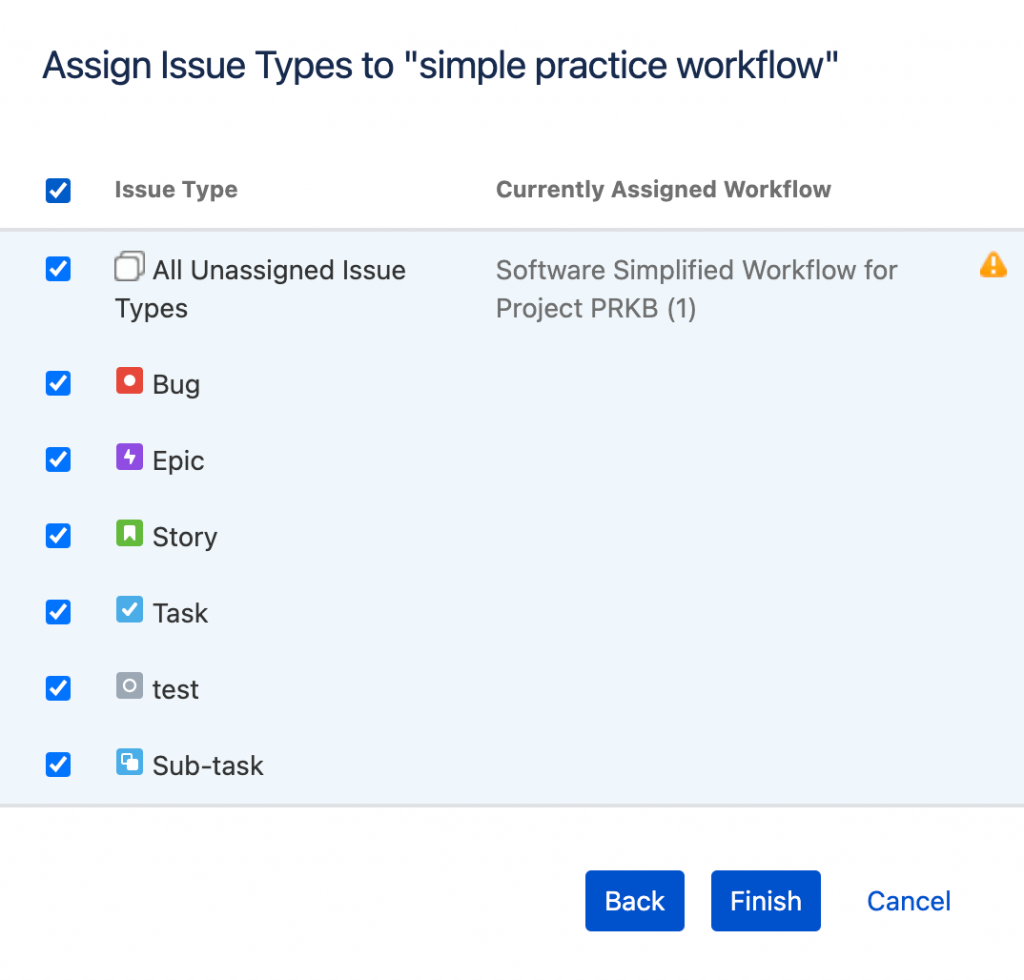
完成後點擊上方「Publish」按鈕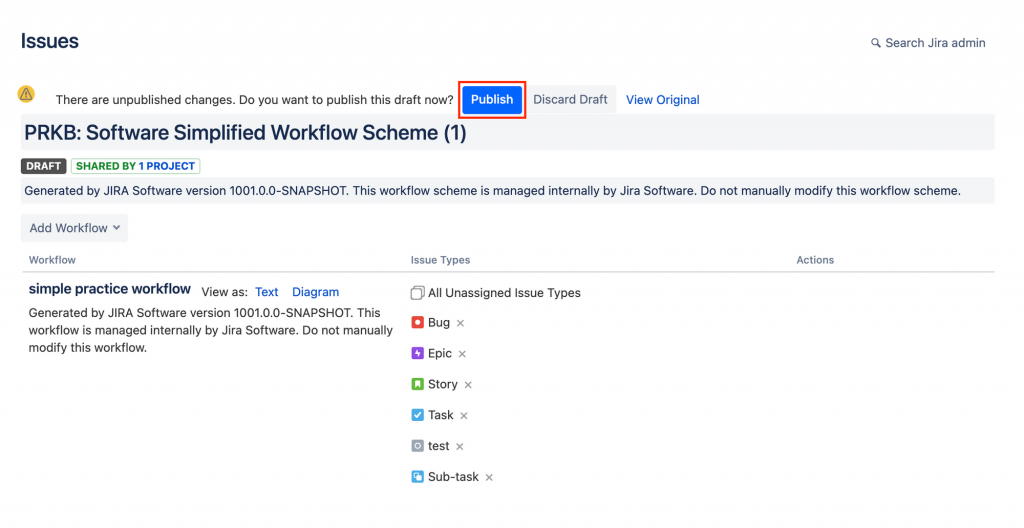
依照步驟點擊按鈕就完成囉,回到Kanban頁面,拖拉Issue你會發現它不能移動到其他的Column,只能移動到指定的Column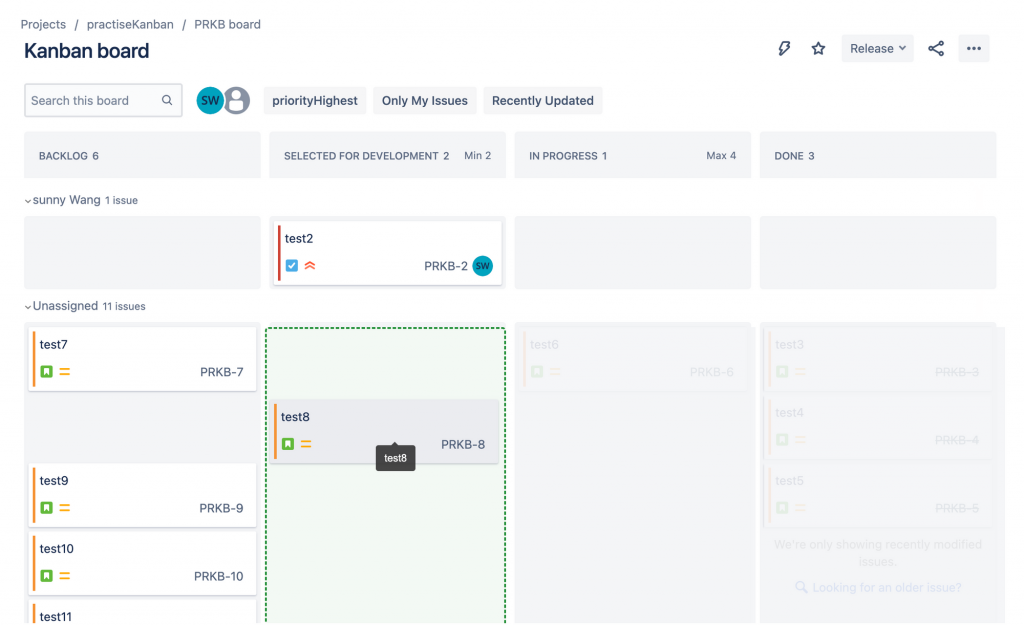
新增完Issue、Workflow後,接著就要針對Kanban視覺化做管理。
建立好的Issue預設都會在「Backlog」 Column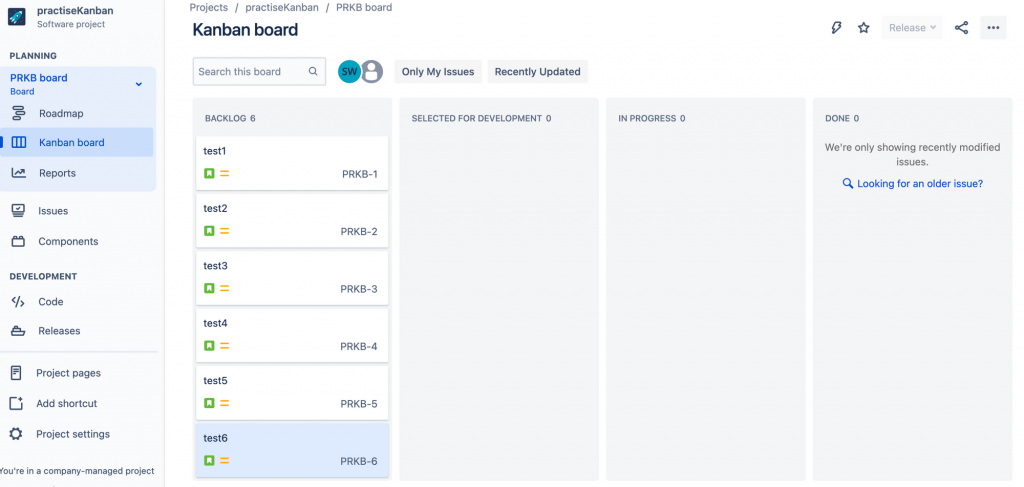
接著點擊右上(…) → 「Board settings」進入Board的設定
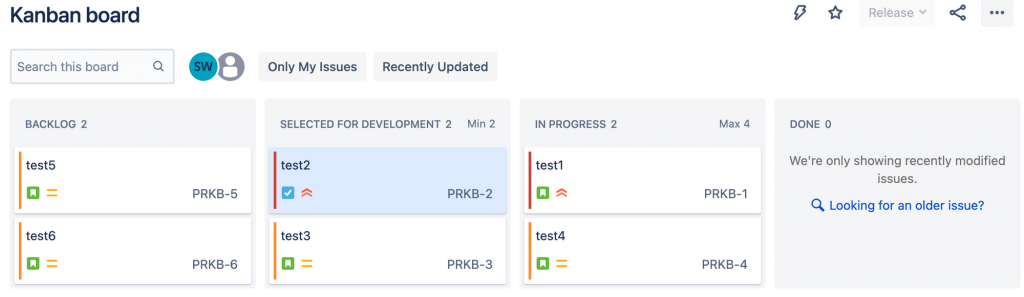
在Columns設置列表的issue數量設置,「In Progress」最大數量可以照團隊成員人數做限制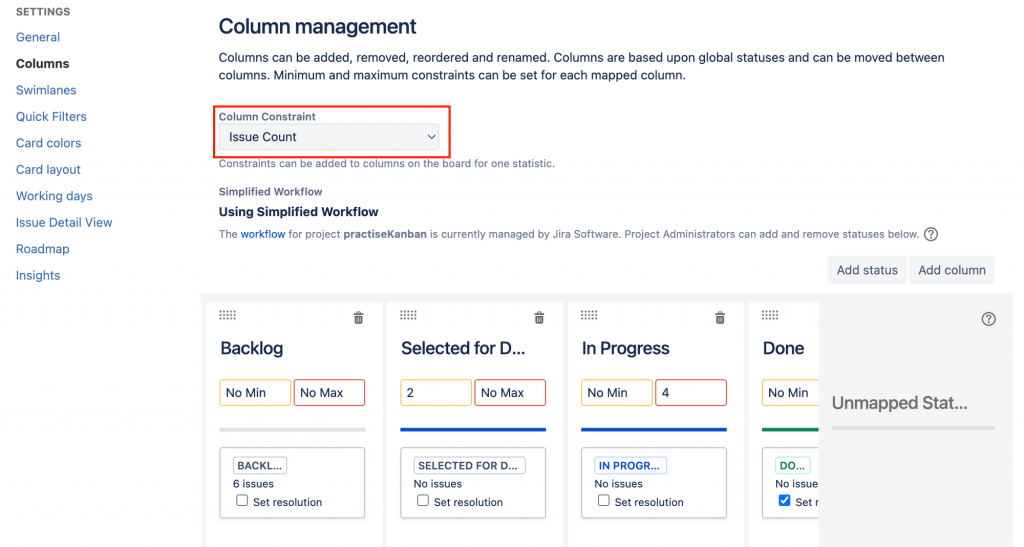
當少於或大於設定數量都會做色塊提示,就必須檢查Column狀態發生了什麼事情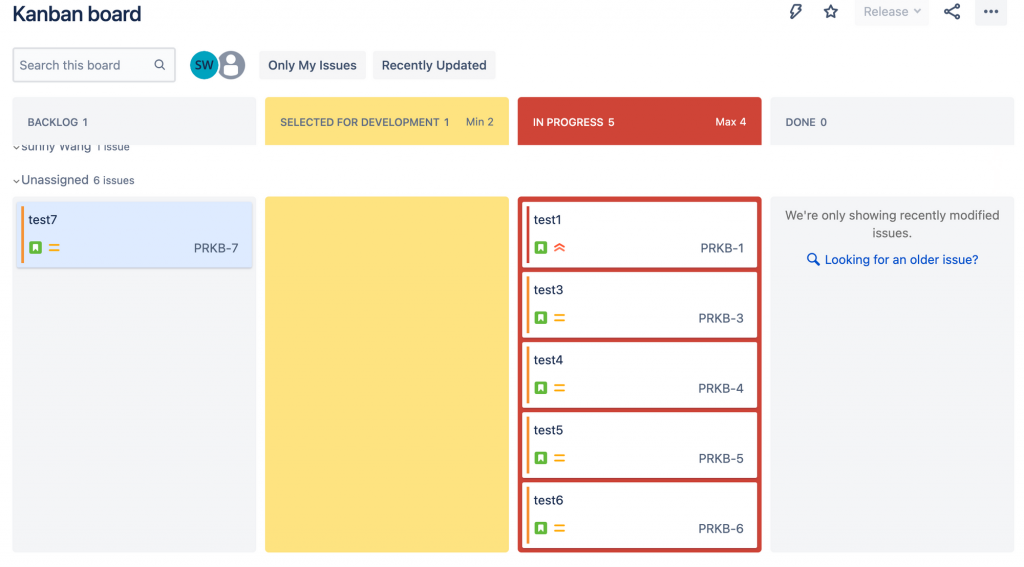
選擇「Assigness」做區塊分類,能讓每個人知道他有哪些工作項目
回到Kanban,會看到Assigness給sunny Wang的Swimlanes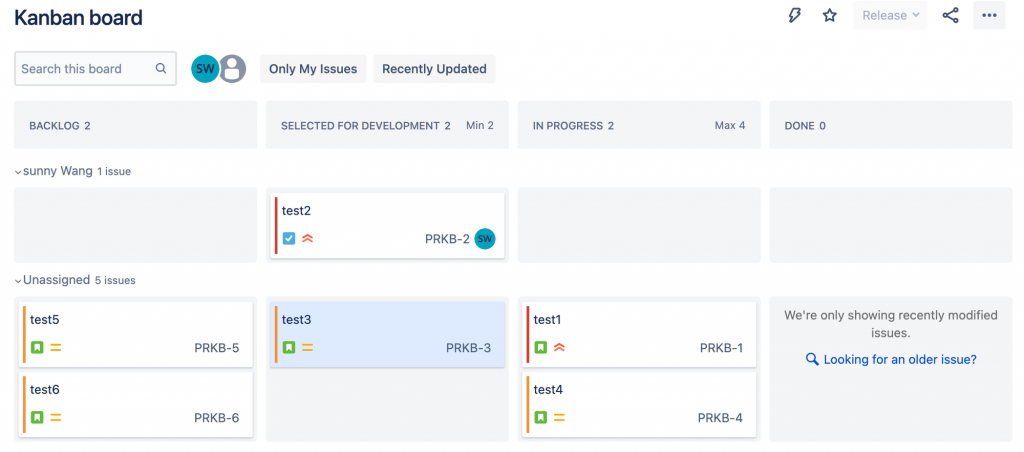
在搜尋條件加入「priorityHighest」條件,查看還有多少個重要問題在Board上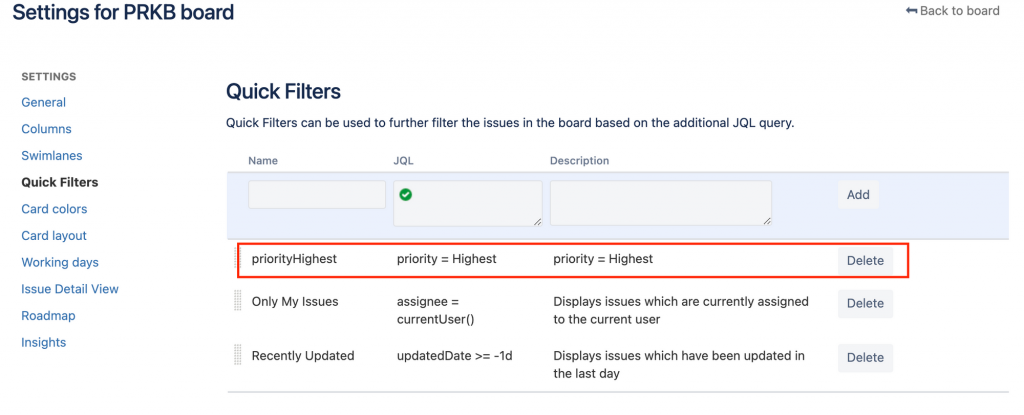
下圖範例中,搜尋結果為二個重要問題還在Board上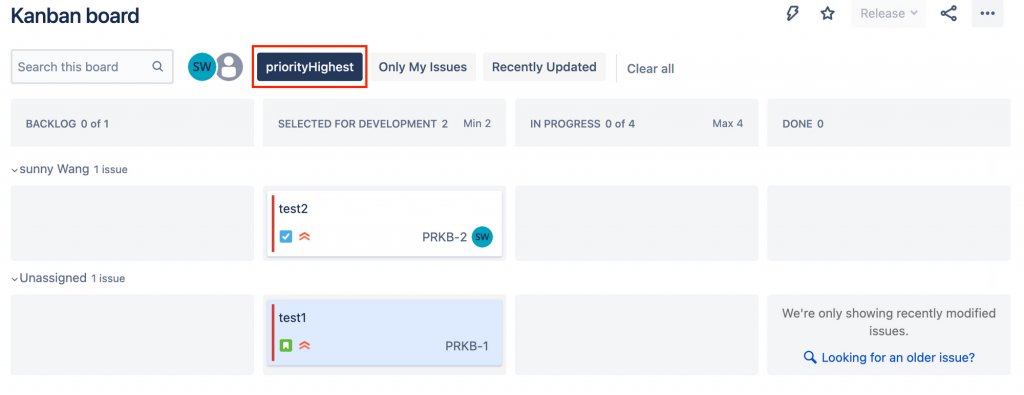
這邊選擇針對任務優先等級做卡片顏色顯示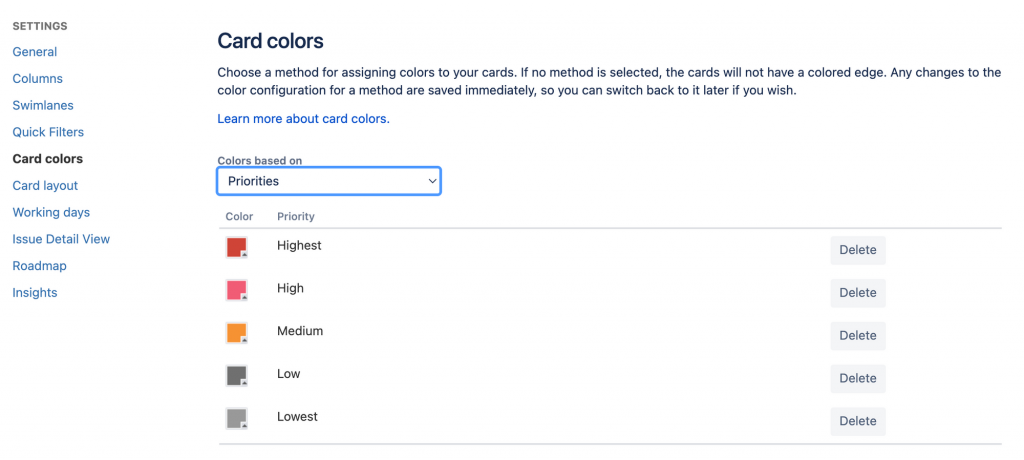
今天你學會了建立專案、Issue、自動化、Workflow及Kanban管理,在執行過程中不斷地改進調整,讓團隊的工作能夠更順暢。
相信你對Jira的基本建置有一定的熟悉,明天會實作與Github連結、Roadmap、Version、Report及這30天的總結,那我們明天見~