iT邦幫忙

2022 iThome 鐵人賽

DAY 25
0
IT管理

第一次使用Jira就上手系列 第 25

[Day25]Automation之Issue-第一次使用Jira就上手

  • 分享至 

  • xImage
  •  

昨天介紹了「當子任務全部完成時,父任務同步完成」後,是不是覺得自動化讓你省去重複性及手動的問題呢?
今天要再來跟你分享我自己覺得很好用的自動化,本文章中你將學會

  • 建立Issue的描述Template
  • 建立Issue自動Assign

建立Issue的描述Template

當你在建立issue時,裡面的描述可能有固定的範本,但每建立一個issue,就必須重複打上那些文字,這樣超級沒有效率的。
在Jira你可以用自動化解決這個困擾,以下就要來教你建立自動化
點擊左側選單「Project settings」選項 → 「Automation」 → 右上角「Create rule」按鈕
https://ithelp.ithome.com.tw/upload/images/20221007/20112053Ipc14e0Aq2.png
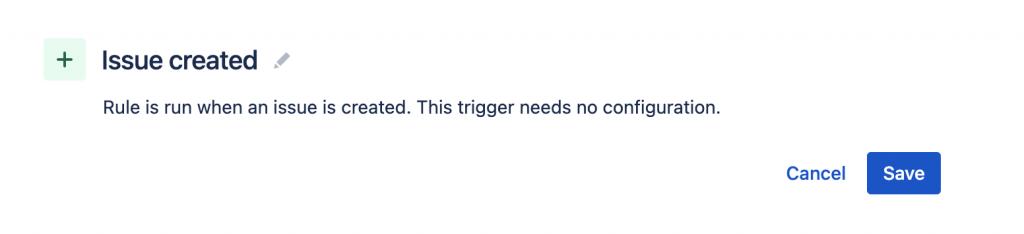
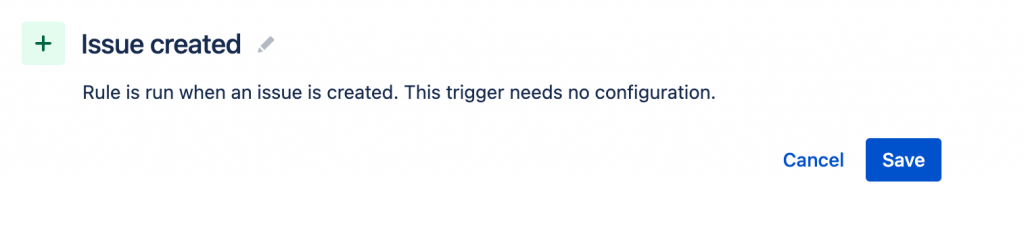
選擇「Issue created」→ 「Save」按鈕
https://ithelp.ithome.com.tw/upload/images/20221007/20112053dNdXDWVwa7.png
https://ithelp.ithome.com.tw/upload/images/20221007/20112053WDrHaSAu8s.png
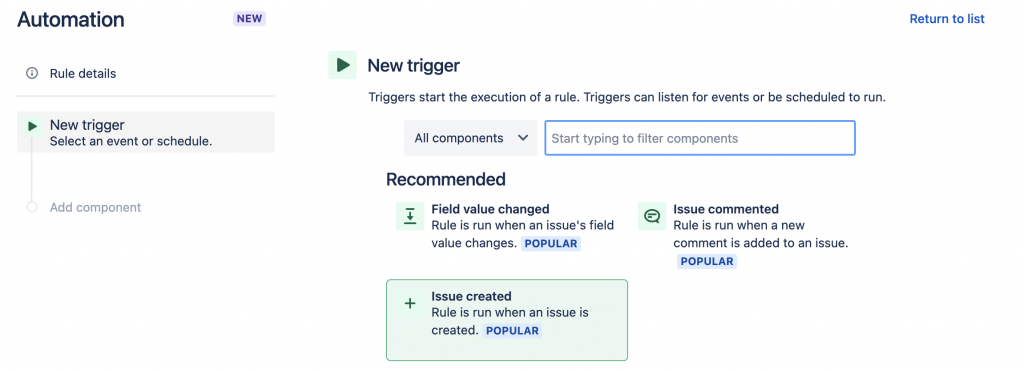
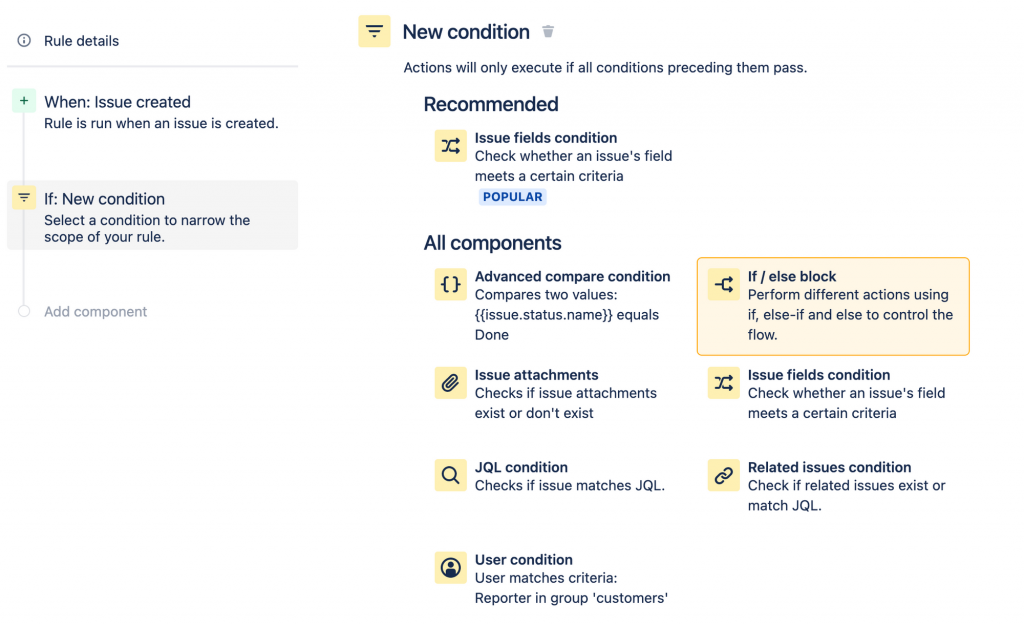
選擇「New condition」 → 點擊「Issue fields condition」選項
https://ithelp.ithome.com.tw/upload/images/20221007/20112053sD73hhIyJk.png
https://ithelp.ithome.com.tw/upload/images/20221007/20112053I6hrwHSQS3.png
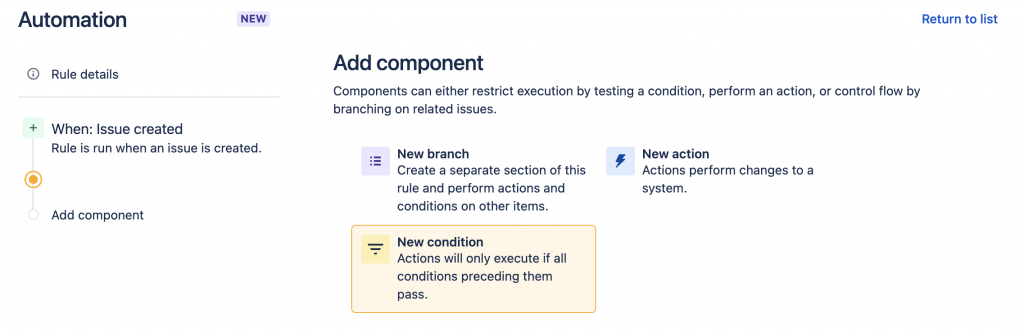
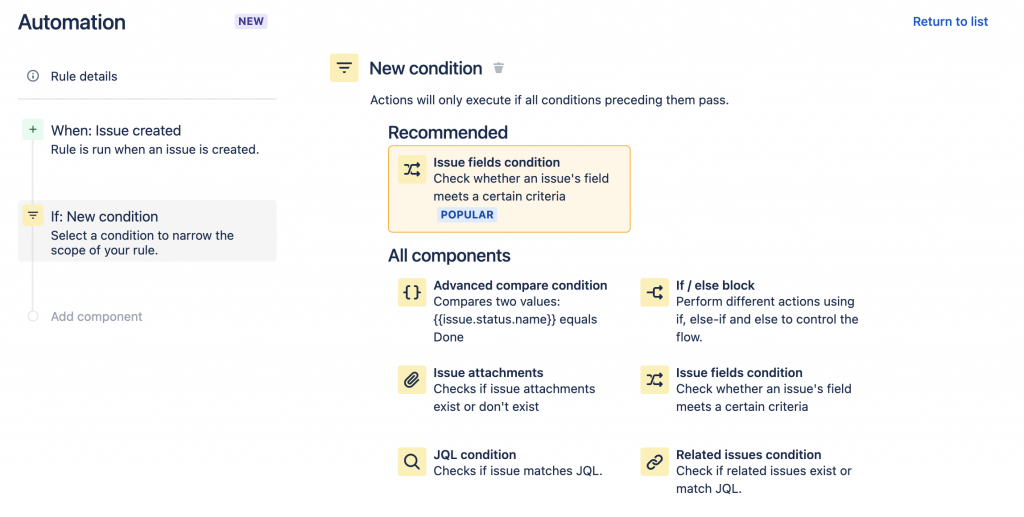
Field選擇「Issue type」等於「Story」
https://ithelp.ithome.com.tw/upload/images/20221007/20112053osHVgf3aSD.png
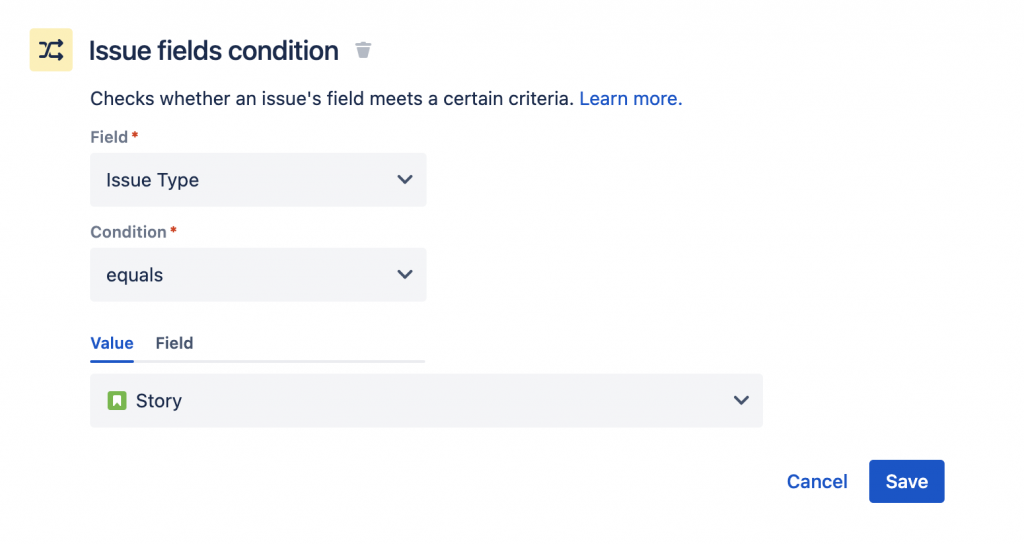
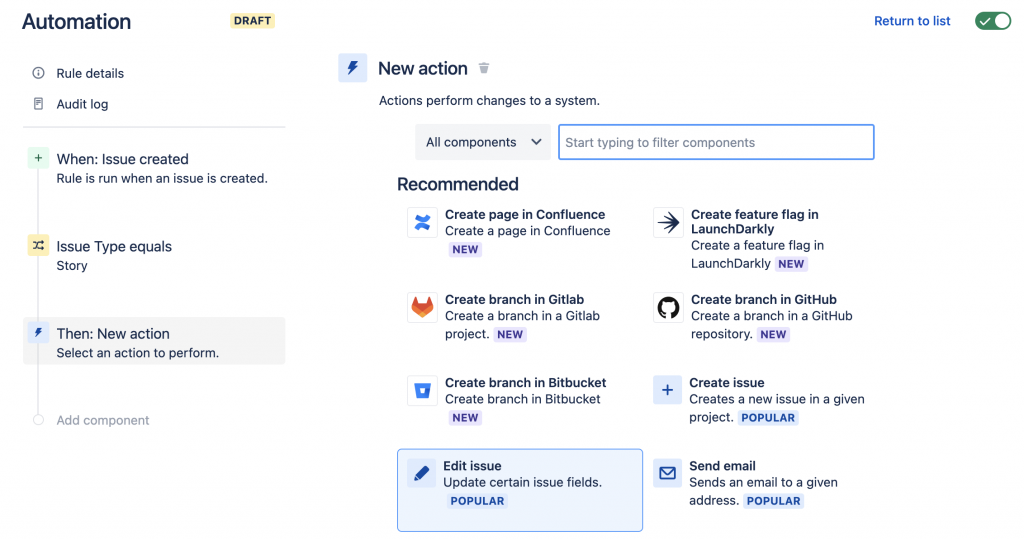
最後要執行這條件的動作,選擇「New action」→ 點擊「Edit issue」選項
https://ithelp.ithome.com.tw/upload/images/20221007/20112053W7YdVjHbM9.png
https://ithelp.ithome.com.tw/upload/images/20221007/20112053SMPh3YYU1A.png
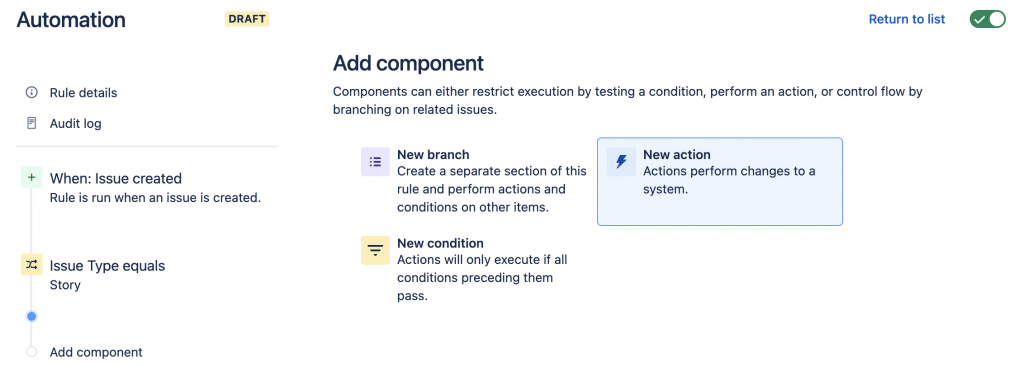
選擇「Description」選項,下方會顯示描述的輸入框
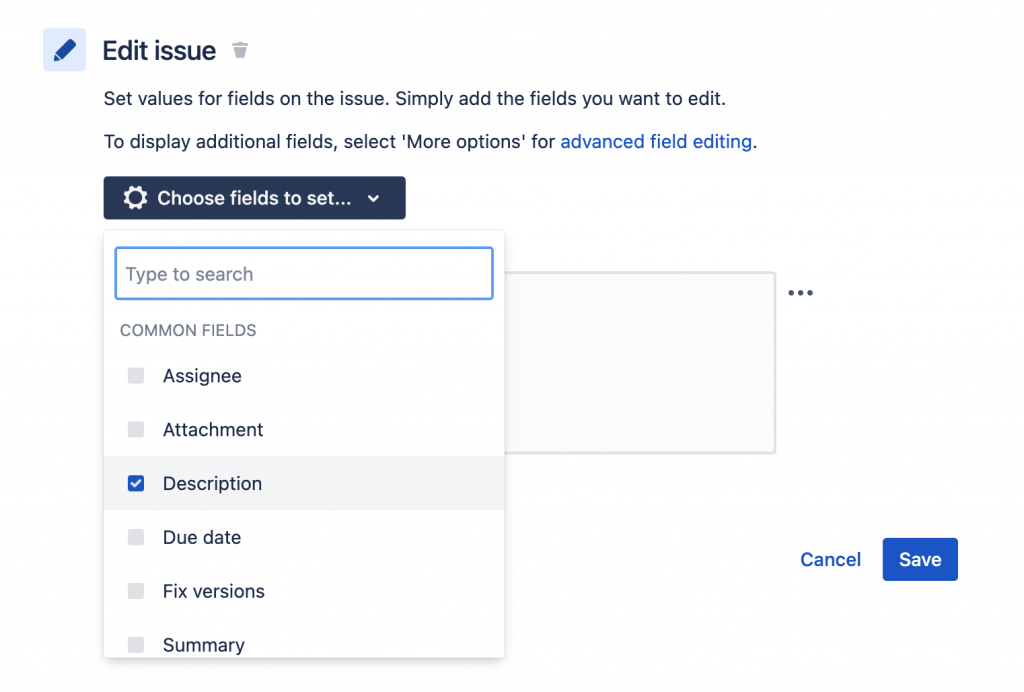
https://ithelp.ithome.com.tw/upload/images/20221007/20112053J8CLPfL5mZ.png
輸入下圖文字
https://ithelp.ithome.com.tw/upload/images/20221007/20112053aNu5ucOIgE.png
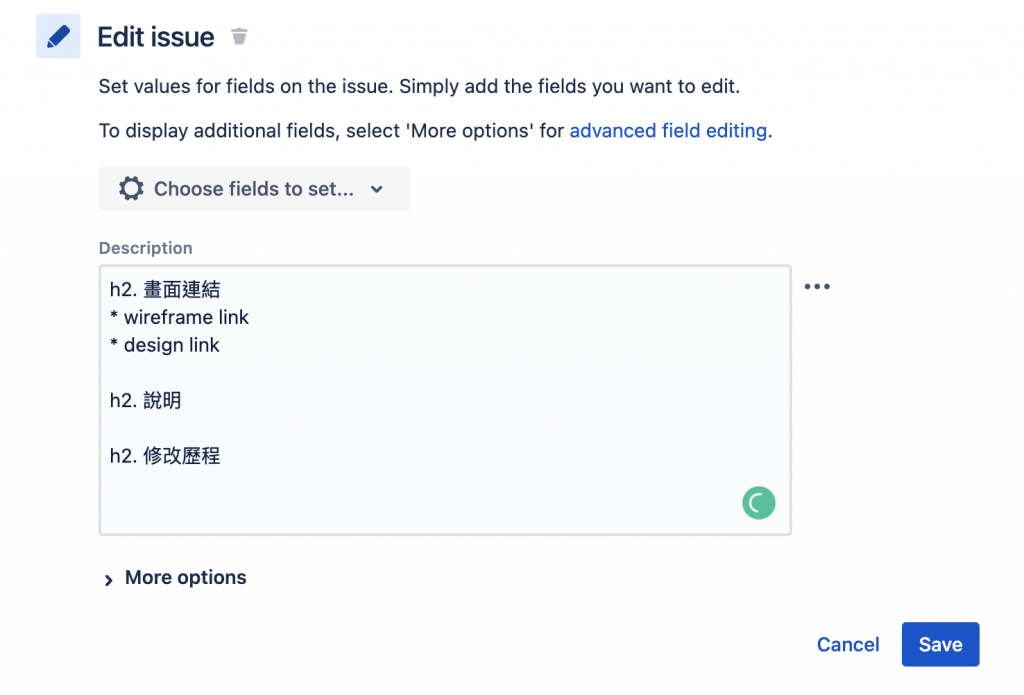
在Automation description建立Issue template的markdown的寫法

h2. 畫面
h2. 說明

markdown撰寫方式可以參考這個網址
完成後輸入條件名稱「issue描述template」→ 點擊「Turn it on」按鈕
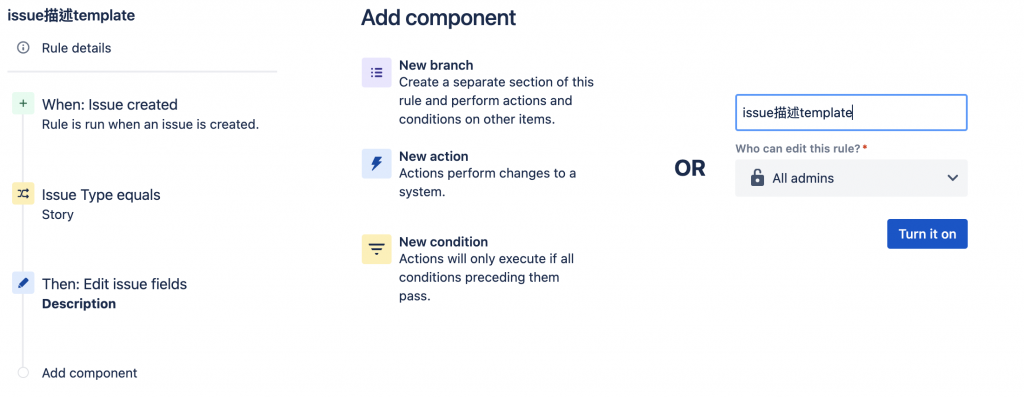
https://ithelp.ithome.com.tw/upload/images/20221007/20112053SNfw1jMdpk.png
在列表可以看到剛建立好的描述
https://ithelp.ithome.com.tw/upload/images/20221007/20112053JCa7AIuZ4k.png
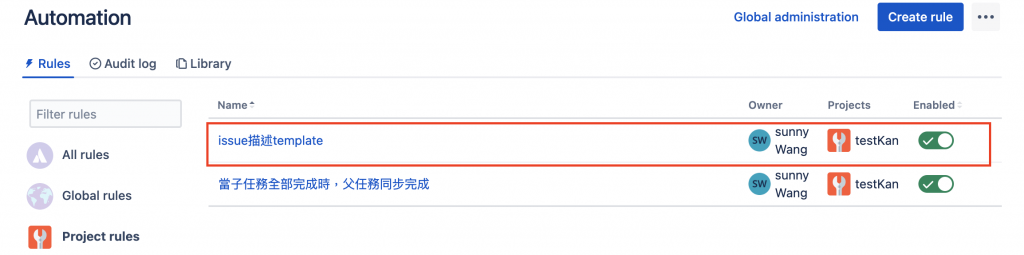
接著在新增完Issue後,點擊剛建立的Issue,在描述的地方紅框為你剛剛建立自動化的描述範本;籃框為test這Issue的描述內容
https://ithelp.ithome.com.tw/upload/images/20221007/20112053LVyZfVfroQ.png

建立Issue自動Assign

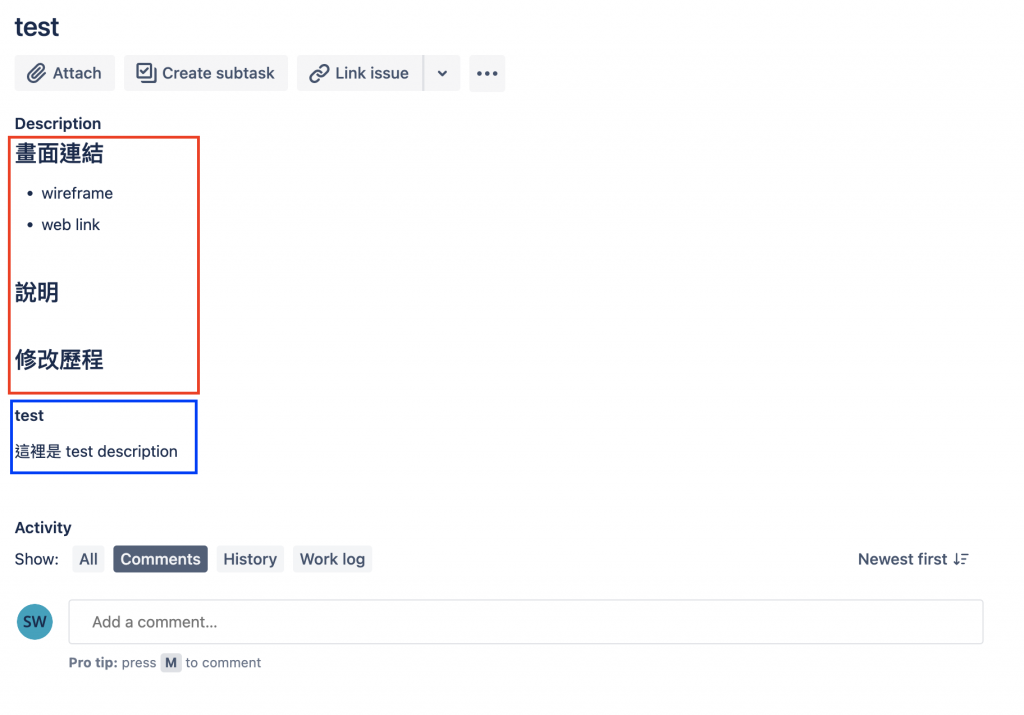
Step1. 點擊左側選單「Project settings」選項 → 「Automation」 → 右上角「Create rule」按鈕
https://ithelp.ithome.com.tw/upload/images/20221008/20112053oGigMBNbCm.png
Step2. 選擇「Issue created」 → 點擊「Save」按鈕
https://ithelp.ithome.com.tw/upload/images/20221008/2011205394imwkboG6.png
https://ithelp.ithome.com.tw/upload/images/20221008/20112053sKRyshHOsB.png
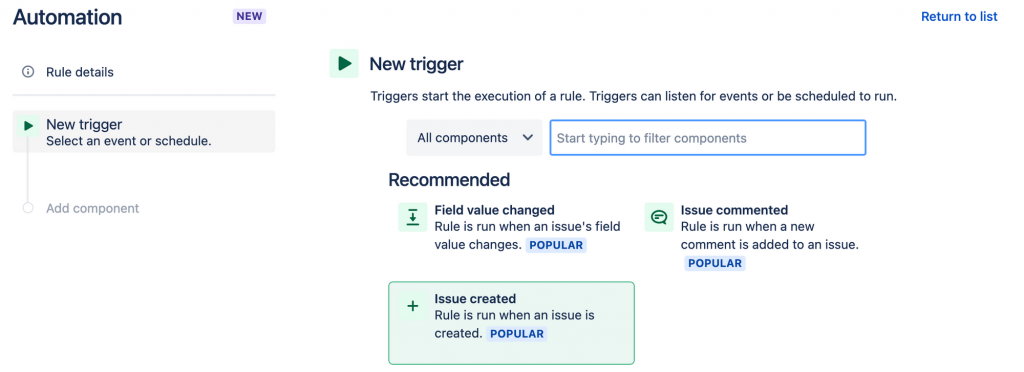
Step3. 選擇「New condition」→ 點擊「If / else block」選項
https://ithelp.ithome.com.tw/upload/images/20221008/20112053Hcs95G438i.png
https://ithelp.ithome.com.tw/upload/images/20221008/20112053OVgELbCwRG.png
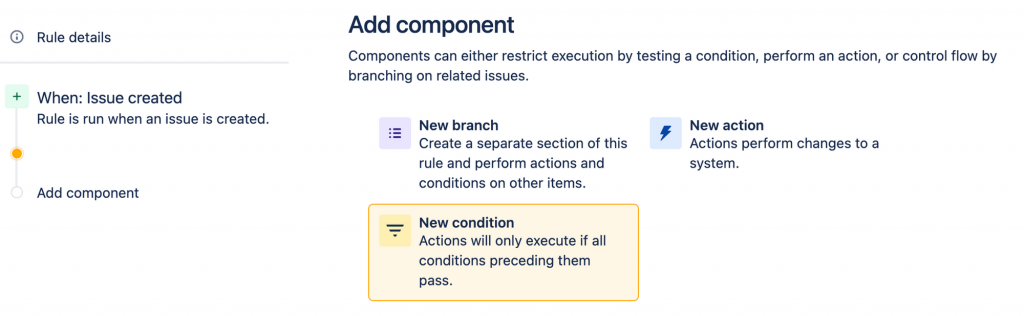
Step4. 在If區塊可以再新增一個條件,點擊「Add conditions」
https://ithelp.ithome.com.tw/upload/images/20221008/20112053oK1bK36t3U.png
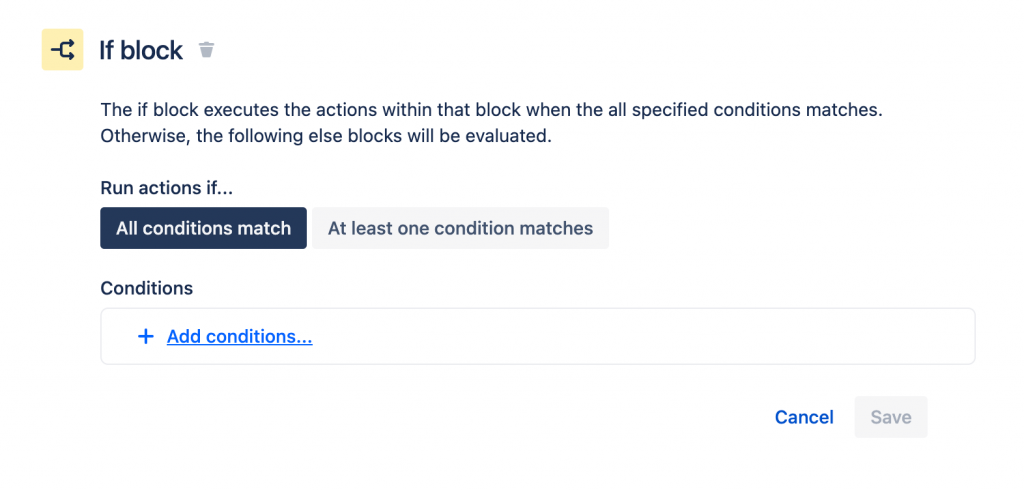
Step5. 選擇「Issue fields condition」
https://ithelp.ithome.com.tw/upload/images/20221008/20112053Hc618l0A3a.png
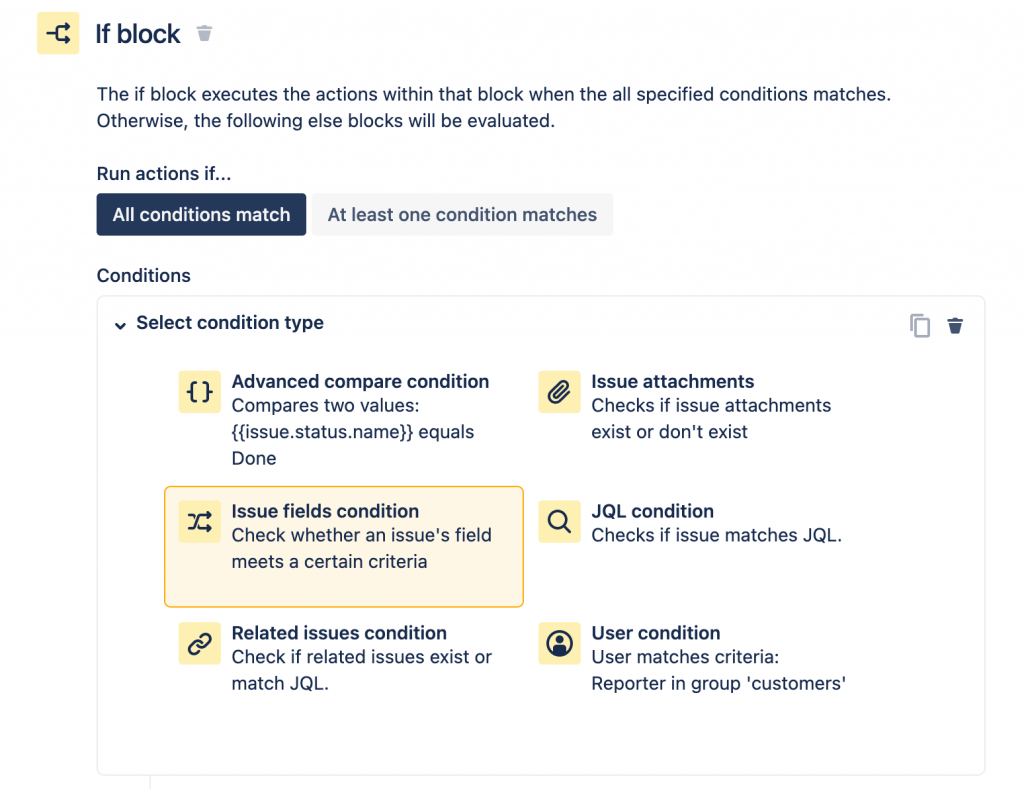
Step6. 檢查issue type是否等於task
https://ithelp.ithome.com.tw/upload/images/20221008/20112053jwJM8hlY9z.png
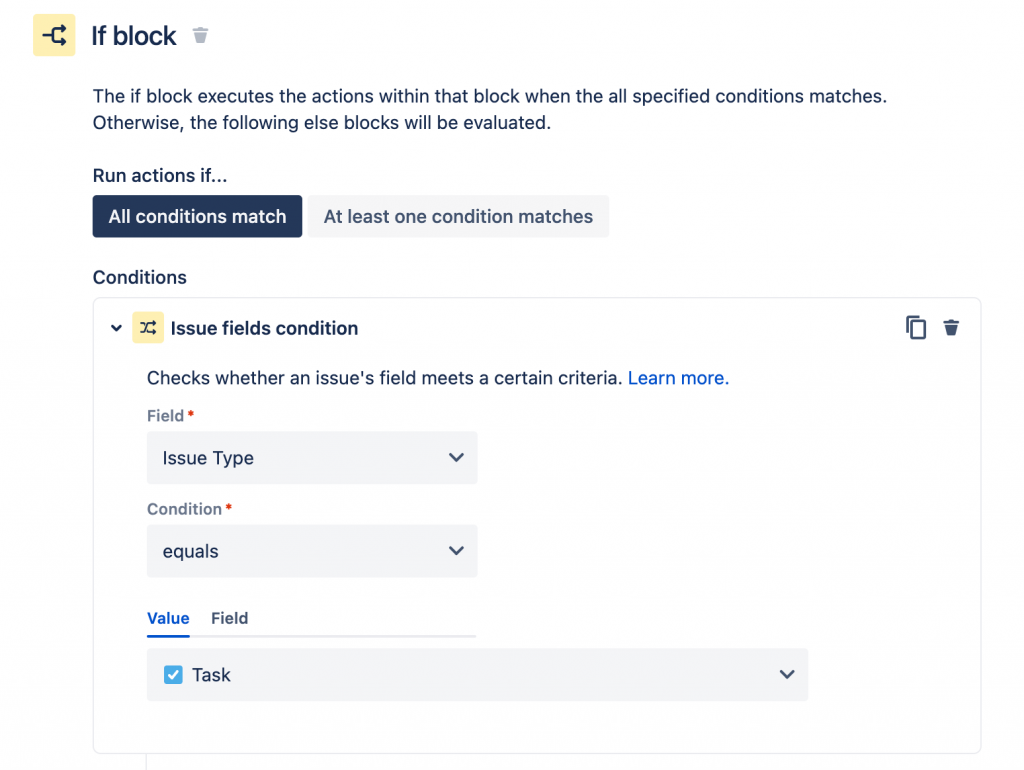
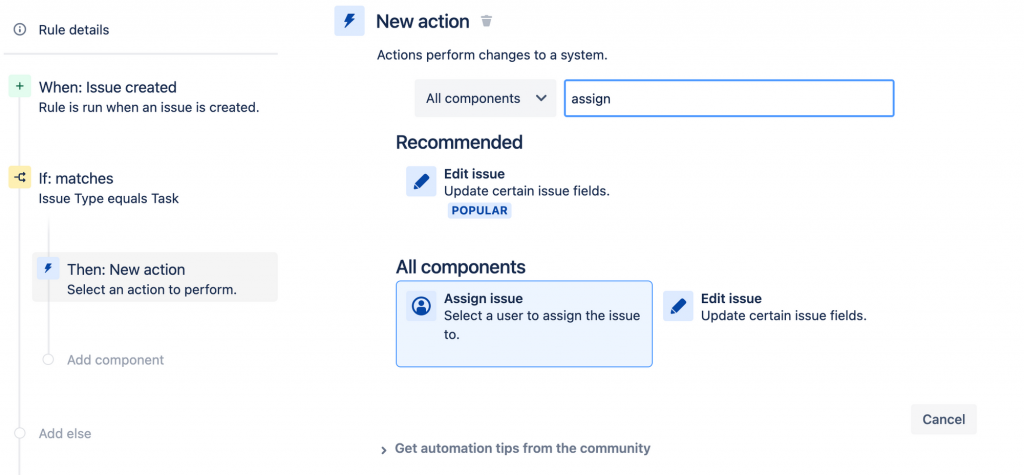
Step7. 再來執行這條件動作,選擇「New action」→ 點擊「Assign issue」選項
https://ithelp.ithome.com.tw/upload/images/20221008/201120531N1vJU8zyS.png
https://ithelp.ithome.com.tw/upload/images/20221008/20112053cQpmHmlLDG.png
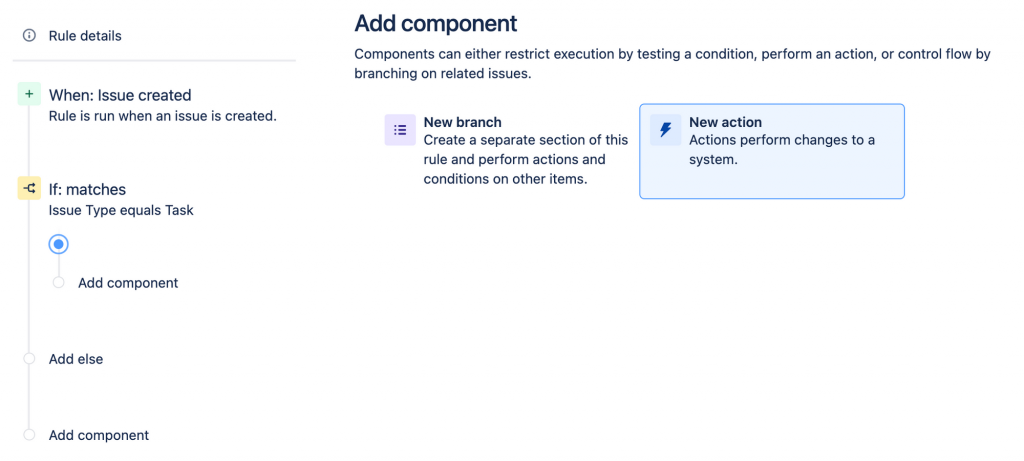
Step8. 如果他的issue type是task,就將此任務分配給特定人員,這裡選擇「sunny Wang」
https://ithelp.ithome.com.tw/upload/images/20221008/20112053td1rC4LB2H.png
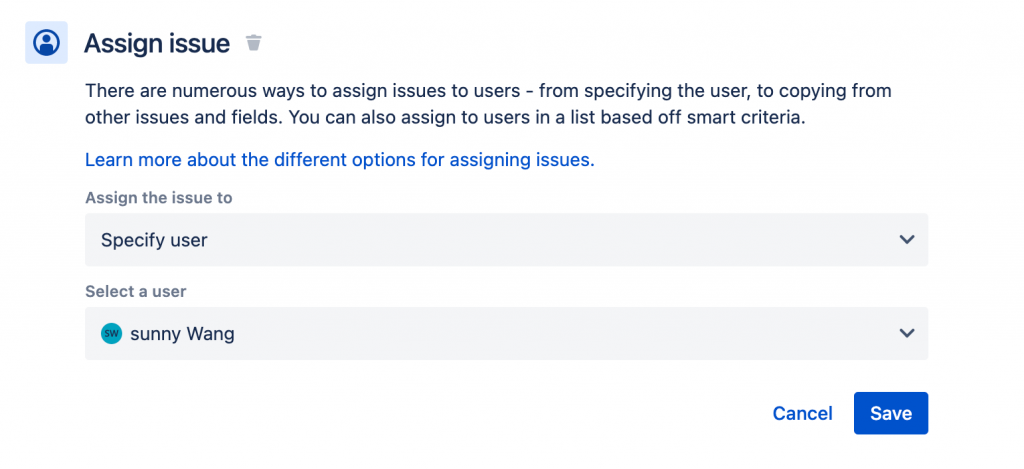
Step9. 新增完一個條件後,如果還有其他條件,你可以點擊「Else」按鈕,就會再次新增條件
https://ithelp.ithome.com.tw/upload/images/20221008/20112053MJwrp1X9Op.png
Step10. 與上面新增If時的步驟相同按照
https://ithelp.ithome.com.tw/upload/images/20221008/20112053BvRMoiDkTf.png
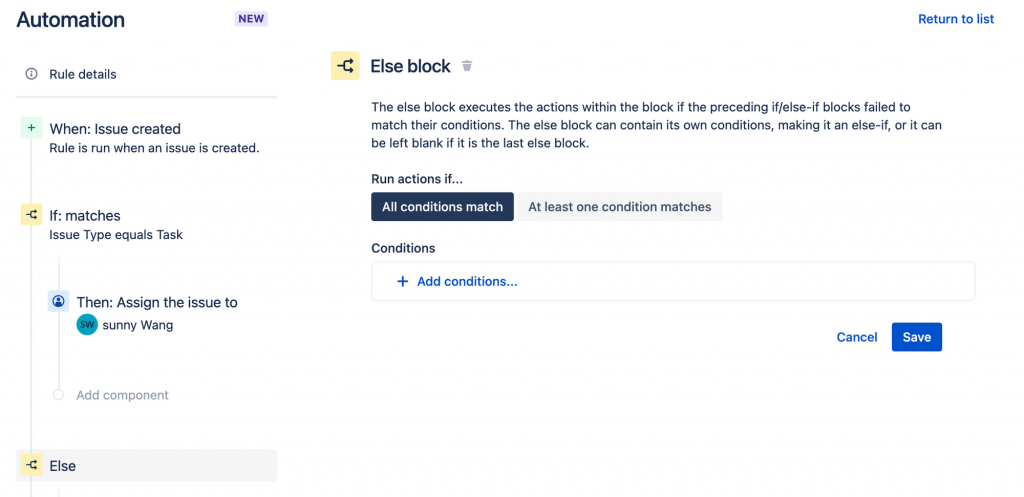
最後再次點擊「Else」,步驟與上方Step4-6
https://ithelp.ithome.com.tw/upload/images/20221008/20112053HHEZQW2wqn.png
https://ithelp.ithome.com.tw/upload/images/20221008/20112053cJxgetzibq.png
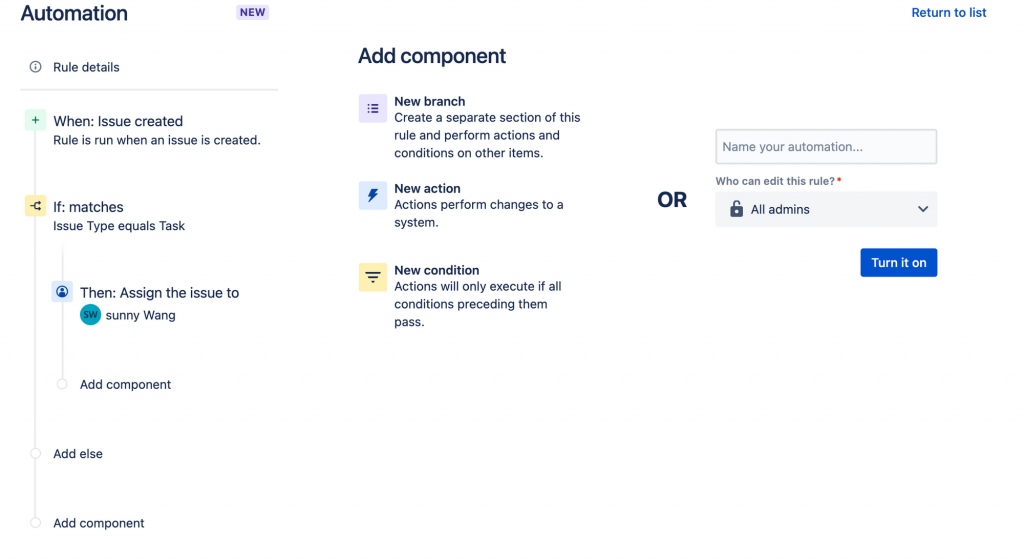
Step11. 這邊檢查issue type是否等於Bug
https://ithelp.ithome.com.tw/upload/images/20221008/20112053KGpDdJFBMb.png
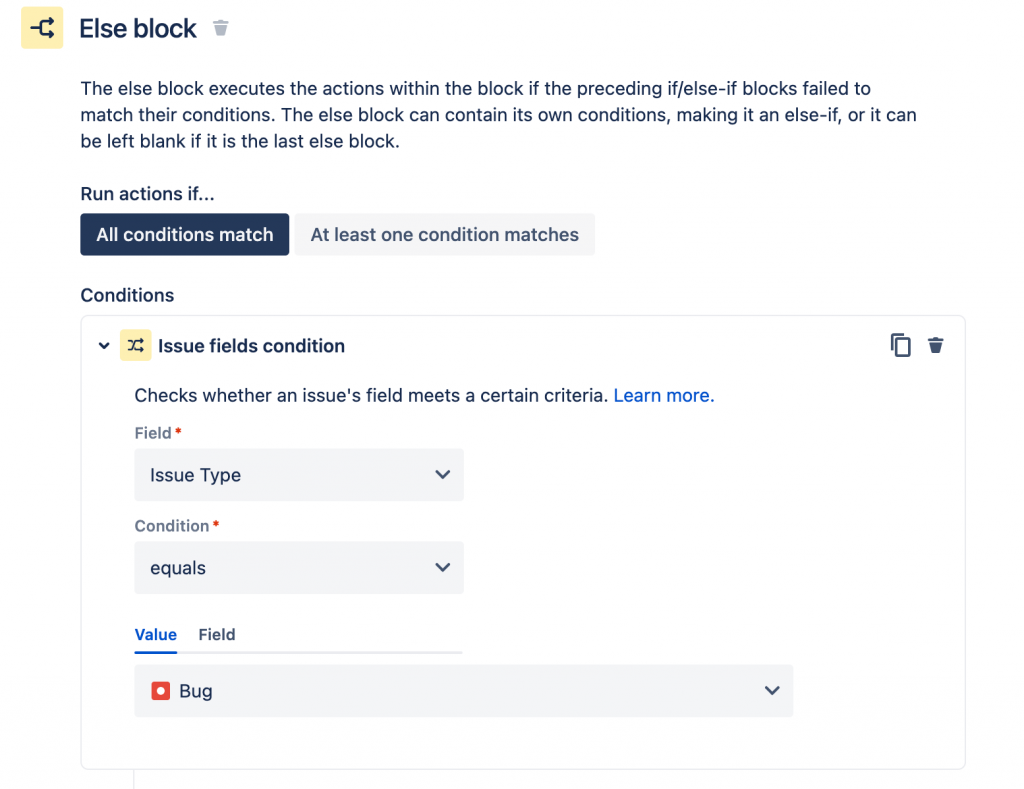
Step12. 接著在執行上方Step7-9,如果Issue type等於Bug,就分配給指定人員處裡
Step13. 最後點擊「Else」 → 「Add component」
https://ithelp.ithome.com.tw/upload/images/20221008/20112053S1nPoeIZkX.png
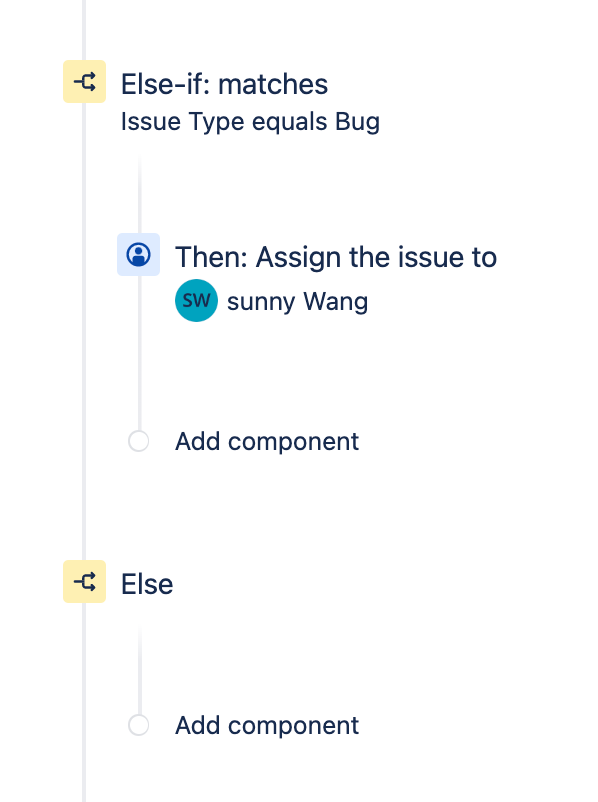
Step14. 選擇「New action」→ 點擊「Assign issue」
https://ithelp.ithome.com.tw/upload/images/20221008/20112053e1vKXz8M0O.png
https://ithelp.ithome.com.tw/upload/images/20221008/20112053Sd2dlTwCmn.png
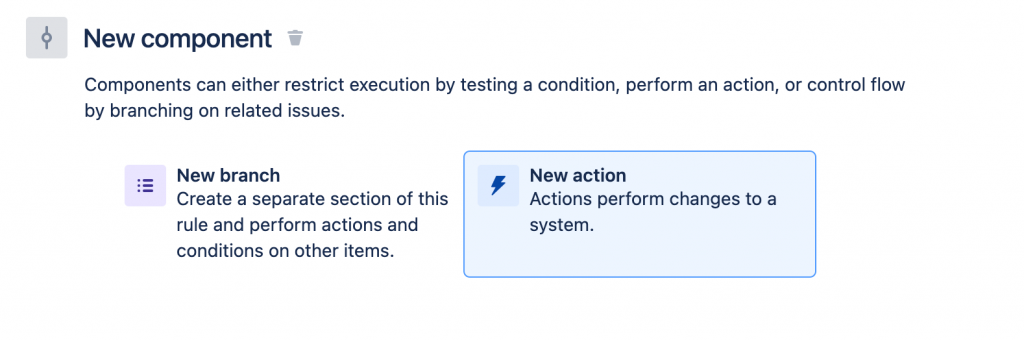
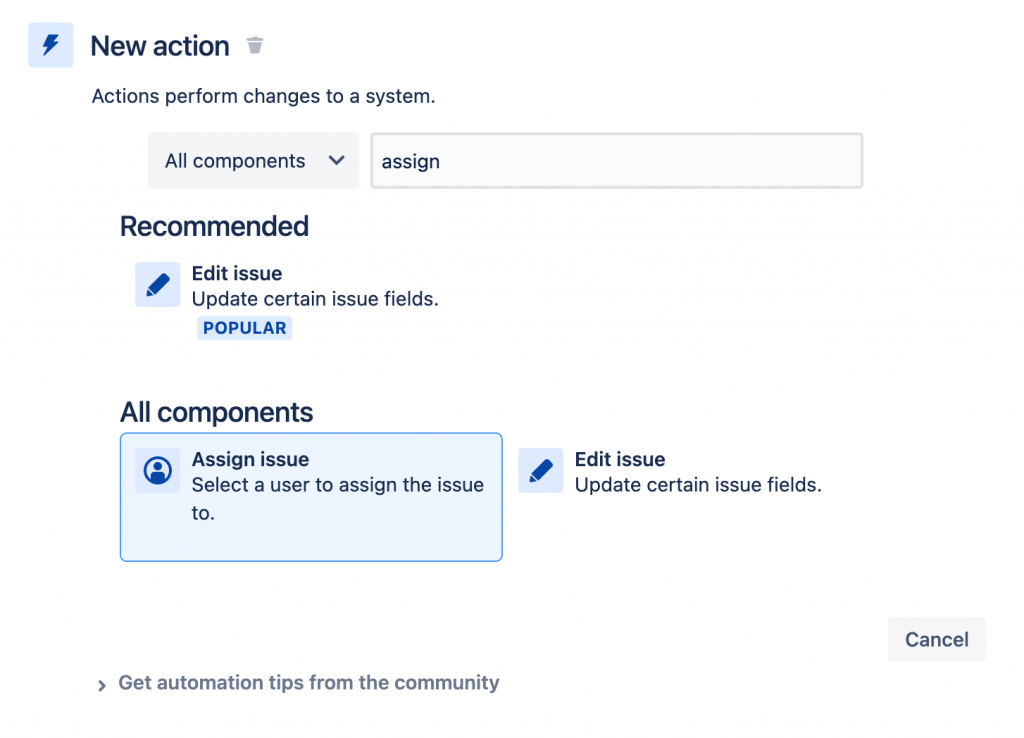
Step15. 選擇「A user in a defined list」,User list你可以指定給很多人,這意味著當建立屬於這類型的問題,就會看有幾個問題數量,平均分配給指定到的人,這樣能夠平衡大家的工作量,點擊「Save」按鈕
https://ithelp.ithome.com.tw/upload/images/20221008/20112053MybJsvDKZg.png
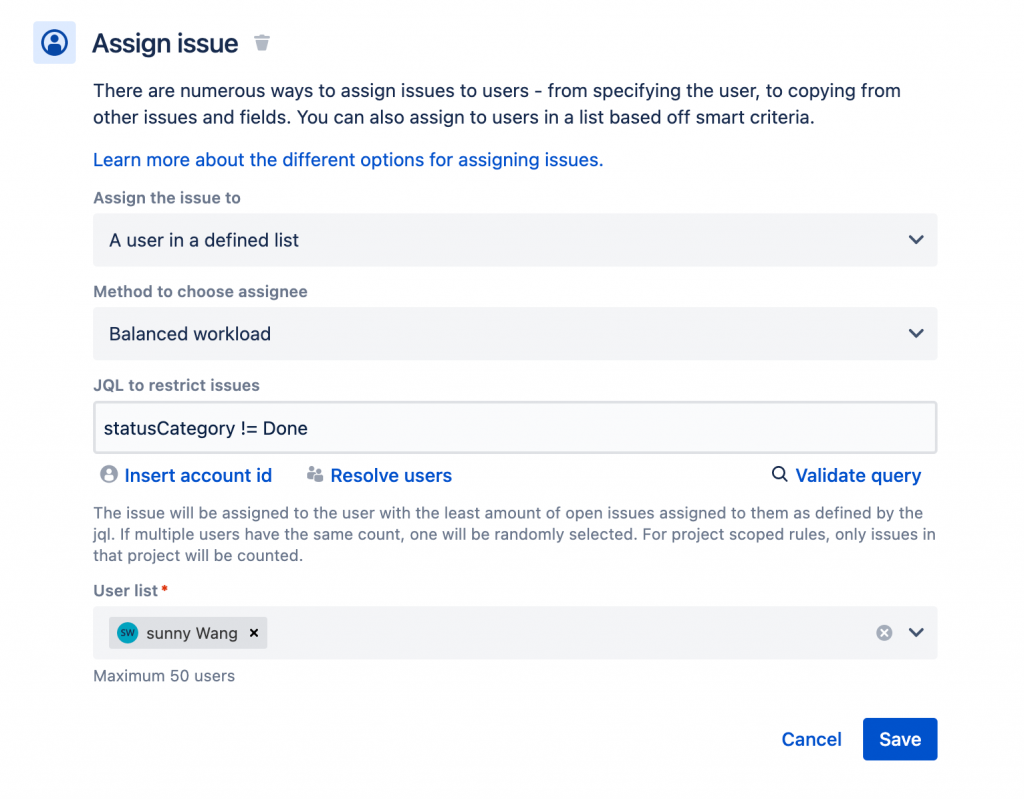
Step16. 輸入條件名稱為「自動Assign」,完成後回到列表,就會看到剛建立的自動化
https://ithelp.ithome.com.tw/upload/images/20221008/20112053efpdx69j9n.png
https://ithelp.ithome.com.tw/upload/images/20221008/20112053X4DUoLzkuM.png
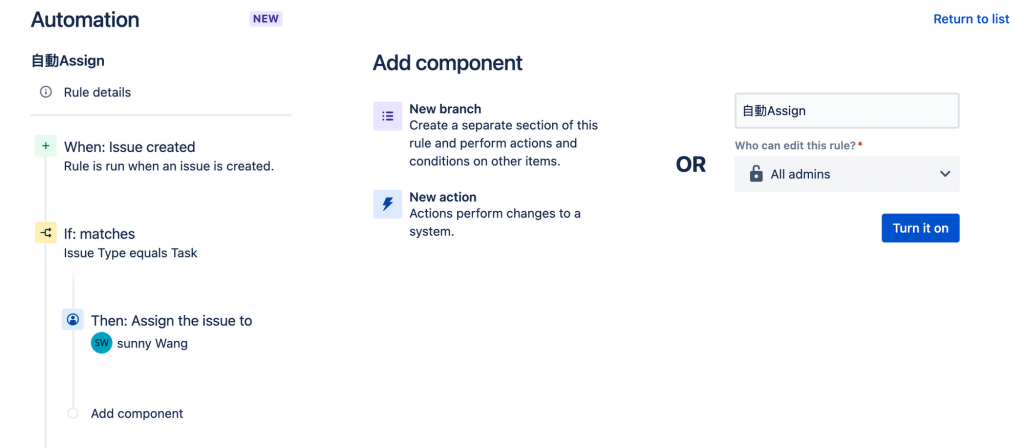
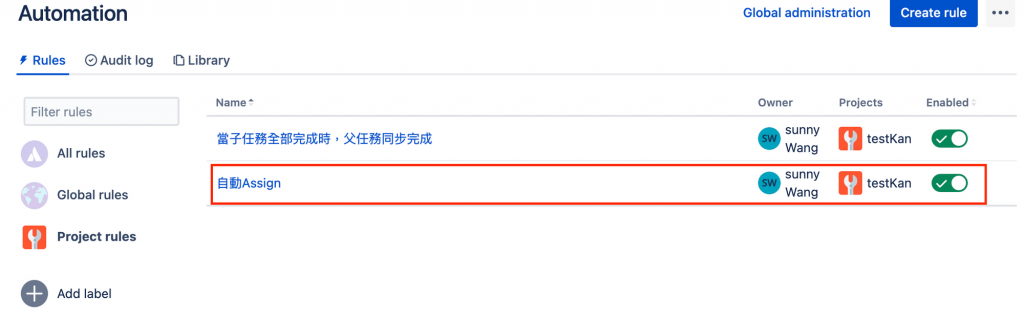
接著新增完Issue後,你會看到剛剛設定好自動化的條件,Issue type為story及bug就會自動分配給sunny Wang
https://ithelp.ithome.com.tw/upload/images/20221008/20112053AzmkSnFpR9.png

今天你也學會了關於Issue自動化,相信你對自動化也有所了解,想知道更多關於自動化流程設定,可以到Jira automation template library查看。

參考資料:
https://www.youtube.com/watch?v=2VlNFnEhkB8


上一篇
[Day24]Automation之「子任務全部完成,父任務同步完成」-第一次使用Jira就上手
下一篇
[Day26]Apps外掛-第一次使用Jira就上手
系列文
第一次使用Jira就上手30
圖片
  直播研討會
圖片
{{ item.channelVendor }} {{ item.webinarstarted }} |
{{ formatDate(item.duration) }}
直播中

尚未有邦友留言

立即登入留言