今天試著確認 Notifee 的 Trigger 通知 API 是否可行。
讓我們把官方的範例稍微修改一下,建立名為 onCreateTriggerNotification 的 function:
async function onCreateTriggerNotification() {
  const date = new Date(Date.now());
  // show notification 7 seconds later
  date.setSeconds(date.getSeconds() + 7);

  const trigger: TimestampTrigger = {
    type: TriggerType.TIMESTAMP,
    timestamp: date.getTime(),
  };

  const channelId = await notifee.createChannel({
    id: 'default',
    name: 'Default Channel',
  });

  // Create a trigger notification
  await notifee.createTriggerNotification(
    {
      title: 'Test',
      body: `test body ${date.toISOString()}`,
      android: {
        channelId,
        pressAction: {
          id: 'default',
        },
      },
    },
    trigger,
  );
}
以上的寫法會讓我們七秒鐘後顯示通知,待確認可行後,我們會傳一個時間的參數進來客製化。
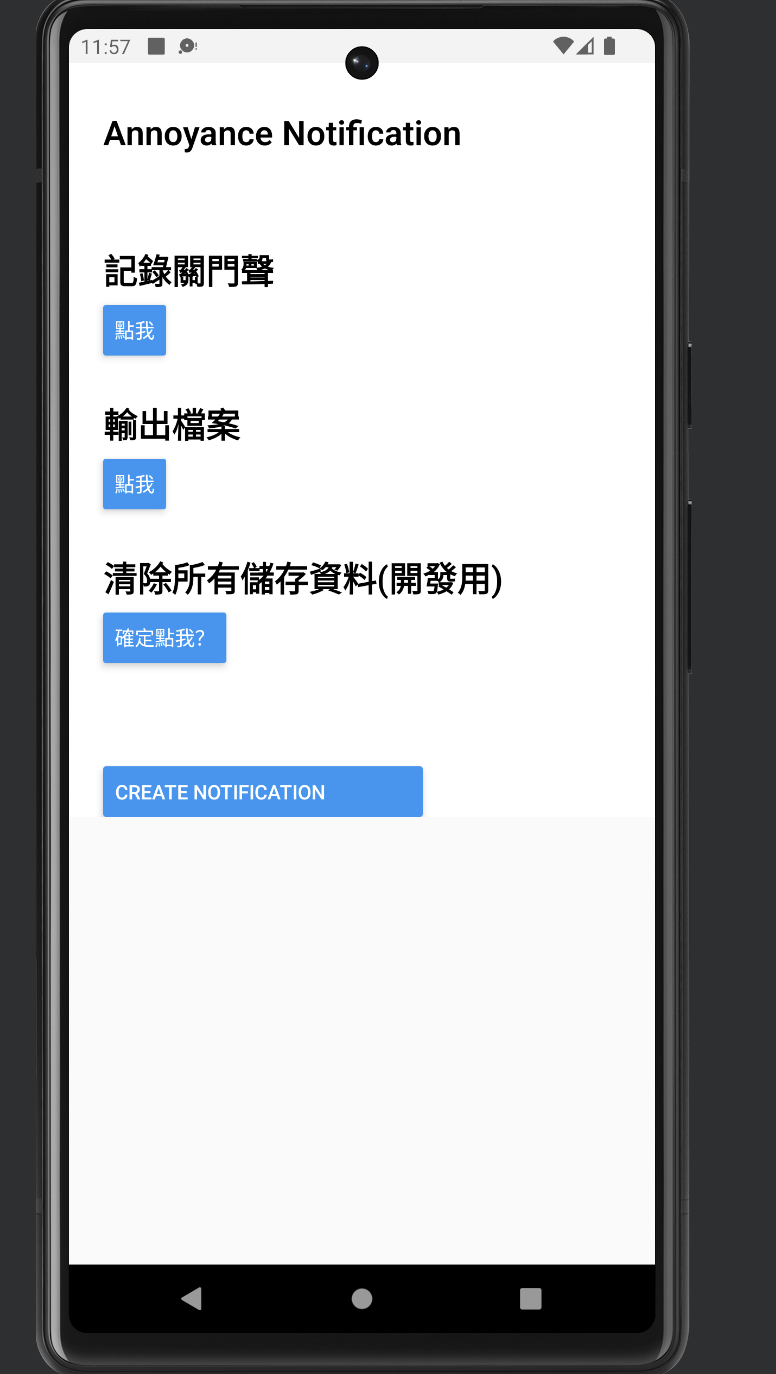
接著將 UI 的第四個按鈕換成執行這個 function:
<Section>
    <Button
      title="Create Notification"
      onPress={() => onCreateTriggerNotification()}
    />
</Section>
UI 畫面:
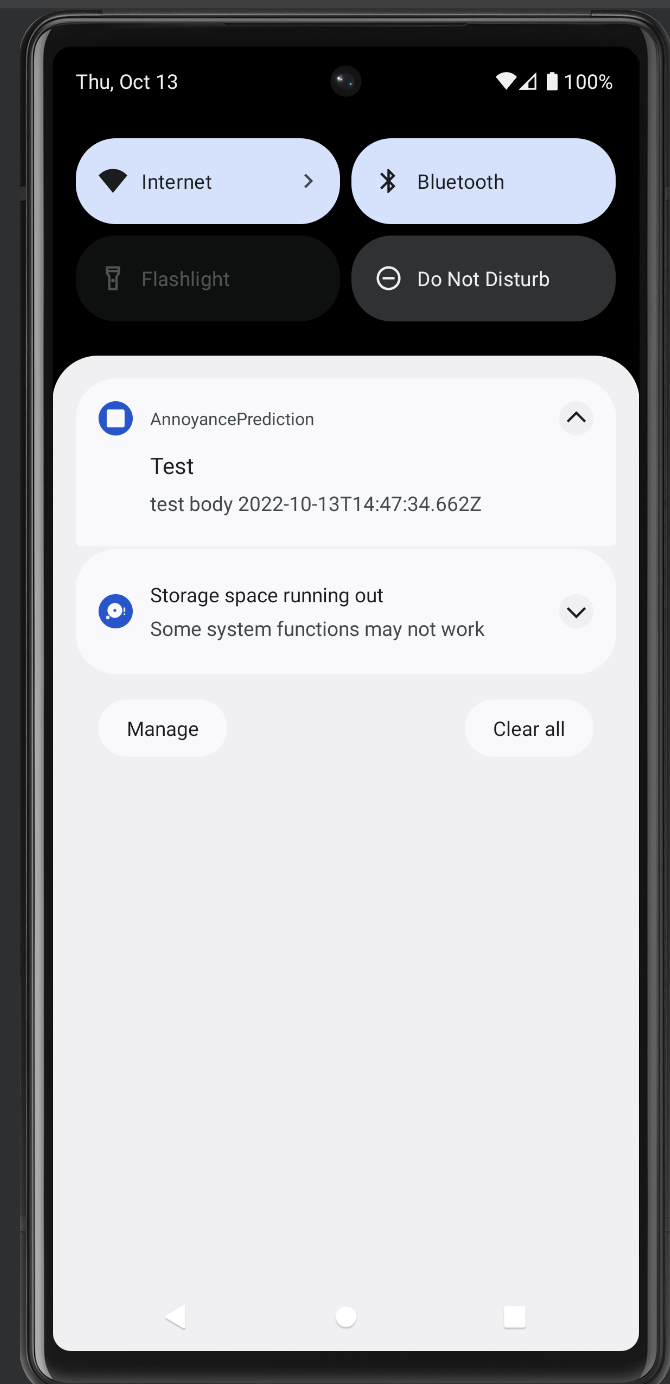
點下去七秒之後:
我們決定採用這個方法來實作,暫時擱置 background-timer 的做法。
然而,前述方法必須是我們的 app 還在運行沒有被 kill 的情況下才能做到。筆者找到 Notifee 官方對於背景限制的描述:
https://notifee.app/react-native/docs/android/background-restrictions#battery-optimization
分別有兩種可能的限制需要處理:
isBatteryOptimizationEnabled
powerManagerInfo
如果偵測手機到有以上系統限制,我們讓使用者可以選擇在設定中關閉。
筆者將以上二者官方的範例,實作在同一個 function 中:
import notifee from '@notifee/react-native';
import {Alert} from 'react-native';

async function checkAndroidBackgroundRestrictions() {
  // 1. checks if battery optimization is enabled
  const batteryOptimizationEnabled =
    await notifee.isBatteryOptimizationEnabled();
  if (batteryOptimizationEnabled) {
    // 2. ask your users to disable the feature
    Alert.alert(
      'Restrictions Detected',
      'To ensure notifications are delivered, please disable battery optimization for the app.',
      [
        // 3. launch intent to navigate the user to the appropriate screen
        {
          text: 'OK, open settings',
          onPress: async () => await notifee.openBatteryOptimizationSettings(),
        },
        {
          text: 'Cancel',
          onPress: () => console.log('Cancel Pressed'),
          style: 'cancel',
        },
      ],
      {cancelable: false},
    );
  }

  // 1. get info on the device and the Power Manager settings
  const powerManagerInfo = await notifee.getPowerManagerInfo();
  if (powerManagerInfo.activity) {
    // 2. ask your users to adjust their settings
    Alert.alert(
      'Restrictions Detected',
      'To ensure notifications are delivered, please adjust your settings to prevent the app from being killed',
      [
        // 3. launch intent to navigate the user to the appropriate screen
        {
          text: 'OK, open settings',
          onPress: async () => await notifee.openPowerManagerSettings(),
        },
        {
          text: 'Cancel',
          onPress: () => console.log('Cancel Pressed'),
          style: 'cancel',
        },
      ],
      {cancelable: false},
    );
  }
}
讓我們在 useEffect 加入這段,App 一啟動就檢查:
  useEffect(() => {
    checkAndroidBackgroundRestrictions();
  }, []);
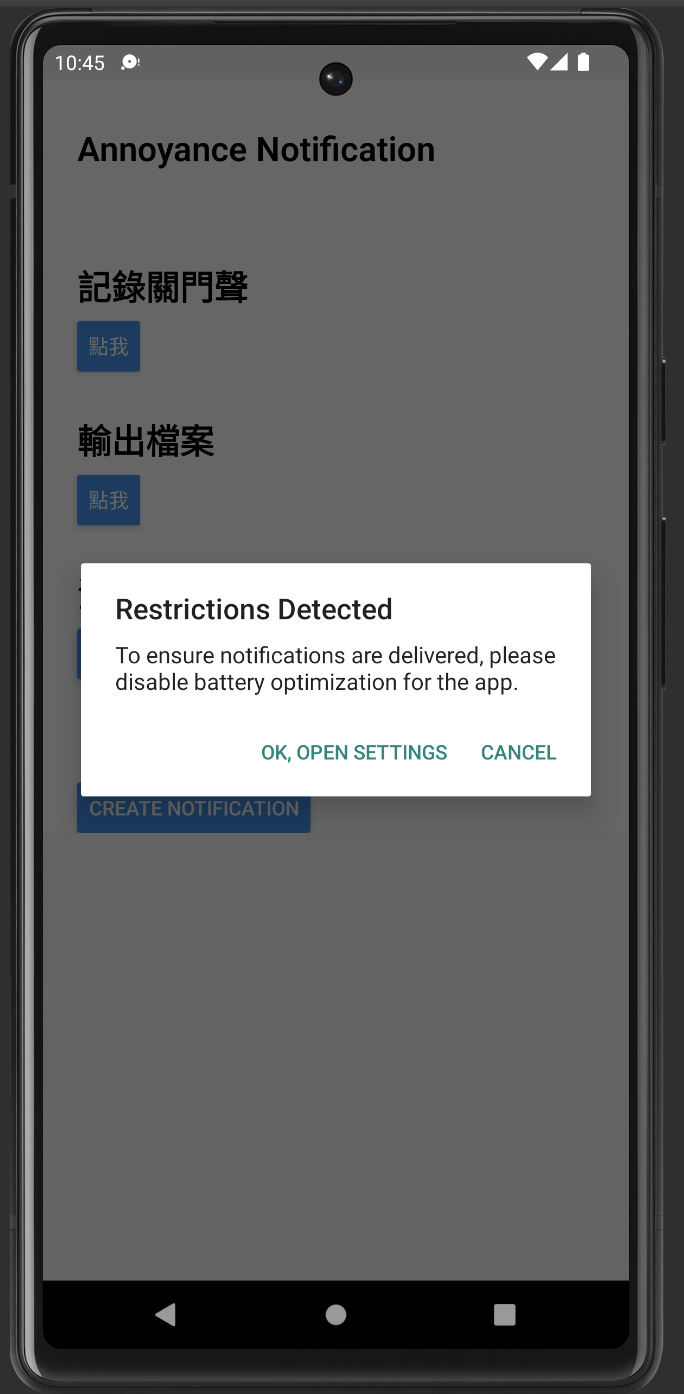
筆者使用 Pixel 6 的虛擬機,只有 isBatteryOptimizationEnabled 的限制有跳出來:
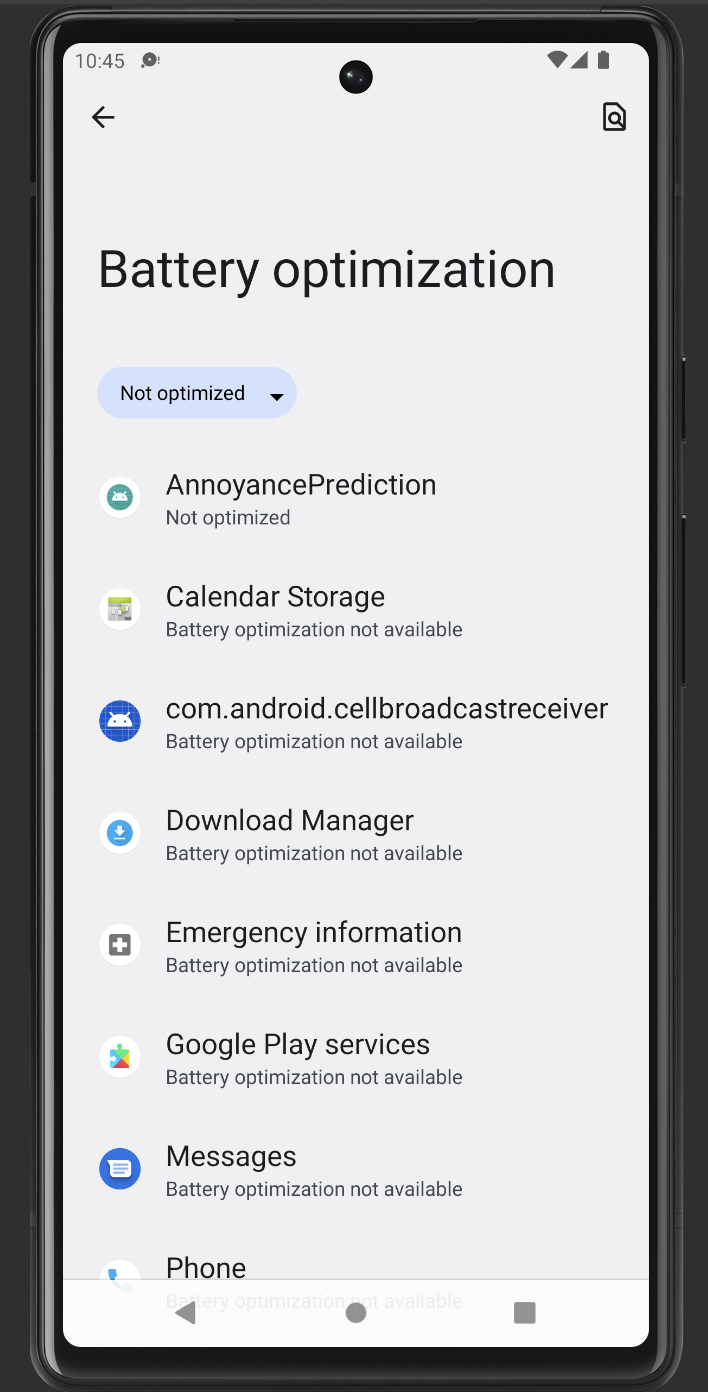
跳轉進到設定頁面:
針對我們的 app 選擇不要優化即可。
筆者改以 15 分鐘 為通知時間,實測點下按鈕後,回到虛擬機桌面開著螢幕,15 分鐘後確實有顯示通知。
在不同的機器上,或許會有不同的背景限制,此段還需要多留意。
現在的 App.js 有點太大了,讓我們根據不同的功能,拆分成不同的 module。
首先讓我們在 AnnoyancePrediction 底下建立 src 的資料夾。
接著讓我們建立三個檔案,分別處理:
notification.js:通知相關的邏輯asyncStorage.js:本地儲存的邏輯checkAndroidBackgroundRestrictions.js:確認是否有系統層級的限制讓我們從 App.js 中,將以下內容搬到各自的檔案吧!
import notifee, {TimestampTrigger, TriggerType} from '@notifee/react-native';

export async function onDisplayNotification() {
  // 中略
}

export async function onCreateTriggerNotification() {
  // 中略
}
import {Alert} from 'react-native';
import AsyncStorage from '@react-native-async-storage/async-storage';

export const storeTimeRecord = async () => {
  // 中略
};

export const getAllStoredRecords = async () => {
  // 中略
};


export const getData = async (date: string) => {
  // 中略
};

export const clearAll = async () => {
  // 中略
};
import notifee from '@notifee/react-native';
import {Alert} from 'react-native';

export async function checkAndroidBackgroundRestrictions() {
  // 中略
}
然後讓我們把這些 methods 引入 App.js:
// local modules
import {onCreateTriggerNotification} from './src/notification';
import {
  clearAll,
  getAllStoredRecords,
  storeTimeRecord,
} from './src/asyncStorage';
import {checkAndroidBackgroundRestrictions} from './src/checkAndroidBackgroundRestrictions';
如此一來,是不是變得很簡潔呢!
如果從引入 module 後出現以下錯誤訊息:
TypeError: Cannot read property 'storeTimeRecord' of undefined
以及:
Error: Requiring module "src/asyncStorage.js", which threw an exception: Error: Requiring unknown module "undefined". If you are sure the module exists, try restarting Metro. You may also want to run `yarn` or `npm install`., js engine: hermes
筆者依照描述,執行 yarn 或 npm install 就可以順利運行了。
剩最後兩天,以下內容是希望可以處理完並和讀者分享:
如果還有時間,希望可以做到:
今天收工!
