接著我們正式進入到了Flutter元件的範疇,Flutter 提供了各種基本小部件(widgets),這些小部件是構建使用者介面的基本元件。首先我們會介紹Basic Widgets,開始前官網就提到了一句話來形容他的重要性, “Widgets you absolutely need to know before building your first Flutter app.”
每一項點進去以後會跳到Dart API Docs資料庫,而我們再來的介紹會以每個項目對應的官方API Library為主;查詢資料為輔,並配合範例來進行基礎元件的學習。我們會先介紹Basic Widgets裡的項目,再循序漸進到網格系統與介面的規劃的學習。若是想參考其他的Widgets,也可以到Flutter widget index 中尋找目標元件與使用方式!
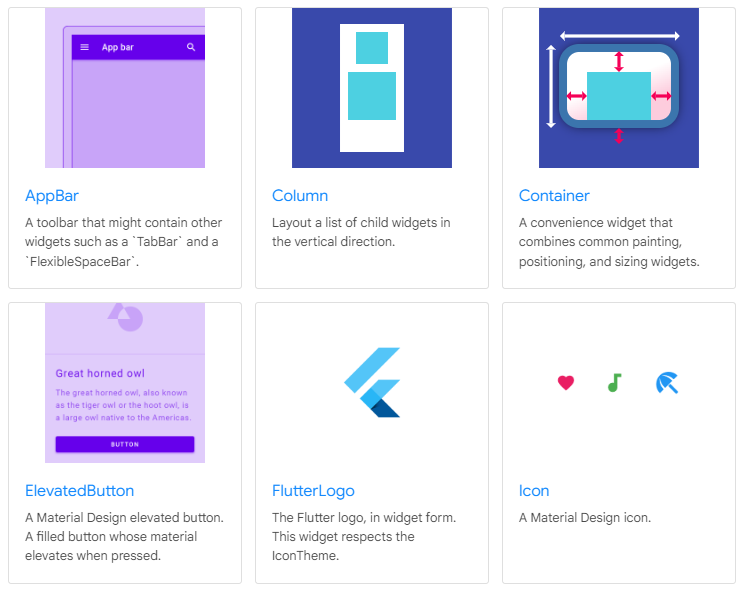
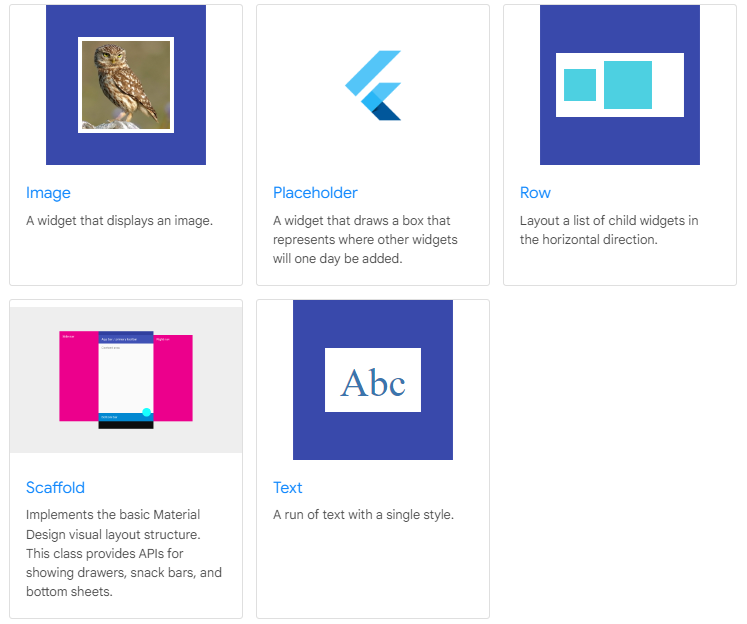
Basic Widgets項目總覽
Text(文本)是 Flutter 中用於顯示文本的基本元件。它能夠顯示具有單一樣式的文字,這個樣式包括字體、字體大小、顏色等。以下是有關 的一些重要概念:
文本內容:您可以將要顯示的文本內容作為 Text 小部件的子元件。例如,Text('Hello, Flutter!') 將在界面上顯示 "Hello, Flutter!" 這段文字。
樣式設置:您可以使用 style 參數來指定文本的樣式,例如字體大小、顏色、粗體等。如果未指定樣式,則文本將使用最近的包含 DefaultTextStyle 的小部件的樣式。此外,如果給定的樣式的 TextStyle.inherit 屬性設置為 true(為默認值),則給定的樣式將與最近的包含 DefaultTextStyle 小部件的樣式進行合併。這種合併行為非常有用,例如,您可以使文本變為粗體,同時保留默認字體和大小。
文本斷行:根據佈局約束,文本可以自動斷行,也可以全部顯示在同一行上。這意味著如果文本過長並且不適合單行顯示,則文本將自動換行以適應可用的空間。
Text常用的屬性如下:
Text(
  'Hello, $_name! How are you?',
  textAlign: TextAlign.center,
  overflow: TextOverflow.ellipsis,
  style: const TextStyle(fontWeight: FontWeight.bold),
)
基礎text用法
我們也可以使用Text.rich的方式來改變文字樣式
const Text.rich(
  TextSpan(
    text: 'Hello', // default text style
    children: <TextSpan>[
      TextSpan(text: ' beautiful ', style: TextStyle(fontStyle: FontStyle.italic)),
      TextSpan(text: 'world', style: TextStyle(fontWeight: FontWeight.bold)),
    ],
  ),
)
Text.rich用法
import 'package:flutter/material.dart';
import 'package:flutter/material.dart';

void main() {
  runApp(MyApp());
}

class MyApp extends StatelessWidget {
  // 要在文本中顯示的名字
  final _name = 'Xian';

  // 函式,用於創建第一個 basicText 小部件
  Widget basicText(String name) {
    return Text(
      'Hello, $name! How are you?',
      textAlign: TextAlign.center,//設為置中
      overflow: TextOverflow.ellipsis,//文字溢出時設為刪節號
      style: const TextStyle(fontWeight: FontWeight.bold),//設為粗體
    );
  }

  // 函式,用於創建第二個 richText 小部件,方便設置不同樣態
  Widget richText() {
    return const Text.rich(
      TextSpan(
        text: 'Hello',//預設文字
        children: <TextSpan>[
          TextSpan(
            text: ' beautiful ',
            style: TextStyle(fontStyle: FontStyle.italic),//設為斜體
          ),
          TextSpan(
            text: 'world',
            style: TextStyle(fontWeight: FontWeight.bold),//設為粗體
          ),
        ],
      ),
    );
  }

  @override
  Widget build(BuildContext context) {
    return MaterialApp(
      home: Scaffold(
        appBar: AppBar(
          title: const Text('Text Widget Example'),
        ),
        body: Center(
          child: Column(
            mainAxisAlignment: MainAxisAlignment.center,
            children: <Widget>[
              // 使用函式呼叫創建第一個 Text 小部件
              basicText(_name),
              // 使用函式呼叫創建第二個 Text 小部件
              richText(),
            ],
          ),
        ),
      ),
    );
  }
}
Text 使用範例
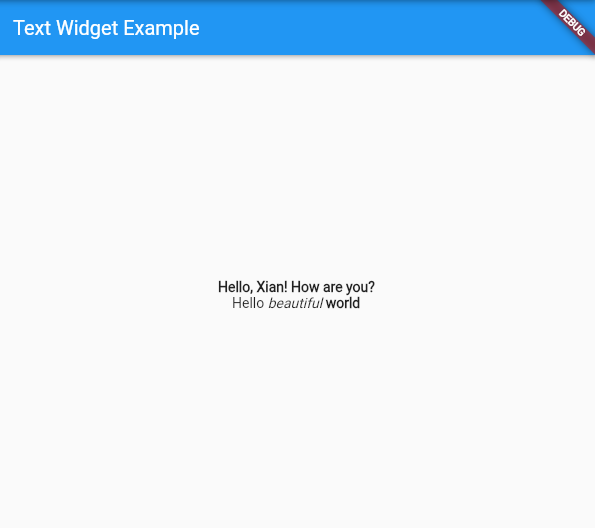
可以看到用Text.rich所定義的三個文字都呈現不同的樣態!
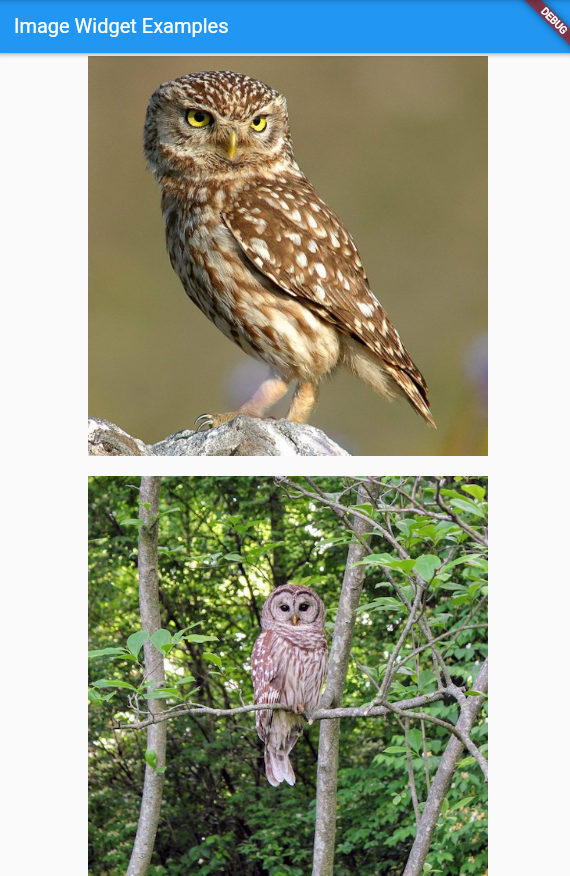
在Flutter中,圖片是一個常見的元件,用於顯示圖像。Flutter支援多種圖像格式,包括JPEG、PNG、GIF、動態GIF、WebP、動態WebP、BMP和WBMP。此外,具體支援的圖像格式可能因底層平台而異。如果底層平台支援解碼未識別的格式,Flutter將嘗試調用平台API進行解碼,並且如果平台API支援解碼圖像,則Flutter將能夠呈現它。以下是有關Flutter中圖片元件的一些特性
Flutter提供了多個不同的構造函數,用於不同的方式來指定圖像:
Image(
        image: NetworkImage('https://flutter.github.io/assets-for-api-docs/assets/widgets/owl.jpg'),
        width: 400, // 設定圖片寬度
        height: 400, // 設定圖片高度
              ),
使用Image()建構函數
Image.network(
                'https://flutter.github.io/assets-for-api-docs/assets/widgets/owl-2.jpg',
                 width: 400, // 設定圖片寬度
                 height: 400, // 設定圖片高度
              ),
使用Image.network()建構函數
import 'package:flutter/material.dart';

void main() {
  runApp(MyApp());
}

class MyApp extends StatelessWidget {
  @override
  Widget build(BuildContext context) {
    return MaterialApp(
      home: Scaffold(
        appBar: AppBar(
          title: const Text('Image Widget Examples'),
        ),
        body: Center(
          child: Column(
            mainAxisAlignment: MainAxisAlignment.center,
            children: <Widget>[
              // 第一個圖像小部件,使用 const Image
              const Image(
                image: NetworkImage('https://flutter.github.io/assets-for-api-docs/assets/widgets/owl.jpg'),
                width: 400, // 設定圖片寬度
                height: 400, // 設定圖片高度
              ),
              const SizedBox(height: 20), // 加入間距
              // 第二個圖像小部件,使用 Image.network
              Image.network(
                'https://flutter.github.io/assets-for-api-docs/assets/widgets/owl-2.jpg',
                 width: 400, // 設定圖片寬度
                 height: 400, // 設定圖片高度
              ),
            ],
          ),
        ),
      ),
    );
  }
}
Image使用範例
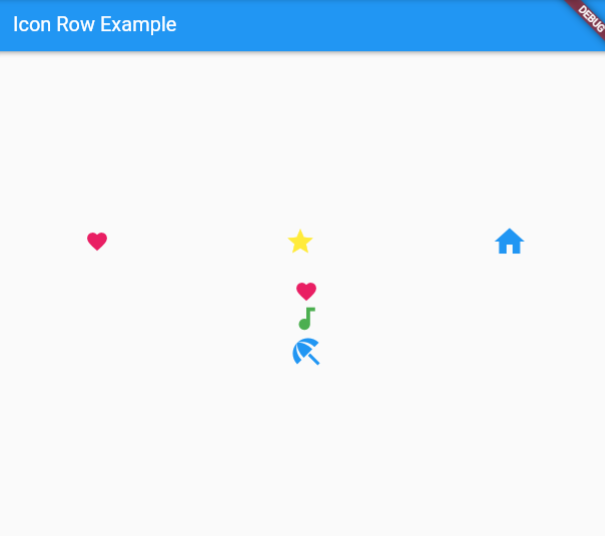
在Flutter中提供靜態Icon元件,用於顯示符號標誌,同時也可以額外配合IconButton元件來進行動態的操作。並且,Icon元件在使用時會配合當下在Row或Column的方向來呈現(元件顯現部分,Row的順序為由左到右;Column順序為由上到下)
Icon(
      Icons.favorite,//Icon名稱
      color: Colors.pink,//顏色
      size: 24.0,//大小
    ),
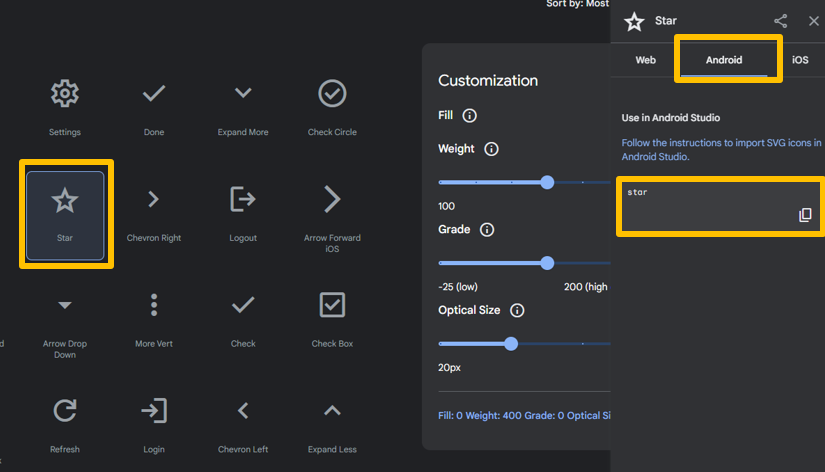
我們可以在此網頁Google Fonts Icons尋找想要使用的Icon,找到後按下"Android"選項,並複製名稱到Icons.後面,就可以使用囉!或者也可以透過其他網站(像是iconfont)來訂製客製化的icon。
我們在這個範例中利用了Row與Col的方向作為對比!
import 'package:flutter/material.dart';

void main() {
  runApp(MyApp());
}

class MyApp extends StatelessWidget {
  @override
  Widget build(BuildContext context) {
    return MaterialApp(
      home: Scaffold(
        appBar: AppBar(
          title: const Text('Icon Row Example'),
        ),
        body: Center(
          child: Column( // 使用Column將兩個小部件包裝在一起
            mainAxisAlignment: MainAxisAlignment.center,//將元素水平與垂直置中
            children: <Widget>[
              buildIconRow(),
              const SizedBox(height: 20), // 加入間距
              buildIconColumn(),
            ],
          ),
        ),
      ),
    );
  }

  Widget buildIconRow() {
    return Row( //裡面的元素為同一「行」出現
      mainAxisAlignment: MainAxisAlignment.spaceAround,
      children: <Widget>[
        buildCustomIcon(Icons.favorite, Colors.pink, 24.0),
        buildCustomIcon(Icons.star, Colors.yellow, 30.0),
        buildCustomIcon(Icons.home, Colors.blue, 36.0),
      ],
    );
  }

   Widget buildIconColumn() {
    return Column( //裡面的元素為同一「列」出現
      mainAxisAlignment: MainAxisAlignment.spaceAround,
      children: <Widget>[
        buildCustomIcon(Icons.favorite, Colors.pink, 24.0),
        buildCustomIcon(Icons.audiotrack, Colors.green, 30.0),
        buildCustomIcon(Icons.beach_access, Colors.blue, 36.0),
      ],
    );
  }

  Widget buildCustomIcon(IconData icon, Color color, double size) { //依據不同的參數回傳不同的icon
    return Icon(
      icon,//icon名稱
      color: color,//icon顏色
      size: size,//icon大小
    );
  }
}
Icon使用範例
