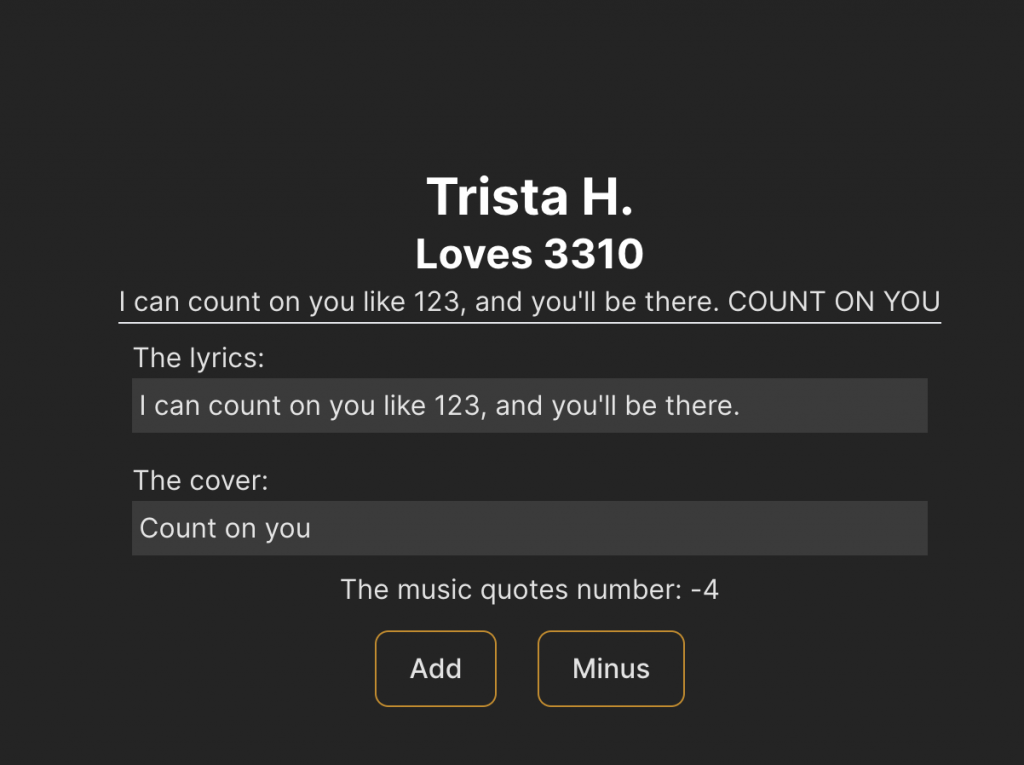
雖然是平凡無奇的預設增減按鈕,但我還是很興奮,因為能互動的東西總是特別有趣,對吧?
在這裡,先新增預設的初始值以及按鈕兩顆,然後就可以進行有趣的按鈕設置了。
<template>
  <div class="container">
    <h1 class="text-center text-3xl font-bold text-white">Trista H.</h1>
    <h2 class="text-2xl font-bold text-white">
      Loves {{ mobilemodel }}
    </h2>
    <p>{{ musicIntro() }}</p>
    <hr />
    <div class="p-2 text-left">
      <label class="block">The lyrics:</label>
      <input type="text" class="p-1 w-full" v-model="lyrics" />
    </div>
    <div class="p-2 text-left">
      <label class="block">The cover:</label>
      <input type="text" class="p-1 w-full" v-model="cover" />
    </div>
    <p>The music quotes number: {{ musicQuotes }}</p>
    <button type="button" v-on:click="addMusicQuotes" class="border-yellow-600 m-3">Add</button>
    <button type="button" v-on:click="musicQuotes--" class="border-yellow-600 m-3">Minus</button>
  </div>
</template>
<script>
  export default {
    data () {
      return {
        mobilemodel: '3310',
        lyrics: 'I can count on you like 123, and you\'ll be there.',
        cover: 'Count on you',
        musicQuotes: 1
      }
    },
    methods: {
      musicIntro() {
        return `${this.lyrics} ${this.cover.toUpperCase()}`
      },
      addMusicQuotes(){
        this.musicQuotes++
      }
    }
  }
</script>
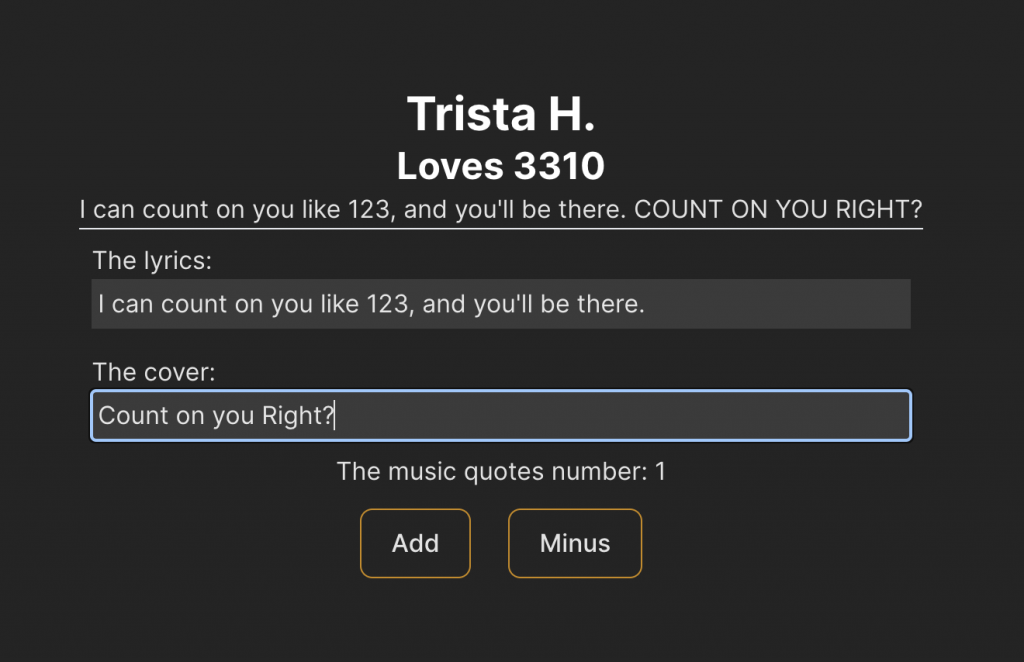
我增加了“目前的音樂銘言”以及“增加”、“減少”按鈕,可以進行有趣的數值增減,而看到這裡相信有些眼尖的人也注意到了,在增減的方式中,我使用了在 methods 裡增加 function 來回傳數值以及直接寫入數值兩個方式來撰寫,不是我特別有趣,是課程特別有講到這裡有兩種方法可以實現。
懶惰的我不想多花時間打一遍,所以跟著課程示範一起混用了。
於是渲染出的畫面如下,使用起來特別開心。
其實先前也有一些縮寫,只是一直懶得打上,如果看見 :model 這樣的寫法,不是失誤少寫,而是縮寫的一種;在監聽事件的部分也有縮寫,使用的是 @click 的寫法,所以如果臨時看到了陌生的寫法,可以查詢一下,極有可能是縮寫的一種唷。
由於我想好好複習跟學習,所以暫時不會想用縮寫的方式來寫,以上就這樣。
更先前的 code 裡有提到專輯名稱 ( cover ),這次課程演示的則是如何只取值以及更新。
倘若只要取值,可以只寫
v-bind:value="cover"
若要更新則可加上
v-on:input="updateCover"
並同樣在 Method 裡增加 function ( 記得每個 function 之間都要用 , 分開唷 )
updateCover(event){
  this.cover = event.target.value
}
如此便可以得到同於 v-model 的功能。
當然,這裡是為了理解更多的學法而寫的筆記,在實務上還是建議盡量寫越少的 code 越好唷。
