前幾天我們已經了解如何將SQLite結合flask login達成登入系統,今天就讓我們實現註冊功能吧!
完整程式
sign up function
@app.route('/signup', methods=['GET', 'POST'])
def sign_up():
    if request.method == 'GET':
        return render_template('signup.html')

    user_id = request.form['ID']
    user_password = request.form['password']
    check_passowrd= request.form.get('checkpassword')

    if(user_password != check_passowrd):
        errorMsg='<span style="color:#35858B"></span><i class="fa fa-exclamation-triangle" aria-hidden="true"></i>您輸入的密碼有誤'
        return render_template('signup.html', errorMsg = errorMsg)

    db = get_db()

    try:
        with db:
            db.execute (
                'INSERT INTO members (account, password) VALUES (?, ?)',
                (user_id, user_password)
            )
    except sqlite3.IntegrityError:
        errorMsg='<span style="color:#35858B"></span><i class="fa fa-exclamation-triangle" aria-hidden="true"></i>該帳號已有人使用'
        return render_template('signup.html', errorMsg = errorMsg)
    user=User()
    user.id=user_id
    login_user(user)
    user_id = current_user.get_id()
    return render_template('index.html',user_id=user_id)
此範例是基於Flask框架的Python應用程式的路由處理函式,用於處理/signup路徑的GET和POST請求,接下來讓我一一詳述。
@app.route('/signup', methods=['GET', 'POST'])
def sign_up():
    if request.method == 'GET':
        return render_template('signup.html')
接者使用了@app.route()裝飾器,將/signup路徑與sign_up()函式關聯起來。當收到GET請求時,它會渲染名為signup.html的模板並返回給客戶端。
    user_id = request.form['ID']
    user_password = request.form['password']
    check_password = request.form.get('checkpassword')
這裡使用request.form從客戶端POST請求中獲取表單數據。user_id表示使用者輸入的ID,user_password表示使用者輸入的密碼,check_password表示使用者輸入的確認密碼。
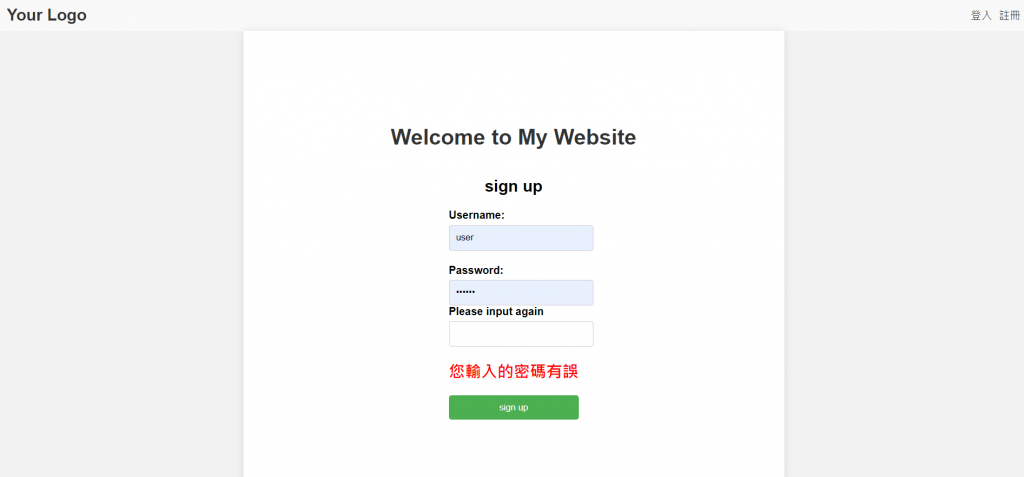
    if(user_password != check_password):
        errorMsg='<span style="color:#35858B"></span><i class="fa fa-exclamation-triangle" aria-hidden="true"></i>您輸入的密碼有誤'
        return render_template('signup.html', errorMsg=errorMsg)
這段程式碼會檢查使用者輸入的密碼和確認密碼是否相符。如果不相符,會生成一個錯誤訊息errorMsg,然後將它傳遞給signup.html模板進行渲染並返回給客戶端。
db = get_db()
這裡調用了get_db()函式,用於獲取與資料庫的連接或資料庫實例,get_db()在前面的天數有講到。
try:
with db:
db.execute (
'INSERT INTO members (account, password) VALUES (?, ?)',
(user_id, user_password)
)
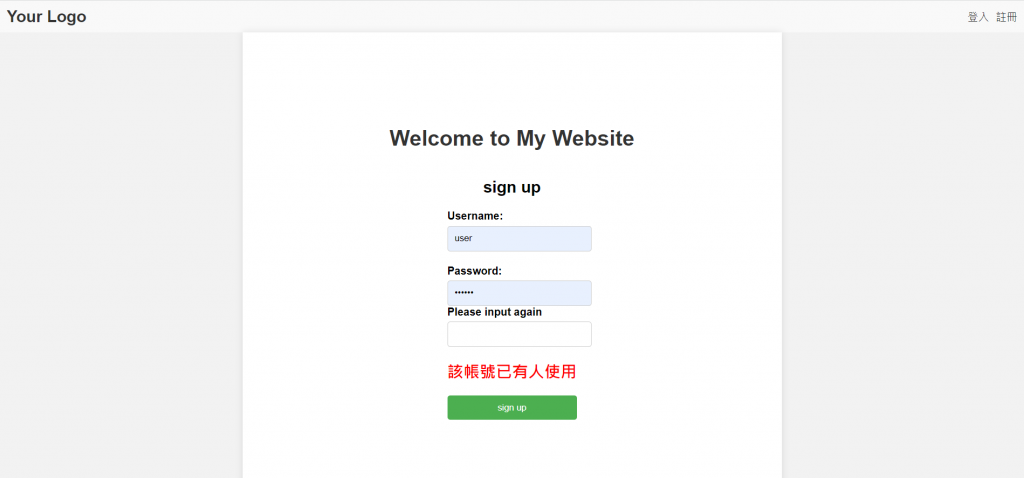
except sqlite3.IntegrityError:
errorMsg='<span style="color:#35858B"></span><i class="fa fa-exclamation-triangle" aria-hidden="true"></i>該帳號已有人使用'
return render_template('signup.html', errorMsg=errorMsg)
這段程式碼會將使用者的帳號和密碼插入到資料庫的members表中。使用db.execute()執行SQL語句進行插入操作。如果出現sqlite3.IntegrityError異常,表示插入操作違反了資料庫的完整性約束,即帳號已被使用,那麼會生成一個錯誤訊息
errorMsg,並將其傳遞給signup.html模板進行渲染並返回給客戶端。
    user = User()
    user.id = user_id
    login_user(user)
    user_id = current_user.get_id()
    return render_template('index.html', user_id=user_id)
這段程式碼創建了一個User物件,並將user_id賦值給user.id。然後調用login_user()函式,可能是用於處理使用者登錄狀態的功能。最後,將user_id傳遞給index.html模板進行渲染,並將渲染後的內容返回給客戶端。
html login form
<h2>sign up</h2>
    <form action="{{ url_for('sign_up')}}" method="POST">
        <div class="form-group">
            <label for="username">Username:</label>
            <input type="text" id="username" name="ID" required>
        </div>
        <div class="form-group">
            <label for="password">Password:</label>
            <input type="password" id="password" name="password" required>
            <label for="checkpassword">Please input again</label>
            <input type="password" id="checkpassword" name="checkpassword" required>
        </div>
        <h2 style="color:red;"> {{ errorMsg|safe }} </h2>

        <div class="form-group">
            <button type="submit">sign up</button>
        </div>
    </form>
跟昨天的login相比其實只多了一個input tag用來檢驗使用者二次輸入是否有錯。
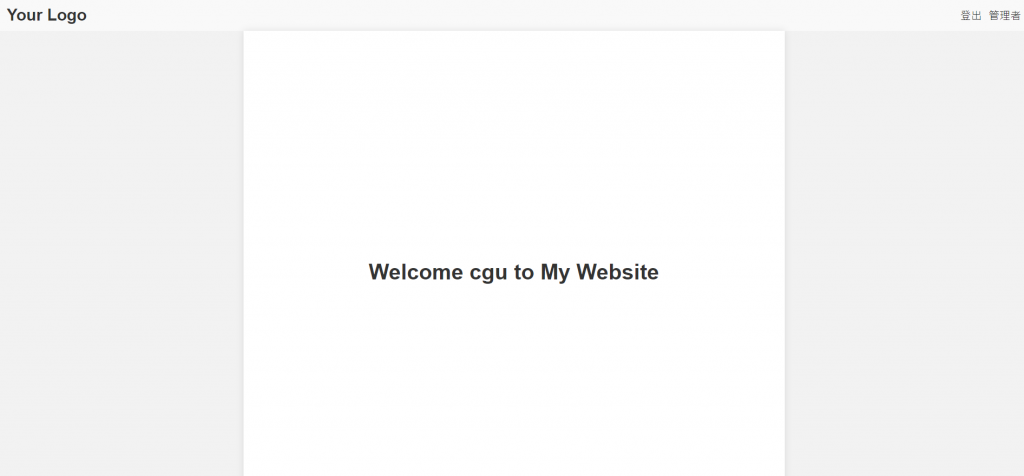
新增user id到index
<h1>Welcome {{user_id}} to My Website</h1>
這樣做登入後使用者就能看到自己的名字。
今天的範例基於Flask框架,處理了使用者註冊功能,並將使用者的帳號和密碼插入到資料庫中。它還包括了一些錯誤處理和使用者登錄狀態的處理。
至於明天就讓我們創建一個管理者可以將已註冊帳號刪除吧!


 iThome鐵人賽