前幾天我們已經了解SQLile、flask login了今天就讓我們串起來吧!
完整程式
appsecret_key(當要使用flask seesion就要設置)app.secret_key 是 Flask 應用程式的一個設定參數,用於加密 session 和其他安全相關的功能。它是一個字串值,用來提供加密所需的密鑰。
在 Flask 應用程式中,app.secret_key 可以通過設定來指定。這個密鑰應該是一個長度適當且足夠隨機的字串,以確保安全性。密鑰的選擇應該是保密的,不應該公開或分享給他人。
import secrets

app.secret_key = secrets.token_hex(16)
這將生成一個包含 16 個隨機字元的十六進制密鑰。
設定適當的 app.secret_key 對於保護 Flask 應用程式的 session 和其他敏感資訊非常重要,因此請確保保持密鑰的安全性和機密性。
login function
@app.route('/login', methods=['GET', 'POST']) #登入
def login():
btn_check=None
if request.method == 'GET':
return render_template("login.html")
user_id = request.form['ID']
user_password = request.form['password']
db = get_db()
password = db.execute(
'SELECT password FROM members WHERE account = ?', (user_id, )
).fetchall()
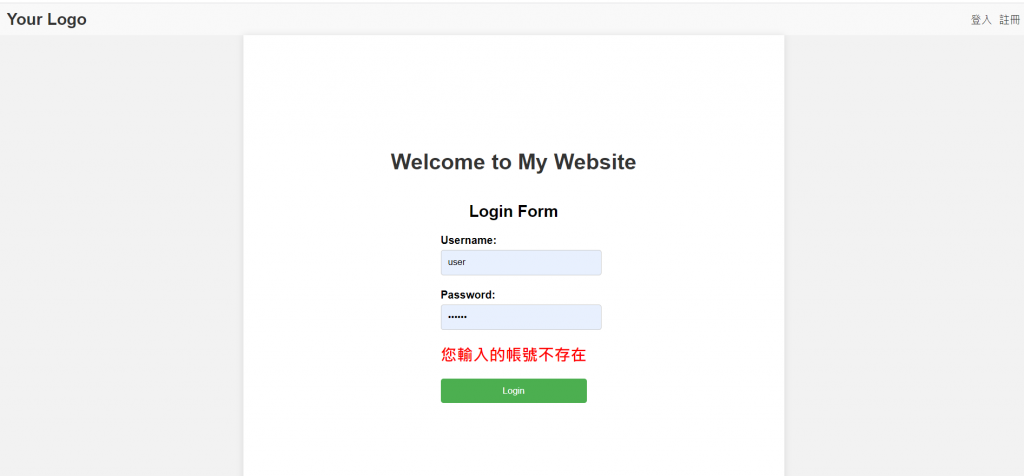
if not password:
errorMsg='<span style="color:#35858B"></span><i class="fa fa-exclamation-triangle" aria-hidden="true"></i>您輸入的帳號不存在'
return render_template('login.html', errorMsg = errorMsg)
password = password[0][0]
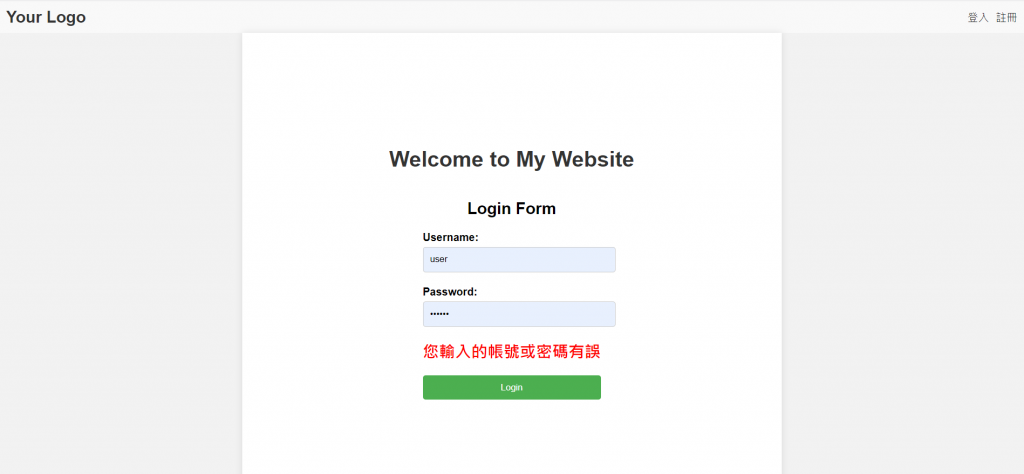
if user_password != password:
errorMsg='<span style="color:#35858B"></span><i class="fa fa-exclamation-triangle" aria-hidden="true"></i>您輸入的帳號或密碼有誤'
return render_template('login.html', errorMsg = errorMsg)
user = User()
user.id = user_id
login_user(user)
return render_template('index.html')
首先,使用 @app.route('/login', methods=['GET', 'POST']) 裝飾器定義了一個 /login 的路由,該路由支援 GET 和 POST 方法,用於處理登入相關的請求。
在 GET 請求的情況下,會顯示登入頁面的模板 login.html,並返回給用戶端。
在 POST 請求的情況下,表示用戶提交了登入表單。從表單中獲取使用者輸入的帳號和密碼,並進行驗證。
驗證的方式是從資料庫中查詢使用者帳號對應的密碼,並與使用者輸入的密碼進行比對。如果帳號不存在或密碼不正確,則會在登入頁面上顯示相應的錯誤訊息。
如果驗證通過,則創建一個使用者對象 user,並將使用者的帳號設置為 user.id。接著調用 login_user(user) 函式來登入使用者,這是 Flask-Login 擴展提供的函式,它會將使用者對象存儲在 session 中。
另外,在 @app.route('/', methods=['GET', 'POST']) 的路由中,定義了首頁的處理函式。這裡只是簡單地返回首頁的模板 index.html。
以上就是這段程式碼的主要功能,它實現了一個簡單的登入系統,並使用了 Flask-Login 擴展來管理使用者的登入狀態。
包裝html
<header>
    <div class="logo">
        Your Logo
    </div>
    <div class="nav">

            {% if current_user.is_authenticated %}
                <a class="nav-link" href="/logout">登出</a></li>
                <a class="nav-link" href="/manager">管理者</a></li>
            {% else %}
                <a class="nav-link" href="/login">登入</a></li>
                <a class="nav-link" href="/register">註冊</a></li>
            {% endif %}

    </div>
</header>
把之前的header額外拉出來寫,並透過{% include "base.html" %}的方式引進到其他html接下來,在 標籤中定義了網站的導航列。使用了條件語句 {% if current_user.is_authenticated %} 來判斷當前使用者是否已驗證(已登入)。
如果使用者已驗證,則顯示兩個導航連結,一個是 "登出" 的連結,對應的 URL 是 /logout;另一個是 "管理者" 的連結,對應的 URL 是 /manager。這表示在使用者已登入的情況下,導航列會顯示這兩個選項。
如果使用者尚未驗證(未登入),則顯示兩個導航連結,一個是 "登入" 的連結,對應的 URL 是 /login;另一個是 "註冊" 的連結,對應的 URL 是 /register。這表示在使用者未登入的情況下,導航列會顯示這兩個選項。
html login form
<form action="{{ url_for('login')}}" method="POST">
    <div class="form-group">
        <label for="username">Username:</label>
        <input type="text" id="username" name="ID" required>
    </div>
    <div class="form-group">
        <label for="password">Password:</label>
        <input type="password" id="password" name="password" required>
    </div>
    <h2 style="color:red;"> {{ errorMsg|safe }} </h2>

    <div class="form-group">
        <button type="submit">Login</button>
    </div>
            </form>
相信這個大家都很熟就不再多說了
css這裡只增加login form的header那些照舊
    .container h2 {
        text-align: center;
        margin-bottom: 20px;
    }
    .form-group {
        margin-bottom: 20px;
    }
    .form-group label {
        display: block;
        margin-bottom: 5px;
        font-weight: bold;
    }
    .form-group input {
        width: 100%;
        padding: 10px;
        border: 1px solid #ccc;
        border-radius: 4px;
    }
    .form-group button {
        width: 100%;
        padding: 10px;
        background-color: #4CAF50;
        color: #fff;
        border: none;
        border-radius: 4px;
        cursor: pointer;
    }
    .form-group button:hover {
        background-color: #45a049;
    }

登入功能大致上到這裡明天為大家介紹註冊功能。


 iThome鐵人賽