上回我們建立了專案,接下來我們要開始進行Next.js的Hello World。
在Visual Studio Code開啟專案資料夾,修改pages/index.tsx,將原先的內容清除,寫入以下內容:
import { Inter } from 'next/font/google'

const inter = Inter({ subsets: ['latin'] })

export default function Home() {
  return (
    <div>
      Hello World!
    </div>
  )
}
修改styles/globals.css。
@tailwind base;
@tailwind components;
@tailwind utilities;
打開終端機,輸入:
npm run dev
啟動專案
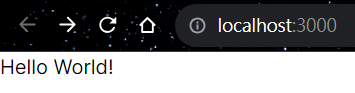
可以看到這個畫面。
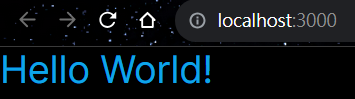
測試tailwindcss能不能使用,修改globals.css,將全部的背景設定為黑色。
@tailwind base;
@tailwind components;
@tailwind utilities;

:root{
    @apply h-full bg-black
}

body{
    @apply h-full bg-black
}
修改index.tsx,把Hello World!改成天藍色的大字。
import { Inter } from 'next/font/google'

const inter = Inter({ subsets: ['latin'] })

export default function Home() {
  return (
    <div className="text-3xl text-sky-500">
      Hello World!
    </div>
  )
}
打開pages/_app.tsx,並修改。
import Layout from "@/Components/Layout"
import '@/styles/globals.css'
import type { AppProps } from 'next/app'

export default function App({ Component, pageProps }: AppProps) {
  return (
    <Layout>
      <Component {...pageProps} />
    </Layout>
  )
}
接下來我們要準備編寫側邊欄,首先從劃分出放側邊欄的空間。
在根目錄底下,新增Components資料夾。
如果作業系統是MacOS或Linux,由於系統會區分大小寫,請創建components資料夾,不要創建Components資料夾,之後遇到創建資料夾的部分也是一樣,創建全部是小寫的資料夾。
在Components資料夾下,新增Layout.tsx。
import Sidebar from "./layout/Sidebar";

interface LayoutProps {
	children: React.ReactNode;
}

const Layout: React.FC<LayoutProps> = ({ children }) => {
	return (
		<div className="h-screen bg-black">
			<div className="container h-full mx-auto xl:px-30 max-w-6xl">
				<div className="grid grid-cols-4 h-full">
					<div className="col-span-3 lg:col-span-2 border-x-[1px] border-neutral-800">
						<Sidebar />
						{children}
					</div>
				</div>
			</div>
		</div>
	);
};

export default Layout;
在Components資料夾下,新增layout資料夾。
在layout資料夾下,新增Sidebar.tsx。
const Sidebar = () => {
	return <div></div>;
};

export default Sidebar;
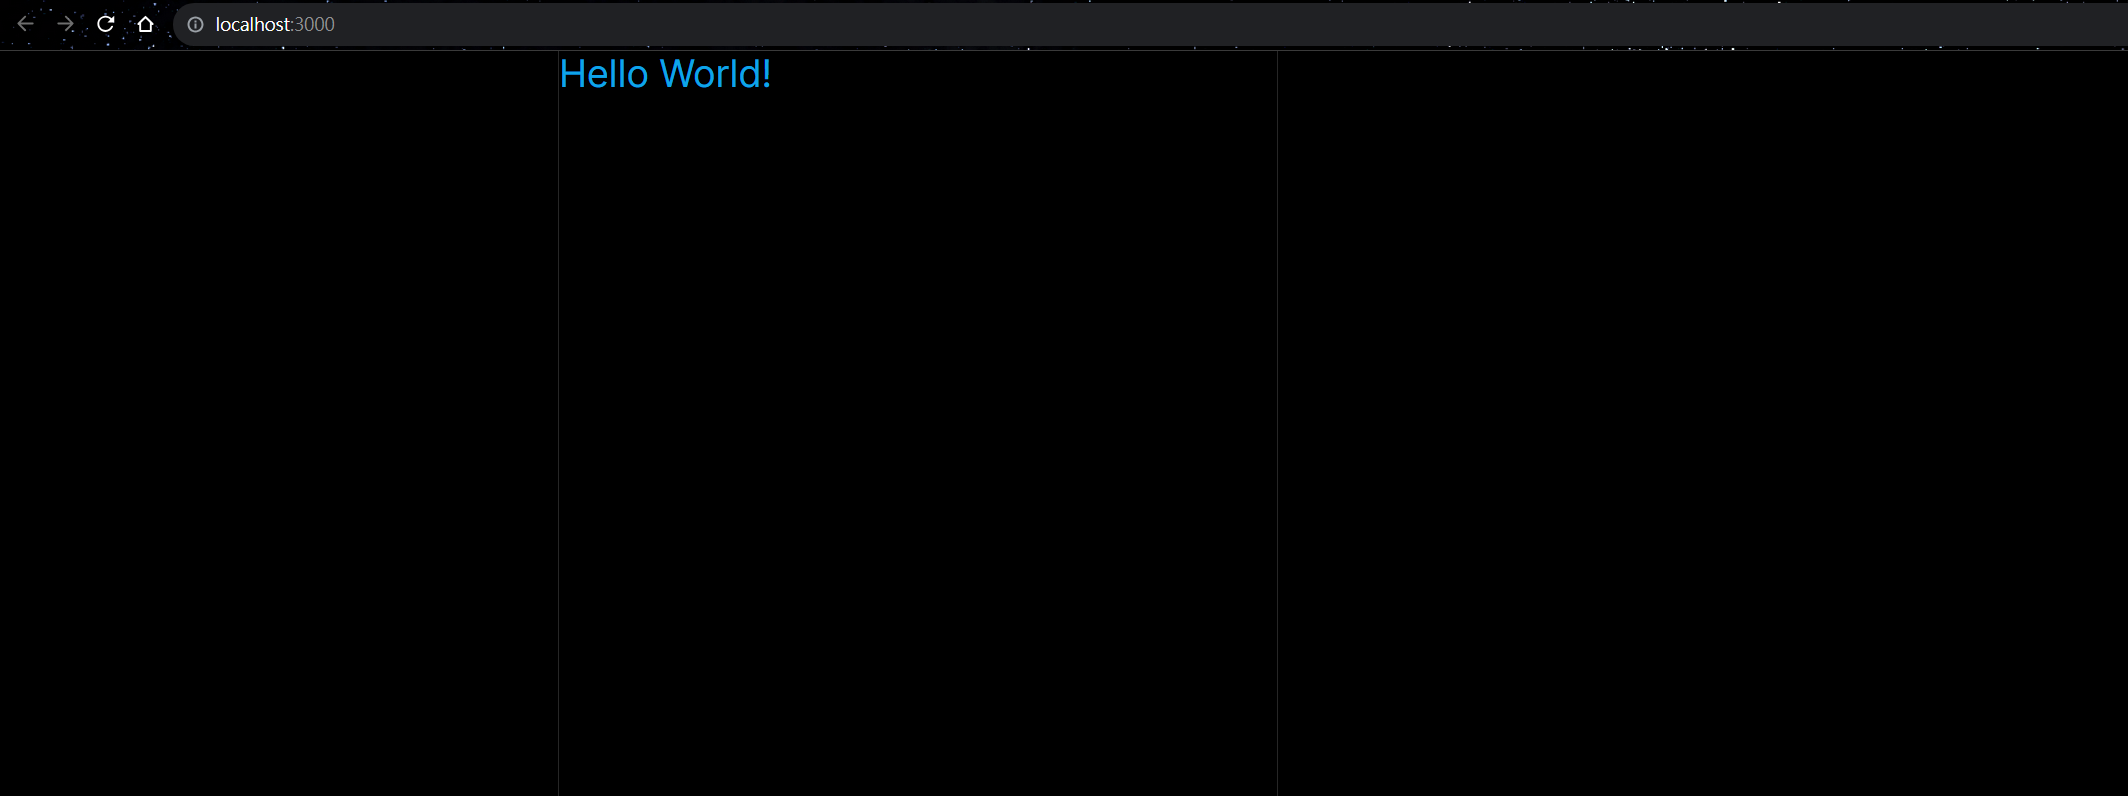
可以看到左邊出現一塊空間,這塊空間將來會放側邊欄的內容。
側邊欄需要一些icon,安裝react-icons,在終端機輸入:
npm i react-icons
接下來,我們會嘗試在側邊欄顯示logo,因為react-icons沒有新的X logo,我們會使用舊的twitter logo。
在layout資料夾下,新增SidebarLogo.tsx。
'use client'

import { useRouter } from "next/navigation";
import { BsTwitter } from "react-icons/bs";

const SidebarLogo = () => {
	const router = useRouter();

	return (

		<div
			onClick={() => router.push("/")}
			className="rounded-full h-14 w-14 p-4 flex items-center justify-center hover:bg-blue-300 hover:bg-opacity-10 cursor-pointer transition"
		>
            <BsTwitter size={28} color="white" />
        </div>
	);
};

export default SidebarLogo;
'use client’代表我們只會在客戶端(瀏覽器)執行useRouter。
點擊twitter logo就能回到localhost:3000/,目前看不出作用,但以後有其他頁面時,按下就能回到首頁。
我們修改Sidebar.tsx,並預先加上一些未來會呈現在側邊欄的icon。
import { BsHouseFill, BsBellFill } from "react-icons/bs";
import { FaUser } from "react-icons/fa";
import SidebarLogo from "./SidebarLogo";

const Sidebar = () => {
	const items = [
		{
			label: "Home",
			href: "/",
			icon: BsHouseFill,
		},
		{
			label: "Notifications",
			href: "/notifications",
			icon: BsBellFill,
		},
		{
			label: "Profile",
			href: "/users/1",
			icon: FaUser,
		},
	];
	return (
        <div className="col-span-1 h-full pr-4 md:pr-6">
            <div className="flex flex-col items-start">
                <div className="space-y-2 lg:w-[230px]">
                    <SidebarLogo />

                </div>
            </div>
        </div>
    );
};

export default Sidebar;
可以看到,整個頁面上只有一個twitter的logo。