今天我將嘗試實現主題預覽功能,讓使用者能更直觀地了解各個主題的外觀差異。當使用者將游標停留在主題切換選單上時,將會顯示出相對應主題的預覽畫面。
在開始製作網頁主題預覽之前,我先簡單介紹一下 html2canvas,它是一個 JavaScript 函式庫。原本我的計畫是截圖使用顯示圖片的方式來實現預覽功能,但在搜尋過程中,我發現 html2canvas,它可以將網頁上的 HTML 和 CSS 元素轉換成圖像。經過簡單的測試後,我決定使用這個函式庫來完成主題預覽功能。
首先,我需要引入 "html2canvas" 函式庫的 CDN,以便在網頁中使用函式庫:
<script src="https://cdnjs.cloudflare.com/ajax/libs/html2canvas/0.5.0-beta4/html2canvas.min.js"></script>
接著,我要在 <body> 元素中創建一個 <div> 元素,用來顯示主題預覽畫面:
<div id="themePreview" class="theme-preview">
  <!-- 顯示主題預覽畫面 -->
</div>
首先,我初始化一些 JavaScript 變數,包括抓取所有 .sub-setting-list li 元素和 themePreview 元素:
this.themeOptions = document.querySelectorAll(".sub-setting-list li");
this.themePreview = document.getElementById("themePreview");
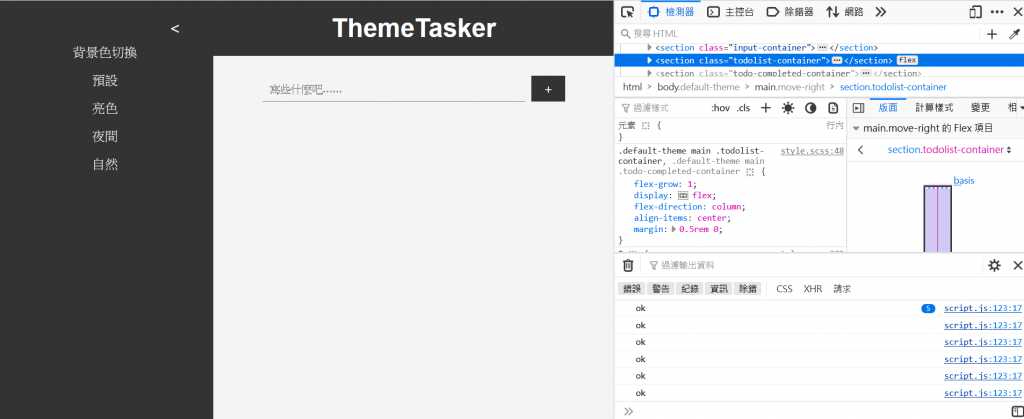
接著,我設定一個 setupThemeOptionEvents(option) 方法,用來設置當游標停留在主題選項上時顯示預覽畫面的事件。再開始寫內部程式碼之前,要先測試當游標移到選項上時,會在控制台輸出 "ok",如下圖:
setupThemeOptionEvents(option) {
    option.addEventListener("mouseover", () => {
      console.log("ok"); // 測試用
    });

    option.addEventListener("mouseout", () => {
      this.themePreview.style.display = "none";
    });
}
接下來,我定義一個初始變數 nowTheme 用於存放當前主題。在事件處理方方法中,只要游標移到選項上,就設定 themeName 變數的值相對應的主題,然後調用設定主題的方法,再調用捕獲截圖的函數。
同時,我將 themePreview 元素的顯示設定為 "block",使它顯示在網頁上。最後,在事件結束前,我使用主題設定方法將主題恢復成 nowTheme,這是為了防止外部主題也跟著變動。
setupThemeOptionEvents(option) {
    option.addEventListener("mouseover", () => {
      let themeName = this.nowTheme;

      if (option.id === "defaultThemeButton") {
        themeName = "default-theme";
      } else if (option.id === "lightThemeButton") {
        themeName = "light-theme";
      } else if (option.id === "nightThemeButton") {
        themeName = "night-theme";
      } else if (option.id === "natureThemeButton") {
        themeName = "nature-theme";
      }
      this.setTheme(themeName);
      // 調用捕獲截圖函數
      this.captureWebpageScreenshot();

      this.themePreview.style.display = "block";
      this.setTheme(this.nowTheme);
    });

    option.addEventListener("mouseout", () => {
      this.themePreview.style.display = "none";
    });
}
接下來,讓我看一下 captureWebpageScreenshot() 方法。
首先,我先抓取themePreview的元素,然後使用 'html2Canvas' 捕獲整個網頁的截圖。接著,要清空 themePreview 元素內部的 HTML 內容,並設置 themePreview 元素的寬度和高度。最後,我將捕捉到的圖像添加到預覽框裡面。
captureWebpageScreenshot() {
    const themePreview = this.getElement("#themePreview");

    html2canvas(document.body).then((canvas) => {
      themePreview.innerHTML = "";
      canvas.style.width = "60%";
      canvas.style.height = "60%";

      // 將捕獲的圖像添加到預覽框中
      themePreview.appendChild(canvas);
    });
}
以下是相關的 CSS 樣式:
div.theme-preview {
  width: 80%;
  height: 80%;
  position: relative;
  top: 20%;
  left: 35%;
  z-index: 10;

  canvas {
    border: 1px solid red;
  }
}
要注意的是 Firebox 的適應性模式已棄用 Element.setCapture() 方法,也因此在適應性模式下是無法使用預覽功能的。
網頁預覽功能到此完成!明天我再來解釋一下,在這期間我對 JavaScript 的重構工作。