回憶需求可以參考 Day 16. 來做個 TypeScript 專案吧
雖然我討厭總篇集,但是很喜歡番外篇。
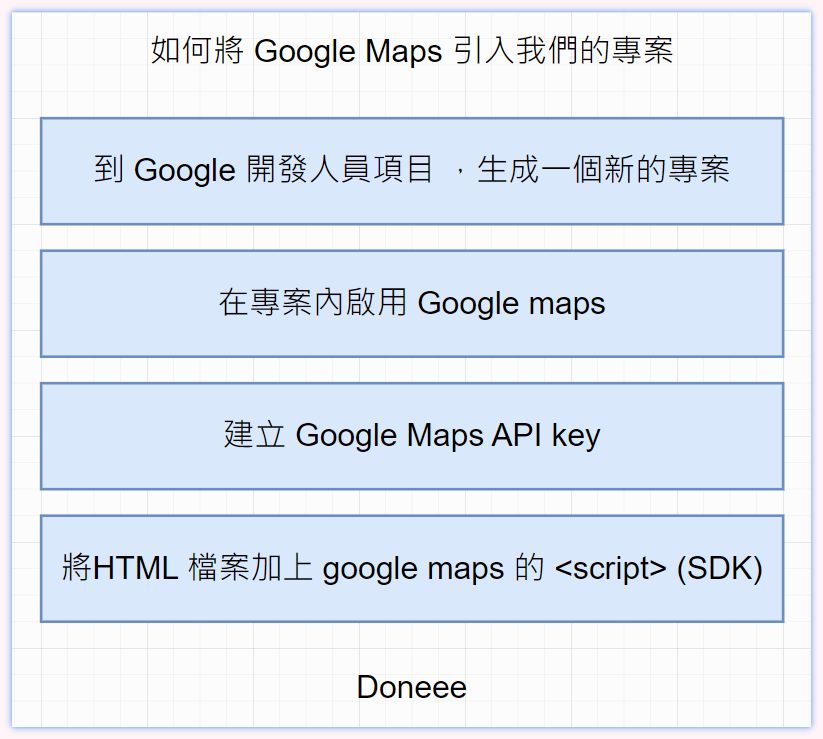
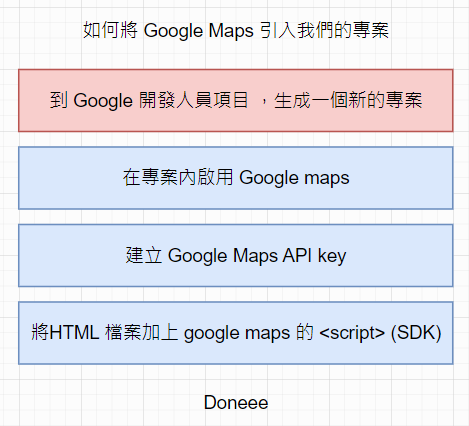
因為專案目標是要在 Google Maps 上標記出地點訊息,所以勢必要使用到 Google Maps API,今天就來試著把流程詳細的記錄下來
主要流程如下:
這途中會需要綁定信用卡但不會扣錢,每個月會有 200 美金的額度,通常沒有到商用流量是不會超過收錢,這部份各位可以自己斟酌。
那就開始吧
進入 => Google Cloud Platform
進入 Google Cloud Platform,並登入 google 帳號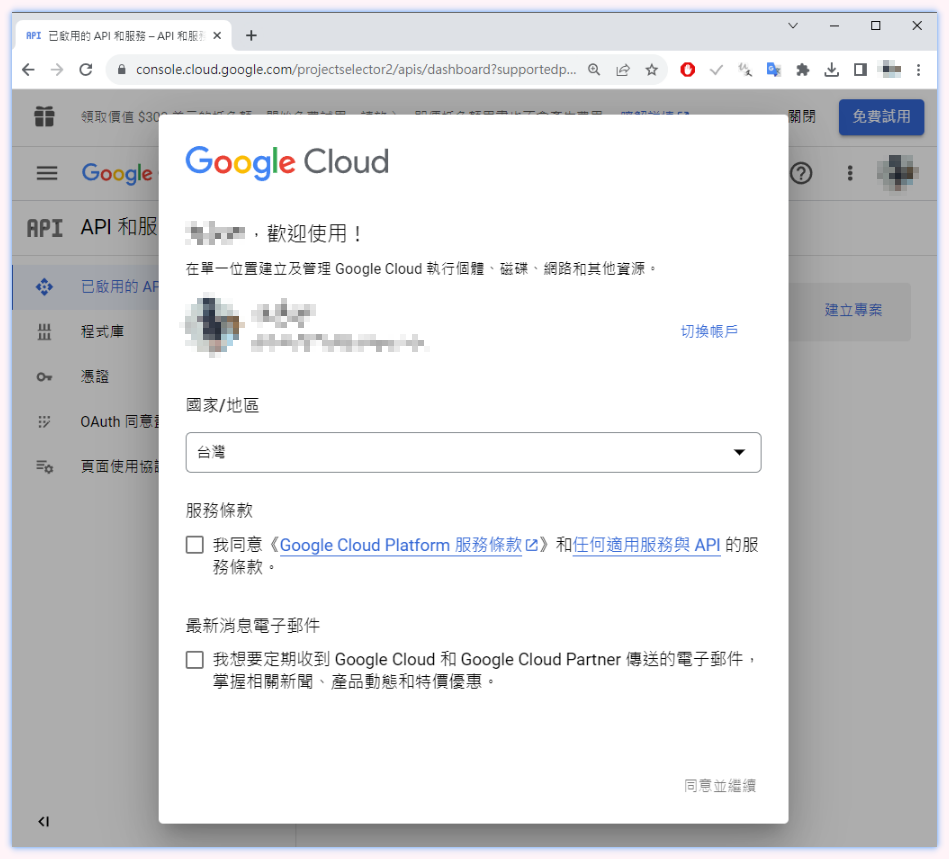
這一頁會有你所有開啟的專案項目,這邊可以選擇建立專案
可以將專案取名或用他的流水名
建立好之後,等右上角的小鈴鐺跑完,就可以點擊選取專案
會長這樣子,到這邊之後第一步就結束囉
這邊就是你第一個的 Google 專案,除了 Maps 外還有成千上萬個服務可以用 ...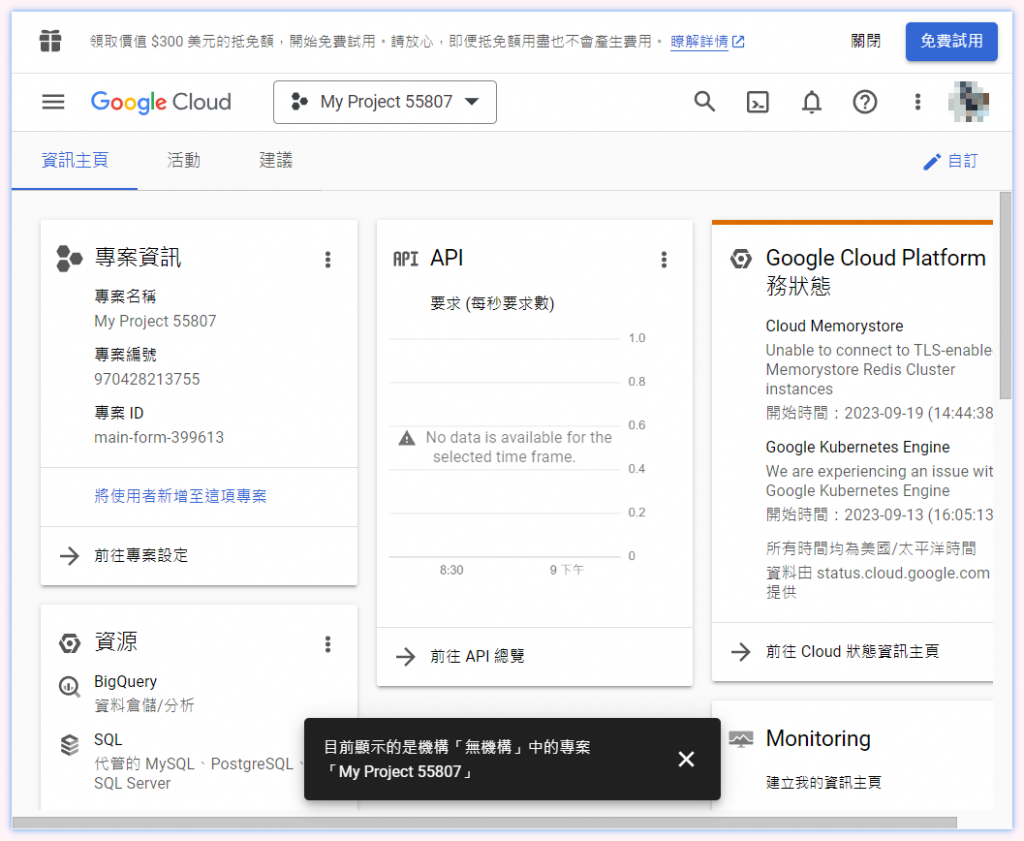
現在進入第 2. 步,為我們的專案加入 Google Maps API
選取左上角 API 和服務 => 程式庫 (Library)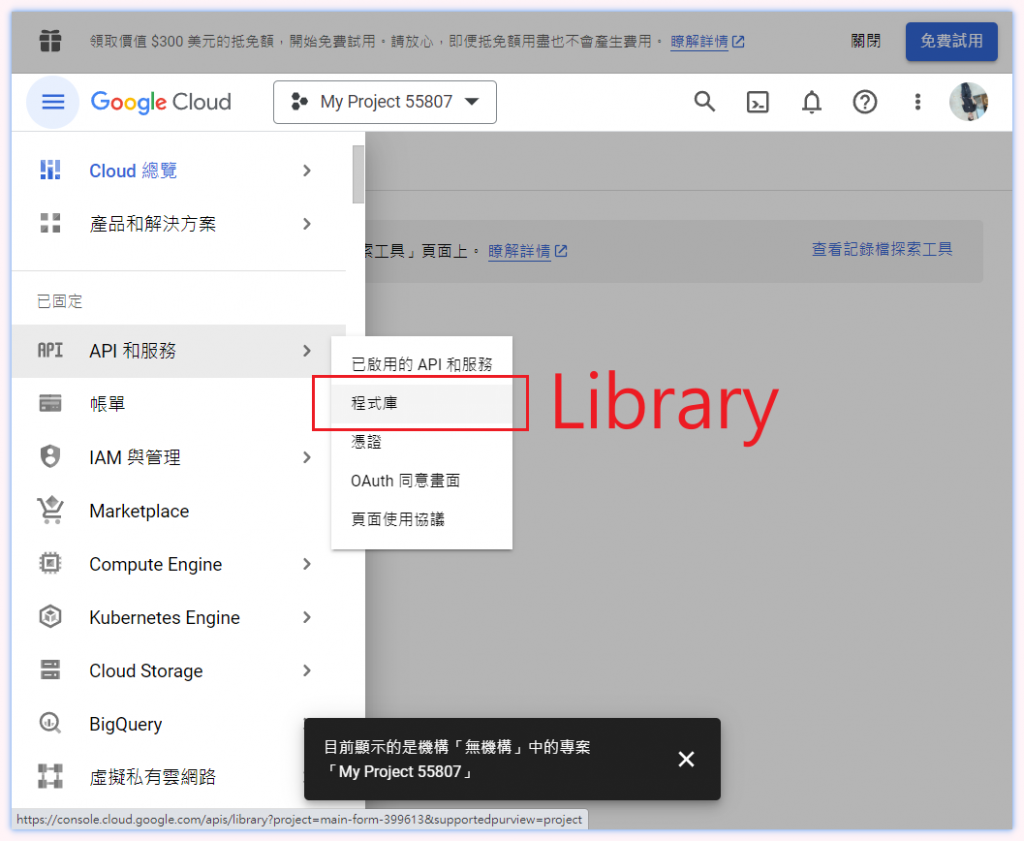
搜尋 maps api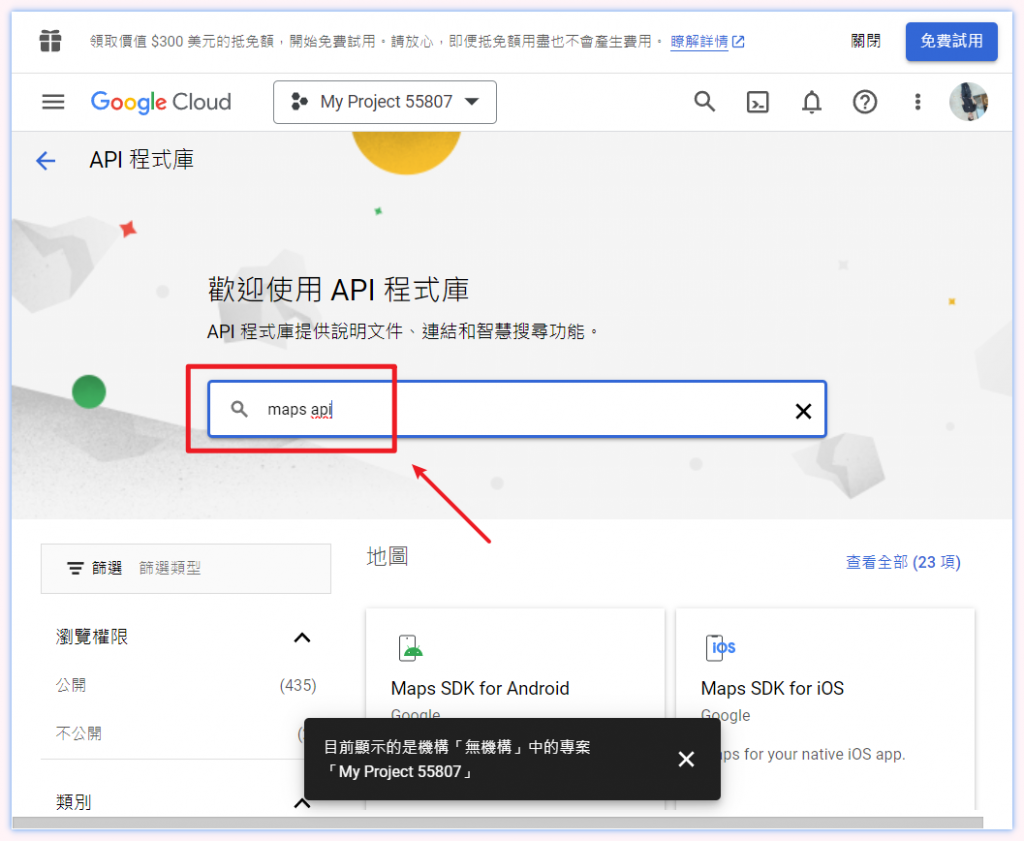
選擇 Maps JavaScript API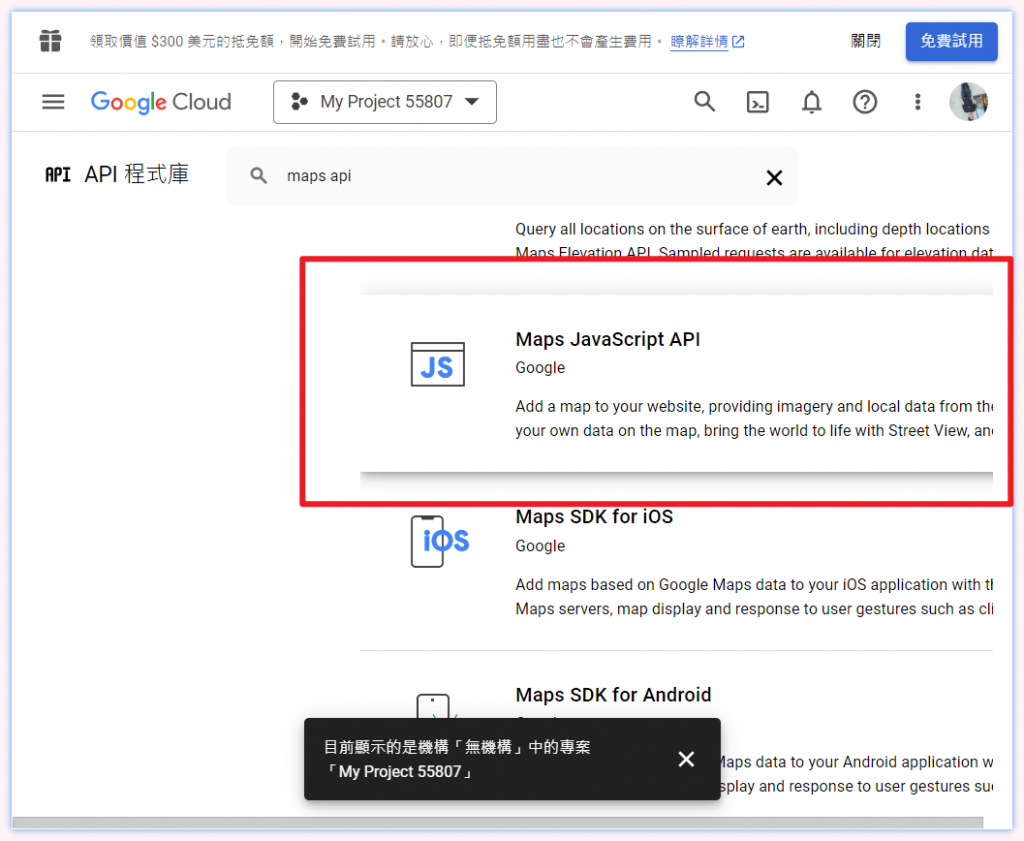
點選啟用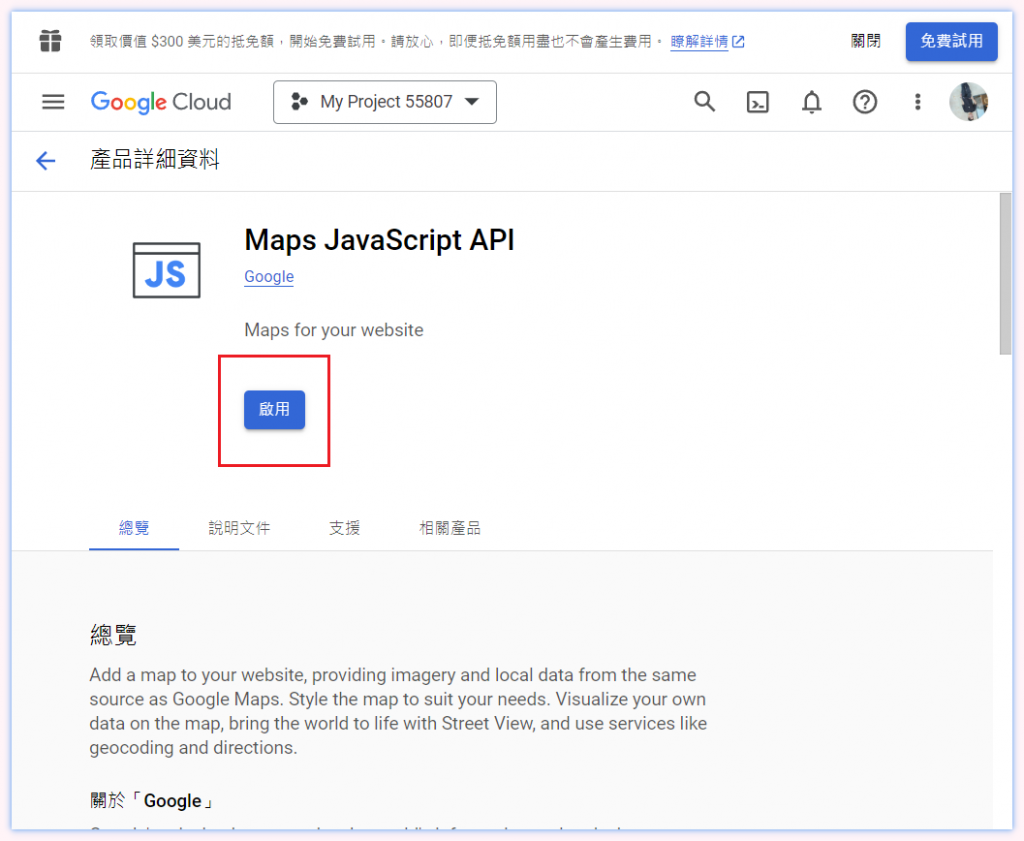
啟用後,便可以開啟我們專案對 Google JavaScript API 的支持
現在進入第三步,生成 Google API Key

點左上角的 API 和服務 => 憑證
點選 建立憑證 => API 金鑰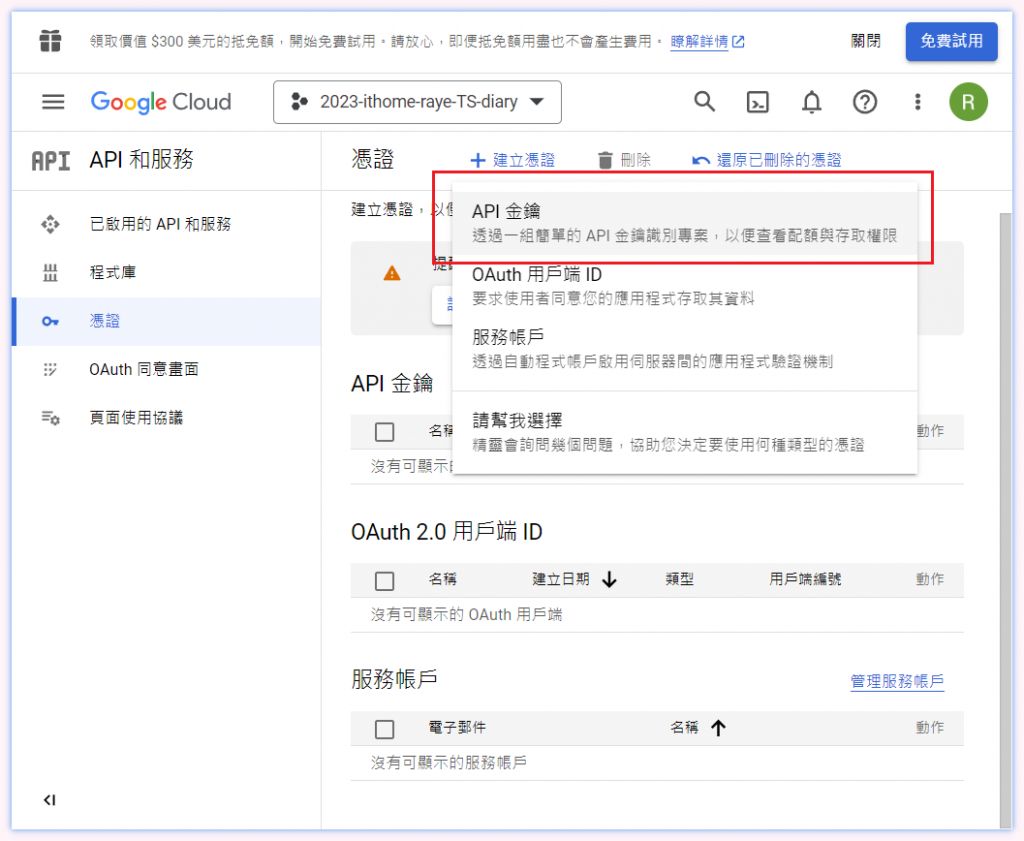
API 金鑰就產生了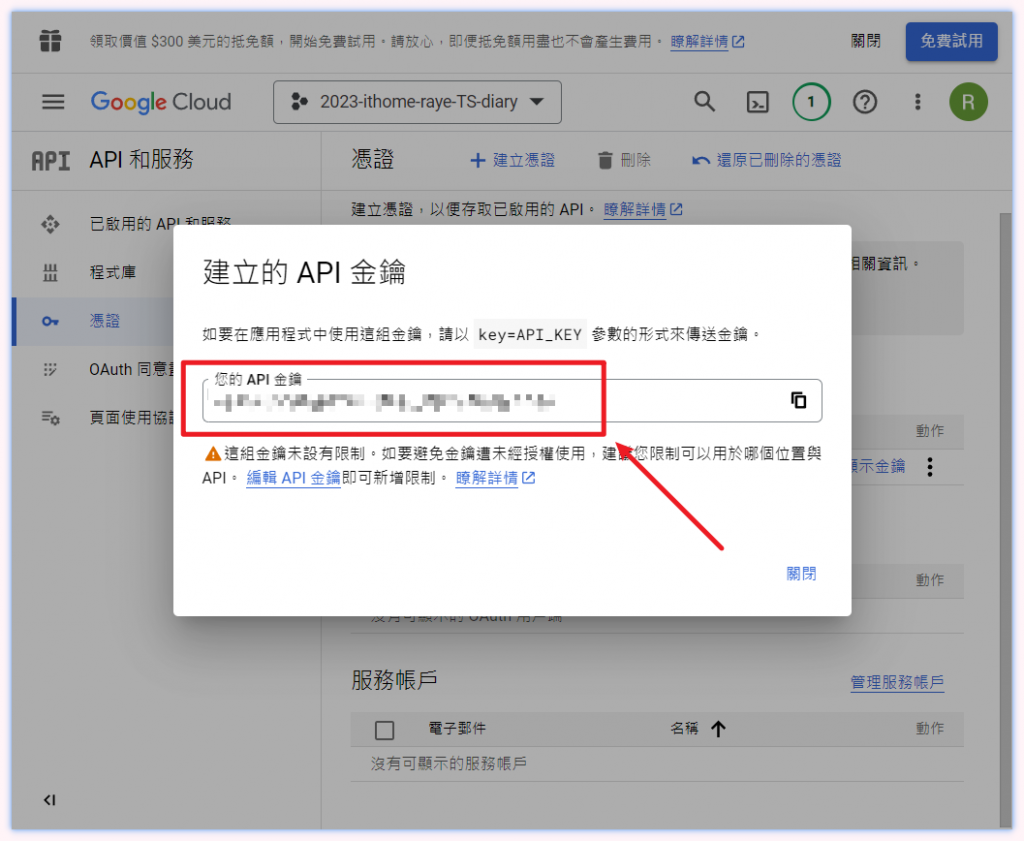
這樣 API Key 就成功生成了,但我們先別急著使用,先進行最後一步,再來把 KEY 塞進去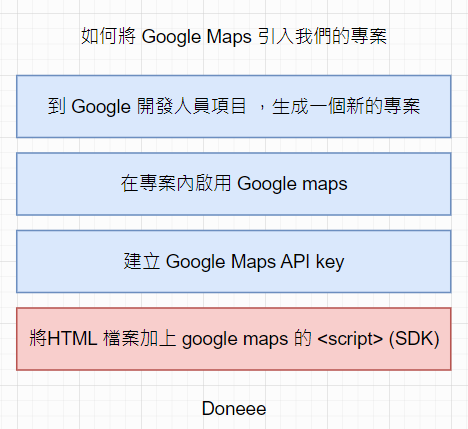
把 KEY 跟這段文字組合起來
https://maps.googleapis.com/maps/api/js?key=
your api key = aabbbcccc
https://maps.googleapis.com/maps/api/js?key=

=> https://maps.googleapis.com/maps/api/js?key=aabbbcccc
再將這段文字寫入 HTML 中的 <srcipt> 引入
<body>
  <script src="https://maps.googleapis.com/maps/api/js?key=aabbbcccc"></script>
  <script src="./src/index.ts"></script>
</body>
現在程式碼 index.html 應該會長類似這樣
這樣就完成了,DONE,接下來可以運行專案試試是否引入成功
指令 parcel index.html 開啟 dev tool,點選 js

可以看到 dev tool 裡面的 google maps js 請求,回應 200 就是成功囉
以上是今天的番外篇內容,過去學習到這邊的時候也是我第一次引用 Google API,希望記錄下來之後以後可以更熟悉
明天再來實際引用看看 google maps api,並介紹這種 JavaScript library 在 TypeScript 中需要做甚麼額外處理。


 iThome鐵人賽