昨天簡單的示範使用 tilemaker,將資料處理邏輯撰寫於 process.lua 內,讓 OSM 中的「山頂」資料 natural=peak 以及「三角點」資料 survey_point=* 可以被寫入向量圖磚中:
...

-- Assign nodes to a layer, and set attributes, based on OSM tags
function node_function(node)
  local natural = node:Find("natural")
  local survey_point = node:Find("survey_point")
  if natural == "peak" or natural == "volcano" or survey_point ~= "" then
    node:Layer("peak", false)
    if node:Holds("natural") then node:Attribute("natural", natural) end
    if survey_piont ~= "" then node:Attribute("survey_point", survey_point) end
    return
  end
end

...
另外我們也在 config.json 內指定 peak Layer 只會出現在 z10 到 z14 之間:
"layers": {
  "peak":    { "minzoom": 10, "maxzoom": 14 }
},
為了讓大家有點概念,每個縮放層級的目錄大概是這樣的:
z6 大約是台灣及其週邊海域的大小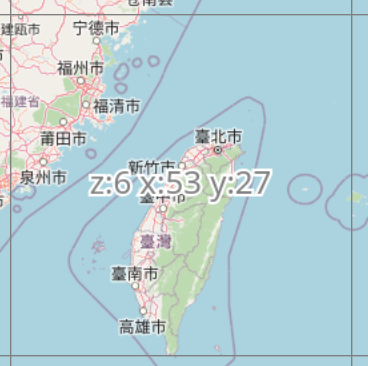
z8 大約是北台灣的大小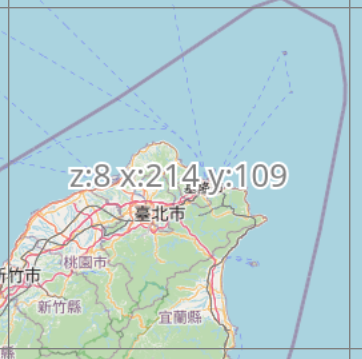
z10 大約是臺北市的大小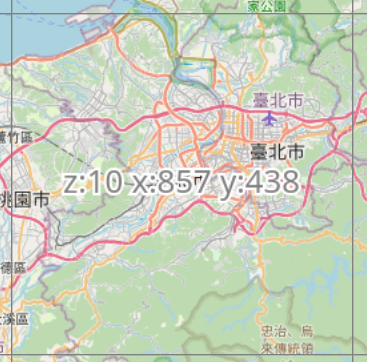
z12 大約是陽明山區的大小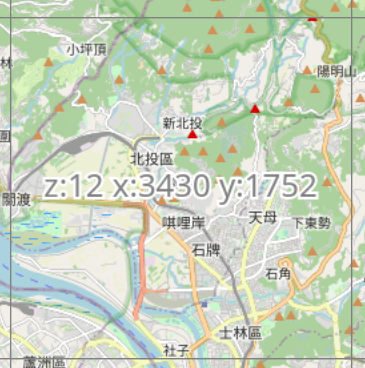
可以知道,從 z10 開始就將所有山頂放入圖磚不算是個好主意,因為在渲染時並不會用到全部的資料(否則畫面會太擁擠)。
因此,若我們希望從 z10 層級依序展示不同的山頂/三角點資料,會需要有一套邏輯,能夠篩選重要的物件到較低縮放層級的圖磚中。
根據 tilemaker 的相關文件,我們可以使用 Lua Function 來設定物件會被放在哪個縮放層級:
-- 設定 node 物件在多少的縮放層級才會被寫入圖磚
node:MinZoom(zoom)
再來,我們在 Day9 中也有提到:三角點是有分等級的。我們可以使用 survey_point=trig_1nd 與 survey_point=trig_2nd 來篩選比較重要的一等/二等三角點,因此,可以把 Lua 檔案中的 node_function 寫成這樣:
function node_function(node)
  local survey_point = node:Find("survey_point")
  if survey_point ~= "" then
    node:Layer("peak", false)
    node:Attribute("survey_point", survey_point)
    if survey_point == "trig_1st" then
      node:MinZoom(10)
    elseif survey_point == "trig_2nd" then
      node:MinZoom(11)
    else
      node:MinZoom(12)
    end
    return
  end
end
由於 natural=peak 並不分級,我們暫時把這些山頂拿掉。
可以看到程式碼中,一等三角點從 z10 開始出現,二等三角點從 z11 開始出現,所有三角點則會從 z12 開始出現。
接著,再執行 tilemaker 產生圖磚即可:
tilemaker --input taiwan-latest.osm.pbf \
          --output output/ \
          --config config.json \
          --precess process.lua
以 OSM 底圖作比較,可以看出向量圖磚的資料分布:
z10 中,只出現一等三角點: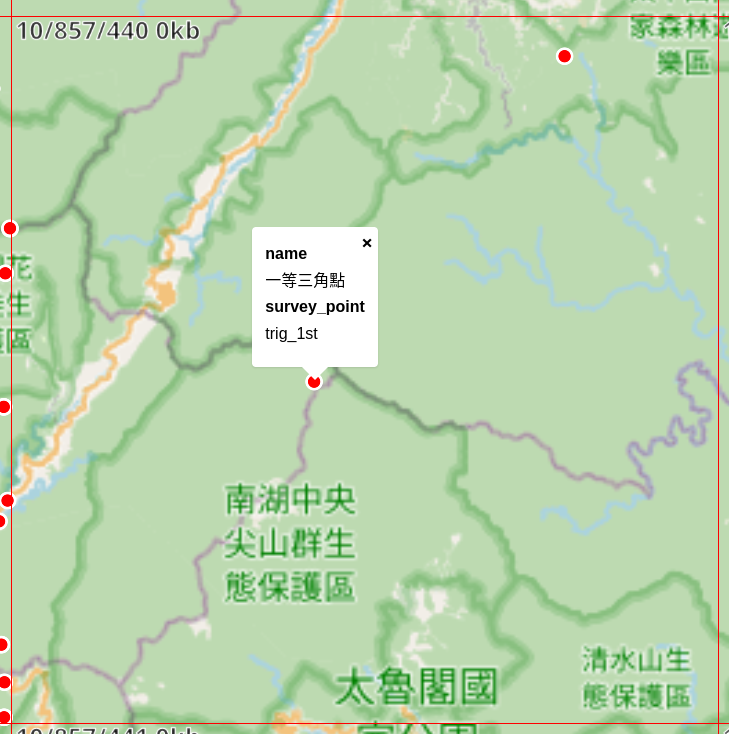
z11 中,出現了一些二等三角點: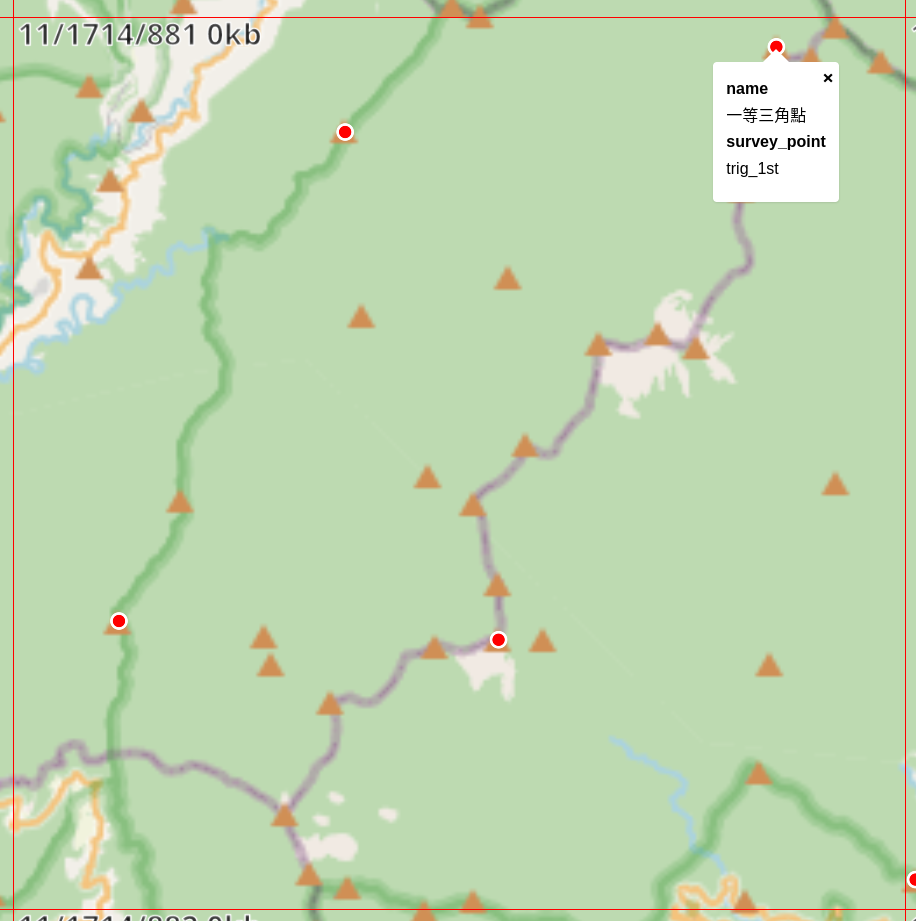
z13 中,出現了所有三角點:
OSM 底圖使用三角形來表示山峰。由於不是每個山峰上都會有三角點,因此我們可以看到圖中有數個山峰上沒有代表三角點紅點。
使用這樣的技巧,我們可以為 MVT 格式的向量圖磚進行設定,在同一 Layer 中,不同縮放層級可以具有不同數量的 Feature。這樣一來不僅可以減少圖磚大小,渲染後的結果也能讓畫面比較清爽。相關程式可見 Github。
今天展示用的 Web Map 使用了 OSM 作為底圖,並沒有提到實作細節。在 Mapblire 中如何撰寫相關的 Style 就留到明天再說。


 iThome鐵人賽