昨天使用了能實現 OpenMapTiles schema 的設定檔來產製圖磚,並成功在前端展示了 [MapTiler Terrain] 這份 Style (雖然沒有等高線以及山坡陰影)。
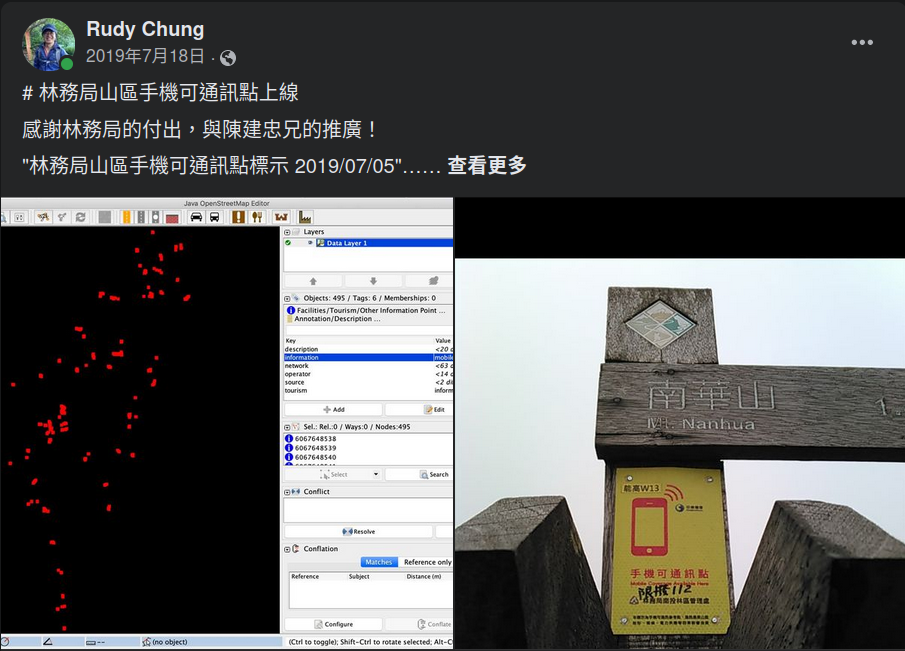
在該份 Schema 中,興趣點(POI=Point of Interest)的種類算是最多的。然而在台灣山區最重要的資訊卻沒有被收錄,那就是通訊點標示:

自 2019 年開始,在公務機關和圖客的努力下,OSM 中有關通訊點的標示漸漸完備。通常會使用如下的標籤表示:
tourism=information: 有關景觀的告示牌information=mobile: 記載手機的通訊點internet_access:operator: 維護基地台的電信商這麼重要的標示,現在就來把它納入地圖吧!
我們可以先新增一個圖磚的 Layer,用於容納山中健行相關的興趣點:
// config.json
"poi_hike":         { "minzoom": 13, "maxzoom": 14},
接著在 Lua 設定檔中,加入有關 tourism 這個 tag 中,我們感興趣的值。除了上述的通訊點之外,也可以加入山屋(tourism=alpione_hut)、營地(tourism=camp_site)等資訊:
-- process.lua
tourismKeys     = Set { "alpine_hut", "attraction", "camp_site", "caravan_site", "chalet", "guest_house", "information", "picnic_site", "viewpoint" }
再來在 node_function() 中,就可以加入相關的邏輯啦!
	local tourism = node:Find("tourism")
	if tourismKeys[tourism] then
		node:Layer("poi_hike", false)
		SetNameAttributes(node)
		node:Attribute("tourism", tourism)
		local information = node:Find("information")
		local operator = node:Find("internet_access:operator")

        -- 若是通訊點,則加入相關的屬性
		if information == "mobile" and operation ~= "" then
			node:Attribute("information", information)
			node:Attribute("internet_access:operator", operator)
		end
	end
在上面我們新增了一個 Layer poi_hike,那接著就可以使用 filter 來篩選通訊點的資料。先寫下「通訊點」三個字即可:
    {
      "id": "mobile_label",
      "type": "symbol",
      "source": "openmaptiles",
      "source-layer": "poi_hike",
      "minzoom": 13,
      "filter": ["==", "information", "mobile"],
      "layout": {
        "text-anchor": "top",
        "text-field": "通訊點",
        "text-max-width": 8,
        "text-offset": [0, 0.5],
        "text-size": 18,
        "visibility": "visible"
      }
    },
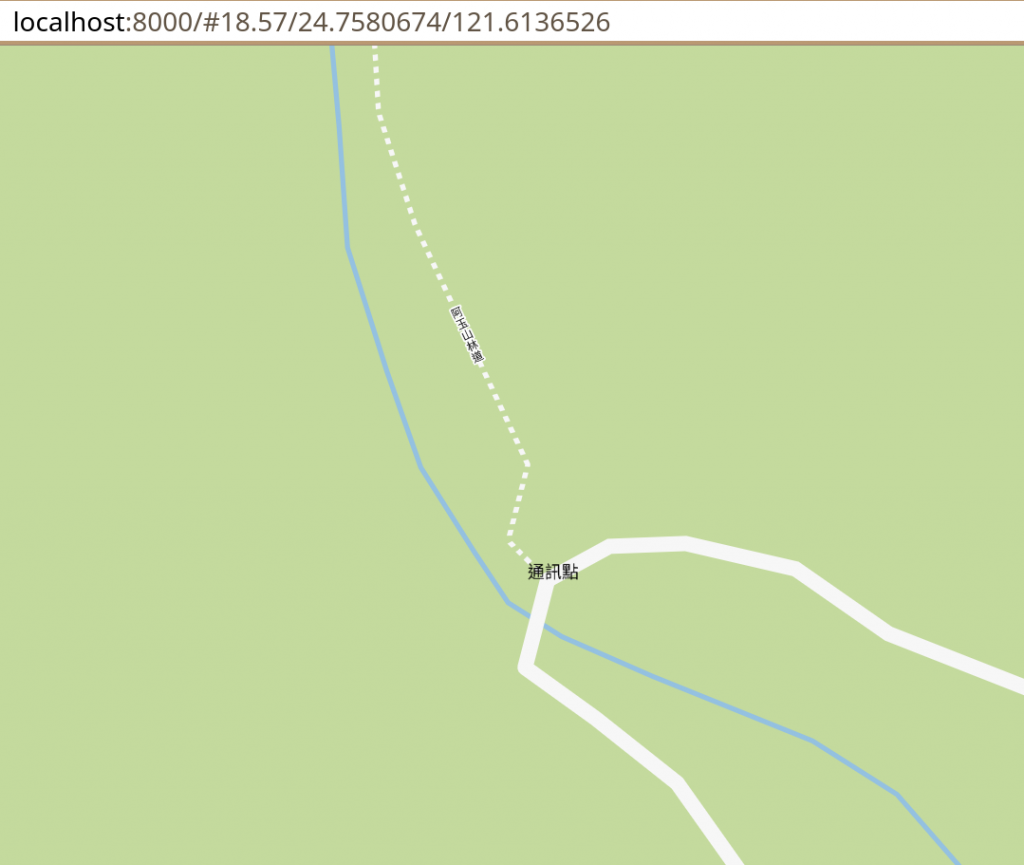
渲染的成果如下:
