先來設定 Section
Section 能夠分類網路來進行管理
不過現存環境只有一個 好像也不怎麼能管就是了哈哈:D
但一樣我們自己來建個 Section 吧 在上方工具列的右邊 Administration 按下去
找到 IP related management -> Section 點進去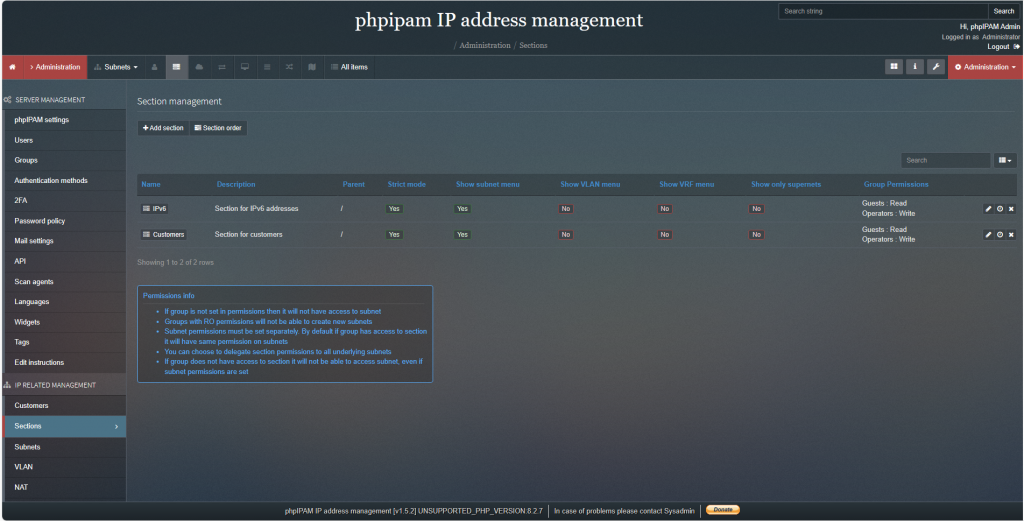
先來刪除預設的 Customer 按下 delete 確認刪除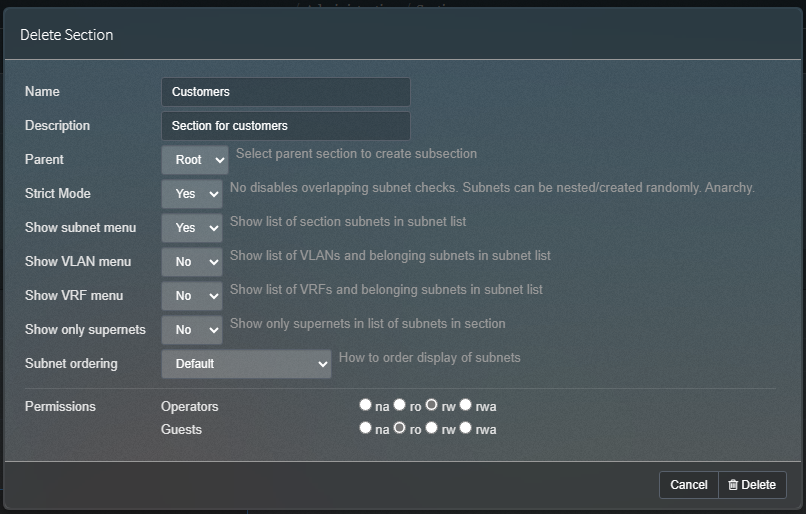
如果這邊遇到 jQuery 的問題可以自己用 MySQL 連進去 Database 手動刪除
刪除完後就來增加自己的 這邊我用 ironman.test 當作我的 Section name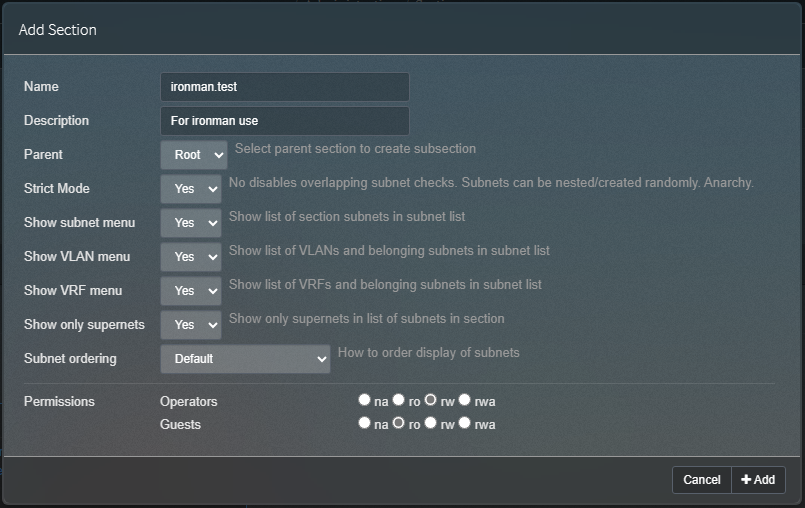
接著設定 Nameserver
Nameserver 也就是 DNS Server
在這邊若是我們有設定反解的話 未來 phpIPAM 在掃描到有 IP 被使用要登記上來時會先來找反解
透過 IP -> Domain Name 來登記主機名稱欄位到紀錄上
這樣子就不用自己手動敲 Hostname 上去
一樣透過右上角的 Administartion -> IP related management -> Nameservers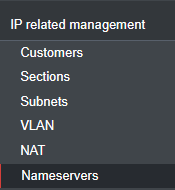
就會進來這個介面 接著按左上角的 add nameserver set
來新增自己的 DNS 上去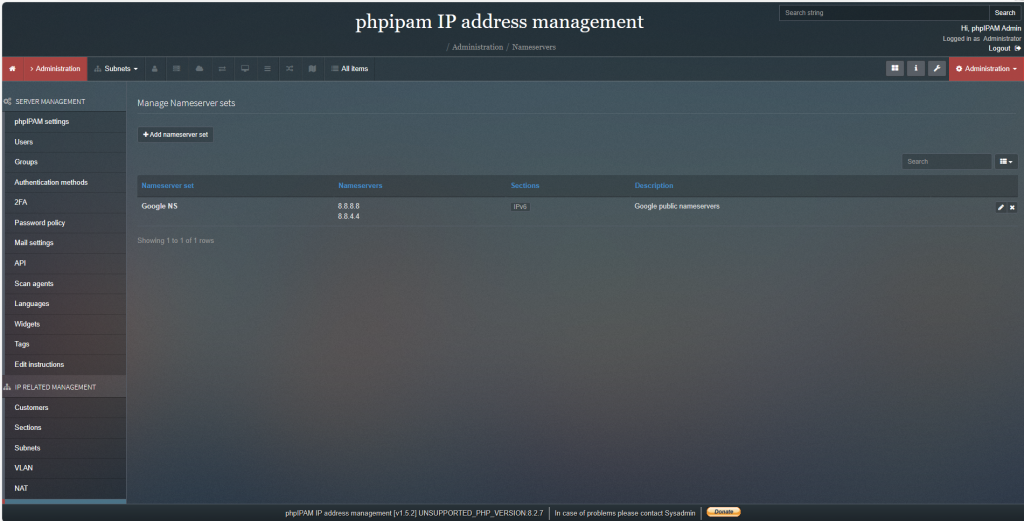
記得要勾下面的小勾勾選擇要套用的 Sections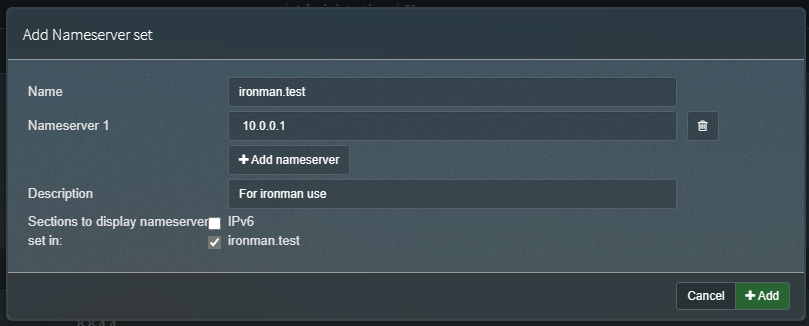
設定完就右下 Add 按下去建立
接著就去建立 Section 的 Subnet吧
案左上角 Subnets 選 ironman.test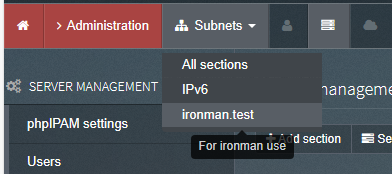
Add Subnet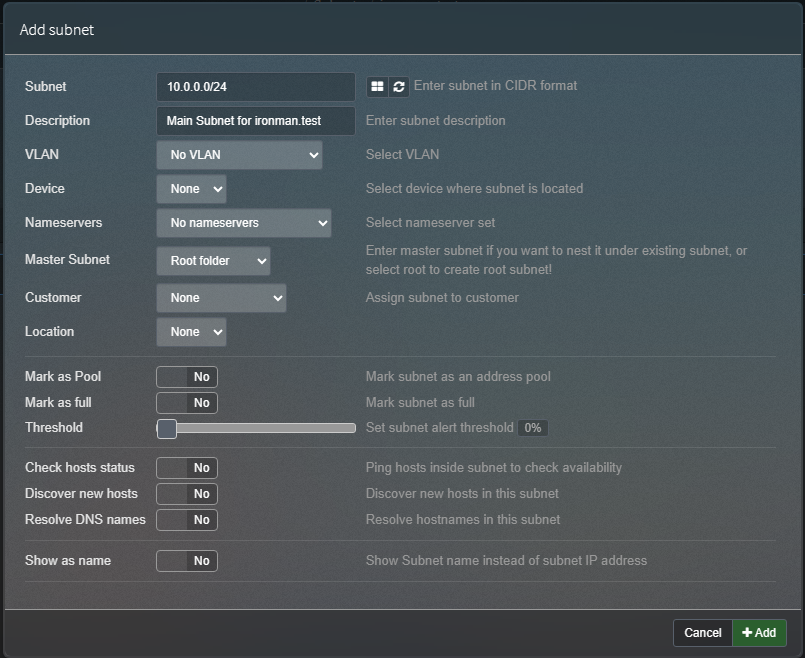
這邊要做一下設定
設定好後就點開進去看看吧
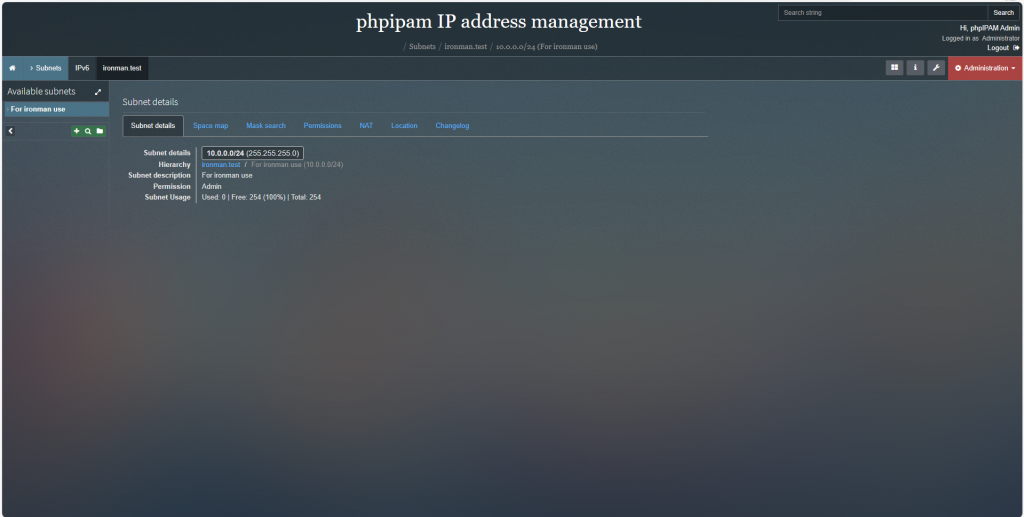
摁 甚麼都沒有 這邊可以等他一下
這邊決定使用手動新增:D
看起來很棒 才怪 Windows 的 Client 要記得開 ICMP 才會被 phpipam 偵測到
接著來解決自動化的問題吧
摁 看起來沒自動抓是 Agent 的問題 來補裝個 Agent
先用 Git 抓 agent 程式下來
cd /var/www
git clone --recursive https://github.com/phpipam/phpipam-agent/ phpipam-agent
cd phpipam-agent
cp config.dist.php config.php
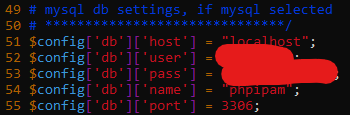
接著來編輯一下 config.php 把資料庫連線資料設一設
vim config.php
然後設定一下排程讓他自動跑起來
crontab -e

*/15 * * * * php /where/your/agent/index.php update
*/15 * * * * php /where/your/agent/index.php discover
最後把 config.php 裡面的 Key 複製起來
然後到管理頁面 選擇 Administration -> Server Managemant -> Scan agents
Create New Agent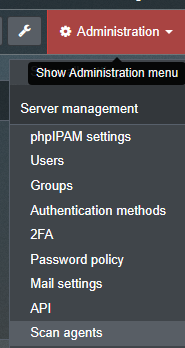
然後貼上剛剛的 Key 到 Code 上就好了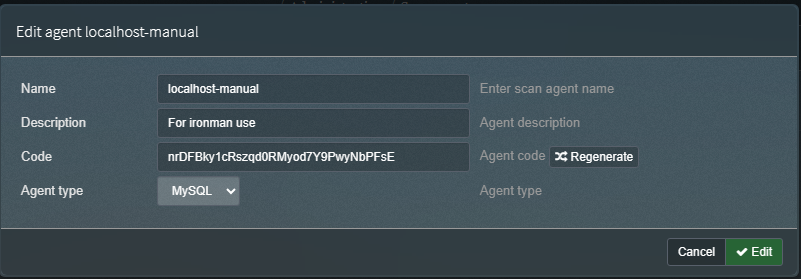
phpIPAM 還有提供硬體管理的功能
隨然比不上專門管理用的軟體但還是可以稍微用一下
上方工具列點選那個看起來像螢幕的
然後就會進來硬體的管理介面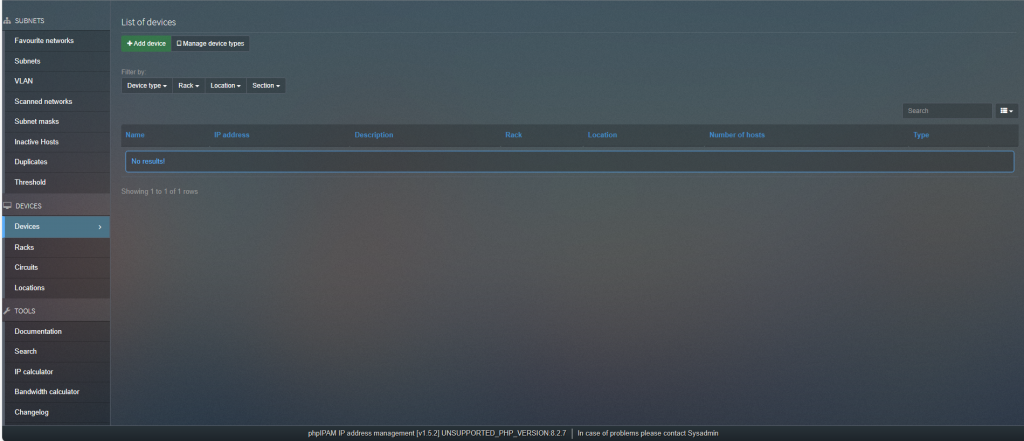
按下 Add Device 看看
可以選擇裝置類別和放置於哪一個 Rack
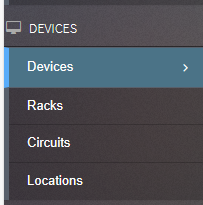
在左側找到 Rack 就可以進來管理頁面了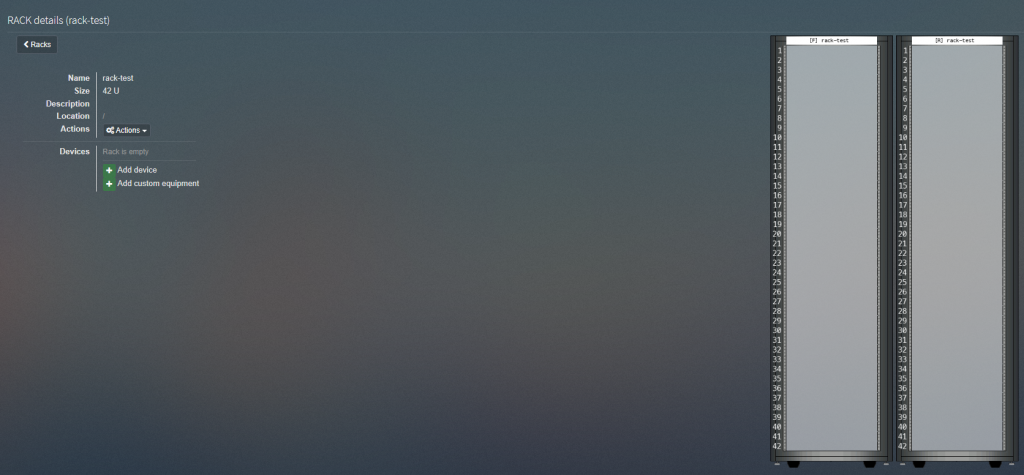
建好後的 Rack 長這個樣子