來到第16天
終於迎來了一個重要的篇章
利用動態Vue-Router實現書單編輯功能
在這一篇中,我們將一樣要步入實作
不再多說廢話
直接開始吧!
讓我們的書單系統更具互動性,一起來看看吧! 😄📚✨
回到之前路徑router/index.ts
加上代碼
export const routesStatus = {
  HOME: "Home",
  BOOKINFOID:"GetID",
} as const;

export type RoutesStatus = (typeof routesStatus)[keyof typeof routesStatus];
且在我們之前新增表單的component路由
再加上一個路由
預計可以取得一個單筆資料的id 也是一個path
 {
    path: "/form",
    name: "Form",
    component: () => import("../components/BookForm.vue"),
  },
  ,
  {
    path: "/form/:id",
    name: routesStatus.BOOKINFOID,
    component: () => import("../components/BookForm.vue"),
  },
];
回到這隻檔案BookList.vue
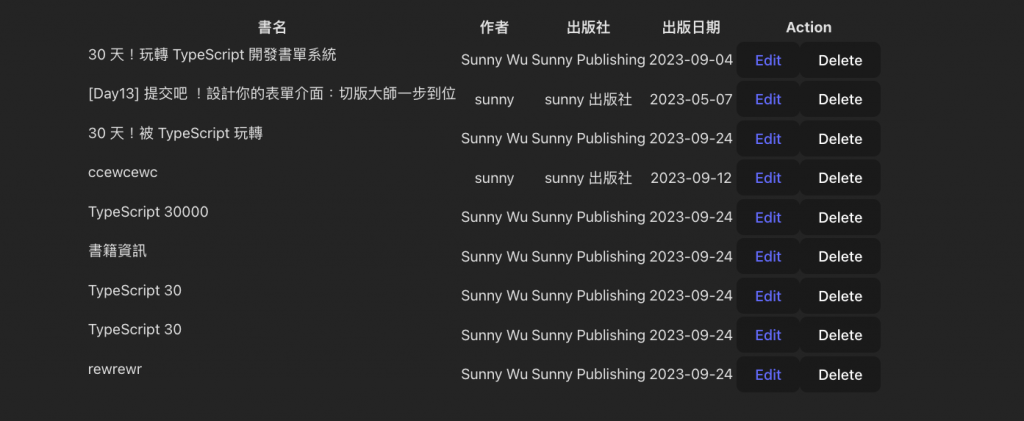
加上一個可以[編輯]的按鈕以及router-link
     <tbody>
        <tr v-for="book in books" :key="book.id">
        <div class="text-left">
          <td > {{ book.bookTitle}} </td>
        </div>
          <td> {{ book.author}} </td>
          <td> {{ book.publisher}} </td>
          <td> {{ book.publicationDate}} </td>
          <td>
            <button type="button"> <router-link :to="{ name: routesStatus.BOOKINFOID, params: { id: book.id } }">Edit</router-link></button>

          <button type="button" @click="checkDelete(book.id)" class="b-red">Delete</button>

          </td>

        </tr>
      </tbody>

原本的新增表單檔案BookForm.vue
import { useRoute } from 'vue-router'
  const route = useRoute()
  console.log(route.params.id);
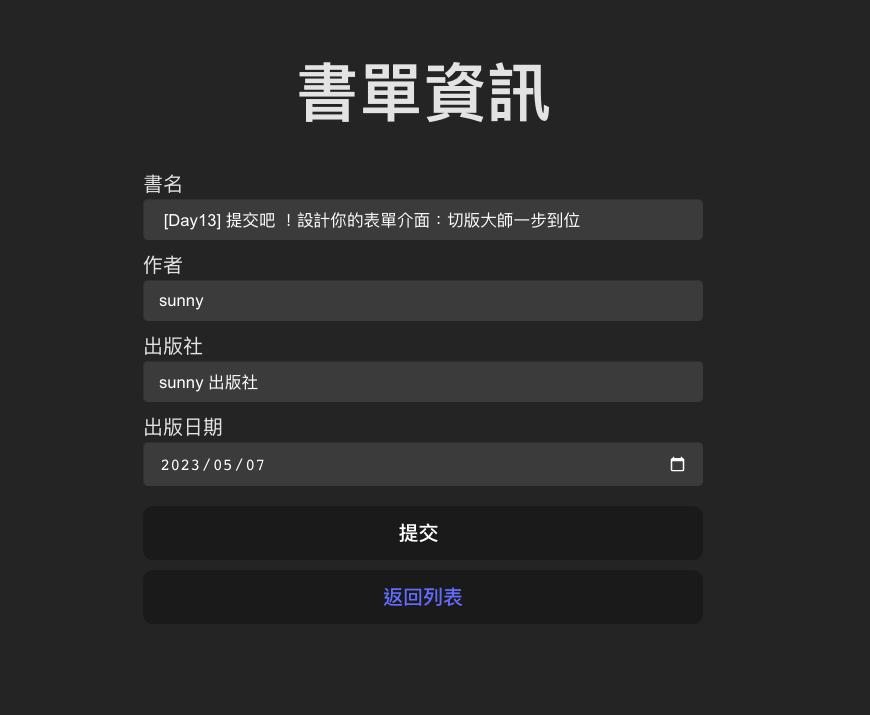
點擊後[Edit]編輯按鈕後可以看到表單控制台
有印出帶過來的參數route.params.id

恭喜我們已經會用Vue-Router囉!
取得route.params.id後我們要利用這個參數
帶一筆資料給我們的編輯表單
到firebase.ts這隻檔案
來使用一個官方提供的方法doc,getDoc
import {
  getFirestore,
  collection,
  addDoc,
  doc,
  getDoc,
  deleteDoc,
  setDoc,
} from "firebase/firestore";


export const getBookInfo = async (id: string) => {
  const infoRef = doc(db, "bookInfo", id);
  const info = await getDoc(infoRef);
  return info.exists() ? info.data() : null;
};
因為也需要一個編輯更新的功能
所以也要使用官方提供的更新方法setDoc
export const updateBookInfo = (id: string, info: any) => {
    const infoRef = doc(db, "bookInfo", id);
    setDoc(infoRef, info);
};
接下來,在下一篇文章中
我們會進一步結合我們所學的工具
以完善這一功能
我們將會如何在同一個組件中處理新增和編輯功能
並且可以讓程式判斷當下需要做什麼事情
如果新增界面和編輯界面需要不同的樣式和文字
我們也會學習如何實現這些差異化的修改
讓我們一同期待下一篇文章的發布吧!😄📚✨
