iT邦幫忙

2023 iThome 鐵人賽

DAY 18
0

Cypress 的 官方文件 寫得頗詳細。
首先在專案中安裝 Cypress:

npm install cypress --dev-save

接著,開啟它的圖形化介面:

npx cypress open

會看到「Welcome to Cypress!」的介面。此時,選擇 E2E Testing
https://ithelp.ithome.com.tw/upload/images/20231002/20161783PdRfMB3zhf.png

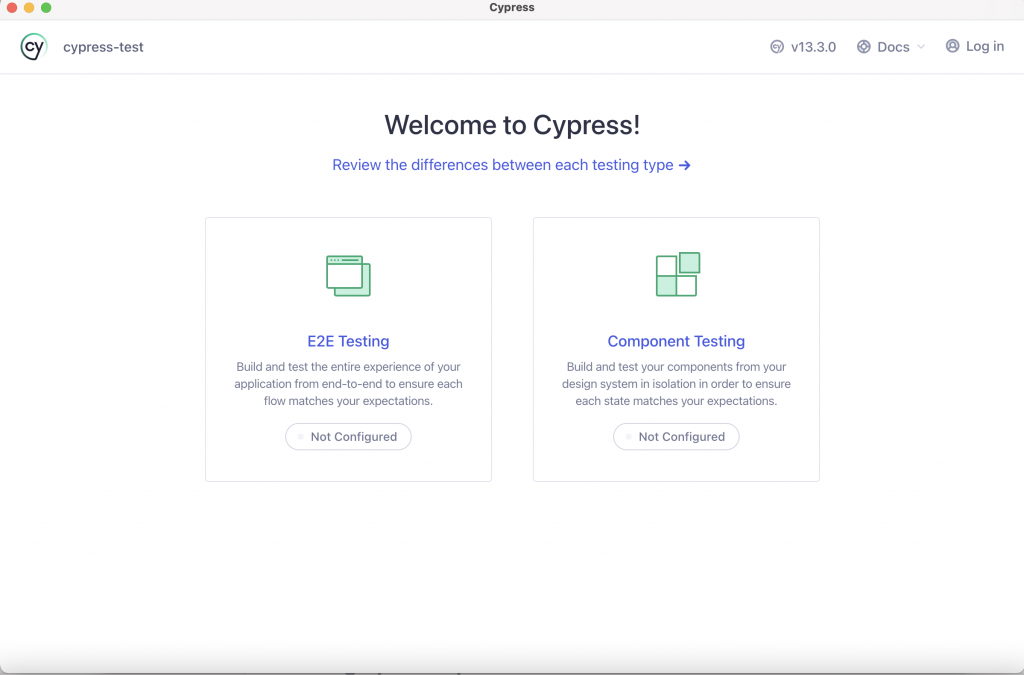
在此,會出現初始化的檔案,按 Continue
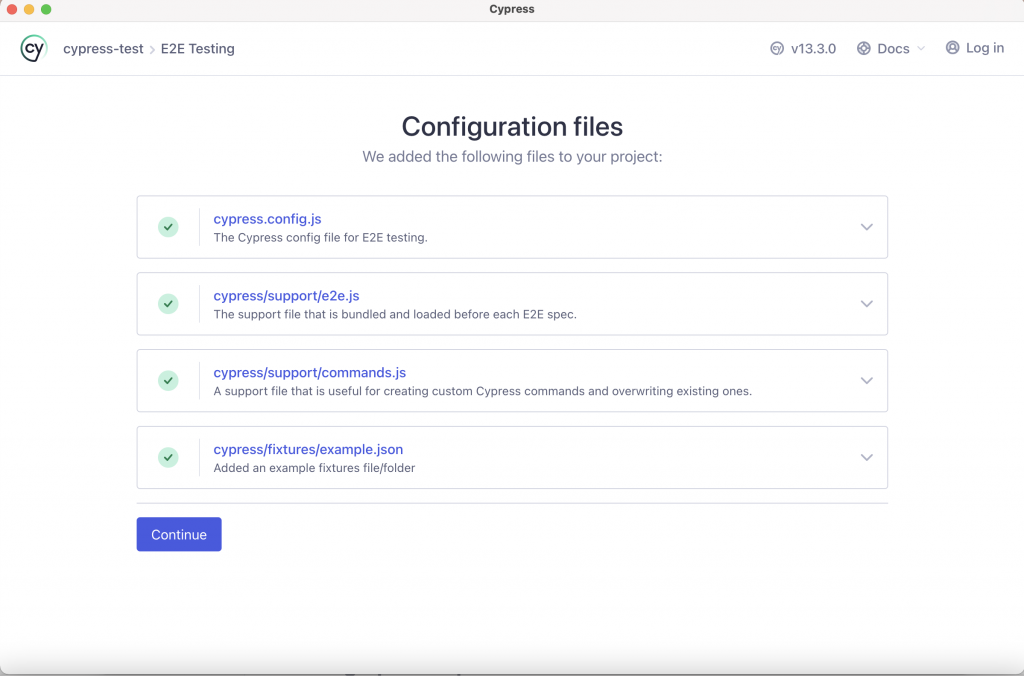
https://ithelp.ithome.com.tw/upload/images/20231002/20161783fTvH9dKSxL.png

介面讓你可以選擇不同的瀏覽器,
目前支援的有 Chrome、Edge、Electron、Firefox
https://ithelp.ithome.com.tw/upload/images/20231002/20161783u2GYmpEAjH.png

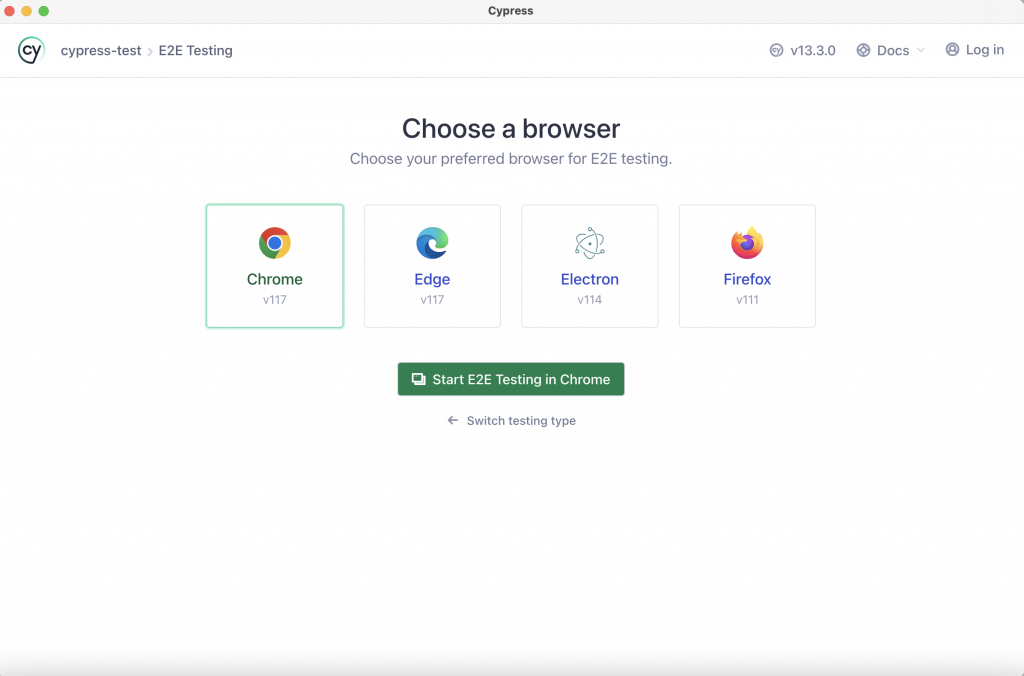
此時,回到專案中,會看到多了 cypress 資料夾及 cypress.config.js 設定檔。
https://ithelp.ithome.com.tw/upload/images/20231002/20161783F4GAWahnPq.png

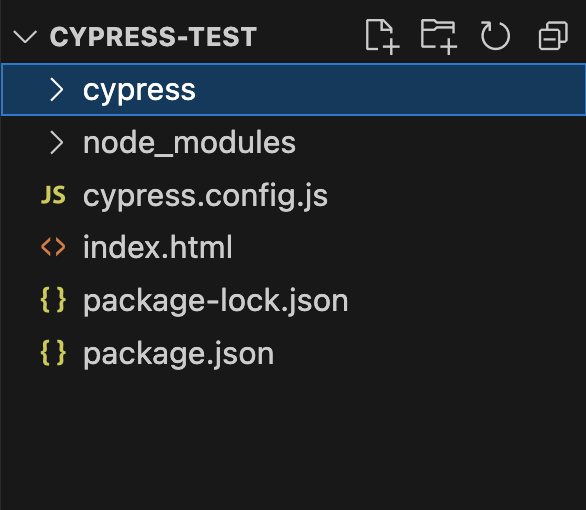
cypress 資料夾底下又細分成 downloads、fixtures、support 等資料夾:
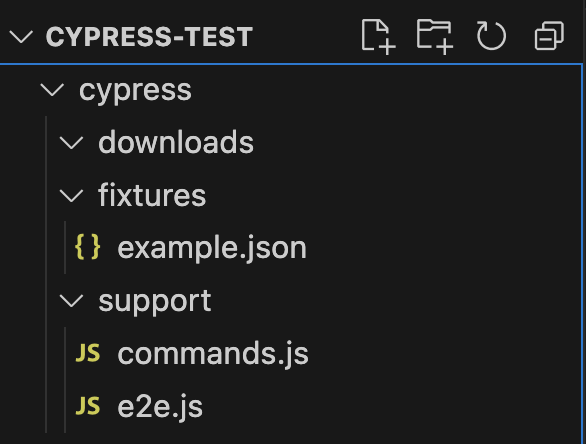
https://ithelp.ithome.com.tw/upload/images/20231002/20161783zpPXhEzRb4.png

  • download
    在此管理外部資源
  • fixtures
    可以放靜態資料、情境的測試資料(data.json、帳號密碼)
  • support
    index.js:在此載入套件
    command.js:可放些共用的指令(ex.每次都要做登入動作,可將登入寫成一個
    command 的方式使用)
  • e2e
    放置 test 的資料夾,並將測試命名為 [測試檔名].cy.js

這邊要特別提到的是,在 Cypress 6.0.0 以前的版本,除了上述,還有 integration 及 pulgins 資料夾。並且 cypress 的配置檔案為 cypress.json。
Cypress 6.0.0 做了改版,原本測試檔案需放置在 integration 資料夾底下,並命名為 [測試檔名].spec.js。現在則放在 e2e 資料夾底下,並命名為 [測試檔名].cy.js (ex. lunch.cy.js)。而原本放置在 plugins 底下的外掛元件,在新版中直接放置於 support 底下的 command.js 。
新版可以使檔案結構更乾淨、簡潔明瞭。

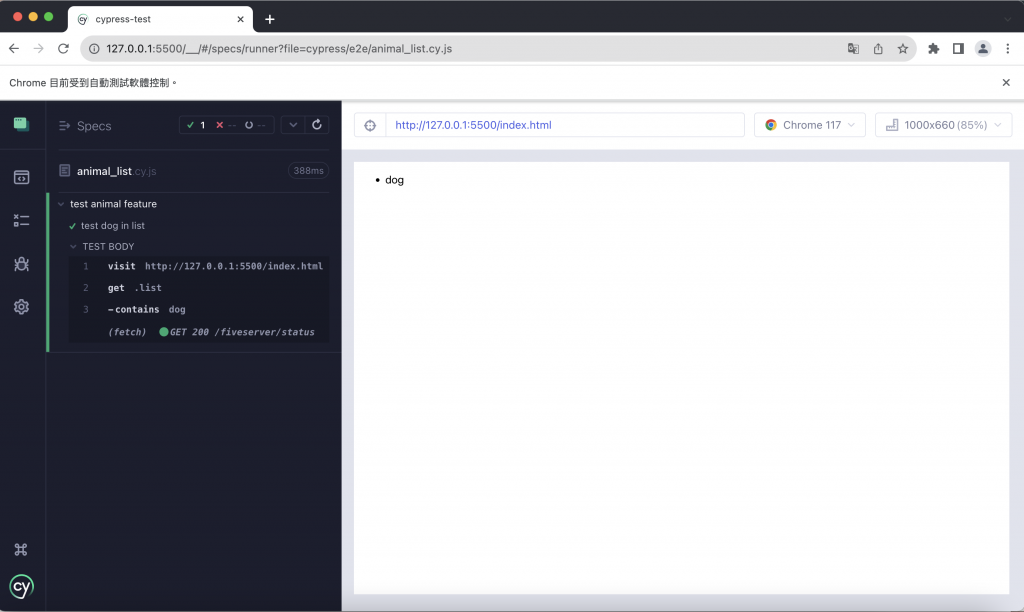
那麼,我們就來撰寫第一個測試 animal_list.cy.js,即可使用圖形化介面,觀看測試結果囉!
https://ithelp.ithome.com.tw/upload/images/20231002/20161783n7W33NghLD.png


上一篇
[Day 17] 理解端對端測試(二)- 何時該寫端對端測試
下一篇
[Day 19] 理解端對端測試(四)- Cypress 使用方法
系列文
手動測試好累喔!一起來寫前端自動化測試吧~30
圖片
  直播研討會
圖片
{{ item.channelVendor }} {{ item.webinarstarted }} |
{{ formatDate(item.duration) }}
直播中

尚未有邦友留言

立即登入留言