現在首頁的文章是直接顯示,文章的全部內容
應與原有 Wordpress 一樣,只顯示部分內容,要看完整文章就要點 繼續閱讀 的按鈕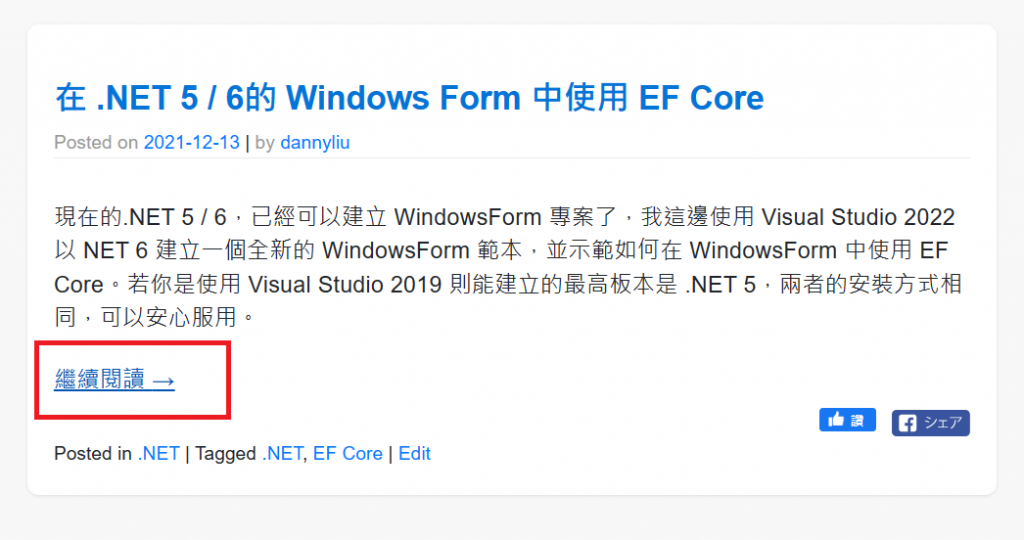
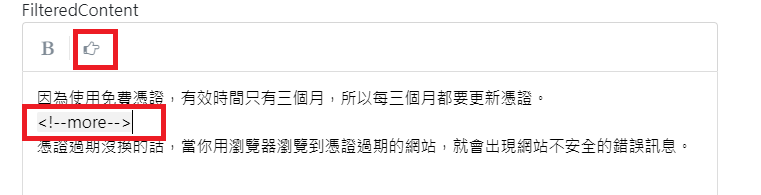
而這個 繼續閱讀 的按鈕,是用 <!--more--> 標籤做判斷依據的
<!--more--> 在 HTML 語法裡面是註解,不會被瀏覽器渲染。可以作為我們程式節錄部分內容的依據。
這邊我要在 SimpleMDE 編輯器的工具列上,客製化一個按鈕,來幫我們插入 <!--more-->
這部分就是看 SimpleMDE 提供的文件,從範例文件上,與 SimpleMDE 的原始碼 來看,若要在工具列上面顯示新工具,需要把所有要顯示的項目列舉出來,在初始化時設定。
action 是按鈕觸發時要做的動作,className 對應 fontawesome 的按鈕
var simplemde = new SimpleMDE({
	toolbar: [{
			name: "bold",
			action: SimpleMDE.toggleBold,
			className: "fa fa-bold",
			title: "Bold",
		},
		{
			name: "custom",
			action: function customFunction(editor){
				// Add your own code
			},
			className: "fa fa-star",
			title: "Custom Button",
		},
		"|", // Separator
		...
	],
});
在原始碼第1069行
有宣告工具列各個按鈕的設定,我們選擇需要的按鈕複製起來,搭配我們新定義的按鈕做設定
var toolbarBuiltInButtons = {
	"bold": {
		name: "bold",
		action: toggleBold,
		className: "fa fa-bold",
		title: "Bold",
		default: true
	},
	"italic": {
		name: "italic",
		action: toggleItalic,
		className: "fa fa-italic",
		title: "Italic",
		default: true
	},
    ...
    }
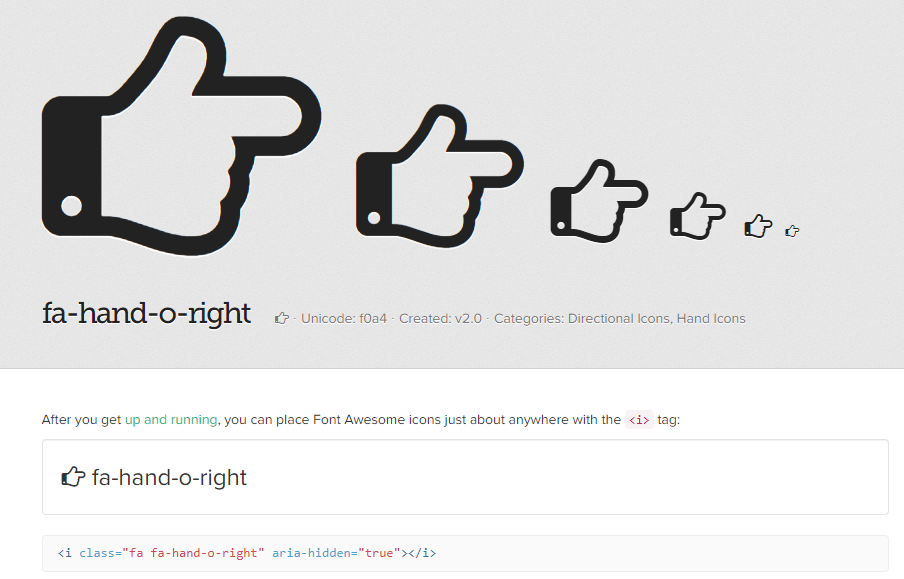
定義動作我們把之前插入圖片的程式碼帶入使用,圖示就從 fontawesome 4 上找一個適合的就可以了
var pos = simplemde.codemirror.getCursor();
simplemde.codemirror.setSelection(pos, pos);
simplemde.codemirror.replaceSelection(`<!--more-->`);
這邊我就簡化一下輸入進去的
    var simplemde = new SimpleMDE({
        element: document.getElementById("FilteredContent") ,
        toolbar: [{
            name: "bold",
            action: SimpleMDE.toggleBold,
            className: "fa fa-bold",
            title: "Bold",
        },
            "|", // Separator,
        {
            name: "more",
            action:  _addMore ,
            className: "fa fa-hand-o-right",
            title: "More",
        }]
    });

    function _addMore(){
        var pos = simplemde.codemirror.getCursor();
        simplemde.codemirror.setSelection(pos, pos);
        simplemde.codemirror.replaceSelection(`<!--more-->`);
    }
因為在閱讀 SimpleMDE 的文件中,有找到提供轉換成 HTML 的方法,故移除 showdown.js 這個套件
var html = simplemde.options.previewRender(markdown);
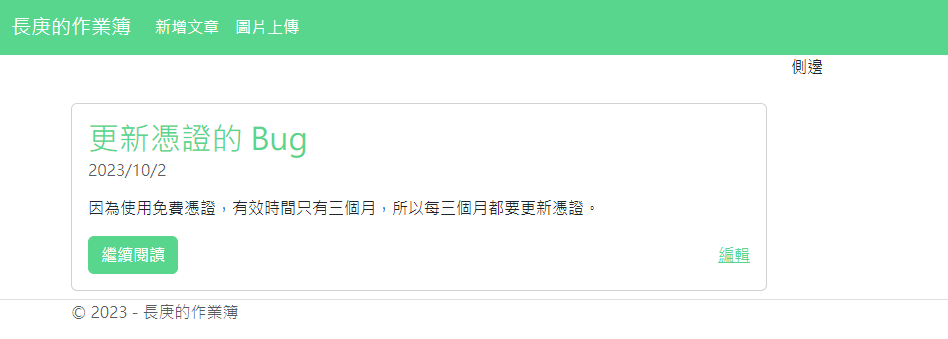
接下來把首頁文章列表中,每個文章內容只取開頭到<!--more-->的部分就好
並調整一下排版
<div class="card mt-3">
    <div class="card-body">
        <h2 class="card-title">
            <a asp-action="Post" asp-route-id="@item.Id"
                class="link-underline link-underline-opacity-0">@item.Title</a>
        </h2>
        <h6 class="card-subtitle mb-2 text-muted">
            @item.PublishDate.ToShortDateString()
        </h6>
        <p class="card-text">
            @{
                int index = item.Content.IndexOf("<!--more-->");
                if (index != -1)
                {
                    @Html.Raw(item.Content.Substring(0, index));
                }
                else
                {
                    @Html.Raw(item.Content);
                }
            }
        </p>
        <div class="d-flex justify-content-between align-items-center">
            <a asp-action="Post" asp-route-id="@item.Id" class="btn btn-primary text-white">繼續閱讀</a>
            <a asp-action="UpdatePost" asp-controller="Admin" asp-route-id="@item.Id">編輯</a>
        </div>
    </div>
</div>
其中取消連結下底線是 Bootstrap 5.3 的語法
class="link-underline link-underline-opacity-0"
內文使用 IndexOf("<!--more-->") 找出斷點,使用 Substring(0, index) 擷取開頭到 <!--more--> 之前的字串,最後用 @Html.Raw(item.Content) 使渲染 HTML
詳細程式碼可以到 GitHub 看


 iThome鐵人賽