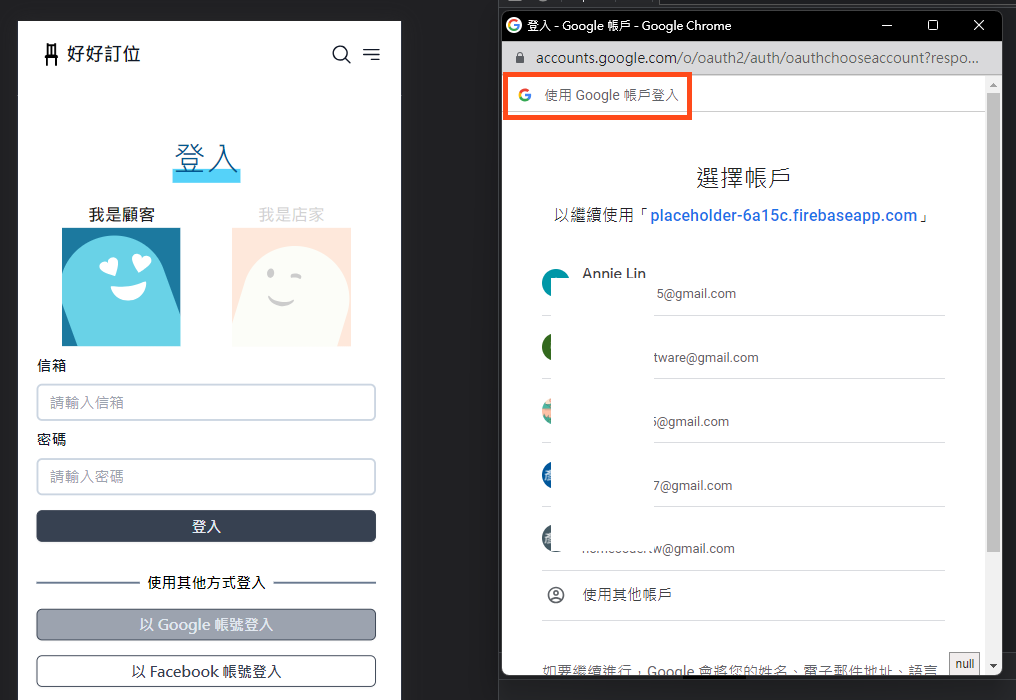
會員管理終於來到最終章,因為其他功能都是 CRUD,而且也因為 Firebase 將使用者認證這塊切得很細,所以花較多的篇幅來介紹。然而雖然使用者在註冊成功當下,Firebase 預設會將其自動登入,但還是要實作一般登入的情境啊!所以會對應註冊,介紹今天完成的三種登入方式與登出功能。
基本上 getAuth 就是一定要呼叫的核心函式,其他函式命名也都很直覺(使用什麼動作、方式等),只要記得於 Firebase Console 控制台中有先開啟對應的服務即可。
溫馨提醒:以下內容看到的
showNotify是我個人封裝使用的提示彈窗,並不是 Firebase 的功能。有需要的話,可以放入自己需要的內容或執行其他處理。
import { getAuth, signInWithEmailAndPassword } from "firebase/auth";
  async function onSubmit(e) {
    e.preventDefault();
    try {
      const auth = getAuth();
    } catch (error) {
    }
  };
  async function onSubmit(e) {
    e.preventDefault();

    try {
      const auth = getAuth();
      const userCredential = await signInWithEmailAndPassword (
        auth,
        email,
        password
      );

      showNotify("success", "登入成功");
    } catch (error) {
      showNotify("error", "登入失敗,請確認是否填寫有誤");
      console.log("error =>", error);
    }
  };
import { getAuth, GoogleAuthProvider, signInWithPopup } from "firebase/auth";
  async function onSubmit(e) {
    e.preventDefault();
    try {
      const auth = getAuth();
    } catch (error) {
    }
  };
  async function onSubmit(e) {
    e.preventDefault();

    try {
      const auth = getAuth();
      const provider = new GoogleAuthProvider();
      const result = await signInWithPopup(auth, provider);
      const user = result.user;

      showNotify("success", "登入成功");
    } catch (error) {
      showNotify("error", "登入失敗,請確認是否填寫有誤");
      console.log("error =>", error);
    }
  };

在功能選單的元件、路由對應頁面的載入等等都要加入,依個人規劃同而有差異。
import { getAuth, onAuthStateChanged } from "firebase/auth";
const auth = getAuth();
onAuthStateChanged API 呼叫成功後,是否有回傳 user 這包資料,如果有即可設定個人需要的 state 值(例如是否已登入)或將 user 資料做加工處理等。useEffect(() => {
onAuthStateChanged(auth, (user) => {
if (user) {
setIsLogin(true);
} else {
setIsLogin(false);
}
});
}, [auth]);
import { getAuth } from "firebase/auth";
const auth = getAuth();
const onLogout = () => {
    auth.signOut();
    navigate("/");
}
今天實作的內容都較為簡單,Firebase 服務真的便利到讓人驚豔!稍微有些後端概念,我相信都很好上手,明天再繼續加油!
