先前我們已經學習過如何使用 Vue CLI 來建立專案,也學會如何撰寫一些簡單的專案了。今天就要來教大家如何將 Vue 專案部署到 GitHub Pages ,我們繼續看下去吧~
部署到 GitHub
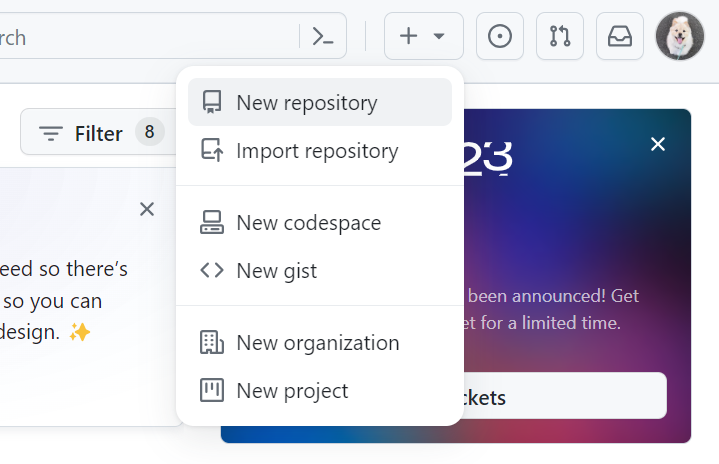
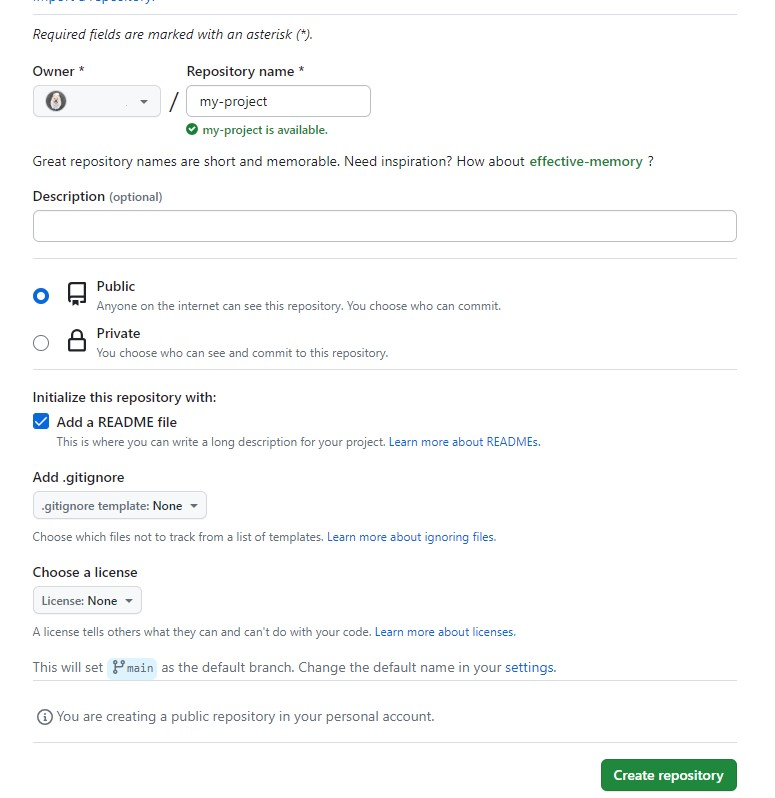
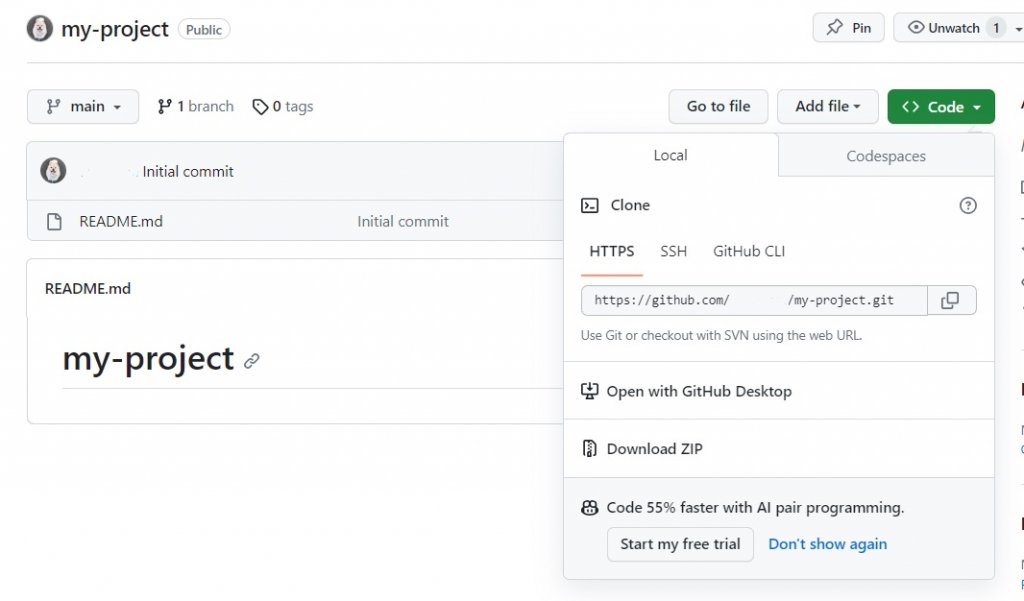
- 首先先在 GitHub 上點選 New repository 建立儲存庫
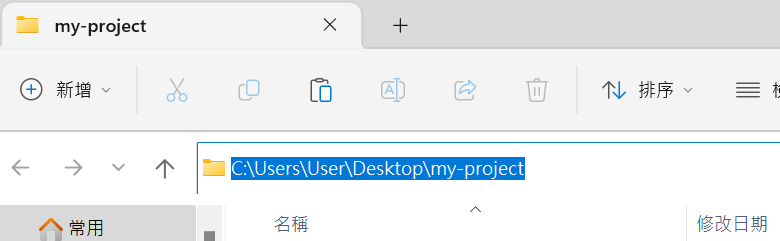
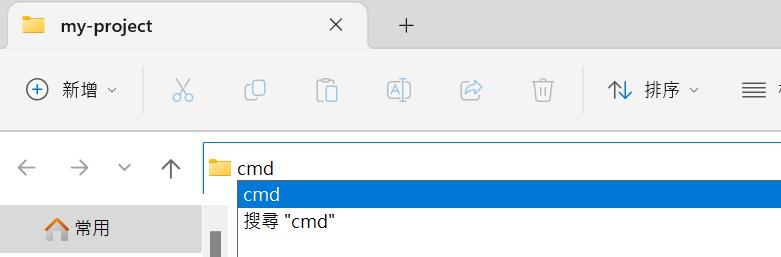
- 到相對應的資料夾路徑開啟 cmd
- 執行
git clone +網址
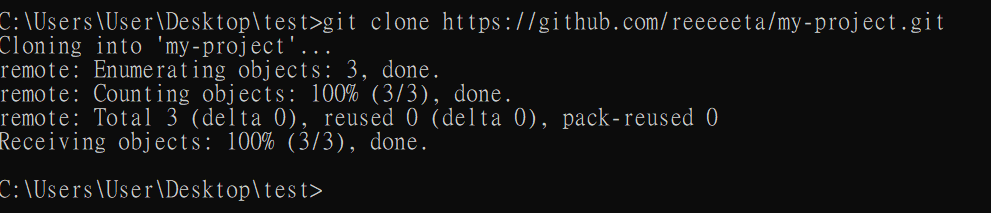
網址在 GitHub 上可以找到
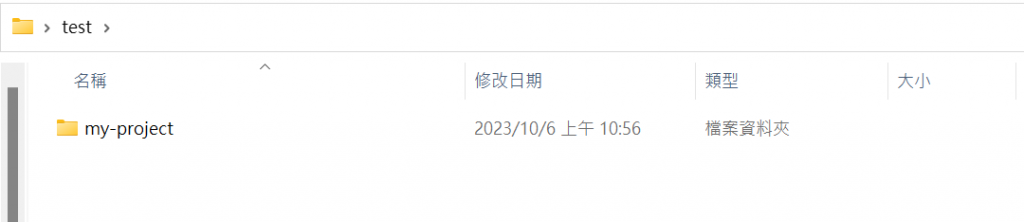
完成後會多一個 my-project 的資料夾
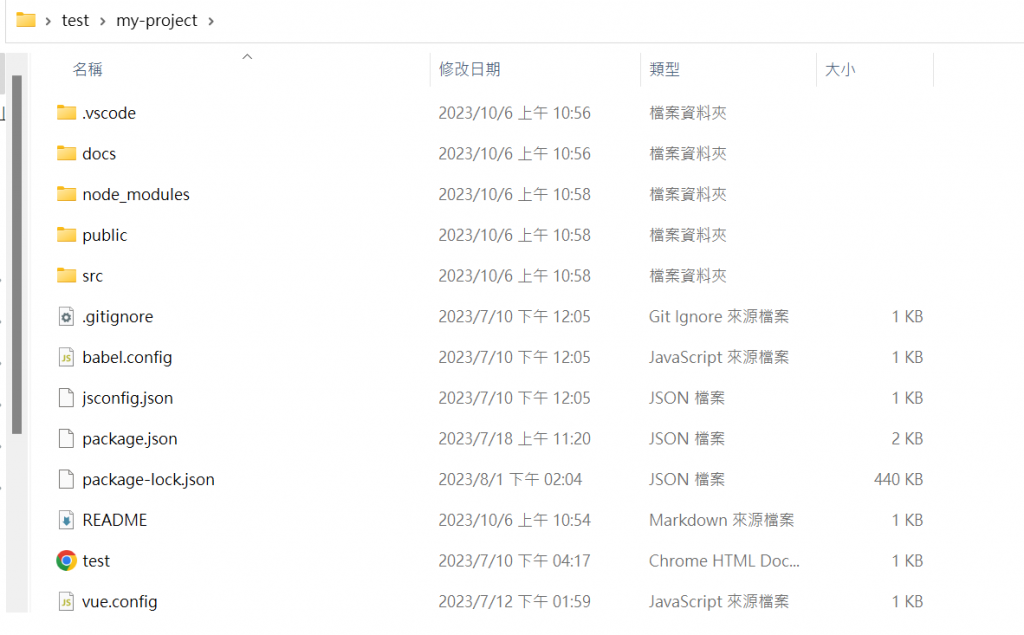
- 接著將專案的內容移動到剛剛建立的資料夾內(原本資料夾內只有README檔案)
-
回到 VSCODE 將檔案提交
點選加號暫存變更
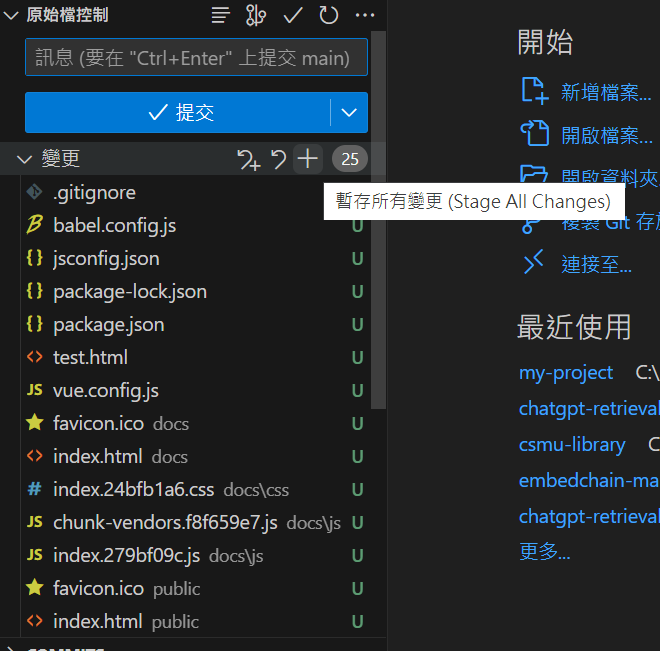
輸入變更訊息後按提交
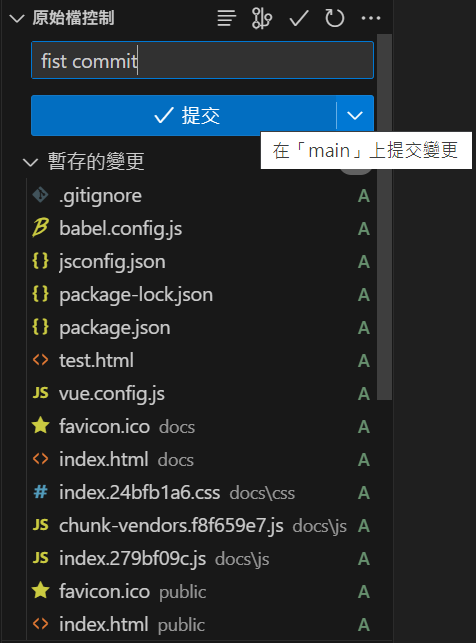
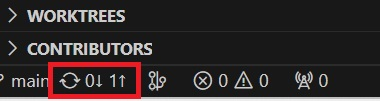
提交後要再按一次同步處理變更確認上傳
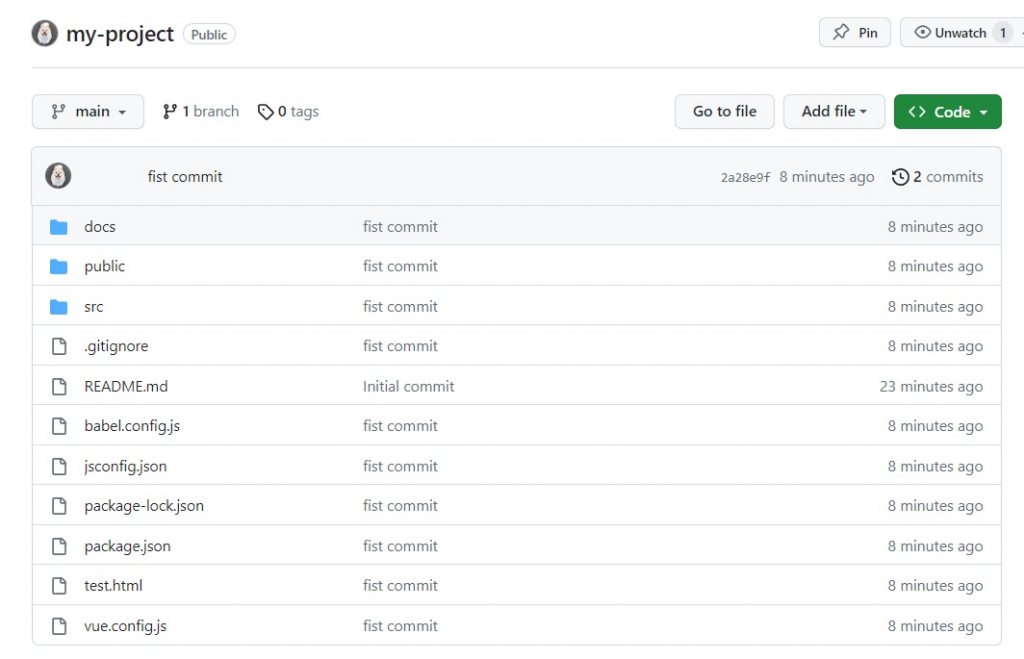
- 再回到 GitHub 上就能看到上傳的檔案了~
設定 GitHub Pages
我們已經成功將專案部署到 GitHub 上了,接下來我們要設定 GitHub Pages ,並產生URL
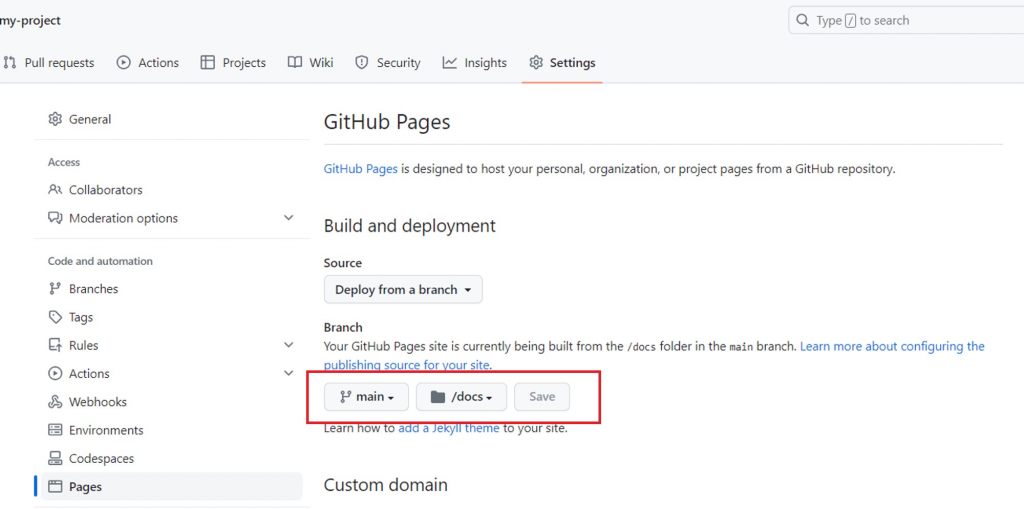
- 到 Settings 頁面中點選左側選單的 Pages
- 在 Branch 的地方選擇 HTML 檔所在的位置,選擇完畢後按 Save 儲存
- 接著就來驗證我們部署的結果,點選上方選單的 Actions

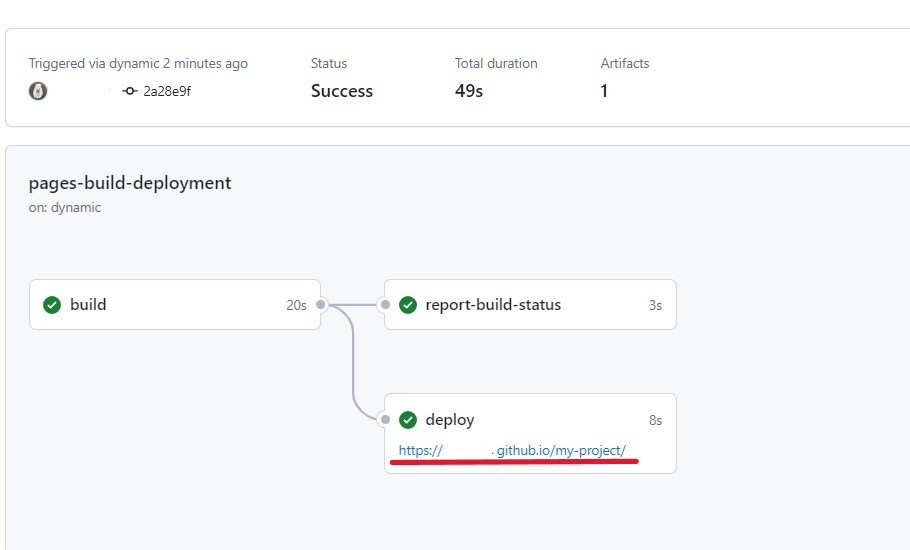
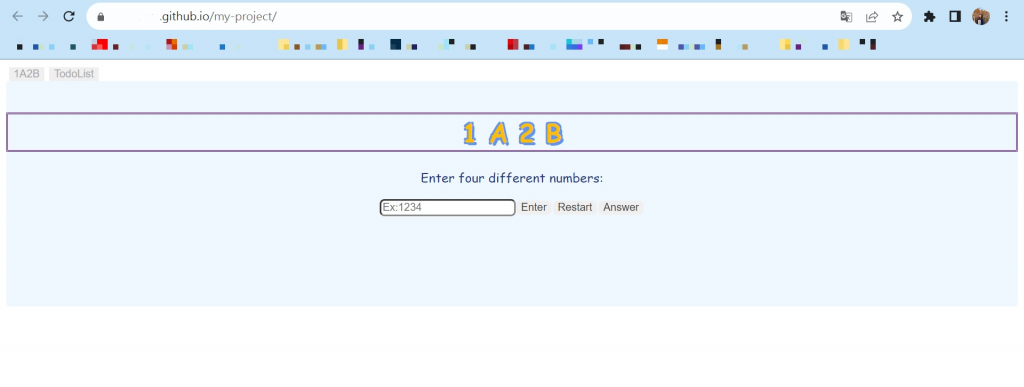
- 點擊網址就能進到部署的專案啦!
結語
最後幫大家再快速複習一次整個流程
- 在 GitHub 上建立一個新的儲存庫(repository),然後使用命令行(cmd)將儲存庫複製到本地資料夾
- 將專案的檔案移動到本地儲存庫中,提交更改並上傳到 GitHub
- 在儲存庫的 Settings 頁面中,選擇 Pages 選項,並在 Branch 選擇要部署的分支
- 點擊 Actions 頁面上的網址驗證部署結果
以上就是將 Vue 專案部署到 GitHub Pages 的流程啦!現在我們就能夠在 GitHub Pages 上訪問 Vue 專案了~