今天介紹一個很方便的工具,Comfyui。
https://github.com/comfyanonymous/ComfyUI
Comfyui 是一個開源的工具,可以比較視覺化的呈現前面那些生成影像的流程。用的人看起來頗多,而且很多熱門的好用模型都可以用這個工具讀進來操作。
看起來支援多平台,開啟後是用網頁進行互動,我先在自己的電腦上裝一遍。
安裝也很簡單,直接到 releases 頁面下把最新版本的 windows 版下載下來。我測的這時是v0.1.3。
https://github.com/comfyanonymous/ComfyUI/releases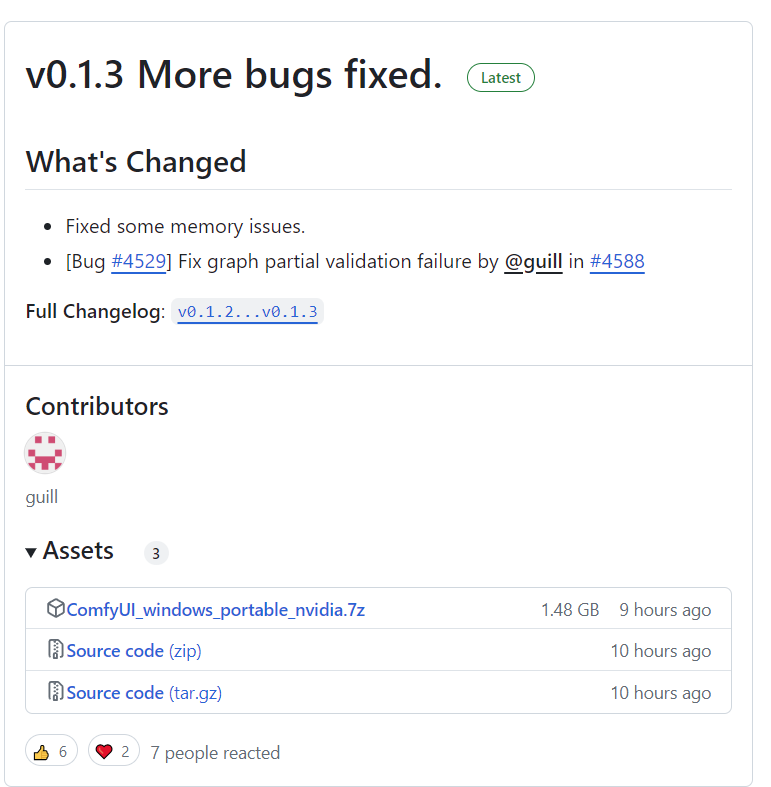
解壓縮後執行 run_nvidia_gpu.bat,也可以執行 run_cpu.bat 純用 CPU。
啟動後會開啟一個本機的網頁。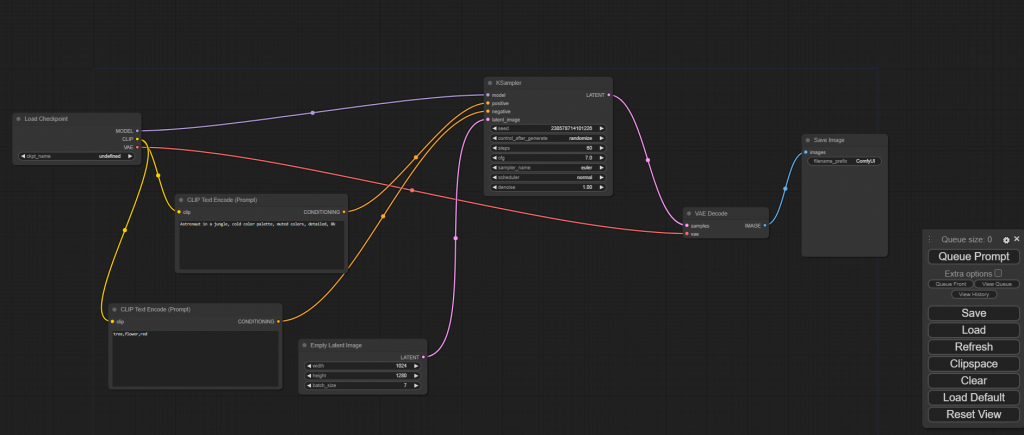
接著會需要模型,到 huggingface 上把 stable-diffusion-xl 的模型下載下來。
https://huggingface.co/stabilityai/stable-diffusion-xl-base-1.0/tree/main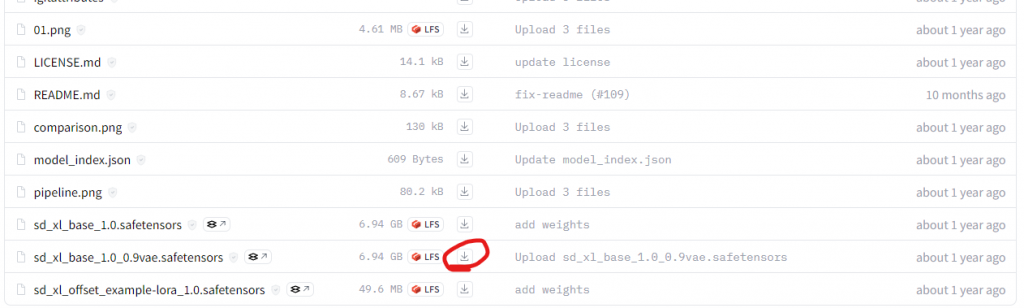
載下來後放到 .\ComfyUI_windows_portable\ComfyUI\models\checkpoints 這個資料夾下,回到 剛剛開啟的 Comfyui 網頁上,按一下右邊的 Refresh,就會看到左邊的 Load Checkpoint 下多了出剛剛放的模型。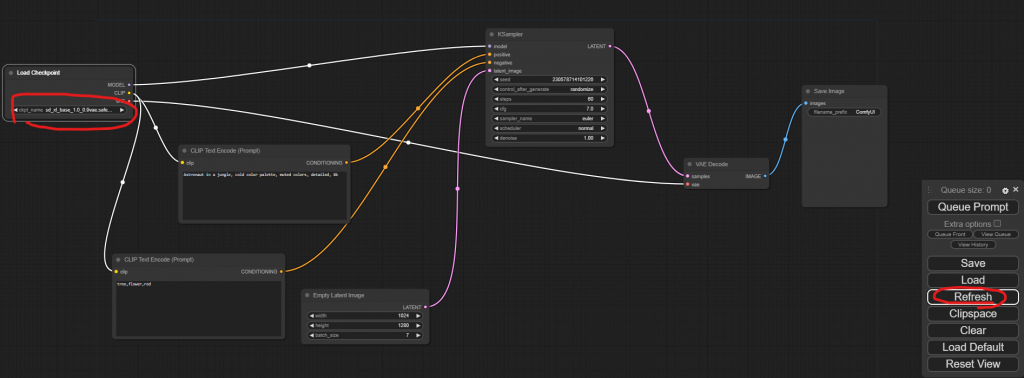
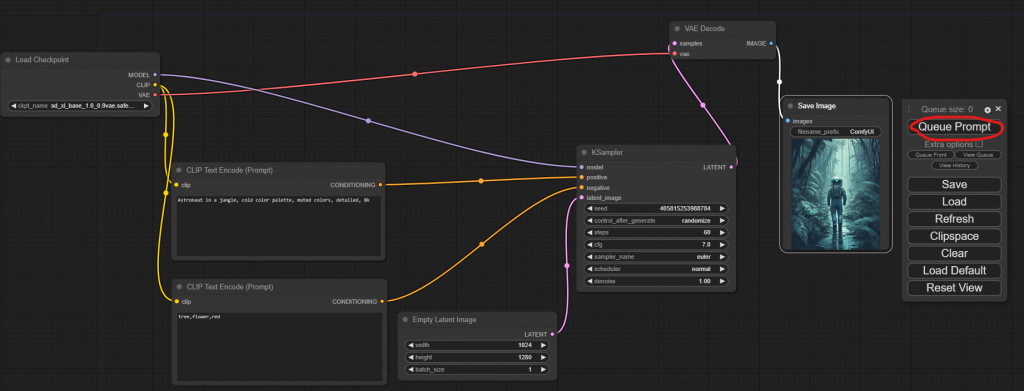
畫面中的框框都可以隨意拉,我調整一下,先看看下圖中這4個框框。
左上角的框框有一條線連到右邊的框框中的 positive,左下角則是連到 negative,最下面的框框可以調整影像大小,最右邊的框框中的 cfg 就是之前我們調的 guidance_scale,現在全都可以在畫面上直接調整了,非常方便。
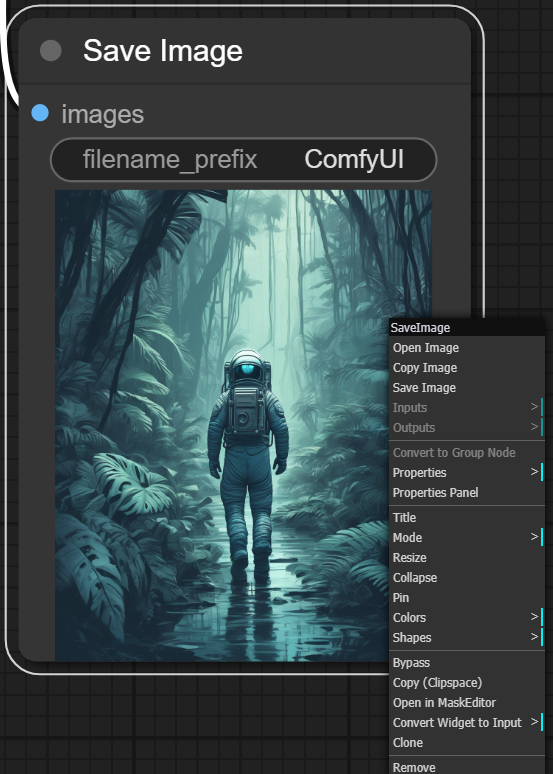
調整好後按下右方的 Queue Prompt 就可以產圖了,過程中你也可以看到運行到哪個步驟。產出的圖也可以對他按右鍵把他存下來,用起來很簡單。