突然看到也有可以產影片的模型,順便試試。
https://huggingface.co/docs/diffusers/using-diffusers/text-img2vid#text-or-image-to-video
看起來有蠻多種模型,都試試看吧,一樣先裝 diffusers。
pip install diffusers
接著導入一樣是 stability 推出的 stable-video-diffusion。
import torch
from diffusers import StableVideoDiffusionPipeline
from diffusers.utils import load_image, export_to_video
pipeline = StableVideoDiffusionPipeline.from_pretrained(
    "stabilityai/stable-video-diffusion-img2vid-xt",
    torch_dtype=torch.float16,
    variant="fp16"
)
pipeline.enable_model_cpu_offload()
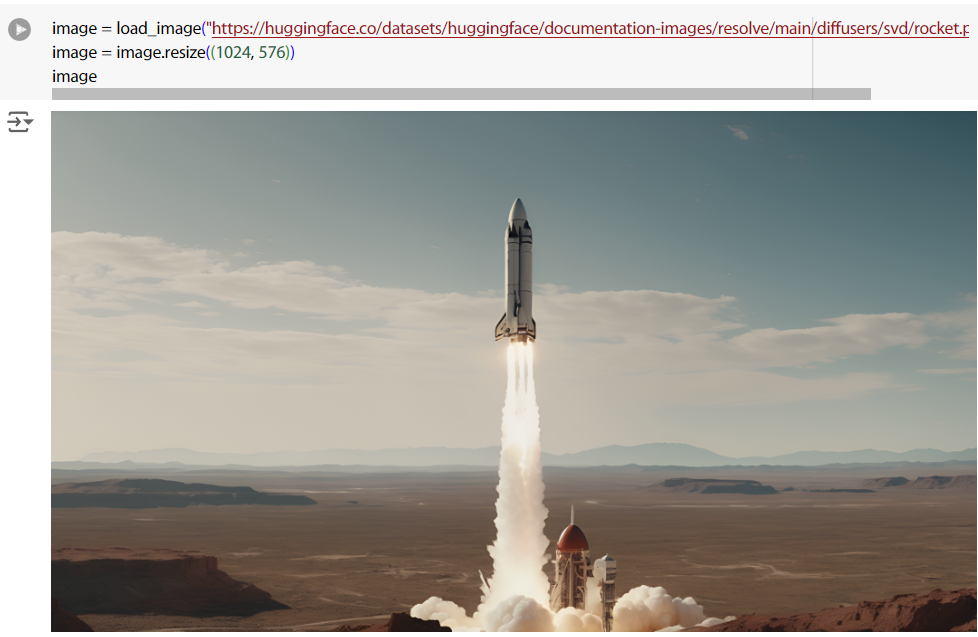
把範例影像讀進來。
image = load_image("https://huggingface.co/datasets/huggingface/documentation-images/resolve/main/diffusers/svd/rocket.png")
image = image.resize((1024, 576))
image
這裡多給了一個 generator = torch.manual_seed(42),用來固定 random seed ,可以讓每次生成的內容一致。
https://pytorch.org/docs/stable/generated/torch.manual_seed.html
generator = torch.manual_seed(42)
frames = pipeline(image, decode_chunk_size=8, generator=generator).frames[0]
export_to_video(frames, "generated.mp4", fps=7)

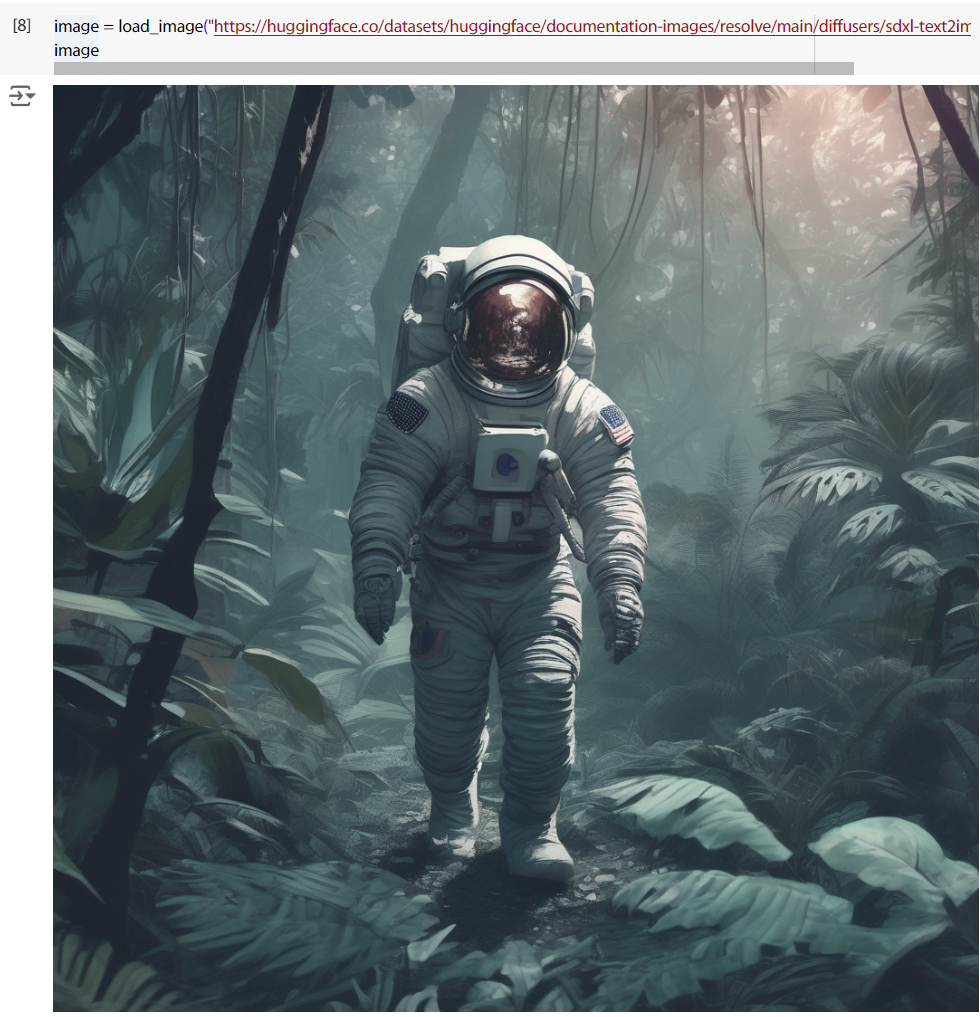
把之前的太空人影像拿來試試。
image = load_image("https://huggingface.co/datasets/huggingface/documentation-images/resolve/main/diffusers/sdxl-text2img.png")
image
用一樣的seed,效果普普通通吧。
frames = pipeline(image, decode_chunk_size=8, generator=generator).frames[0]
export_to_video(frames, "generated.mp4", fps=7)

接下來試試更強效的 I2VGen-XL,把東西讀進來。
from diffusers import I2VGenXLPipeline
pipeline = I2VGenXLPipeline.from_pretrained("ali-vilab/i2vgen-xl", torch_dtype=torch.float16, variant="fp16")
pipeline.enable_model_cpu_offload()
他甚至可以給 prompt,這邊我就不改圖,一樣用剛剛那張太空人來試試,generator 也不變,效果還不錯。
prompt = "The astronaut moves forward by jumping"
negative_prompt = "Distorted, discontinuous, Ugly, blurry, low resolution, motionless, static, disfigured, disconnected limbs, Ugly faces, incomplete arms"

frames = pipeline(
    prompt=prompt,
    image=image,
    num_inference_steps=50,
    negative_prompt=negative_prompt,
    guidance_scale=9.0,
    generator=generator
).frames[0]
export_to_gif(frames, "i2v.gif")

下一個是 AnimateDiff。
from diffusers import AnimateDiffPipeline, DDIMScheduler, MotionAdapter
adapter = MotionAdapter.from_pretrained("guoyww/animatediff-motion-adapter-v1-5-2", torch_dtype=torch.float16)
pipeline = AnimateDiffPipeline.from_pretrained("emilianJR/epiCRealism", motion_adapter=adapter, torch_dtype=torch.float16)
scheduler = DDIMScheduler.from_pretrained(
    "emilianJR/epiCRealism",
    subfolder="scheduler",
    clip_sample=False,
    timestep_spacing="linspace",
    beta_schedule="linear",
    steps_offset=1,
)
pipeline.scheduler = scheduler
pipeline.enable_vae_slicing()
pipeline.enable_model_cpu_offload()
用一樣的prompt、generator,但他不能給影像,沒法比較。
output = pipeline(
    prompt=prompt,
    negative_prompt=negative_prompt,
    num_frames=16,
    guidance_scale=7.5,
    num_inference_steps=50,
    generator=generator,
)
frames = output.frames[0]
export_to_video(frames, "generated3.mp4")

還有一個 ModelscopeT2V,他生成的東西會有浮水印,不過就還試試是看效果。
from diffusers import DiffusionPipeline

pipeline = DiffusionPipeline.from_pretrained("damo-vilab/text-to-video-ms-1.7b", torch_dtype=torch.float16, variant="fp16")
pipeline.enable_model_cpu_offload()
pipeline.enable_vae_slicing()

video_frames = pipeline(prompt).frames[0]
export_to_video(video_frames, "generated4.mp4", fps=10)

雖然有極限,但還是有些東西可以調,首先是 frame 可以調整。
再讀進 stable-video-diffusion 一次,這次加了一個 num_frames = 20,也把 frames print 出來看看結果。
pipeline = StableVideoDiffusionPipeline.from_pretrained(
    "stabilityai/stable-video-diffusion-img2vid-xt",
    torch_dtype=torch.float16,
    variant="fp16"
)
pipeline.enable_model_cpu_offload()

frames = pipeline(image, decode_chunk_size=8, generator=generator, num_frames=20).frames[0]
export_to_video(frames, "generated5.mp4", fps=7)
frames
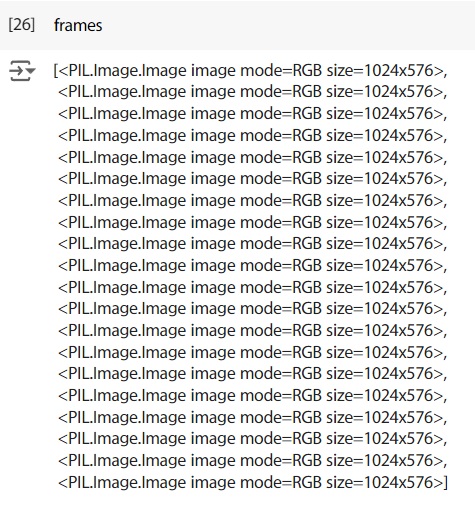
可以看到其實就是給了你 20 張圖,接著用 export_to_video 將這些圖合成成影片而已。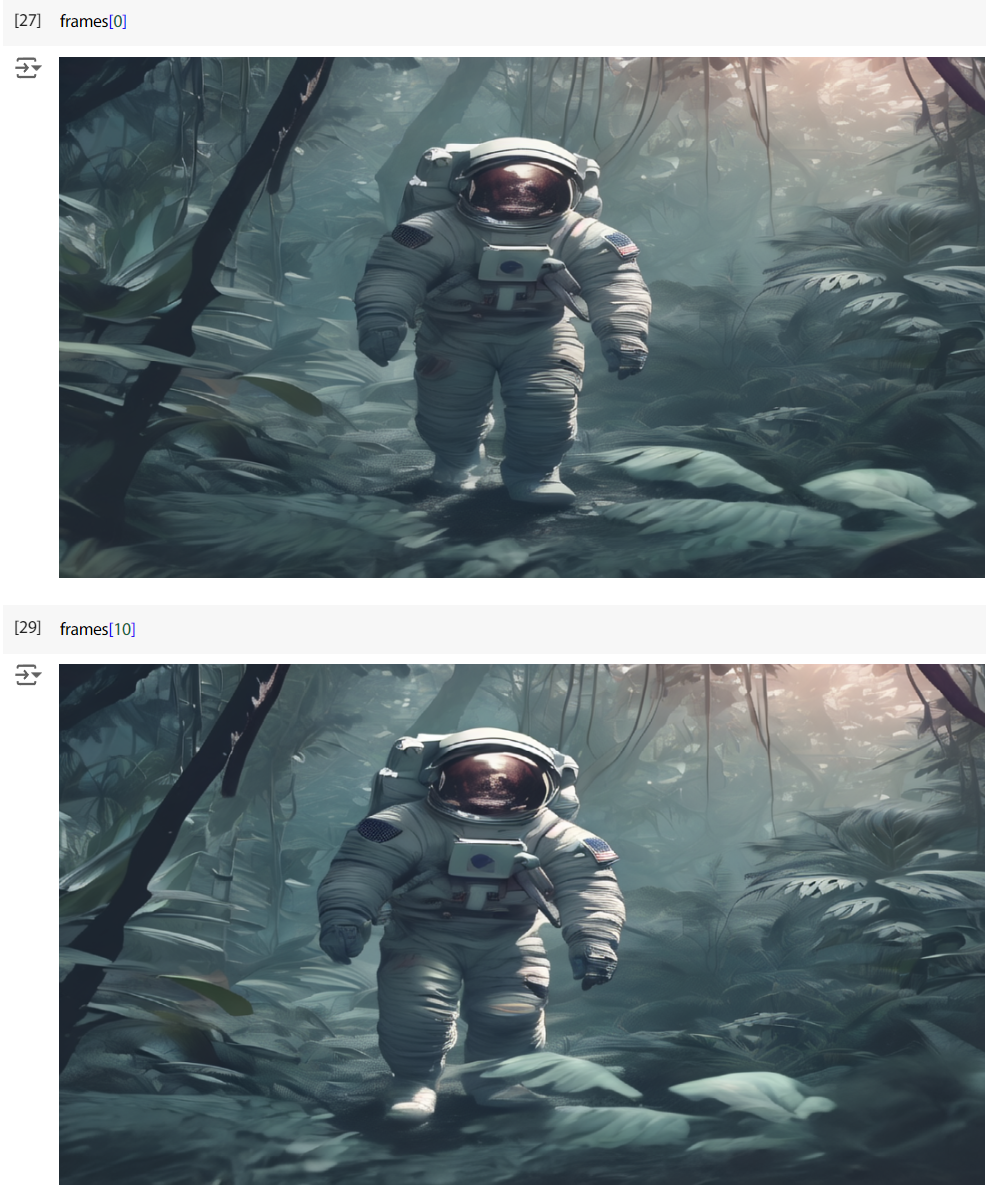
也可以給 guiding_scale 來調整 creativity,直接跟生成影像時給 guidance_scale = xx 就可以了。但文件說可以用 min_guidance_scale、max_guidance_scale 來對給第一幀跟最後一幀不同的 creativity,我就試試看,看起來是有差異。
frames = pipeline(
    image, decode_chunk_size=8,
    generator=generator,
    num_frames=25,
    min_guidance_scale = 1,
    max_guidance_scale =10
 ).frames[0]
export_to_video(frames, "generated6.mp4", fps=7)

生成影片的模型就先測到這邊。