到了實作環節,接著我們要把裝的先裝一下!
pip install langchain_google_vertexai
並且我們需要先建立一個GCP平台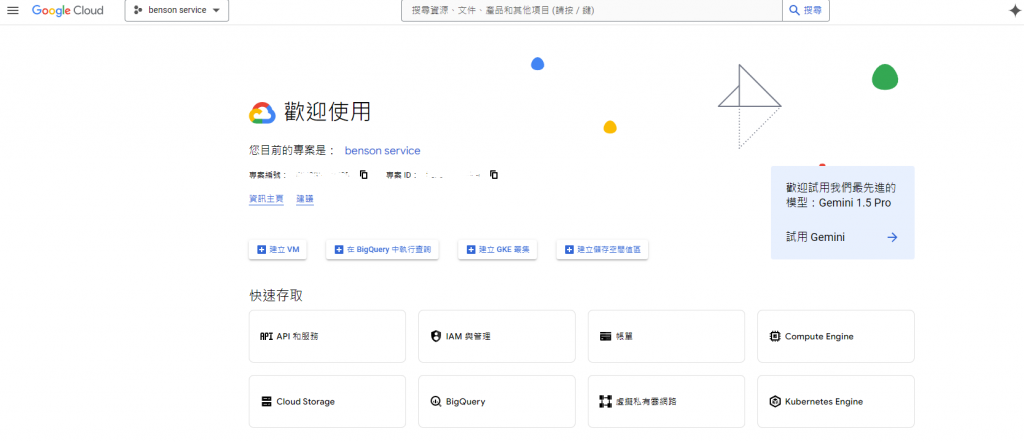
建立方式請參考前一天文章~
接下來就是打開到VertexAI平台啟用它!
啟用之後就會看到很多密密麻麻的介面,但別擔心,我們只要看我們需要使用到的模型,舉例來說使用Gemiini 1.5 flash,要如何使用?
順序大概就是點擊 Model Garden 選擇 Gemiini 1.5 flash並且tab位置再選擇DOCUMENTAION就可以看到關鍵的MODEL_ID及一些設定!
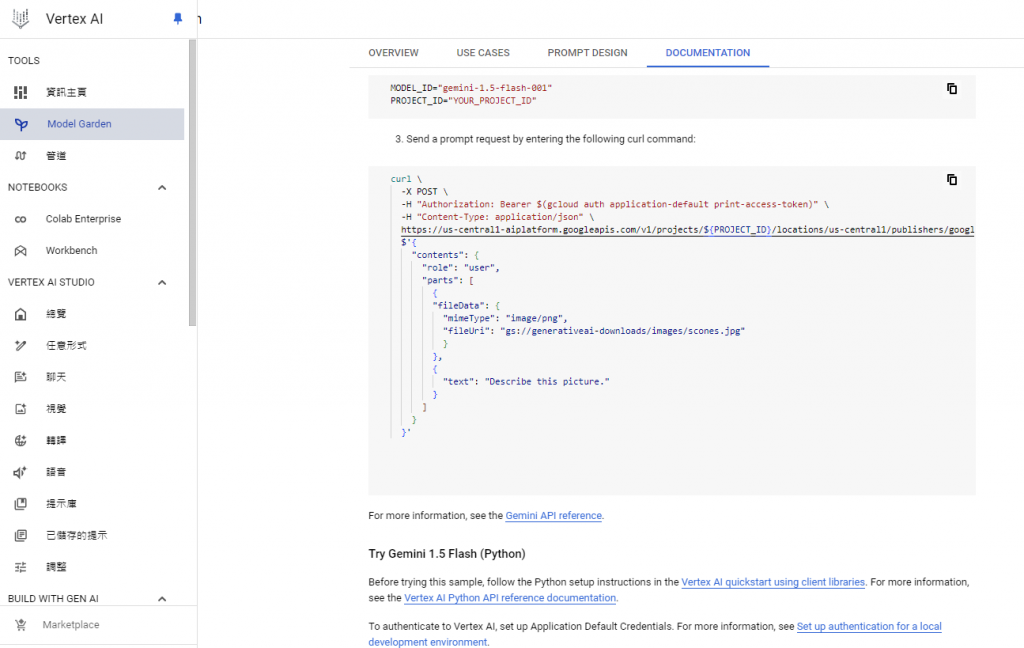
但是先前也有提到需要做一個代碼整合,所以我選擇使用langchain的方式取代掉vertex ai自己的API串接方式!
本地開發還未上雲時,我們需要先使用GCP CLI讓我們本地端有授權可以使用到雲端服務!這件事情很重要,不然連線會變得很麻煩~
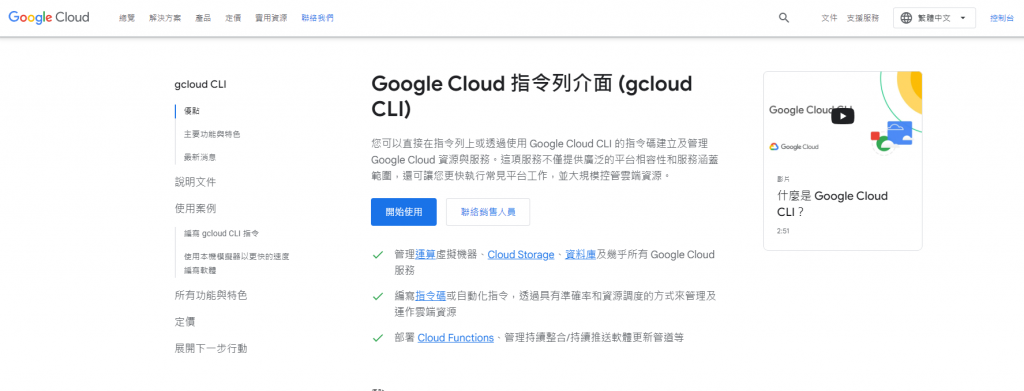
參考資料:https://cloud.google.com/sdk/docs/install,有各個平台的安裝方式(我是一直default安裝下去XD)!
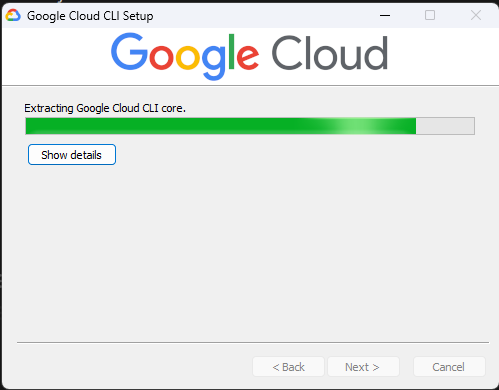
安裝成功之後接著就是要做後續設定,CLI登入Google驗證設定config等等很漫長…但不困難因為提示很明確!
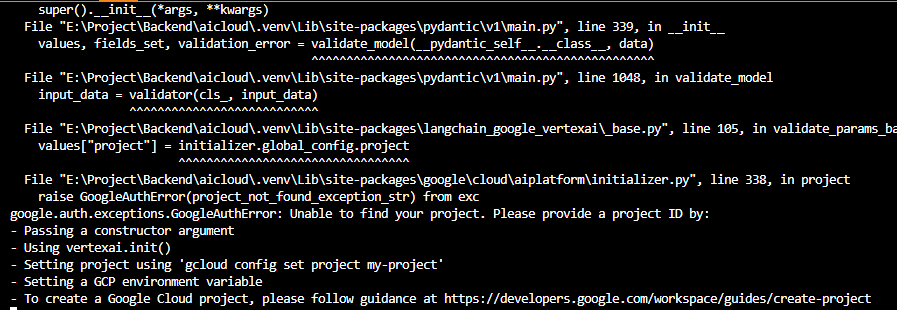
最後把vertex ai的程式加進去
from langchain_google_vertexai  import VertexAI

vertexai_llm = VertexAI(model_name="gemini-1.5-flash-001")
#中間省略...
@app.post("/vertexai/chat")
async def chat_vertexai(message :str):
    try:
        retriever = vectorstore.as_retriever()
        chain = (
            {"context": retriever | _format_docs, "message": RunnablePassthrough()}
            | prompt
            | vertexai_llm
            | StrOutputParser()
        )
        response = chain.invoke(message)
        return {"response": response}
    except Exception as e:
        raise HTTPException(status_code=500, detail=str(e))
最後呈現的效果也不錯!接著後續我們就都全Goole的服務了!
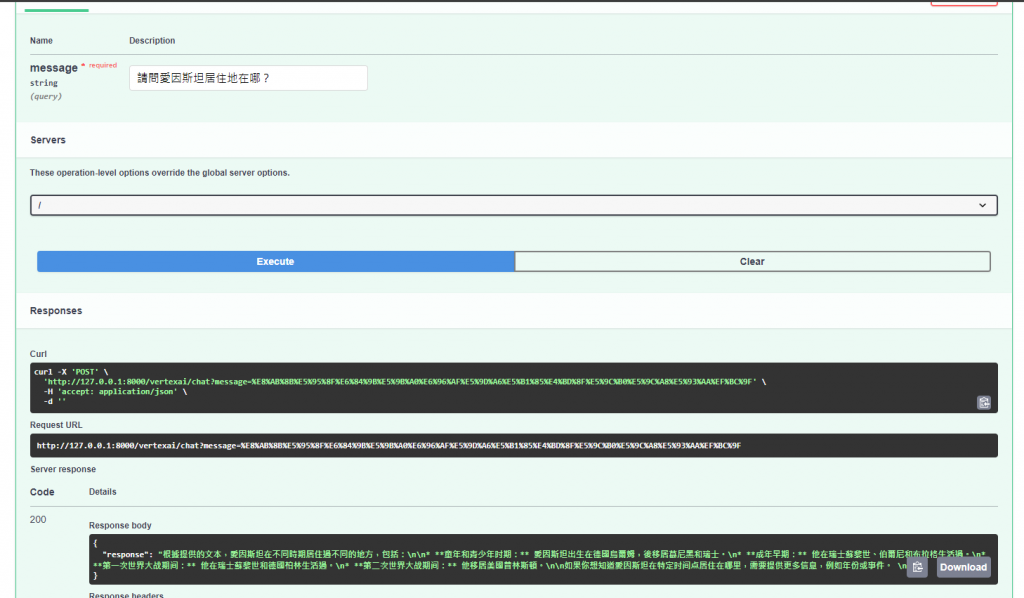
後續會繼續優化!
