OK,昨天的介紹比較像是試水溫(不要打我),今天來講講幾個元件的互動效果
| 名稱 | 型別 |
|---|---|
| value | str | Callable |
| every | Timer | float | None |
| variant | ["primary", "secondary", "stop"] |
| size | ["sm", "lg"] |
| icon | str | None |
| link | str | None |
| visible | bool |
| interactive | bool |
| elem_id | str | None |
| elem_classes | list[str] | str | None |
| render | bool |
| key | int | str | None |
| scale | int | None |
| min_width | int | None |
onclick
當按鈕被按下時,執行fn的函式,並且給予inuputs內的所有參數,輸出時也會將outputs內的參數更新到網頁上
  Button.click(
      fn: Callable | None,
      inputs: Component | Sequence[Component] | set[Component] | None = None,
      outputs: Component | Sequence[Component] | None = None,
      ...
  )
最基本也最常使用的網頁元件,透過修改不同的屬性去建立自己想要的元素
如修改 Button 名稱:
import gradio as gr

with gr.Blocks() as app:
  btn = gr.Button(value="Click me!!")

if __name__ == "__main__":
  app.launch()

使用這個按鈕的方法也很簡單,只要設定.click的方法就好了
import gradio as gr

def onclick():
  return "You clicked."

with gr.Blocks() as app:
  label = gr.HTML()
  btn = gr.Button(value="Click me!!")

  btn.click(onclick, outputs=[label])

if __name__ == "__main__":
  app.launch()
點擊前
點擊後
我們在第 10 行中定義了按鈕的行為,並且設定觸發函式,並且將函式的回傳值更新到label上
| 名稱 | 型別 |
|---|---|
| value | str | Callable | None |
| lines | int |
| placeholder | str | None |
| label | str | None |
| info | str | None |
| every | Timer | float | None |
| show_label | bool | None |
| container | bool |
| scale | int | None |
| min_width | int | None |
| visible | bool |
| interactive | bool |
| elem_id | str | None |
| elem_classes | list[str] | str | None |
| render | bool |
| key | int | str | None |
| autofucus | bool |
| autoscroll | bool |
| key | int | str | None |
| type | ["text", "password", "email"] |
| text_align | ["left", "right"] |
| rtl | bool |
| show_copy_button | bool |
onchange
當選擇的文字輸入框「內的文字」被更改時,執行fn的函式,並且給予inuputs內的所有參數,輸出時也會將outputs內的參數更新到網頁上
Textbox.change(
    fn: Callable | None,
    ...
)
Textbox.input(
    fn: Callable | None,
    ...
)
onclick
當選擇的文字輸入框被按下「Enter」時,執行fn的函式,並且給予inuputs內的所有參數,輸出時也會將outputs內的參數更新到網頁上
Textbox.submit(
    fn: Callable | None,
    ...
)
onfocus && on blur
當選擇的文字輸入框「聚焦」或「失焦」時,執行fn的函式,並且給予inuputs內的所有參數,輸出時也會將outputs內的參數更新到網頁上
Textbox.focus(
    fn: Callable | None,
    ...
)
Textbox.blur(
    fn: Callable | None,
    ...
)
搭配前面的 Button 元件效果如下
import gradio as gr

def onclick(text):
  return f"You Submit with \"{text}\" text."

def onchange(text):
  return f"You typed with \"{text}\"."

with gr.Blocks() as app:
  label = gr.HTML()
  tb = gr.Textbox()
  btn = gr.Button(value="Click me!!")

  btn.click(onclick, inputs=[tb], outputs=[label])
  tb.change(onchange, inputs=[tb], outputs=[label])

if __name__ == "__main__":
  app.launch()
輸入前
輸入後
點擊按鈕後
與前一段程式碼相比,我們多了onchange與監聽文字框的輸入,並且實時相文字框的內容更新到label上
| 名稱 | 型別 |
|---|---|
| value | list[list[str | tuple[str] | tuple[str | Path, str] | None]] | Callable |
| label | str | None |
| every | float | None |
| show_label | bool | None |
| container | bool |
| scale | int | None |
| min_width | int |
| visible | bool |
| elem_id | str | None |
| elem_classes | list[str] | str | None |
| render | bool |
| key | int | str | None |
| height | int | str | None |
| latex_delimiters | list[dict[str, str | bool]] | None |
| rtl | bool |
| show_share_button | bool | None |
| show_copy_button | bool |
| avatar_images | tuple[str | Path | None, str | Path | None] | NoneNone, |
| sanitize_html | bool |
| render_markdown | bool |
| bubble_full_width | bool |
| line_breaks | bool |
| likeable | bool |
| layout | Literal["panel", "bubble"] | None |
| placeholder | str | None |
onchange
當 chatbox 內容更動時,執行fn的函式,並且給予inuputs內的所有參數,輸出時也會將outputs內的參數更新到網頁上
hatbot.change(
    fn: Callable | None,
    ...
)
onselect
當 chatbox 內的文字泡泡被選擇時,執行fn的函式,並且給予inuputs內的所有參數,輸出時也會將outputs內的參數更新到網頁上
hatbot.select(
    fn: Callable | None,
    ...
)
like
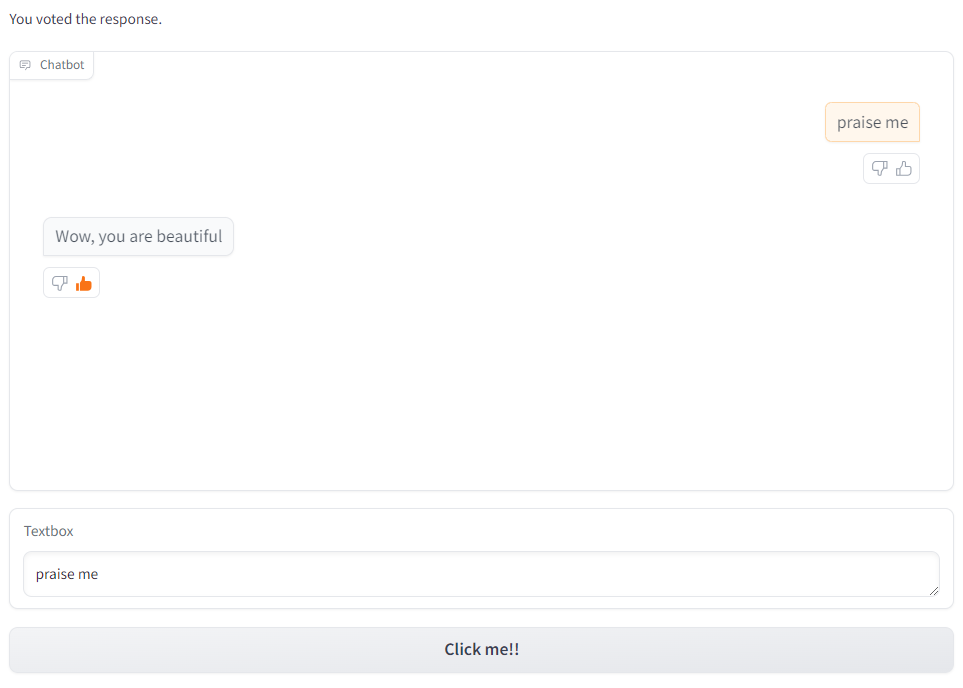
當 chatbox 內容更新後,底下會出現「👍」與「👎」,點選後會執行fn的函式,並且給予inuputs內的所有參數,輸出時也會將outputs內的參數更新到網頁上
hatbot.like(
    fn: Callable | None,
    ...
)
import gradio as gr

def submit(history: list):

  history.append(["praise me", "Wow, you are beautiful"])
  return history

def onvote():
  return "You voted the response."

with gr.Blocks() as app:
  label = gr.HTML()
  cb = gr.Chatbot()
  btn = gr.Button(value="Click me!!")

  cb.like(onvote, outputs=[label])
  btn.click(submit, inputs=[cb], outputs=[cb])

if __name__ == "__main__":
  app.launch()
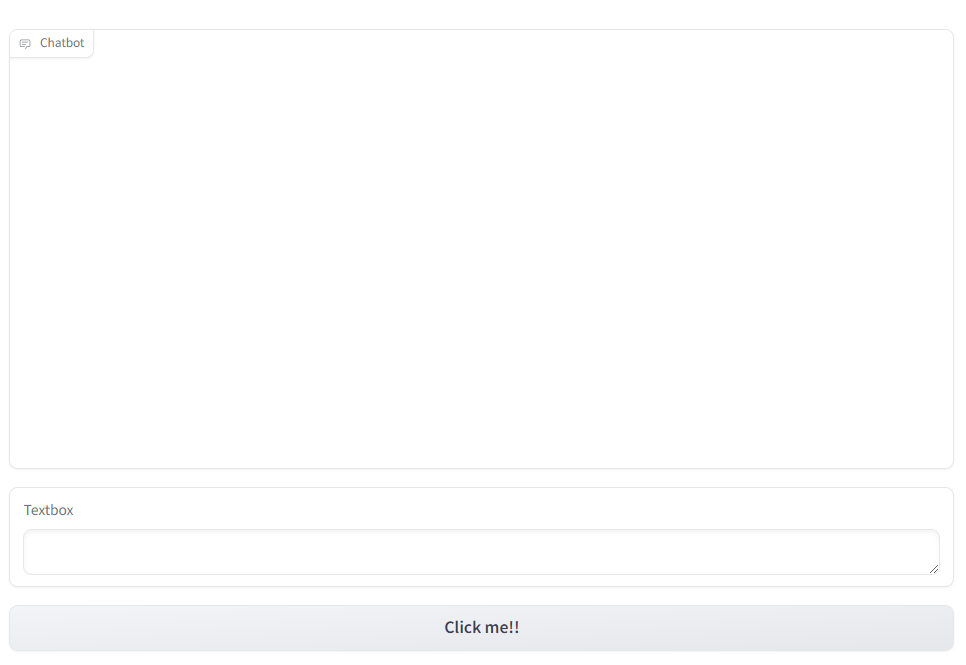
點選按鈕前
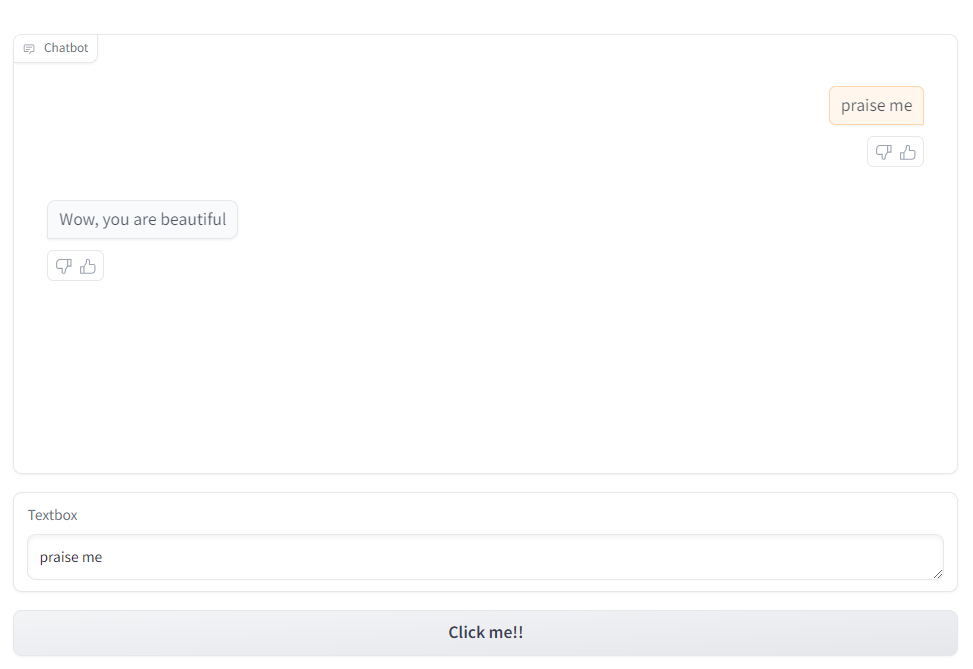
點選按鈕後
點選投票後
透過以上的Button、Textbox、Chatbot的互動關係,建構出一個完整的前端頁面。
