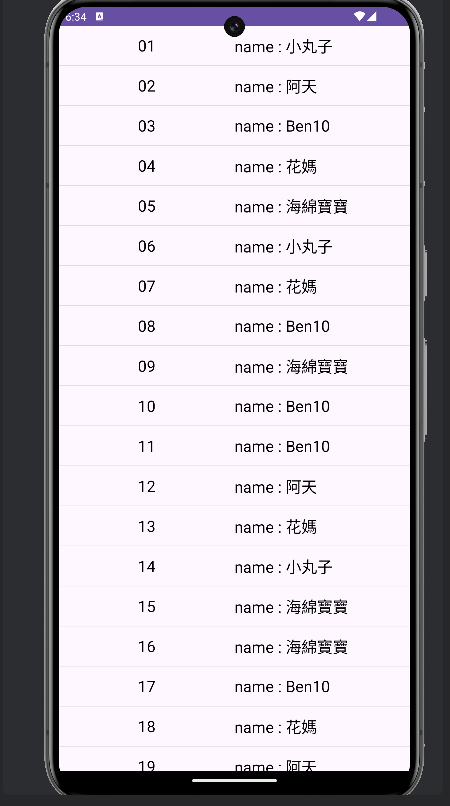
這次我們將上一篇做的RecyclerView更進階一點,讓它再最頂部下拉進行更新。
不知道怎麼做RecyclerView跟MVP架構可以翻翻之前的,再回來做就好。
為了能達到下滑更新的效果,我們需要用到Swiperefreshlayout,它是Android Support Library(安卓支援函式庫)中提供的一種佈局。
因此我們需要將RecyclerView包在Swiperefreshlayout 中,這是我們需要做的第一步驟。
在activity_main.xml 程式碼,於原本寫的RecyclerView 外增加swiperefreshlayout。
我們會發現是全紅狀態,先不要慌張,使用快捷鍵Alt + Enter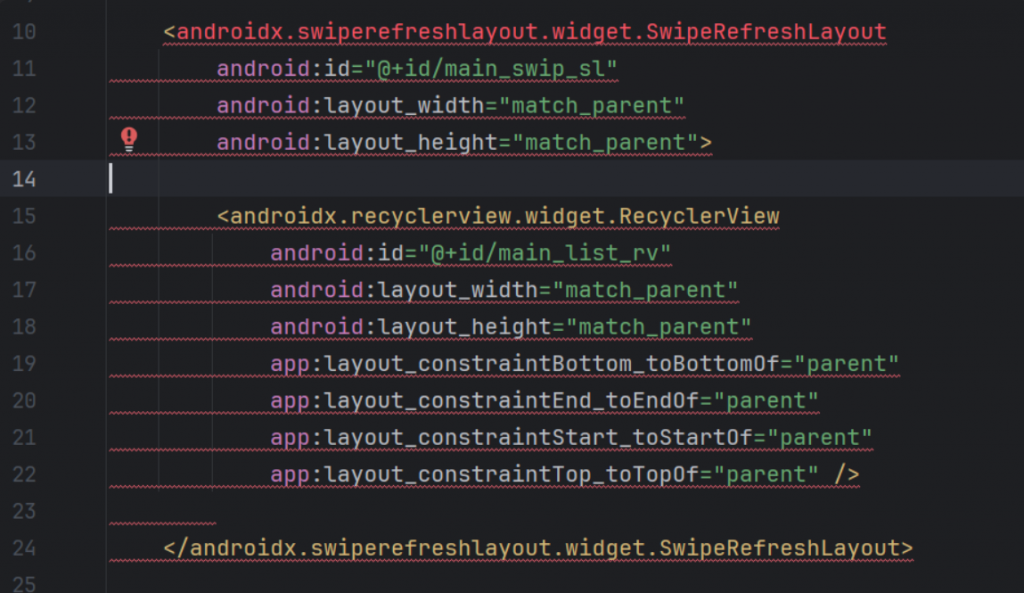
選擇第一個
添加依賴,你可以在build.gradle(:app)中看到,它的新增項目,我們有在開發環境介紹中提到一下,忘記的可以回去看看。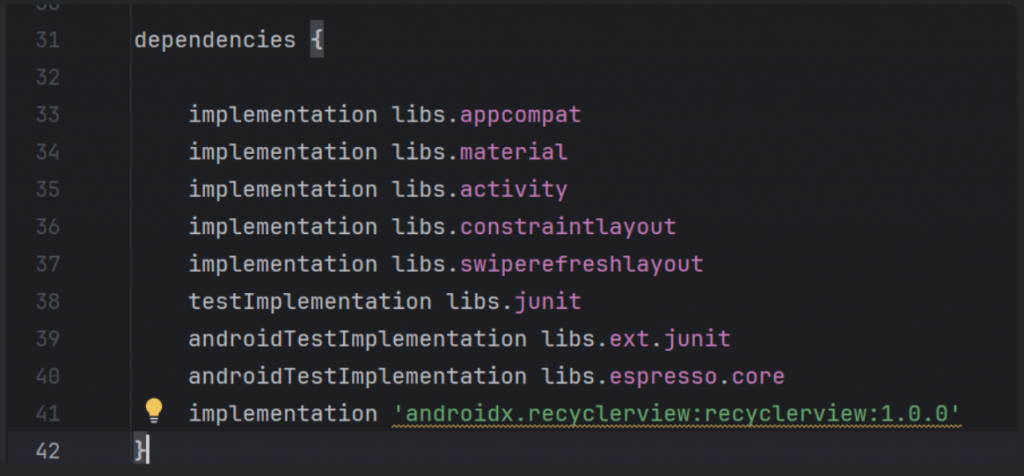
完成後,會是正常狀態,記得新增id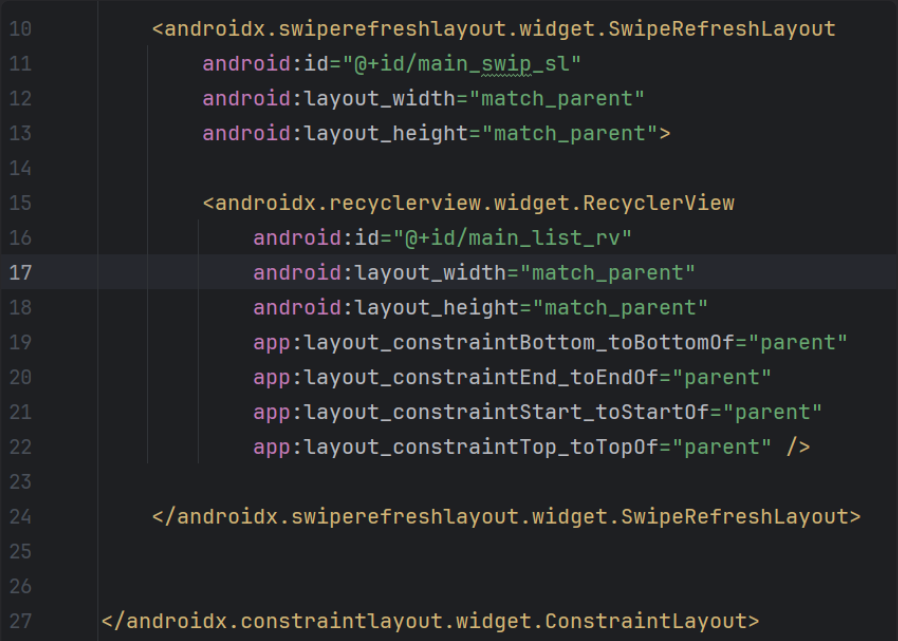
(完整程式碼)
<?xml version="1.0" encoding="utf-8"?>
<androidx.constraintlayout.widget.ConstraintLayout xmlns:android="http://schemas.android.com/apk/res/android"
    xmlns:app="http://schemas.android.com/apk/res-auto"
    xmlns:tools="http://schemas.android.com/tools"
    android:id="@+id/main"
    android:layout_width="match_parent"
    android:layout_height="match_parent"
    tools:context=".MainActivity">

    <androidx.swiperefreshlayout.widget.SwipeRefreshLayout
        android:id="@+id/main_swip_sl"
        android:layout_width="match_parent"
        android:layout_height="match_parent">

        <androidx.recyclerview.widget.RecyclerView
            android:id="@+id/main_list_rv"
            android:layout_width="match_parent"
            android:layout_height="match_parent"
            app:layout_constraintBottom_toBottomOf="parent"
            app:layout_constraintEnd_toEndOf="parent"
            app:layout_constraintStart_toStartOf="parent"
            app:layout_constraintTop_toTopOf="parent" />

    </androidx.swiperefreshlayout.widget.SwipeRefreshLayout>


</androidx.constraintlayout.widget.ConstraintLayout>
我們這次只需要在MainActivity中做更變。
宣告一個swiperefreshlayout變數
這次還會用到colors.xml,點擊res資料夾>values>colors.xml,新增一個顏色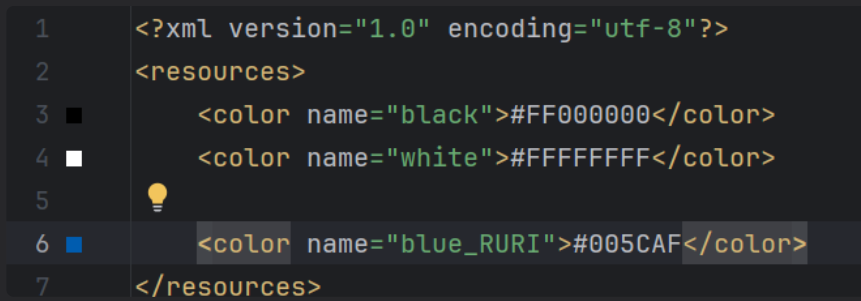
(程式碼)
<color name="blue_RURI">#005CAF</color>
也可以新增一個自己喜歡的顏色,因為這是去設置下滑更新時的轉動鍵頭顏色。
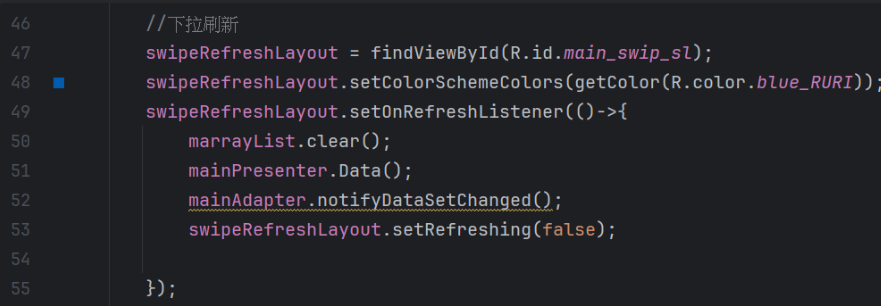
(完整程式碼)
public class MainActivity extends AppCompatActivity implements MainContract.view{

    //設定RecycleView類別的變數名稱recycleView
    private RecyclerView recyclerView;
    MainAdapter mainAdapter;
    private MainPresenter mainPresenter;
    SwipeRefreshLayout swipeRefreshLayout;

    //新增一個HashMap存放每筆資料
    ArrayList<HashMap<String, String>> marrayList = new ArrayList<>();

    @Override
    protected void onCreate(Bundle savedInstanceState) {
        super.onCreate(savedInstanceState);
        setContentView(R.layout.activity_main);

        mainPresenter = new MainPresenter(this);
        mainPresenter.Data();

        //設置RecycleView
        recyclerView = findViewById(R.id.main_list_rv);
        recyclerView.setLayoutManager(new LinearLayoutManager(this));
        recyclerView.addItemDecoration(new DividerItemDecoration(this, DividerItemDecoration.VERTICAL));
        mainAdapter = new MainAdapter(marrayList);
        recyclerView.setAdapter(mainAdapter);

        //下拉刷新
        swipeRefreshLayout = findViewById(R.id.main_swip_sl);
        swipeRefreshLayout.setColorSchemeColors(getColor(R.color.blue_RURI));
        swipeRefreshLayout.setOnRefreshListener(()->{
            marrayList.clear();
            mainPresenter.Data();
            mainAdapter.notifyDataSetChanged();
            swipeRefreshLayout.setRefreshing(false);

        });
    }

    @Override
    public void getData(ArrayList arrayList) {
        marrayList = arrayList;
    }
}
完成上方動作後,就完成我們能下滑更新的RecyclerView囉~
(剛開始)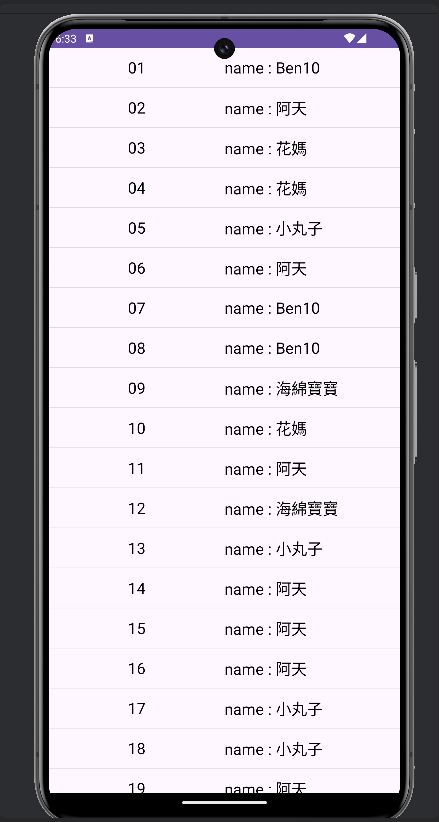
(下滑更新,轉圈圈)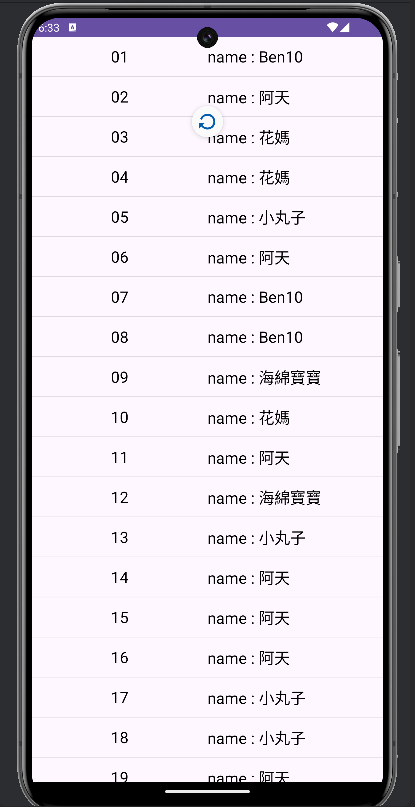
(放開,轉圈圈消失,資料更新)