今天我們來學習如何自定義(客製化)自己的TabLayout~
點擊values > strings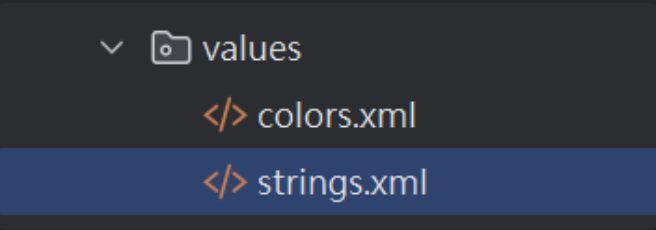
裡面撰寫出一個style
(以上是較常使用的)
套用至自己的TabLayout,加入app:tabTextAppearance
變化後,差別能看出來特別大
根據自大小同大,加入app:tabIndicatorFullWidth="false"
變化,我將更多資訊文字縮減刪除,下滑線也跟著變動
同樣如果想將下滑線佔據全格,改成app:tabIndicatorFullWidth="true"
想要改變整個下滑線需要用到drawable,跟先前一樣的步驟去新增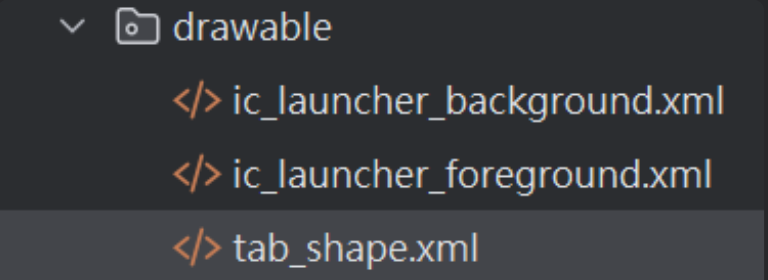
用比較簡單的,之前有特別說明過裡面細項,可以翻翻看(指路)
<?xml version="1.0" encoding="utf-8"?>
<layer-list xmlns:android="http://schemas.android.com/apk/res/android">
    <item
        android:gravity="center"
        android:width="20dp"
        android:height="10dp">
        <shape>
            <corners
                android:radius="3dp">
            </corners>
        </shape>
    </item>
</layer-list>
套用進去使用app:tabIndicator
顏色不能使用drawable,會是無效的,需要用app:tabIndicatorColor
需要再次使用到drawable,且新增兩個,一個是背景(框線)另一個是點擊時占據全部的下滑線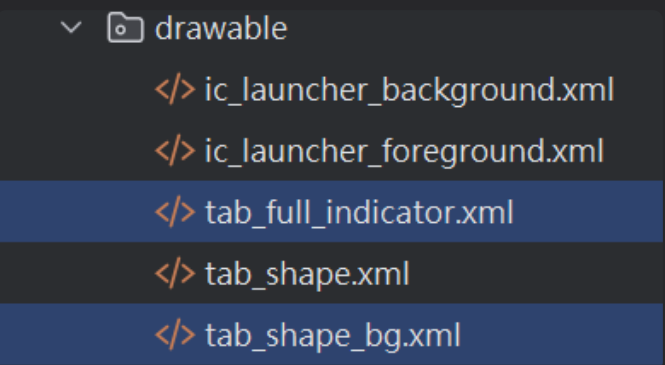
tab_shape_bg,外框很簡單一個shape和stroke,顏色可改成自己喜歡的
<?xml version="1.0" encoding="utf-8"?>
<shape xmlns:android="http://schemas.android.com/apk/res/android">
    <!--邊框框線-->
    <stroke
        android:width="1dip"
        android:color="#9263F3" />

</shape>
<?xml version="1.0" encoding="utf-8"?>
<layer-list xmlns:android="http://schemas.android.com/apk/res/android">
    <item
        android:gravity="center"
        android:top="0.5dp"
        android:bottom="0.5dp">

        <shape>
            <size
                android:height="100dp"/>
            <solid
                android:color="#7D53AD"/>
        </shape>
    </item>
</layer-list>

(剛開始)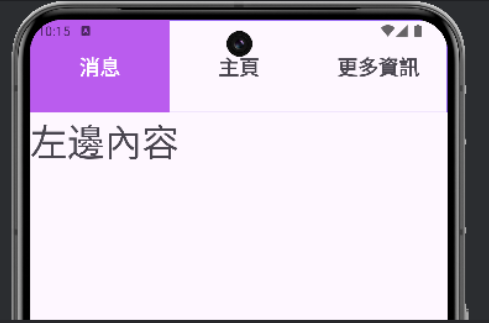
(滑動中)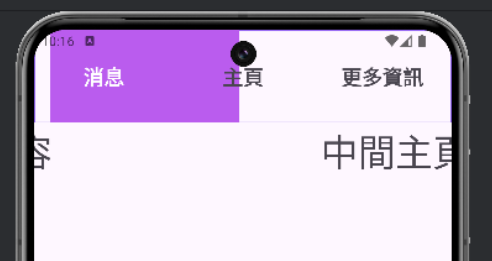
(滑動後)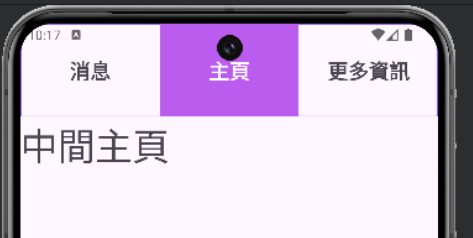
改變後是不是變得比較好看一點?
多練習變得熟悉後,就能更好做出自己滿意的TabLayout╰(°▽°)╯
