上一篇我們介紹了如何透過 Approval Process Automation 讓使用者的請求必須先經過所屬的主管批准,再回到請求指派的作業。
先來複習一下加入審核流程的簡易生命週期如下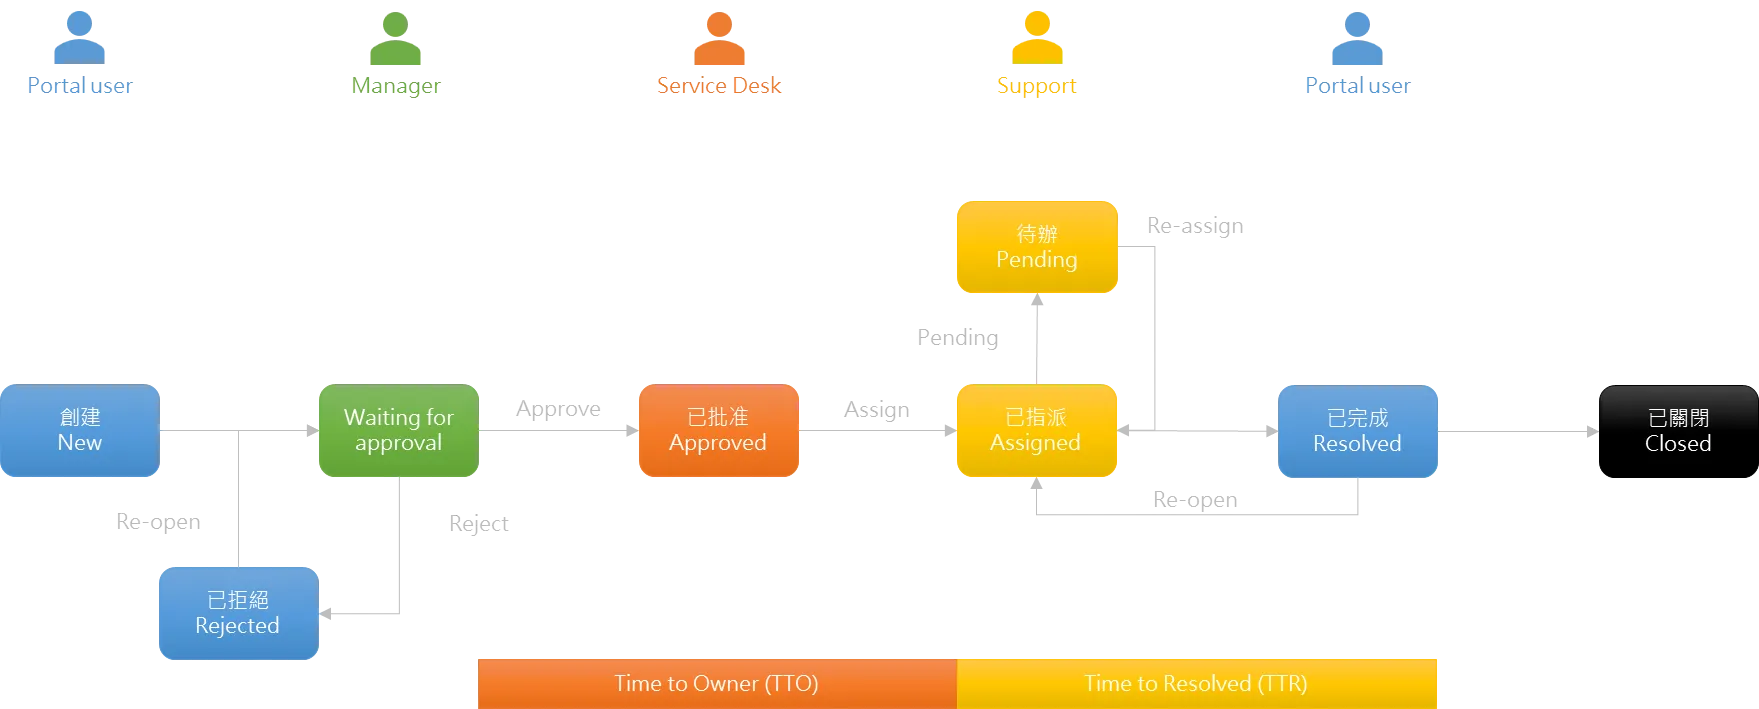
在請求被批准之後,接下來就回到服務台人員(Service Desk Agent)指派給支援人員(Support Agent)的相關流程了。
在標準的請求管理功能中,服務台人員必須明確地指派請求給特定的支援工人員。這在規模較小的企業運作上當然沒有問題,畢竟員工人數不多,大家都清楚彼此的工作職掌。因此,服務台人員通常都可以很快地將請求指派到正確的人員。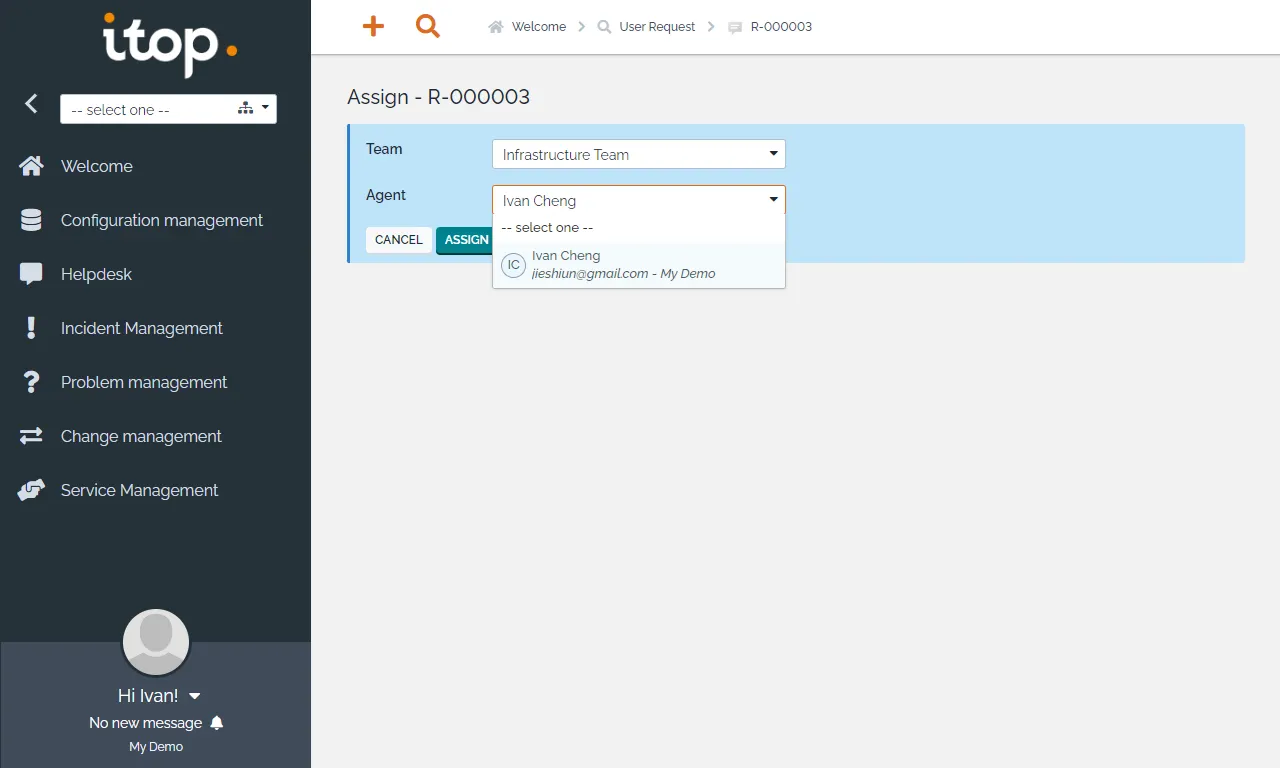
但是企業成長到一定規模以上,這樣的操作顯然就不夠現實。服務台人員除了沒有辦法清楚地知道每個服務或事故的擁有者,本身也沒有足夠的專業知識去辨別與分析該請求或事故該由誰負責。
比較好的做法應該是直接分派給團隊,由團隊的成員自行認領或者統一窗口進行分派作業。
Dispatch User Request to a Team
此擴充功能允許使用者請求分派給團隊,而無需將其分配給特定人員。值得注意的是,請求分配給團隊時 TTO 指標仍會繼續計算,直到實際分配給個人才會結束喔。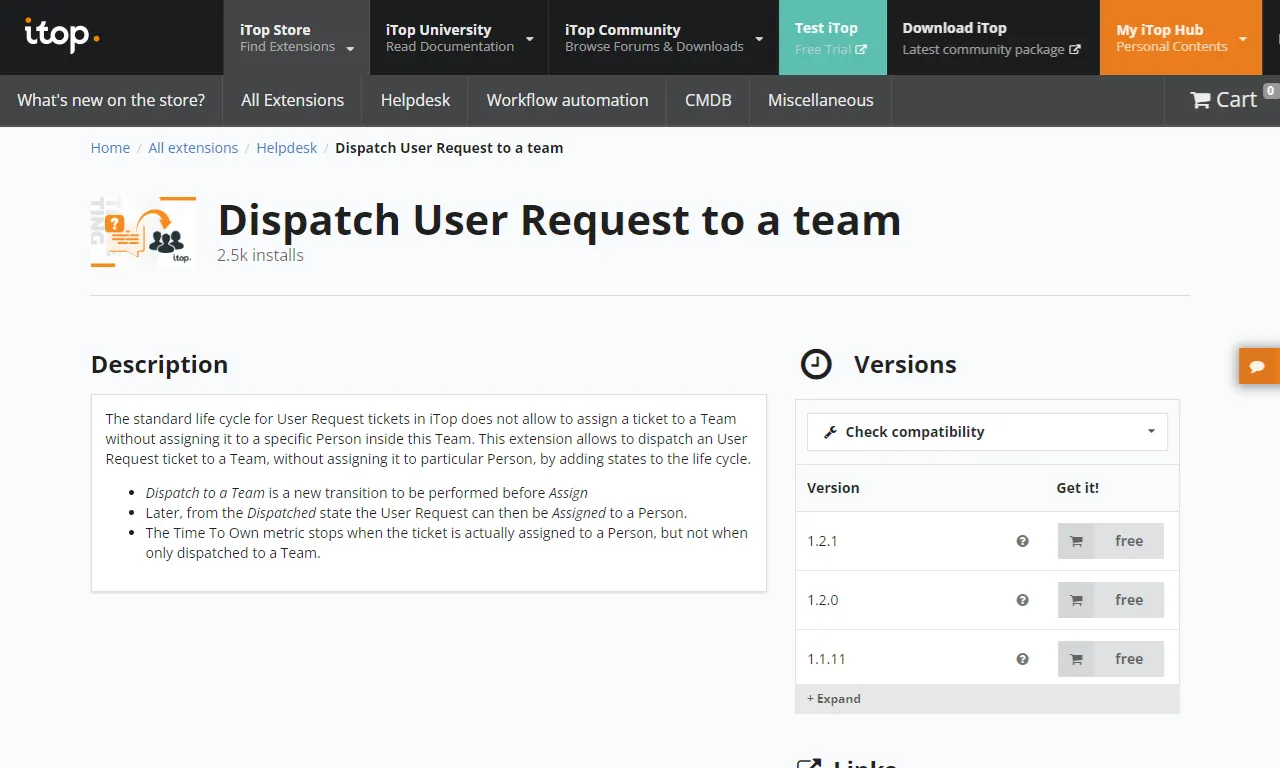
點選 iTop Store 找到 Dispatch User Request to a Team 外掛,選擇最新的 1.2.1 Version,點選 Install。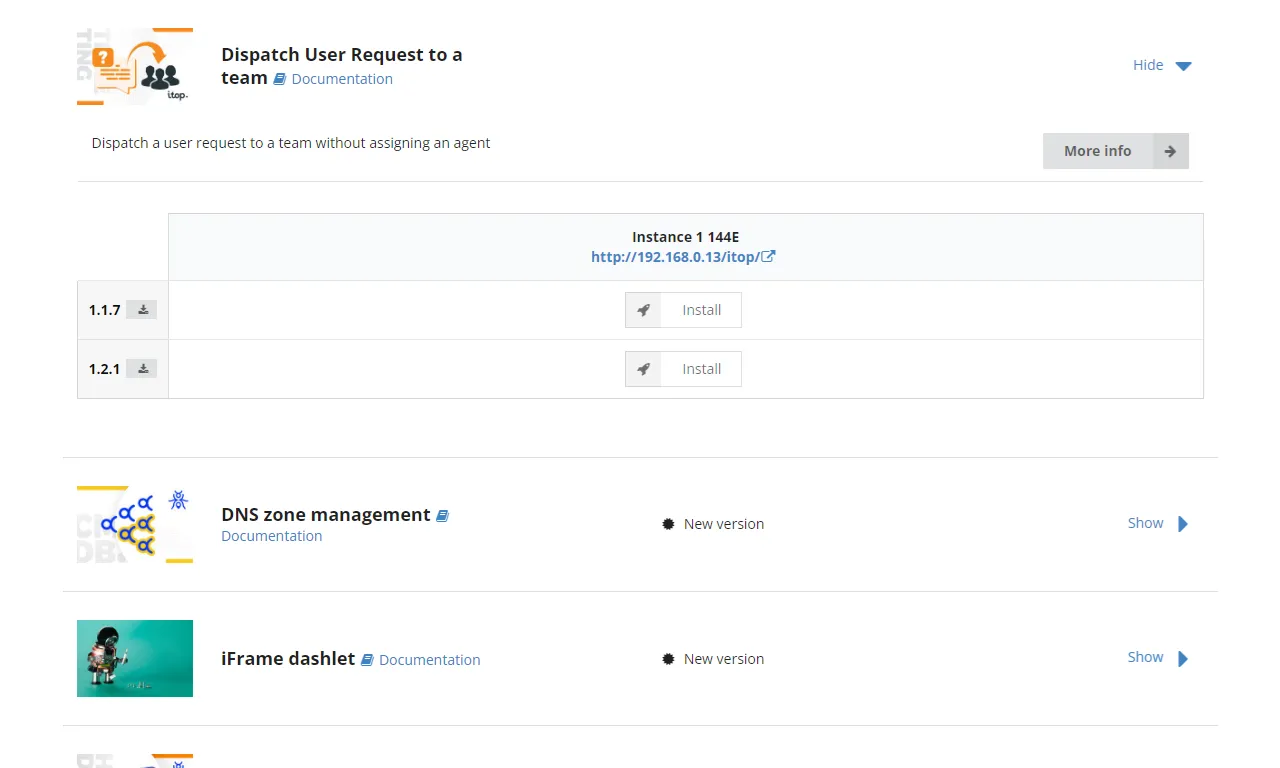
勾選 Instance Backup,點選 Deploy。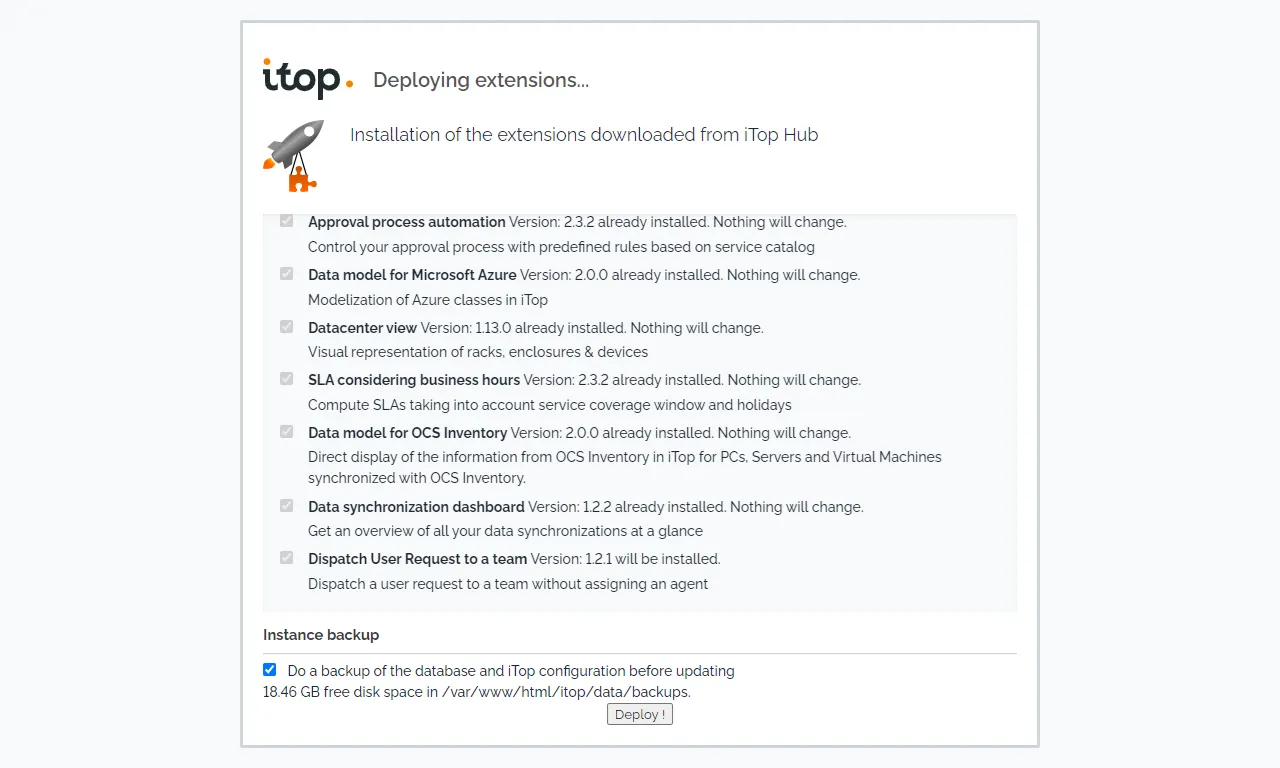
Dispatch User Request to a Team 安裝成功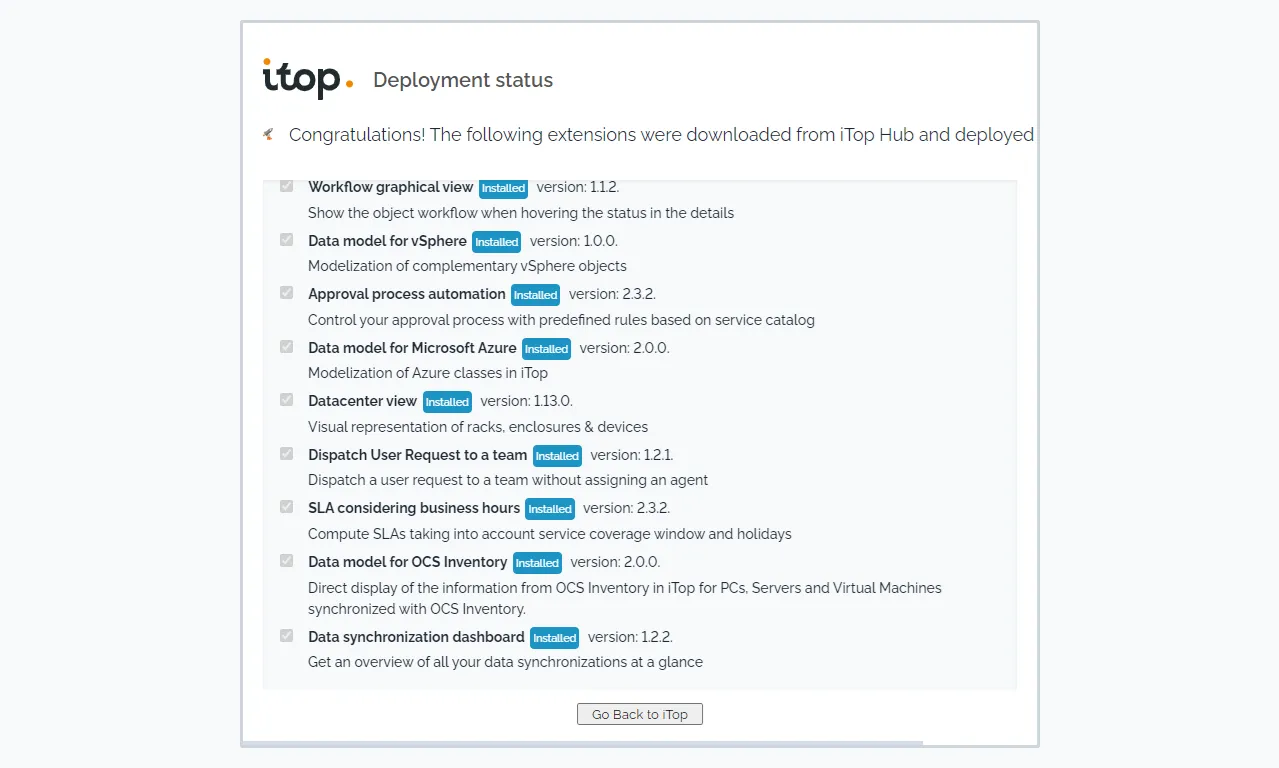
加入 Dispatch 狀態的簡易生命週期如下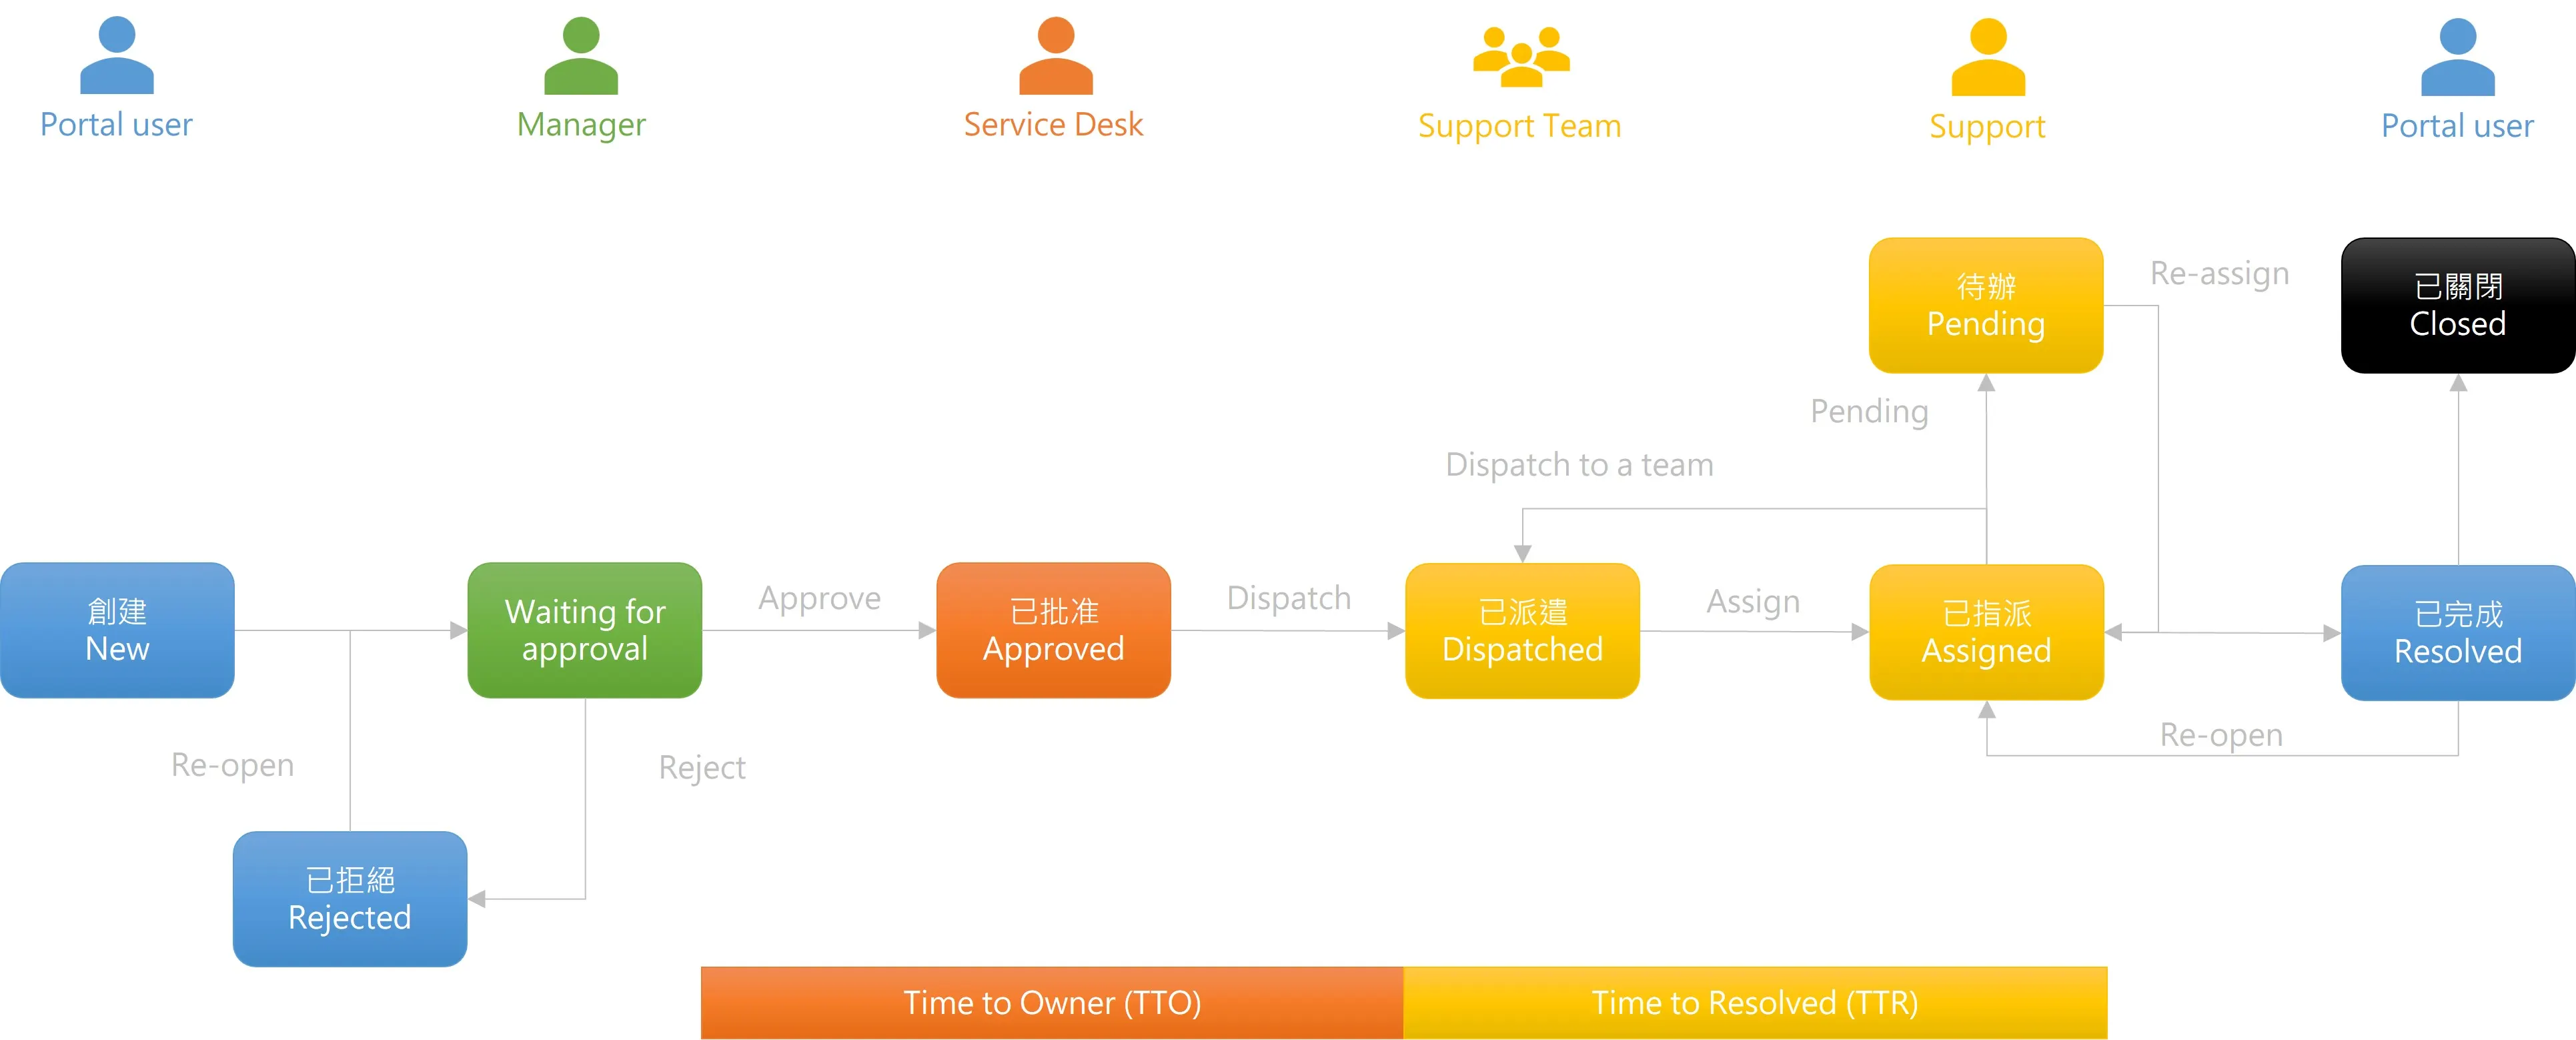
對於 New 狀態下的使用者請求,下拉清單中提供 Dispatch to a Team 操作。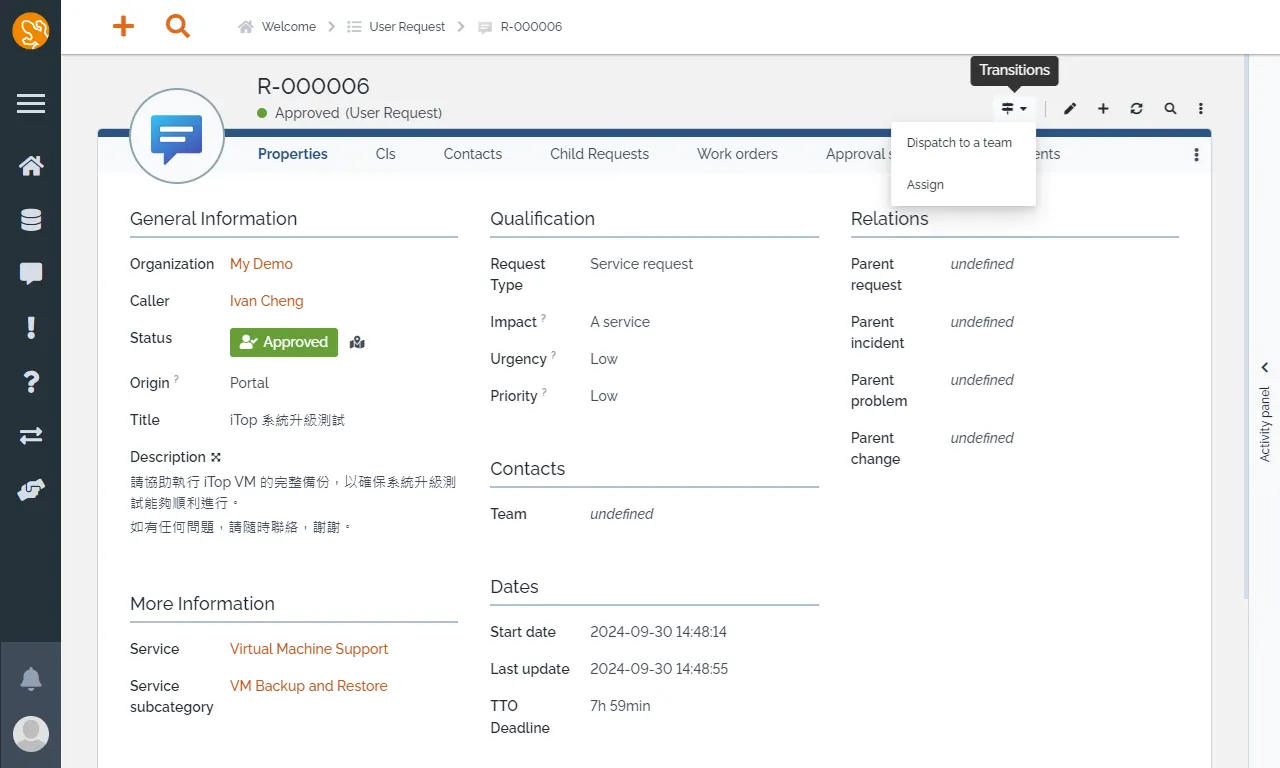
服務台人員便可以將使用者請求分派至團隊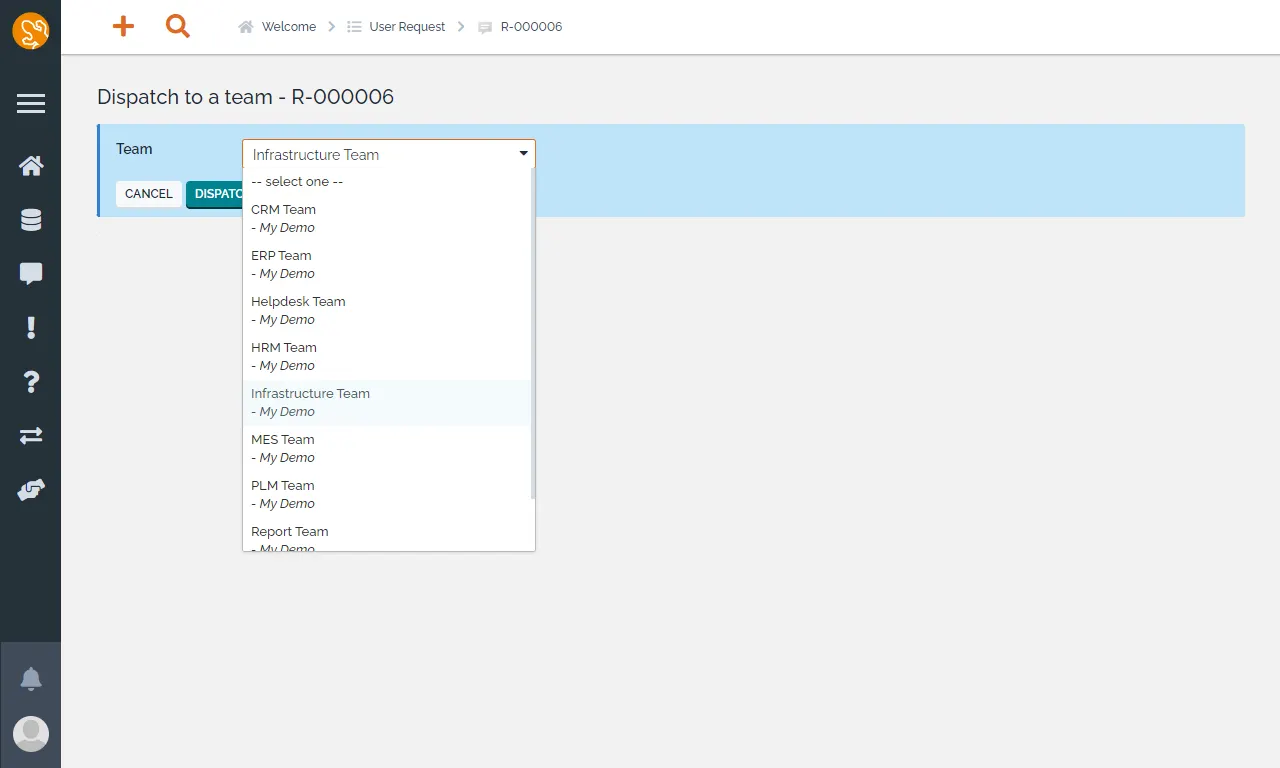
可以看到生命週期狀態從 Approved 變成 Dispatched 了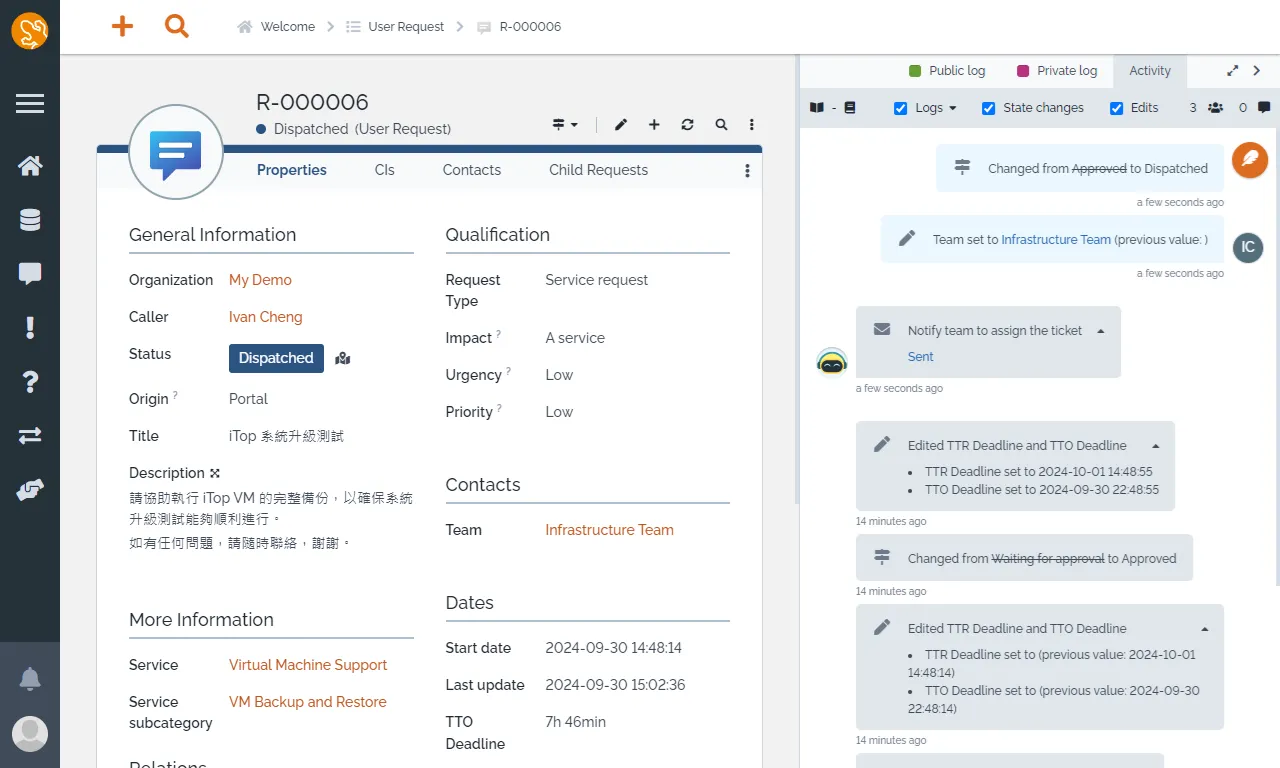
系統便會透過郵件通知所有的團隊成員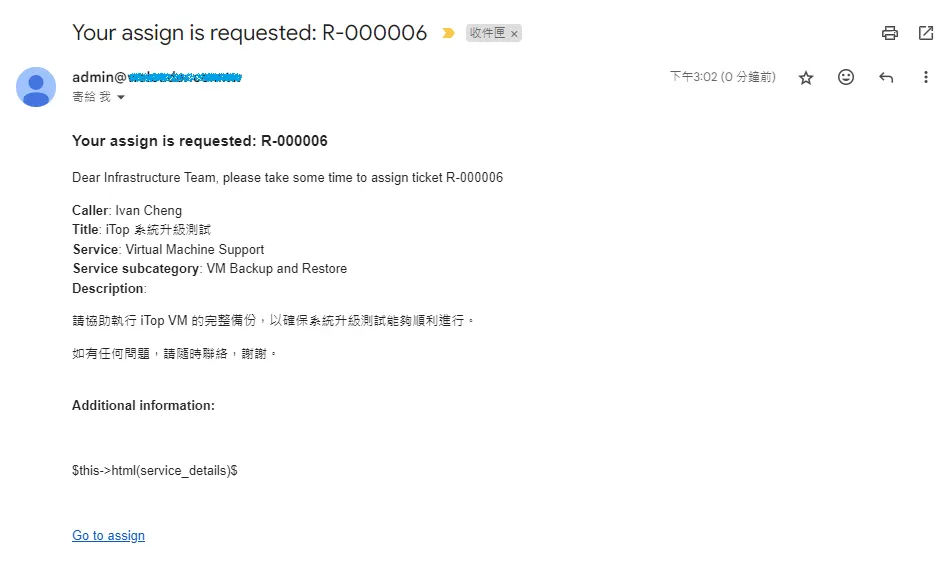
該服務的團隊成員在收到郵件通知後,就可以對請求進行分配。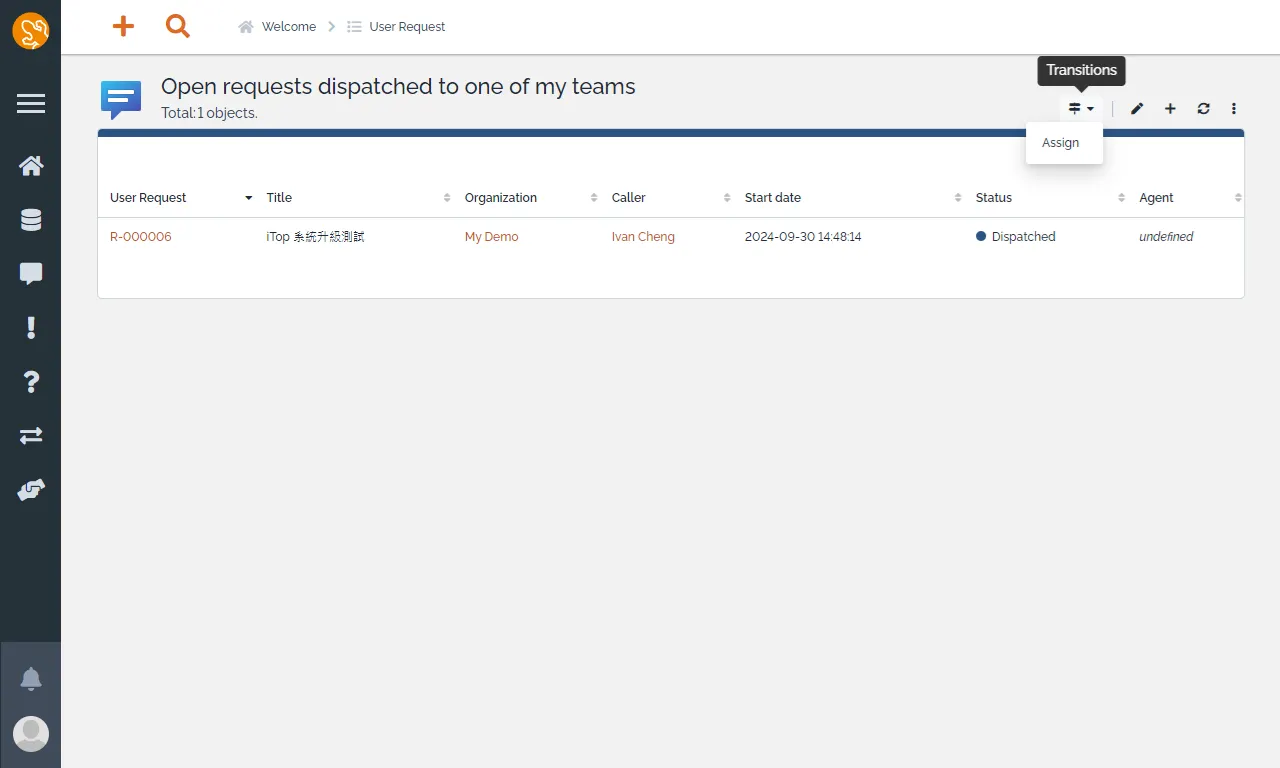
將使用者請求指派到所屬的負責人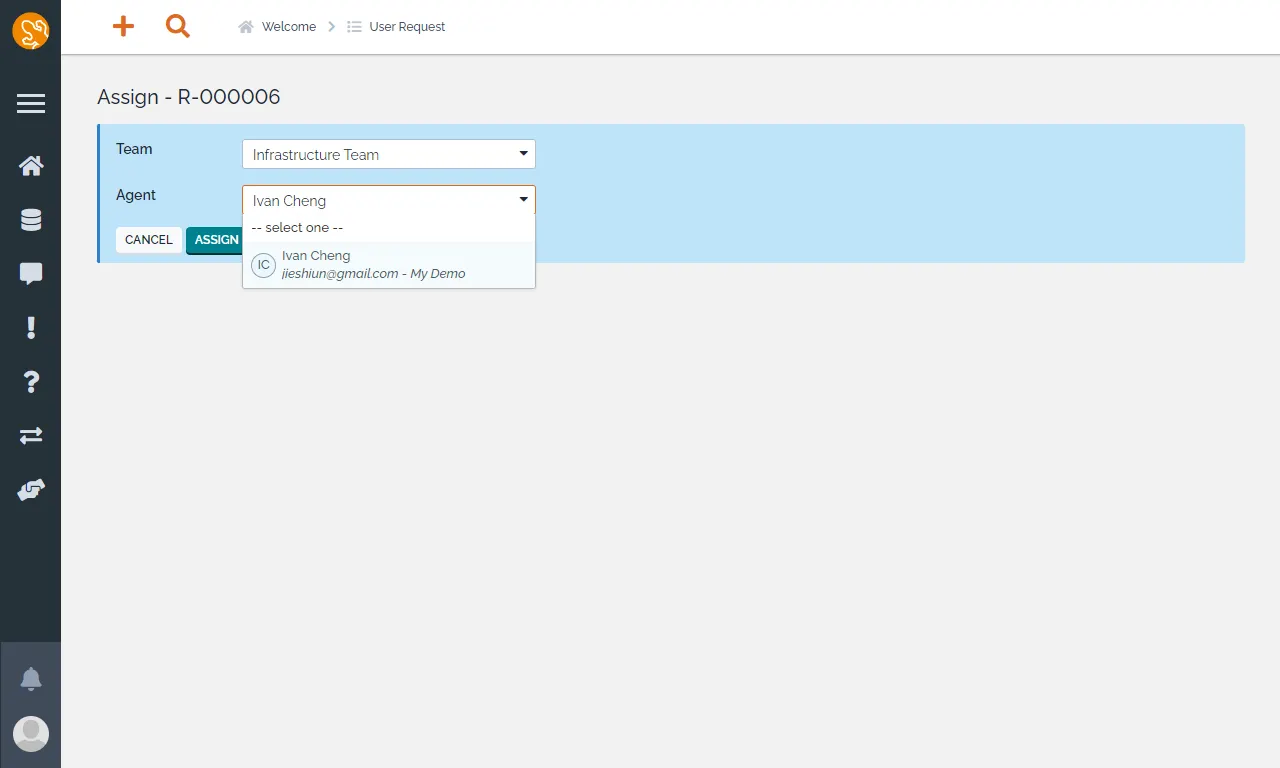
Notification
在安裝完 Dispatch User Request to a Team 模組之後,通知相關的 Trigger 與 Email Actions 我們必須自己建立。
建立 Trigger,類型選擇 On Entering a State。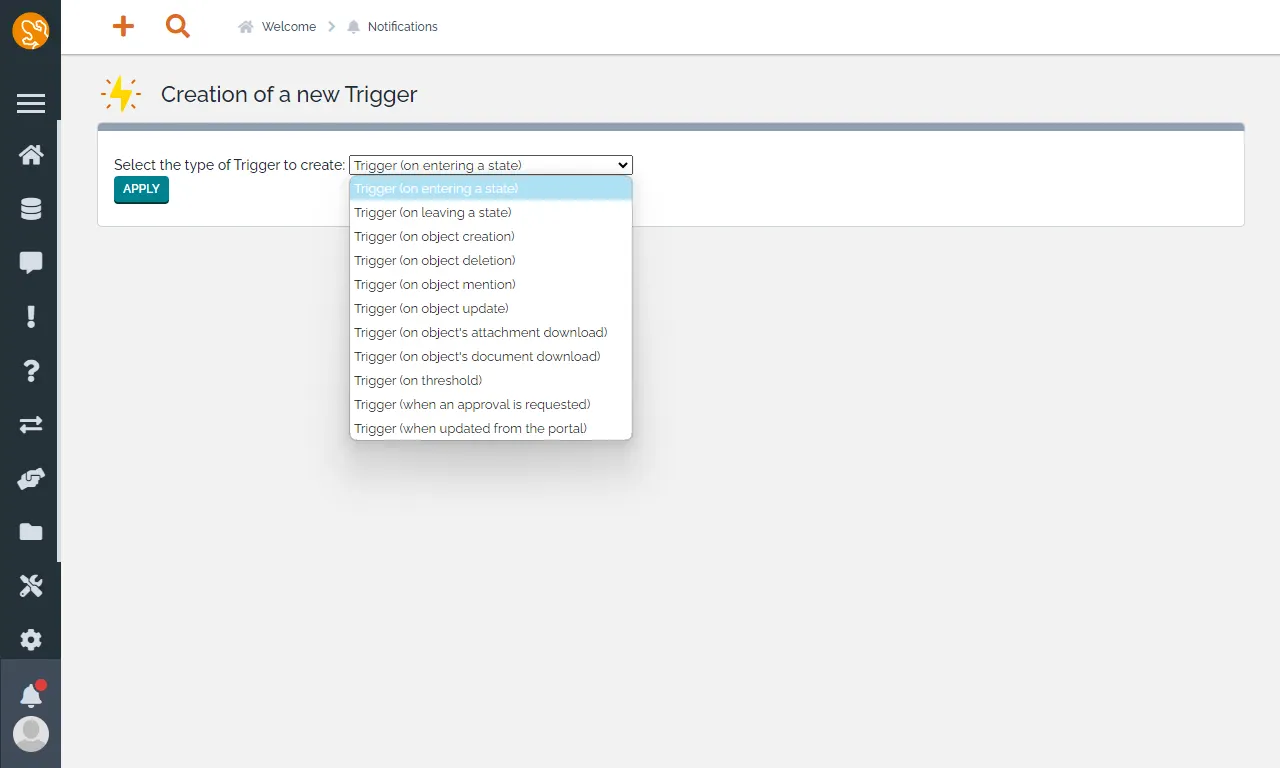
填寫以下資訊
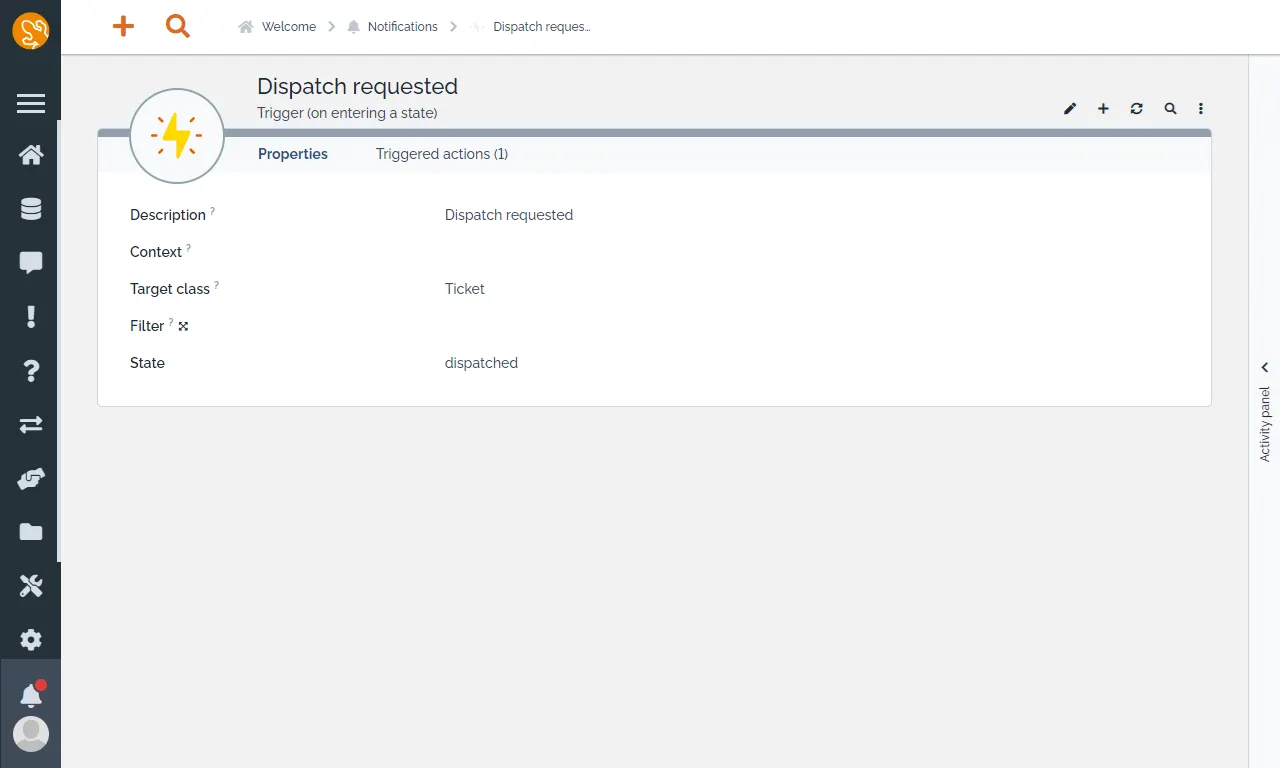
建立 Email Actions,類型選擇 Email Notification。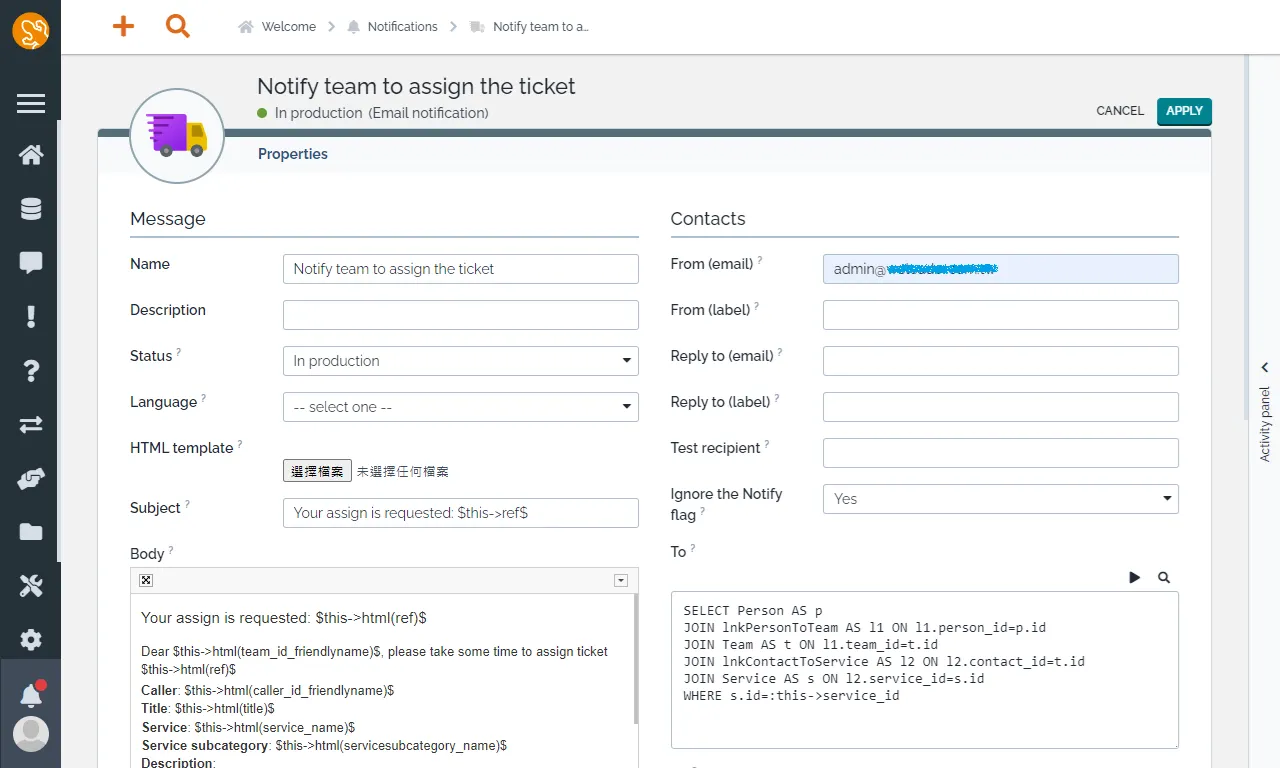
填寫以下資訊
Message
Your assign is requested: $this->html(ref)$
Dear $this->html(team_id_friendlyname)$, please take some time to assign ticket $this->html(ref)$

Caller: $this->html(caller_id_friendlyname)$
Title: $this->html(title)$
Service: $this->html(service_name)$
Service subcategory: $this->html(servicesubcategory_name)$
Description:
$this->html(description)$
Additional information:

$this->html(service_details)$

Go to assign
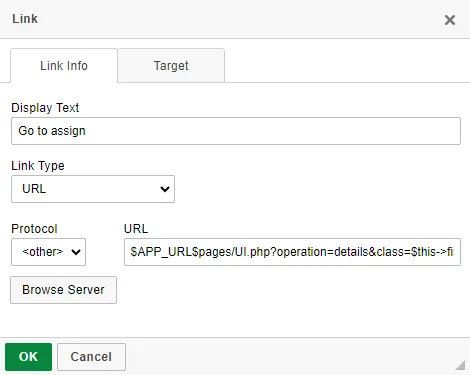
透過編輯器將 Go to assign 變成 Link。
填寫以下資訊,便可以透過 Link 直接跳到該請求頁面。
Triggers
Contacts
SELECT Person AS p
JOIN lnkPersonToTeam AS l1 ON l1.person_id=p.id
JOIN Team AS t ON l1.team_id=t.id
JOIN lnkContactToService AS l2 ON l2.contact_id=t.id
JOIN Service AS s ON l2.service_id=s.id
WHERE s.id=:this->service_id
如何知道 OQL 有沒有寫對,我們可以透過 To 旁邊的 play 按鈕進行 Test Query。
輸入該服務的 ID 進行查詢,便可找到團隊底下的所有成員。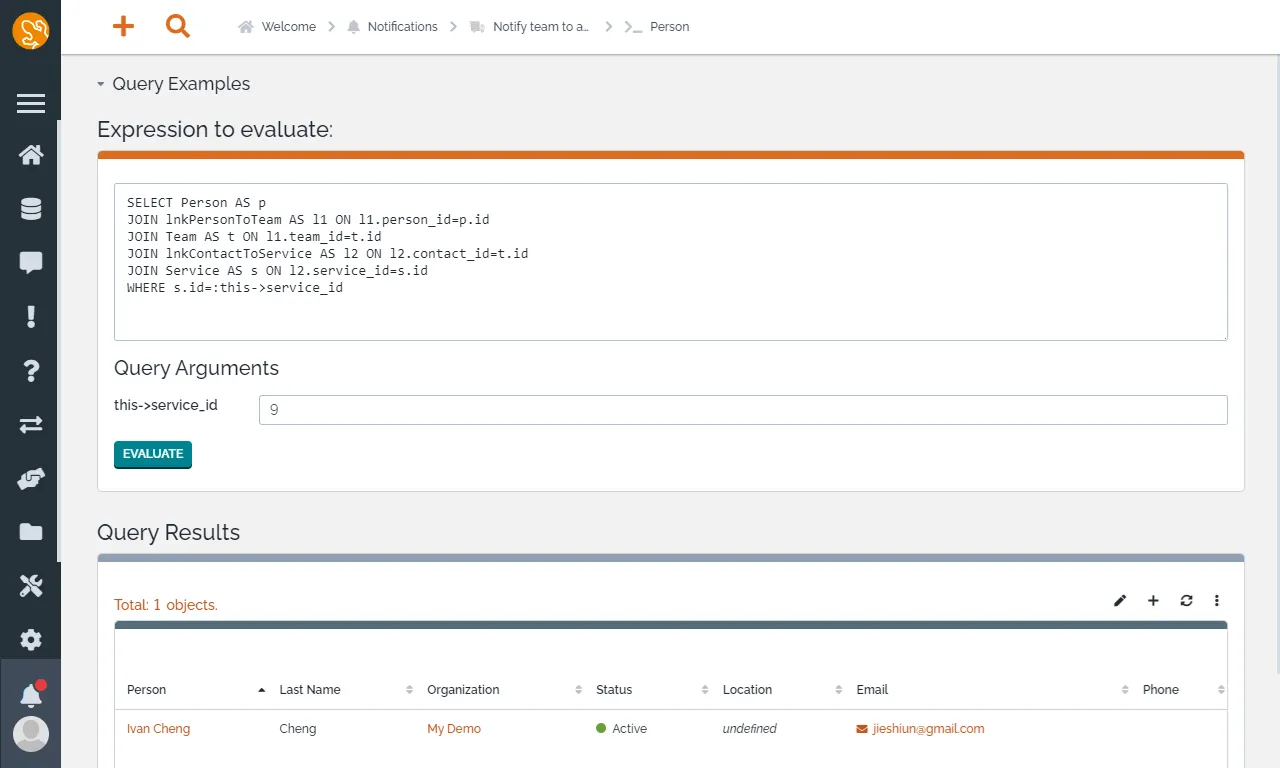
記得到該 Service 的 Contacts 頁面設定維運的團隊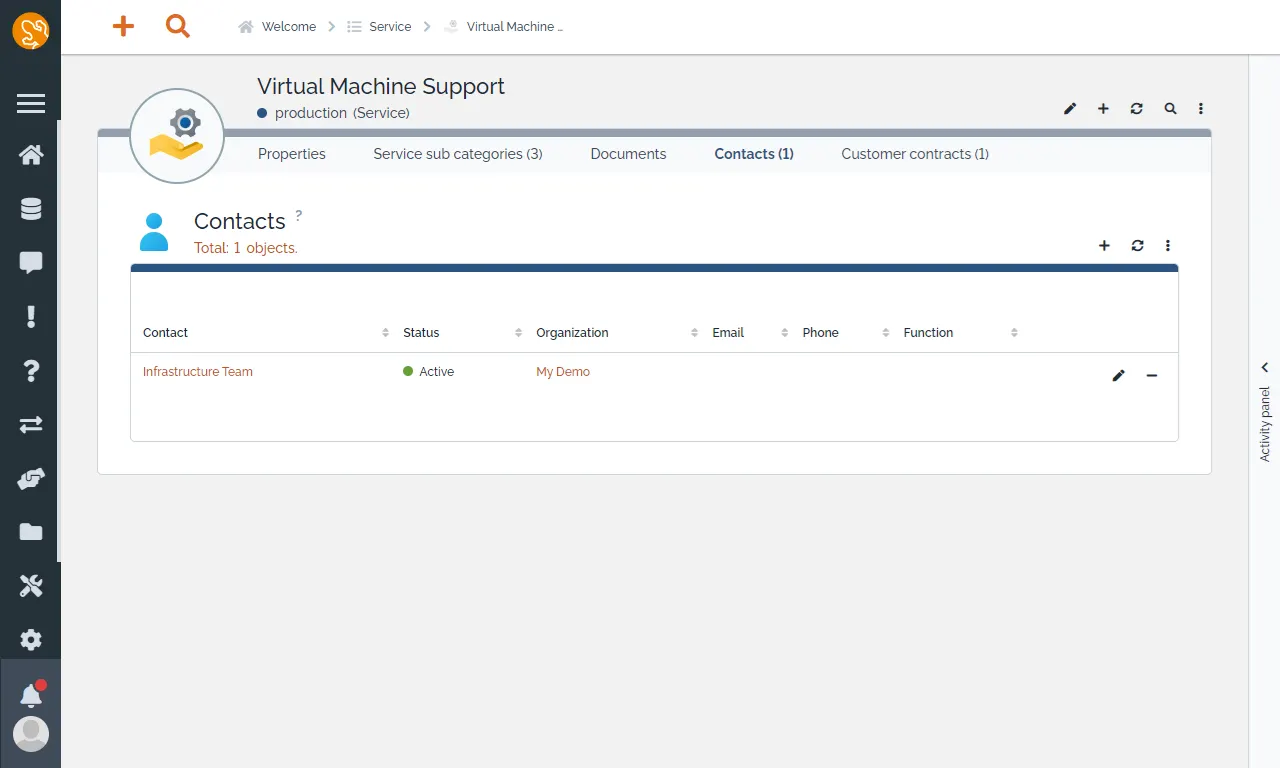
以及確認團隊內是否有添加成員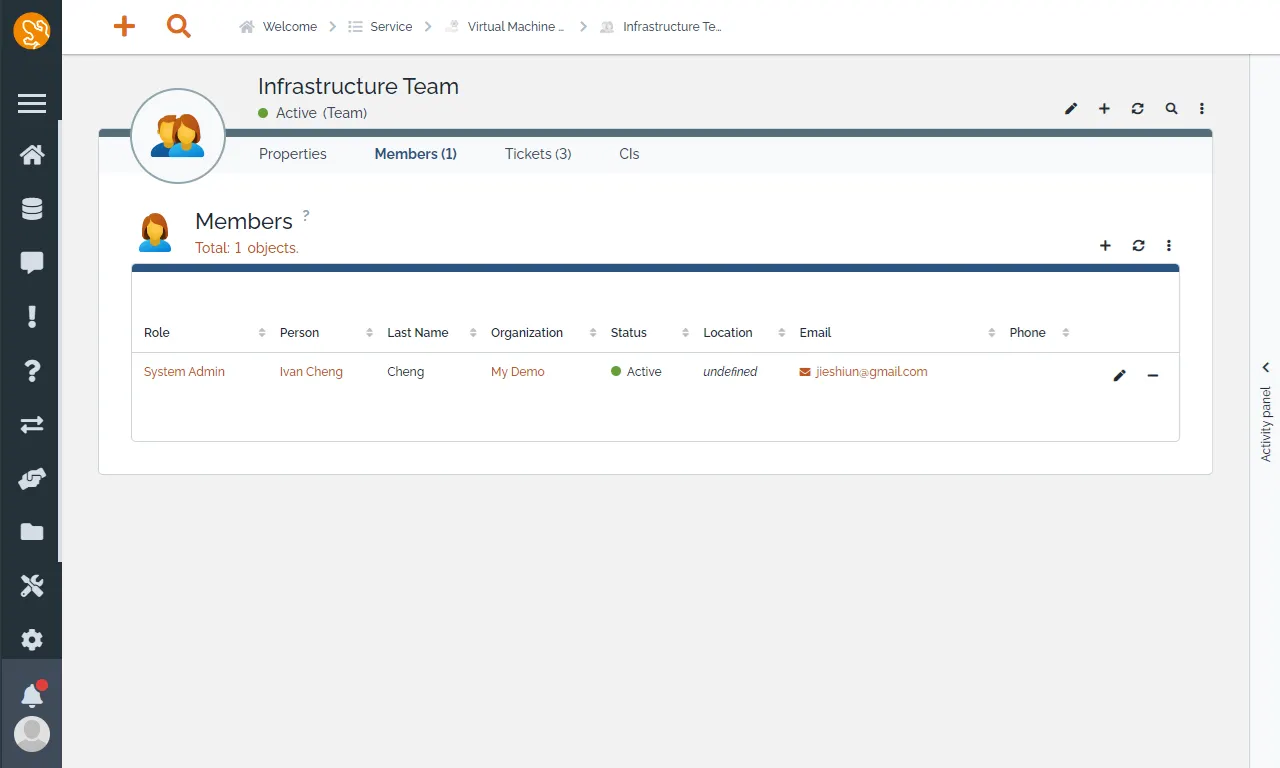
今天的分享就到這邊,感謝收看。
參考文件
