今天是第 27 天的挑戰,只剩下 4 天的篇幅可以分享了。前面的挑戰中,我已經扎實地(?)吸收並整理了「30 天挑戰精通 PowerShell」書中的前幾個章節,但若再繼續依賴書中的後續章節,就可能無法深入了解 Azure DevOps 的自動化功能。因此,從昨天開始,我透過微軟官方的 Azure DevOps 服務概覽,簡單介紹了它的核心功能。今天,我想以一個案例的形式分享我在使用 Azure DevOps Pipeline 方面的筆記:
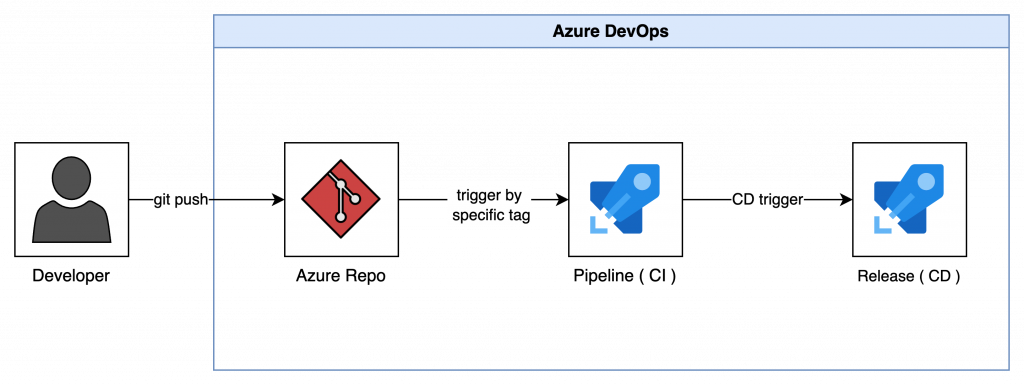
本案例將透過 Azure DevOps,把一個 Vue 專案部署在 Windows Server 上的 IIS 站台(Azure 虛擬機)中。這將涉及到 Azure DevOps 的多個核心組件,包括 Azure Pipelines 和 Azure Release,用於自動化應用程序的構建、測試和部署。

這次的自動化流程分為兩個主要部分,持續整合(CI)和持續部署(CD),這些步驟可以確保程式碼的變更經過自動化的構建、測試,最終部署到指定環境。
首先,需要將本地專案推送到 Azure DevOps。當我們在 Azure DevOps 中創建一個新專案時,它會自動為你建立一個新的 Azure Repo。下面是建立新專案的截圖:
輸入「Project name」及描述後,點選「Create」。
但別急著將本地專案推送上去,因為還需要先設定權限。如果權限還沒設置好就推送,會將看到如下的錯誤提示喔:
kanglin@wuganglindeMacBook-Air exmaple_page % git push -u origin --all
remote: Public key authentication failed.
fatal: Could not read from remote repository.

Please make sure you have the correct access rights
and the repository exists.
要將本地電腦的 SSH Public Key 添加到 Azure DevOps 中,這樣才能獲得推送代碼的權限:
點選 User Settings(位於畫面右上角的人物加齒輪圖示),選擇「SSH Public Keys」。
點選右上角的「New Key」。
將你的 SSH Public Key 貼上,並保存。
當然你也可以透過產生 PAT 的方式達成該目的。
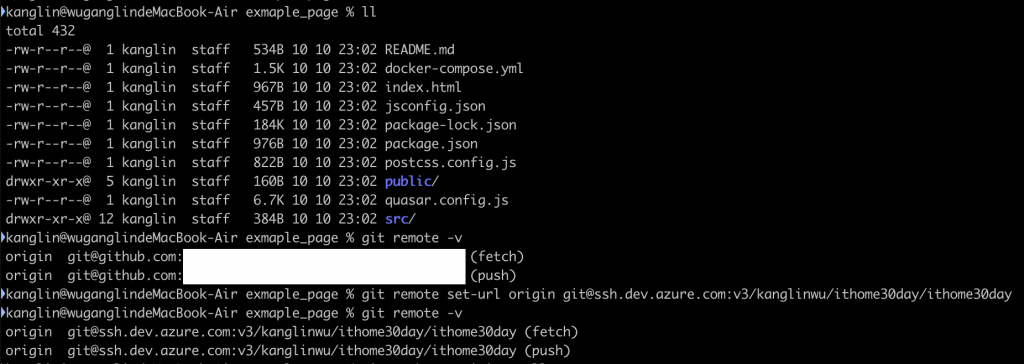
完成以上步驟後,我們就可以用以下命令來將 Git 的 Remote Origin URL 替換成 Azure DevOps Repo 的 URL,然後將本地專案推送上去:
git remote set-url origin git@ssh.dev.azure.com:v3/kanglinwu/ithome30day/ithome30day
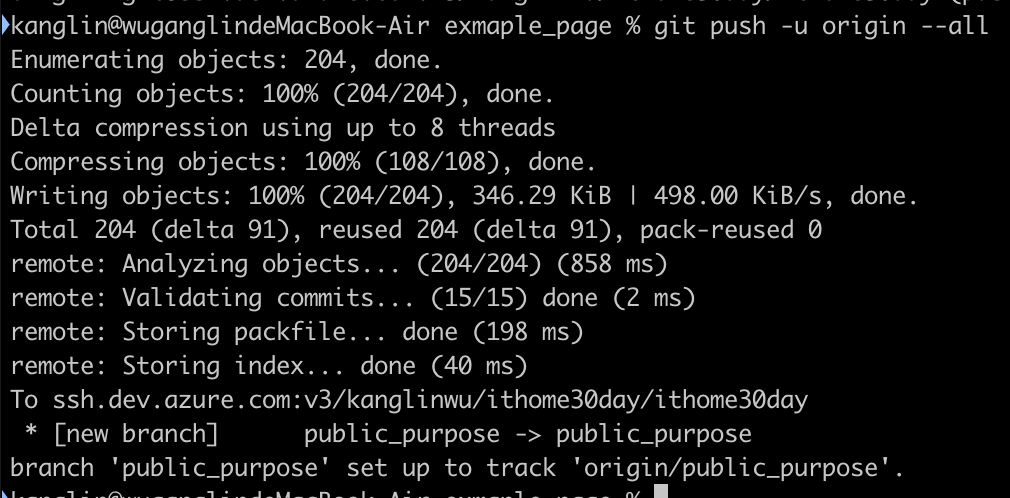
git push -u origin --all


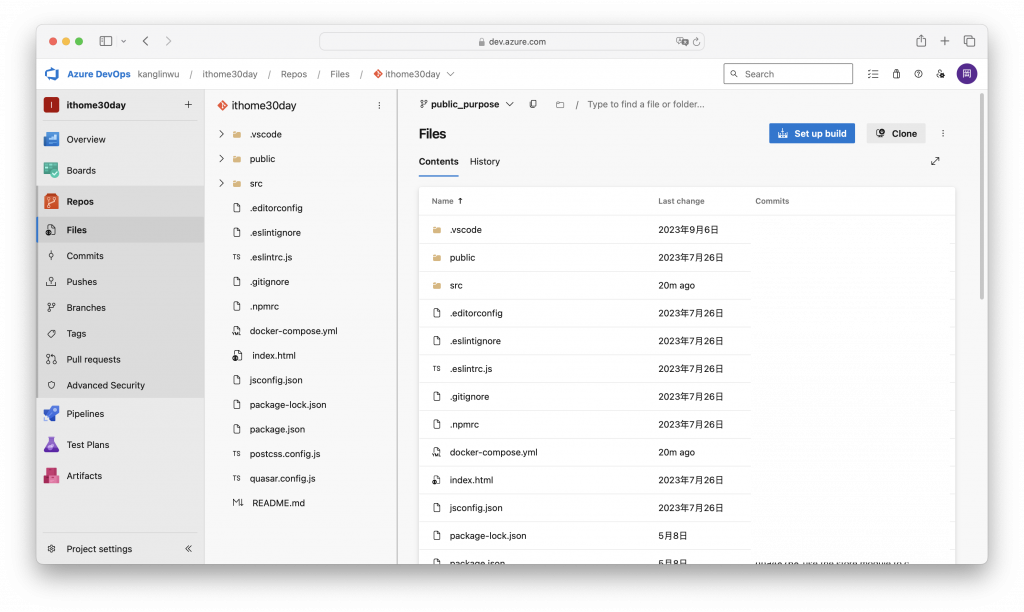
如下圖所示,推送完成後,我們可以看到推送到 Azure DevOps Repos 的專案內容:
Day 28 - 將 CI/CD 流程透過 Azure DevOps 去執行吧 - Part 2
