
如果每次更新網站內容都需要手動上傳檔案到 S3,會浪費時間且容易出錯。
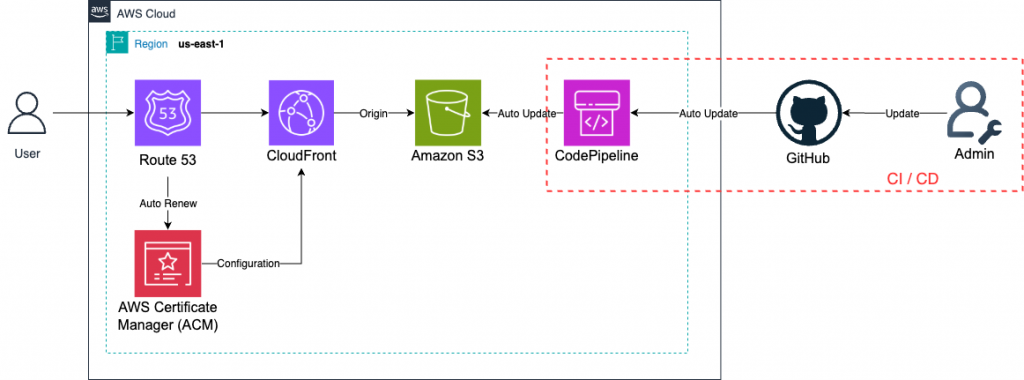
透過 CI/CD,自動化從 GitHub 到 AWS 的部署流程,能確保程式碼變更能快速、安全、可預測的上線,當網頁在Github中修改後,會觸發AWS CodePipeline自動將更新的檔案部署到S3中,以實現自動化的部署流程,這個 Lab 主要解決以下問題:
(1) 傳統人工上傳檔案到 S3,容易出現版本錯誤或漏檔。
(2) 缺乏自動測試與編譯,降低網站品質保證。
(3) 部署與版本管理無法追蹤,維運不透明。
在整體 Serverless 架構中,CI/CD 提供了「自動化部署能力」,讓開發者專注於程式碼,而不是部署流程。這一層會直接串接前一天的 CloudFront + S3 網站架構,讓 GitHub 的程式碼一旦更新,就能自動觸發 Pipeline,並完成網站更新。
(1) 為 CI/CD 建立最小權限 IAM Role,避免過度授權。
(2) 在 CodeBuild 中加入單元測試與 ESLint,確保品質。
(3) 版本化 S3 內容,避免錯誤回滾困難。
(4) 使用多階段 Pipeline(如 Dev → Staging → Prod)確保安全部署。
(5) 自動化 CloudFront Invalidation,但避免全量清除,降低成本。
進入GitHub登入頁面:https://github.com/login
創建一個新的Repository。
命名Repository。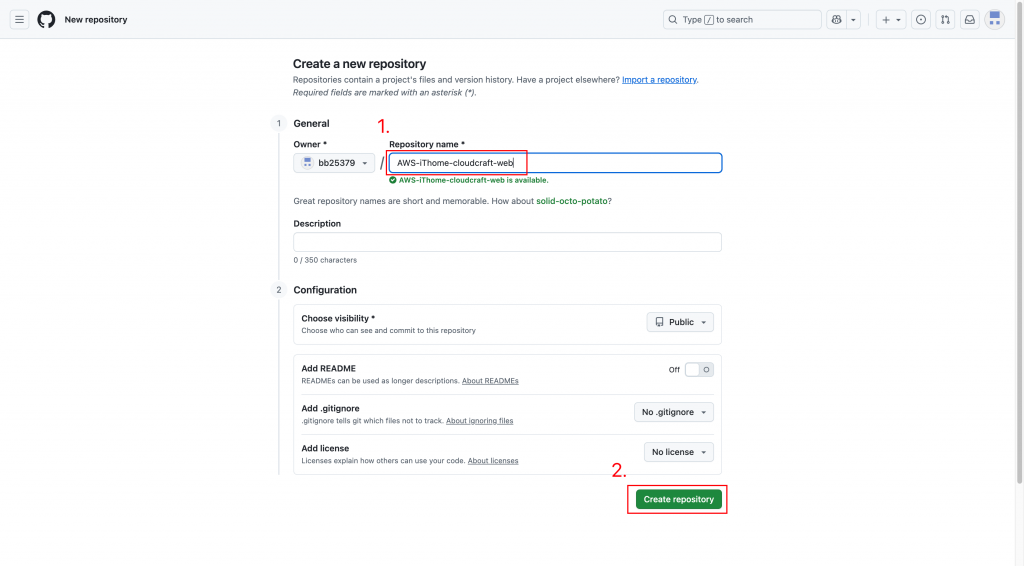
完成畫面。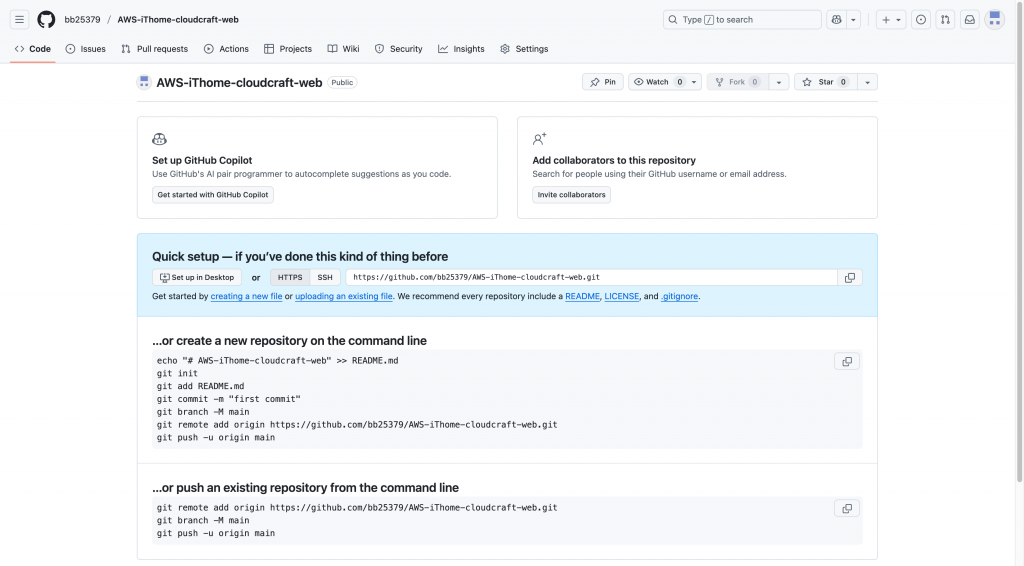
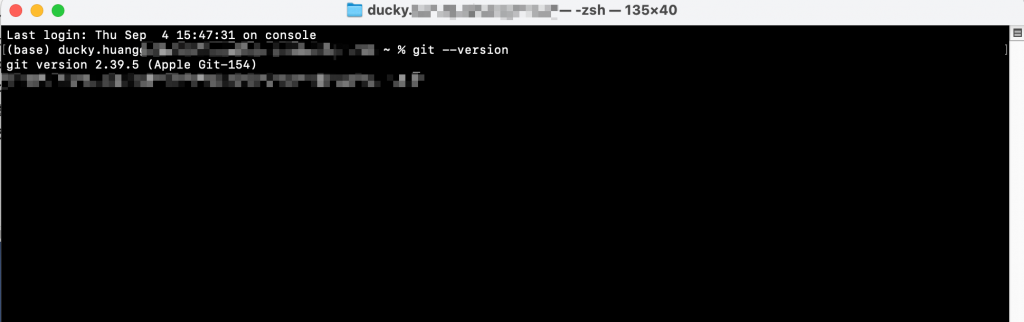
確認自己本機端有沒有安裝Git工具(以下語法是以macbook為範例)
❗沒有GitHub要自行安裝(方法在步驟2)
git --version
如果沒有,可以用以下指令安裝:
brew install git #MacOS
sudo apt install git #Linux
進入資料夾內,並初始化Git專案
cd /<path>/Day8-Lab
git init

資料夾內容範例: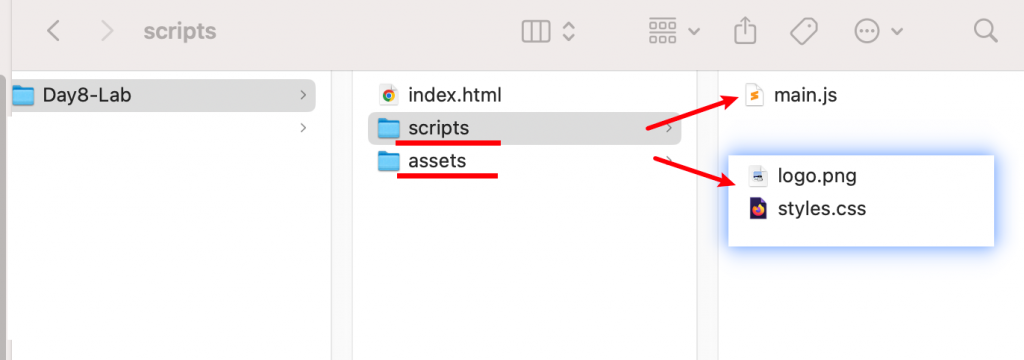
複製GitHub連結。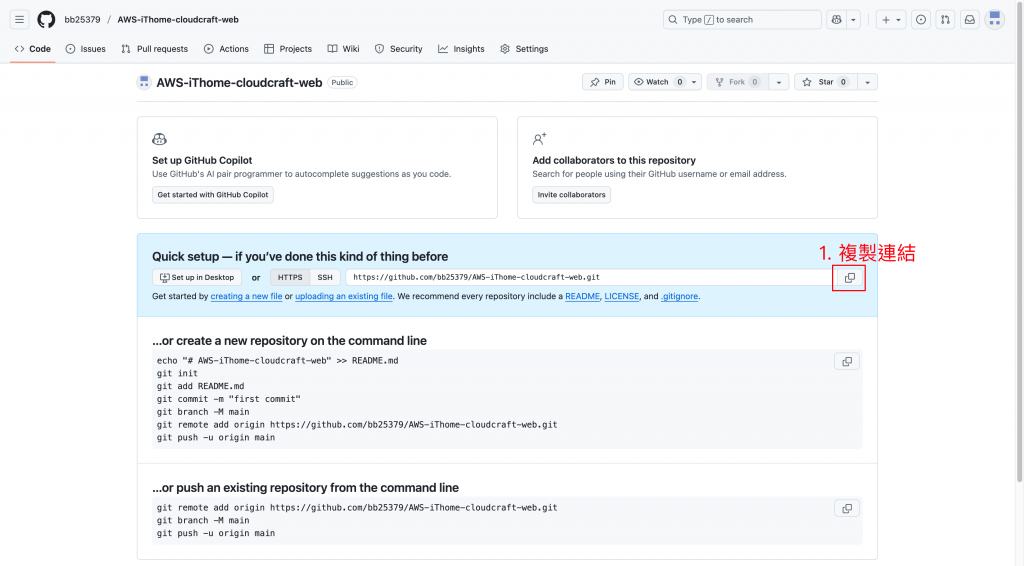
遠端添加網頁,並檢查是否設定成功。
git remote add origin <URL>
git remote -v

💡ignore檔案是為了不要讓GitHub自動推送一些「你沒有要公開上Github的檔案內容」到你的GitHub中的一個「忽略清單」。
創建一個名為「.gitignore」的檔案。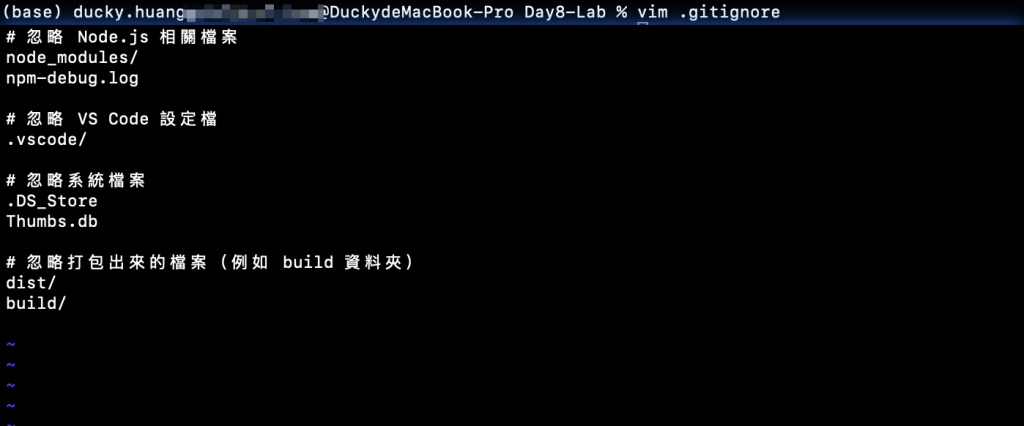
內容可以參考這個範本,並按下儲存即可。
# 忽略 Node.js 相關檔案
node_modules/
npm-debug.log

# 忽略 VS Code 設定檔
.vscode/

# 忽略系統檔案
.DS_Store
Thumbs.db

# 忽略打包出來的檔案(例如 build 資料夾)
dist/
build/
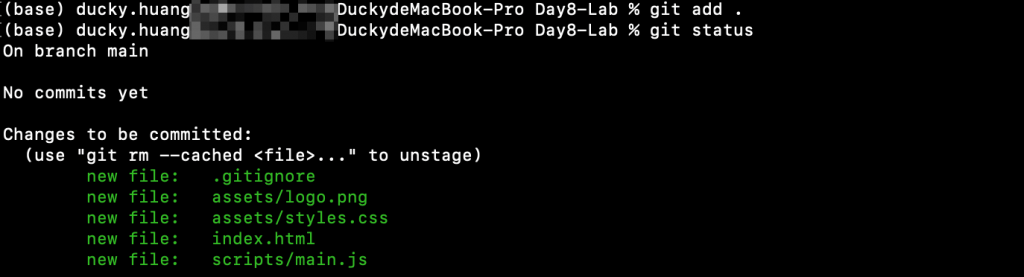
把檔案推送到暫存區。
git add .
確認有哪些檔案會被上傳。
git status
進到自己的帳戶內。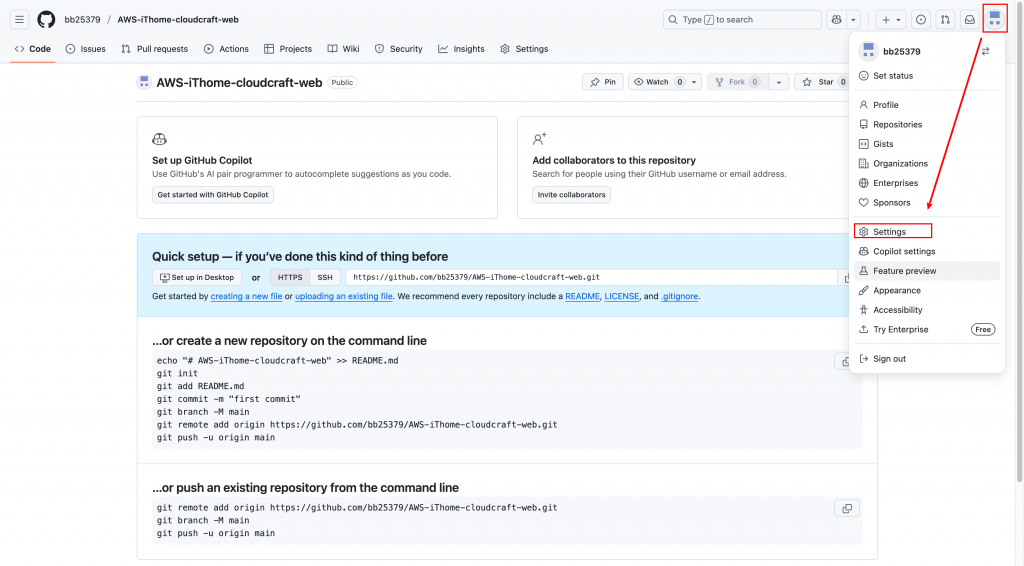
選擇開發者設定。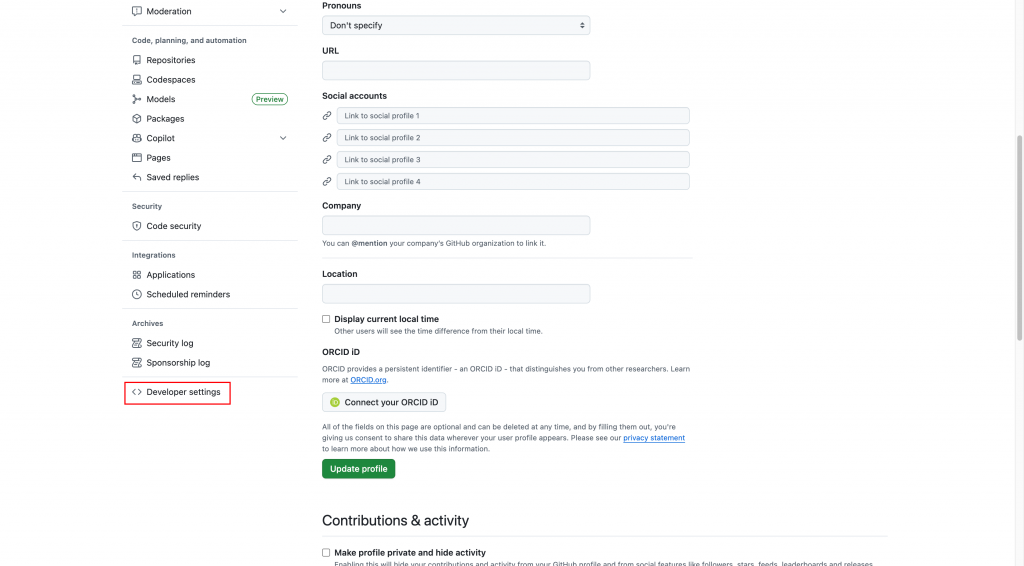
生成新的token。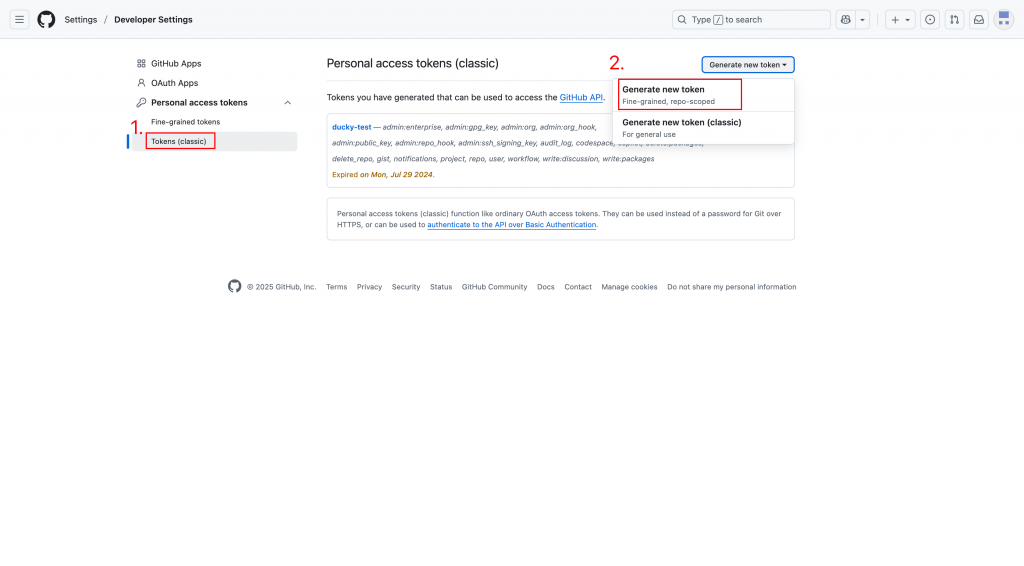
輸入帳號的密碼,用以創建。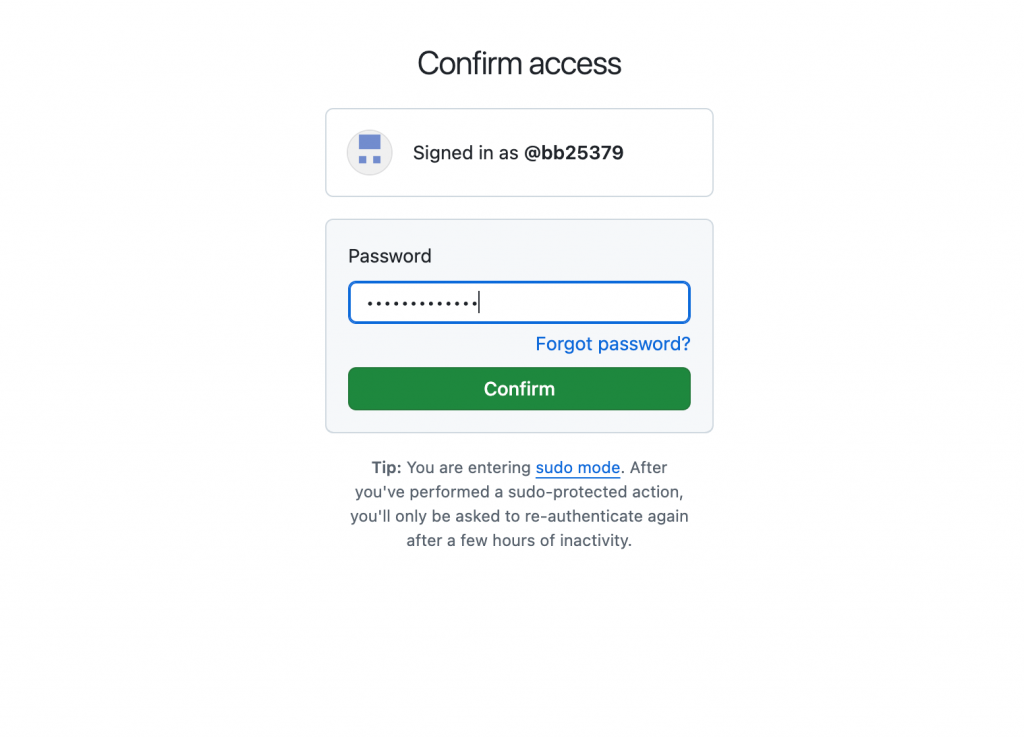
創建access Token,並設定使用效期與權限。
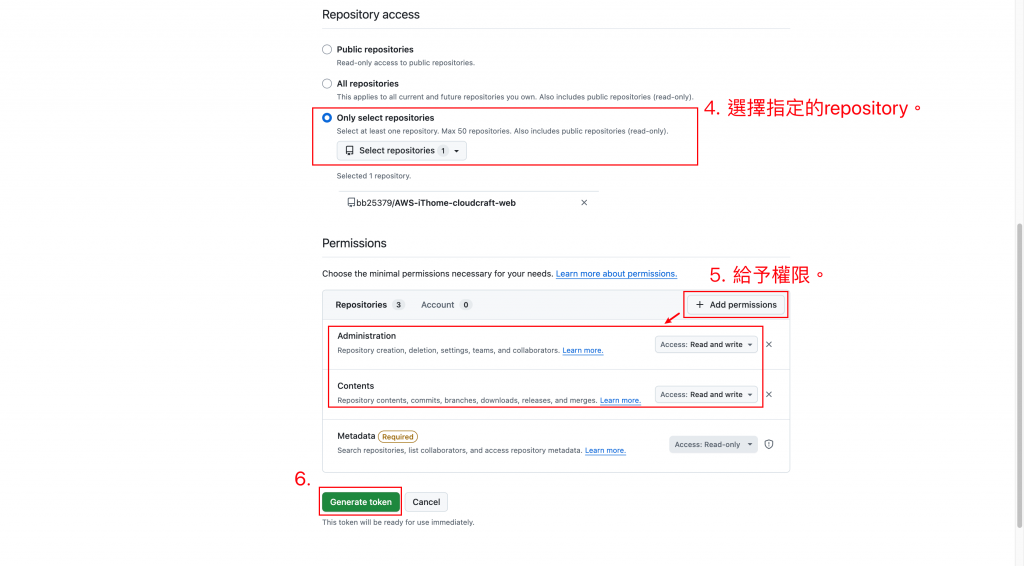
創建access token。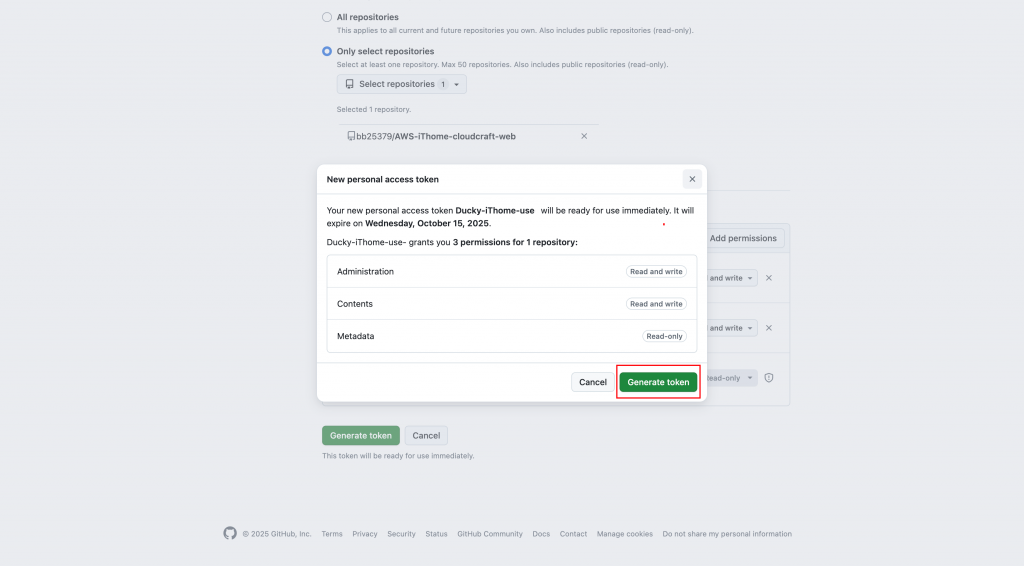
複製access token。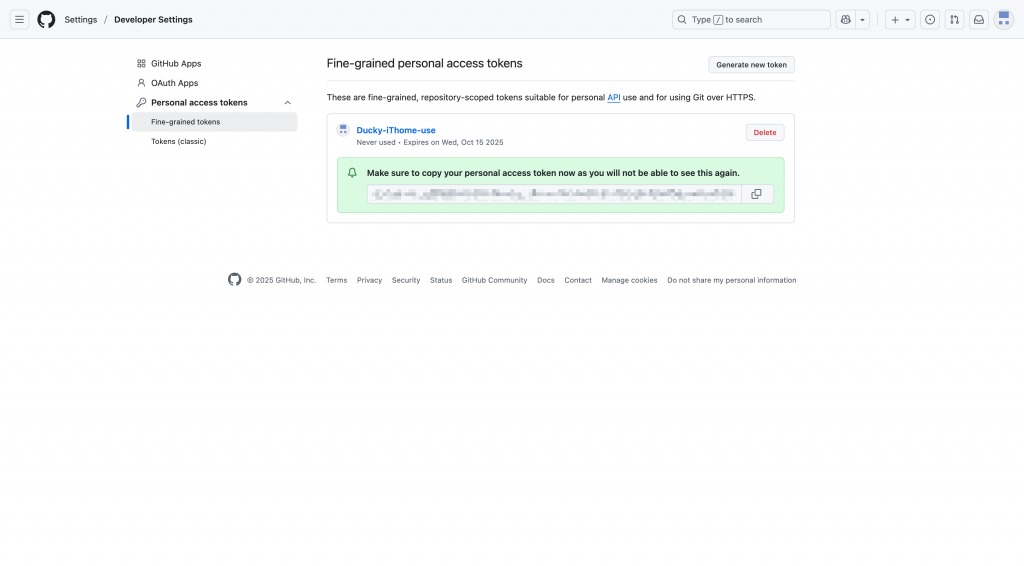
提交程式碼備註。
git commit -m "Day8-自動化部署"
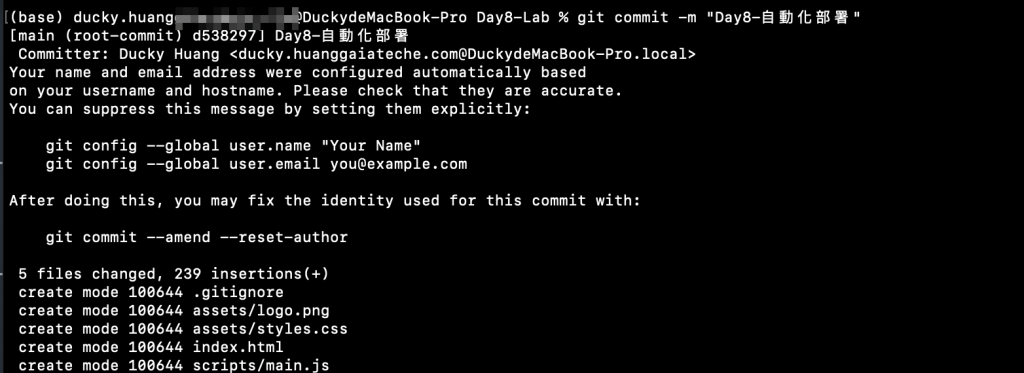
正式推送檔案。

git push -u origin main
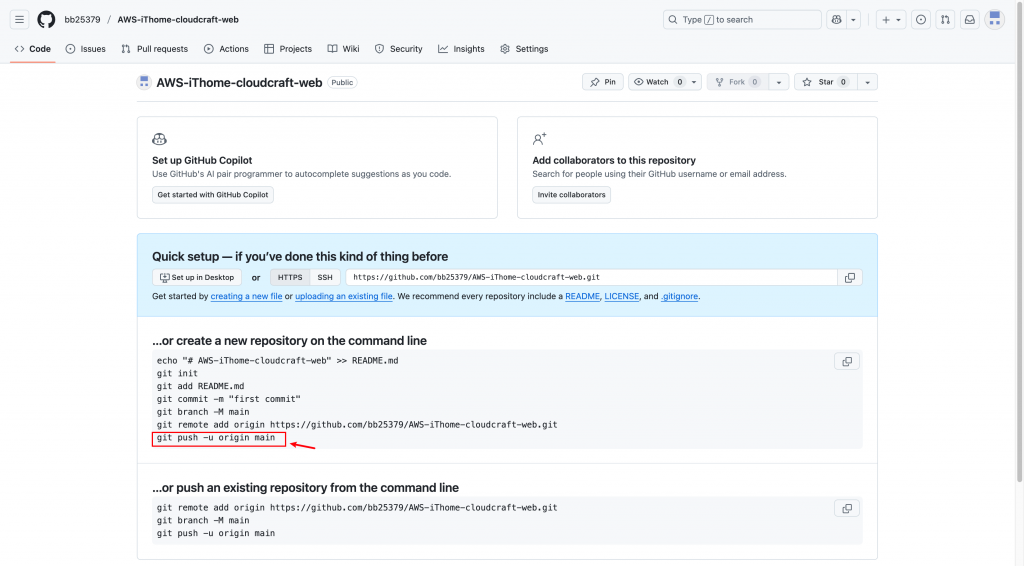
確認是否推送完成,以下是完成畫面範例。(點選右邊清單做確認)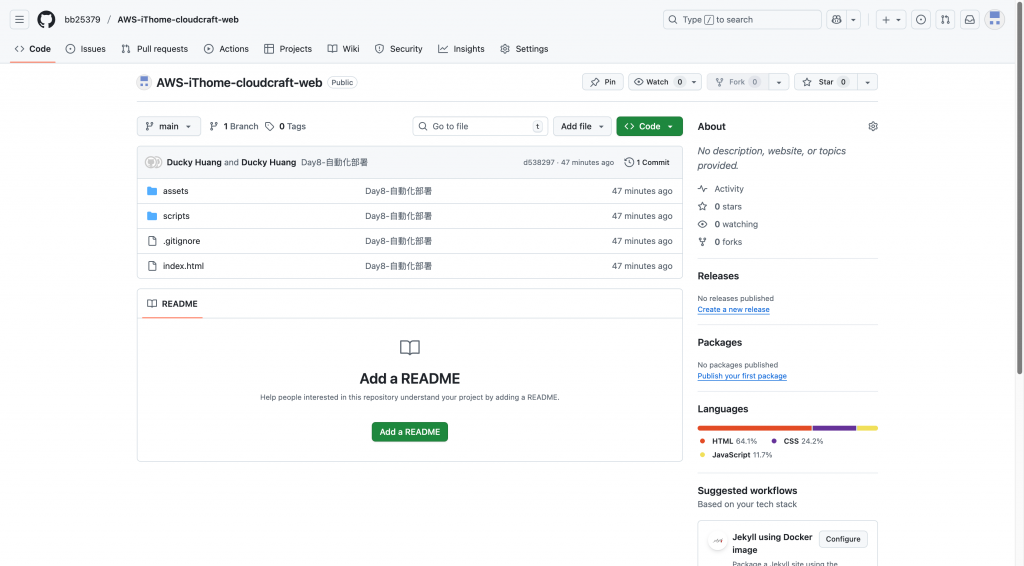
到GitHub增加檔案。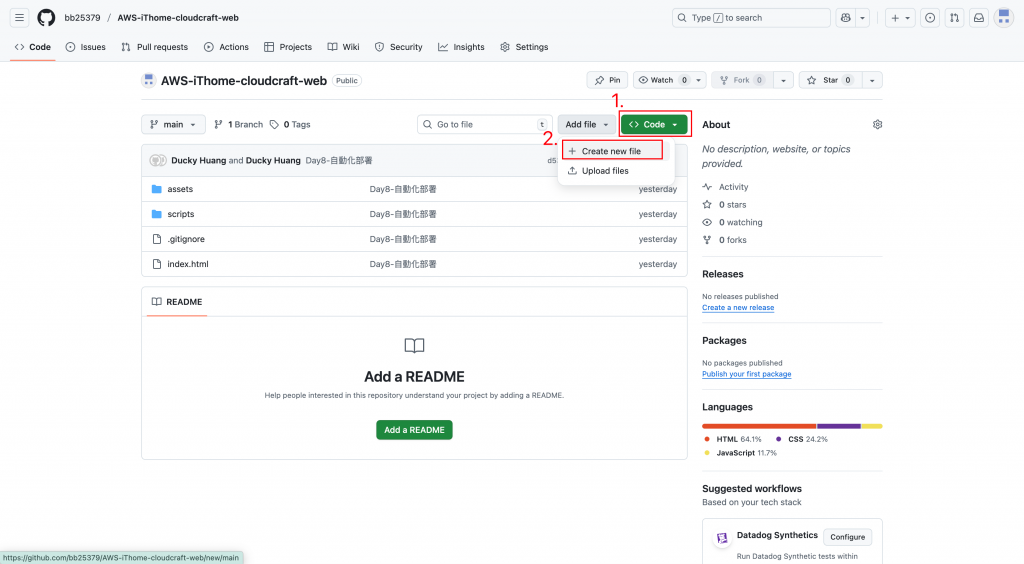
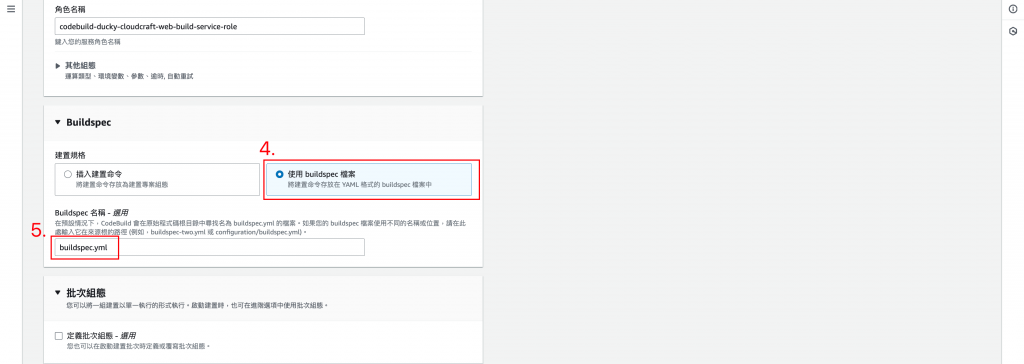
創建架構規格的檔案。
程式碼範例(名稱:buildspec.yml)
version: 0.2

phases:
  install:
    runtime-versions:
      nodejs: 18
  build:
    commands:
      - echo "Building website..."
      - npm install || echo "No dependencies"
artifacts:
  files:
    - '**/*'
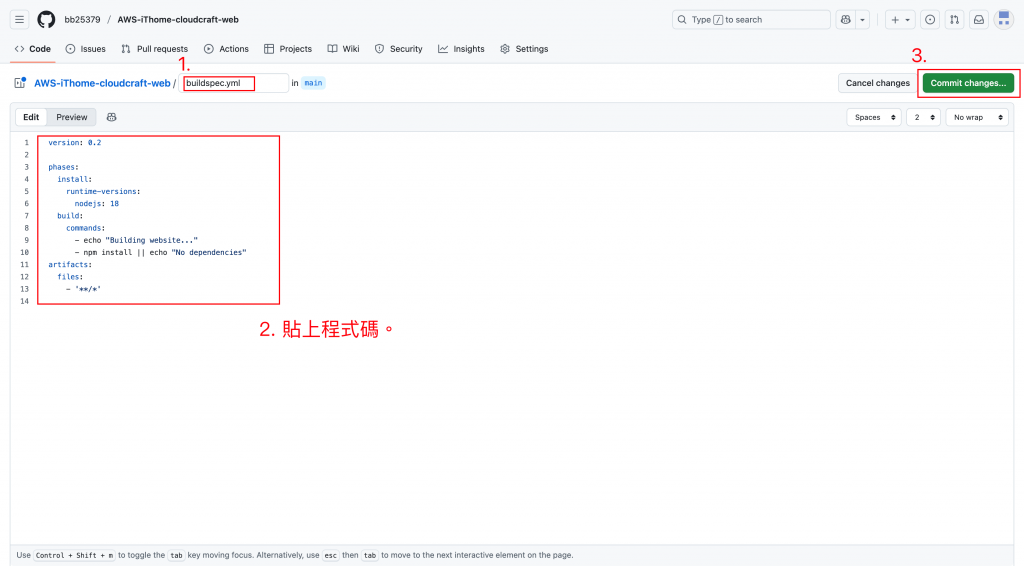
創建檔案。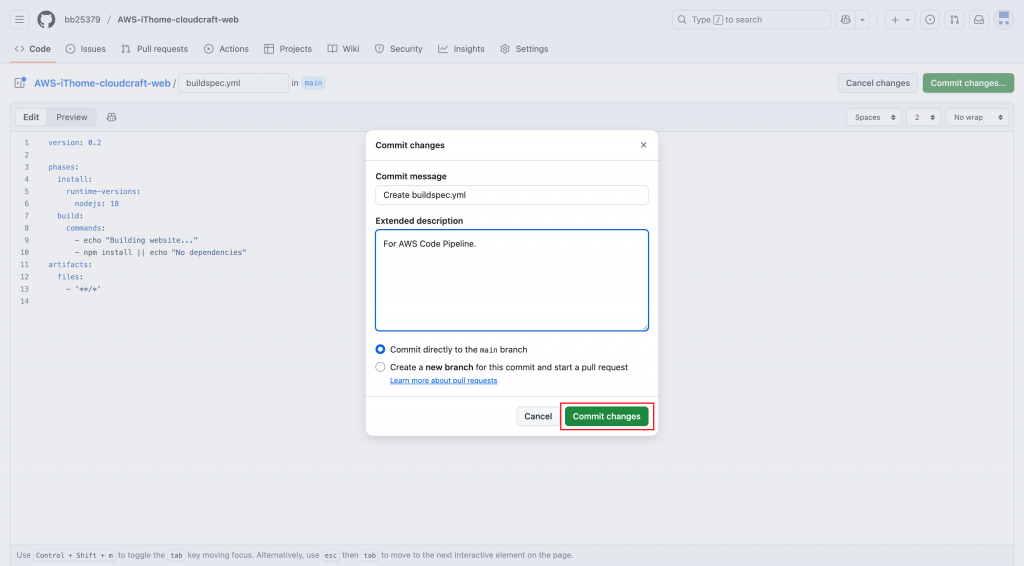
完成畫面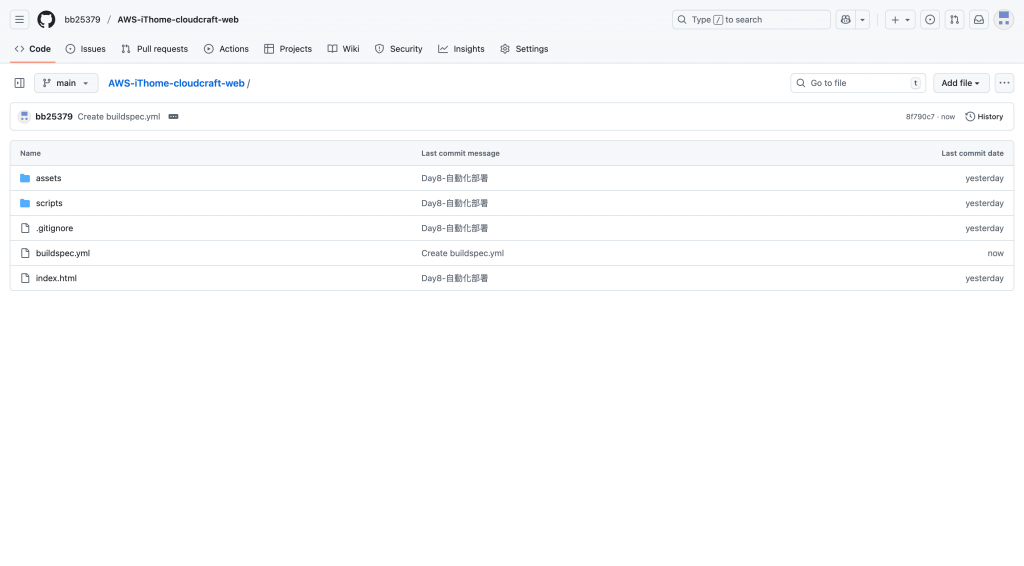
進入「Codepipeline」服務頁面。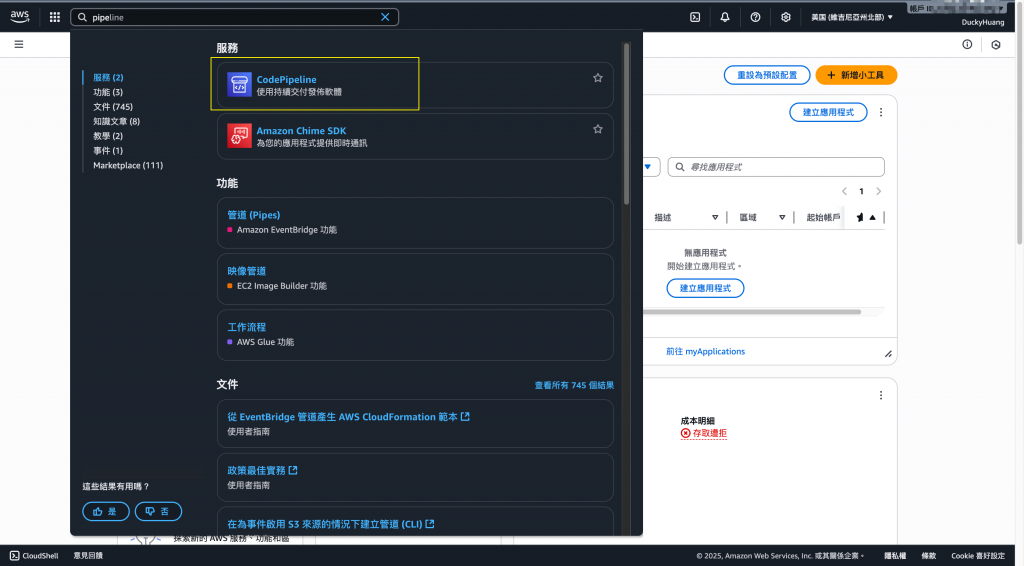
創建一個新的「管道」。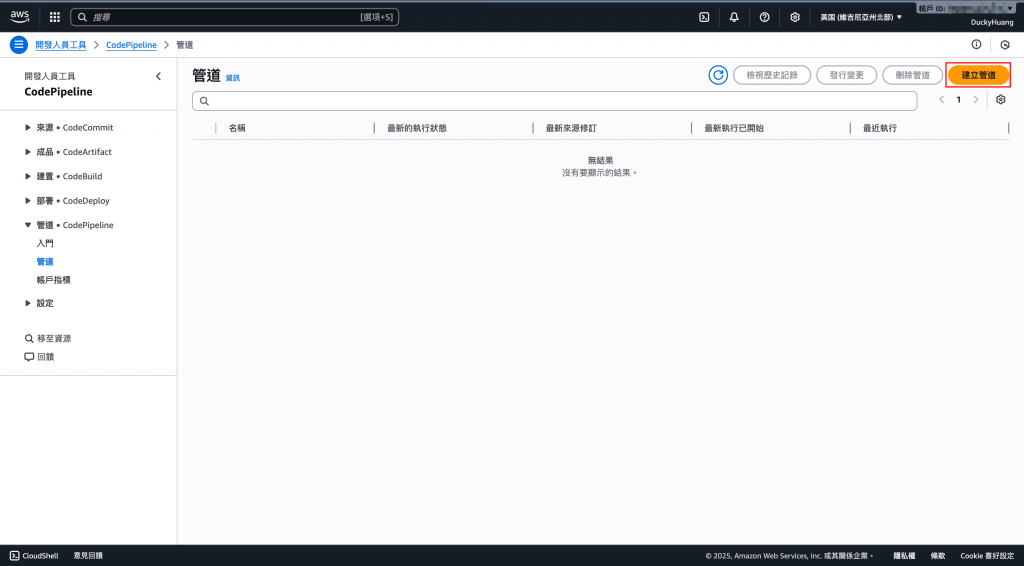
自定義建置。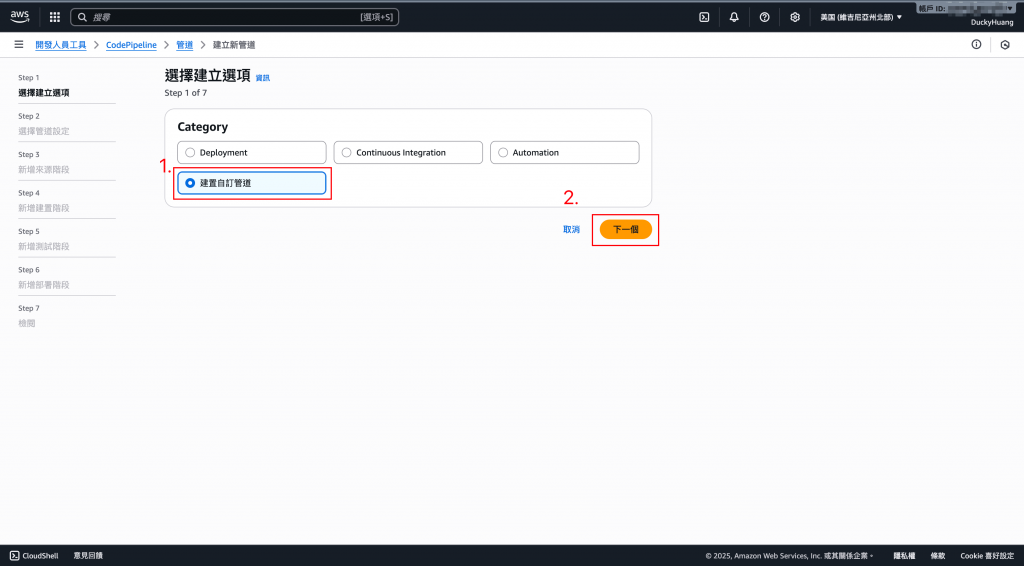
輸入管道名稱、服務角色(新建)。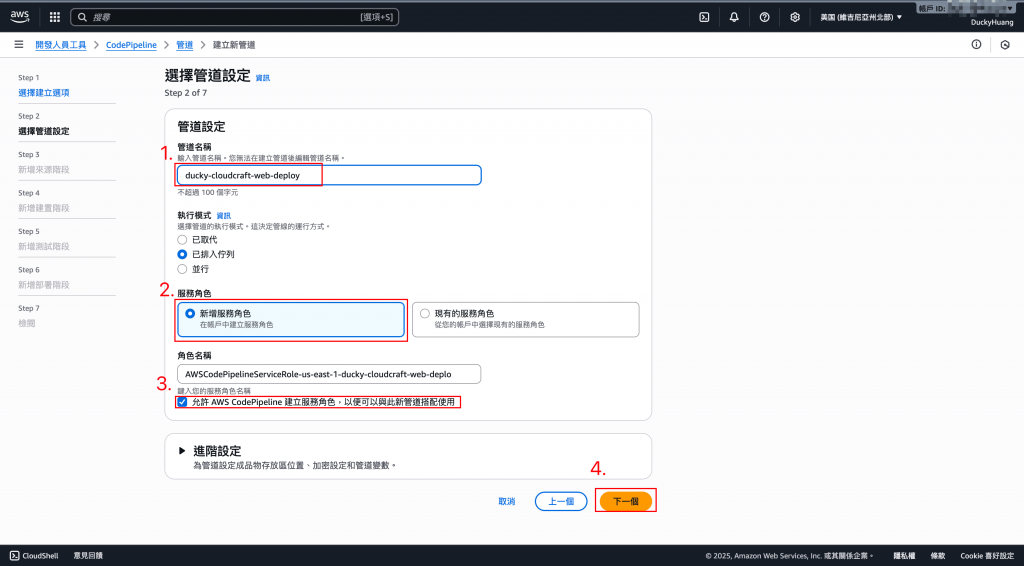
新增來源為GitHub。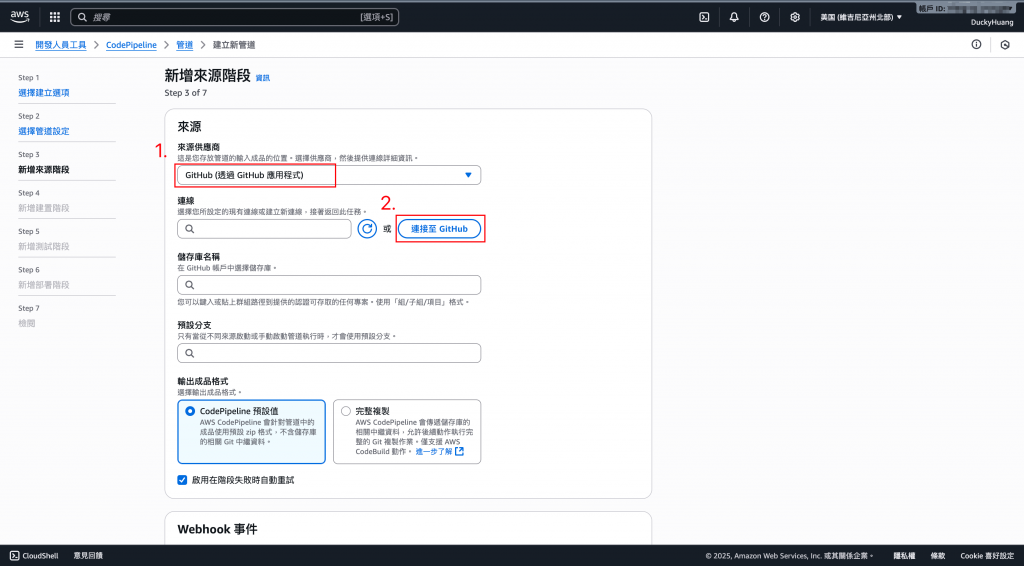
創建一個連線的名稱。
授權AWS可以使用自己的GitHub。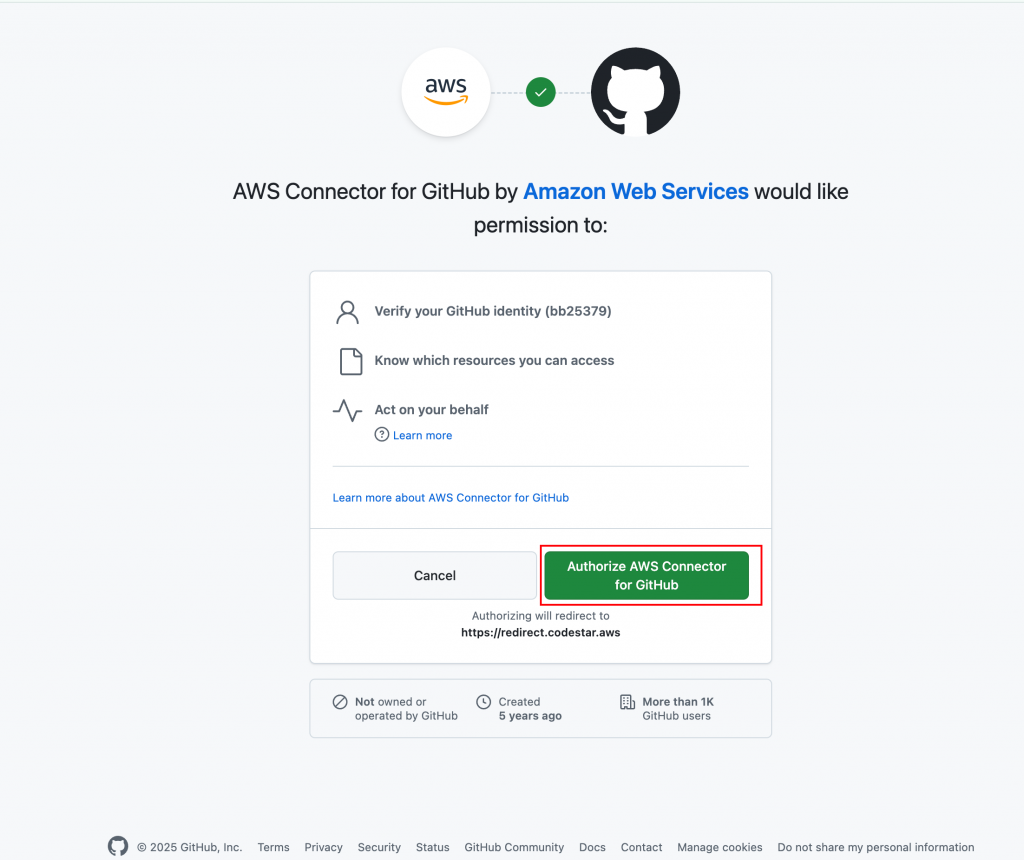
點選「安裝新的應用程式」。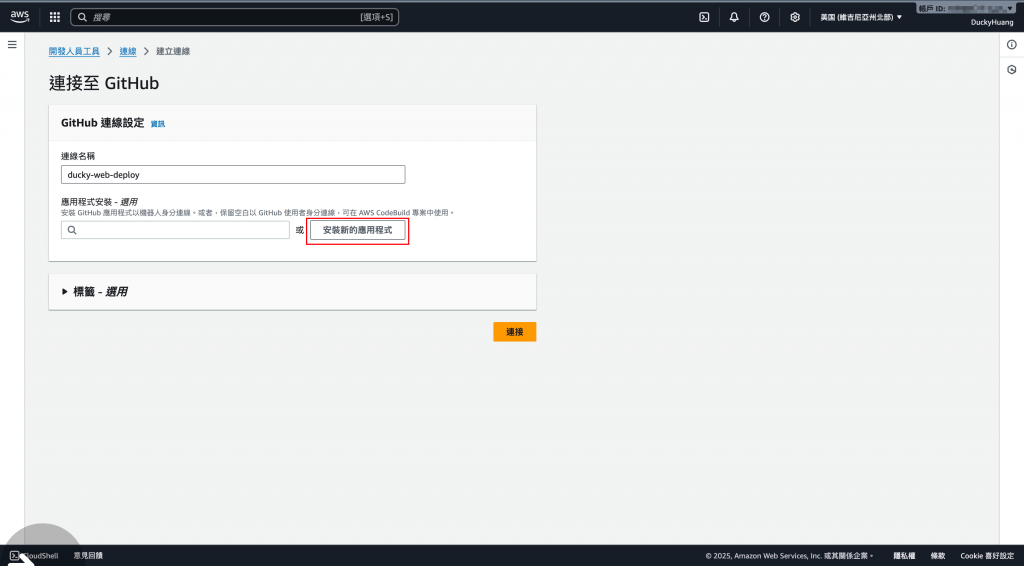
選擇安裝前面創建的Repository。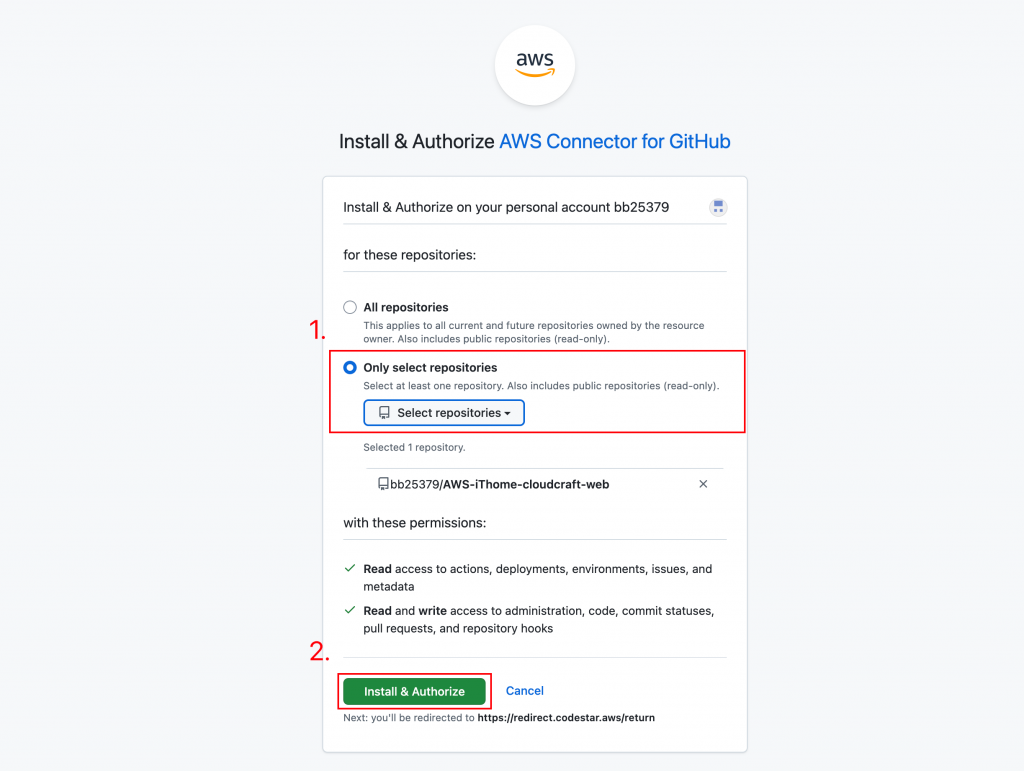
連接至剛剛安裝的應用程式。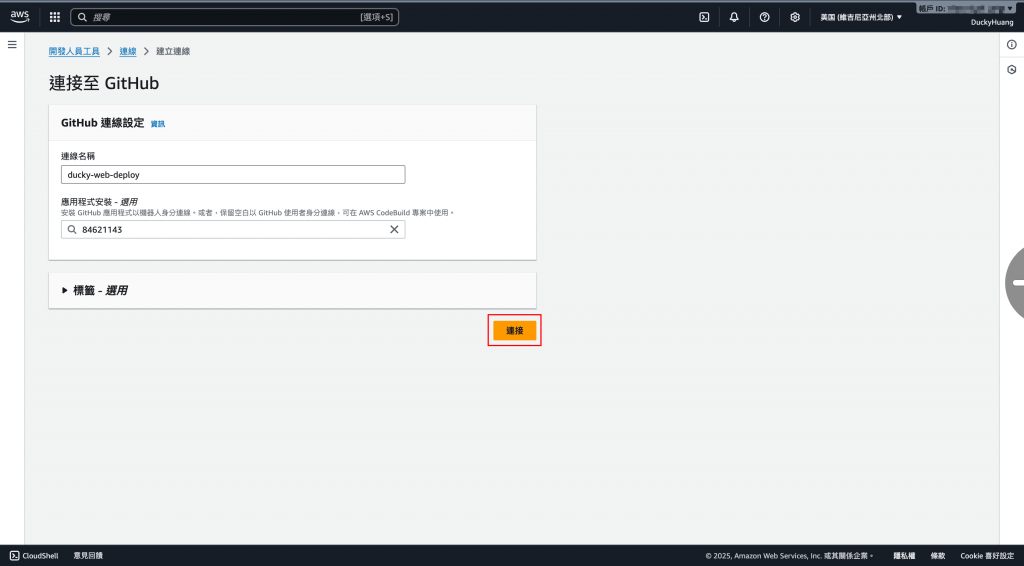
設定GitHub Repository跟分支。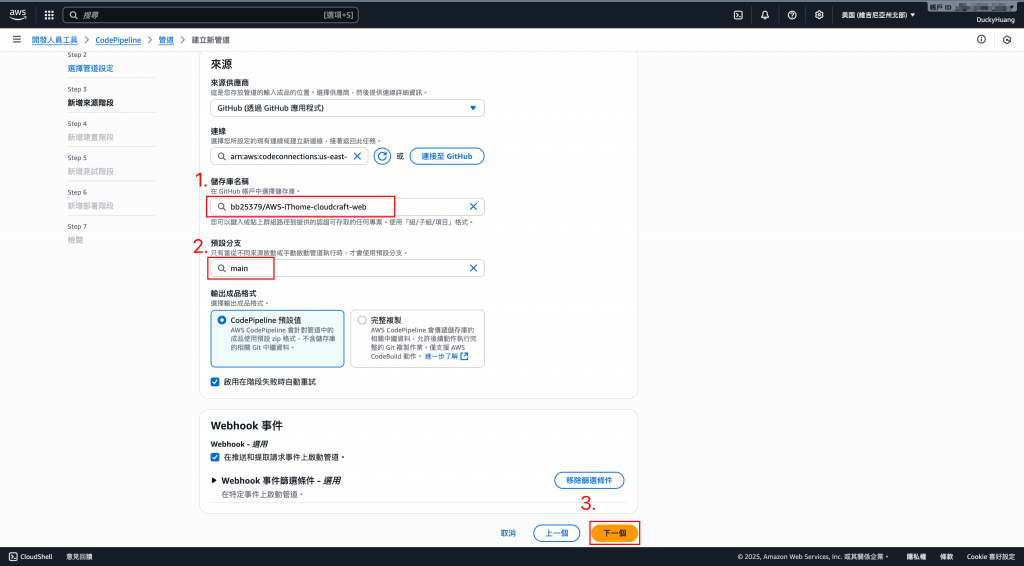
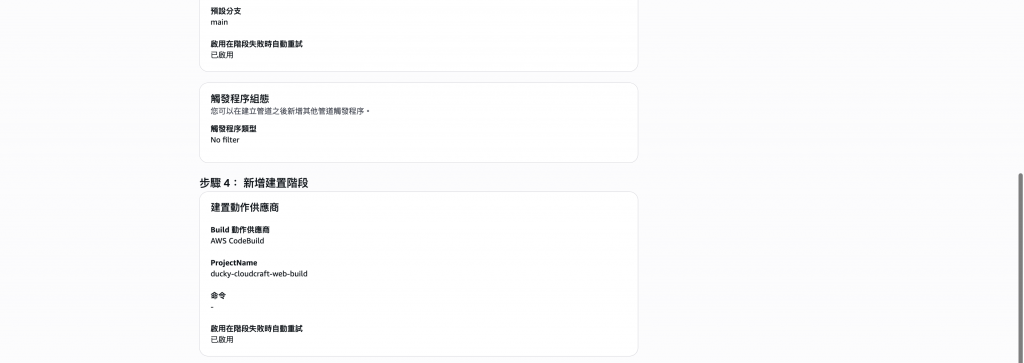
建置選擇新的方案。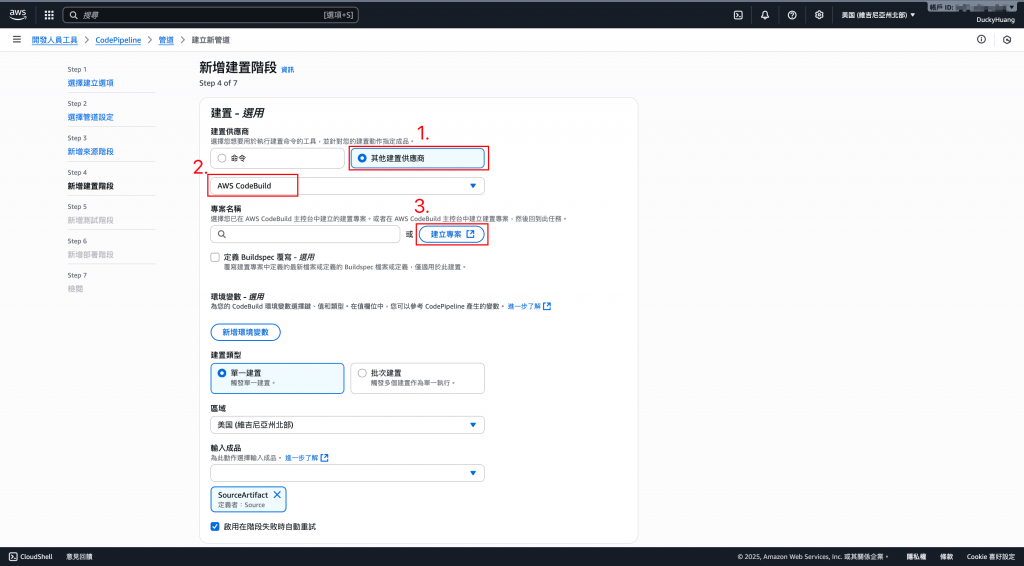
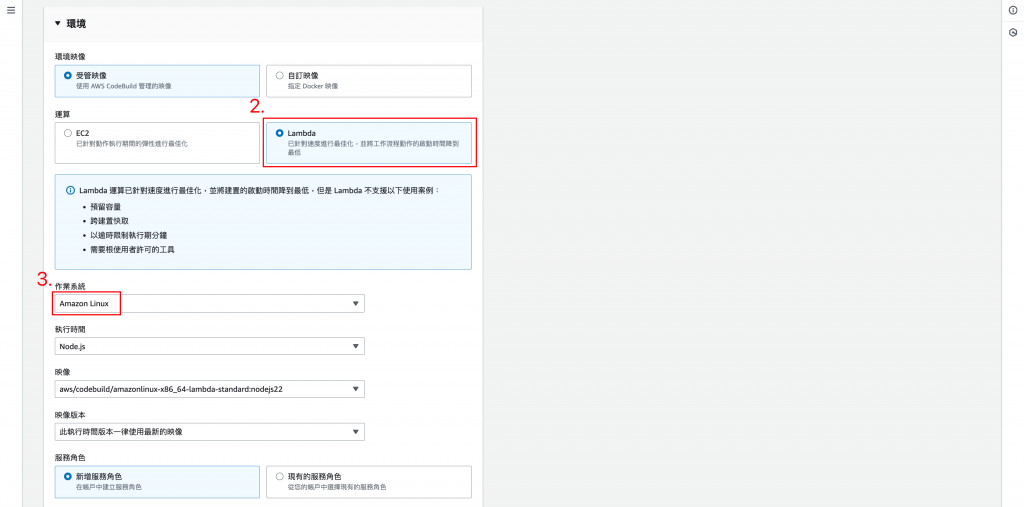
創建檔案名稱與選用執行方式。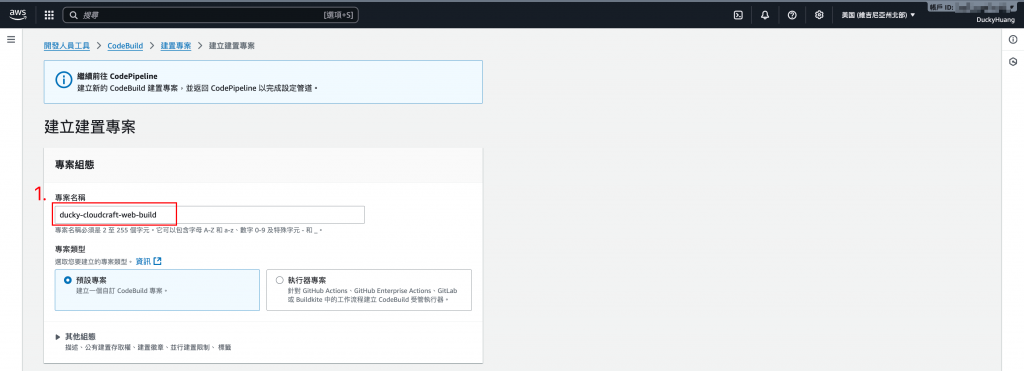
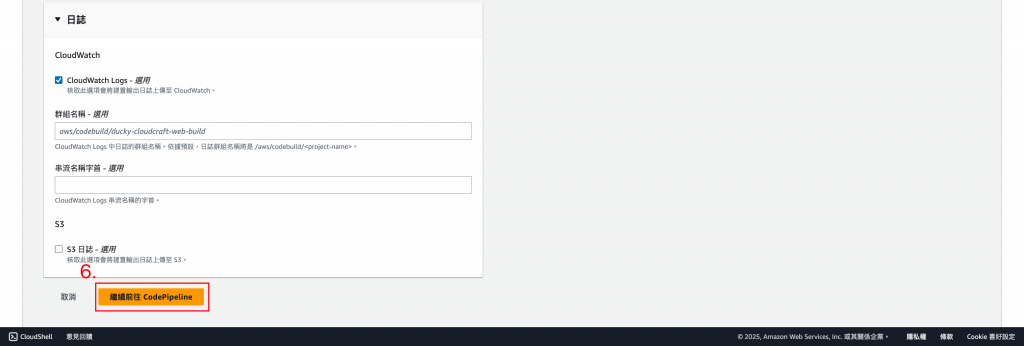
點選剛剛創建的專案,點選下一步。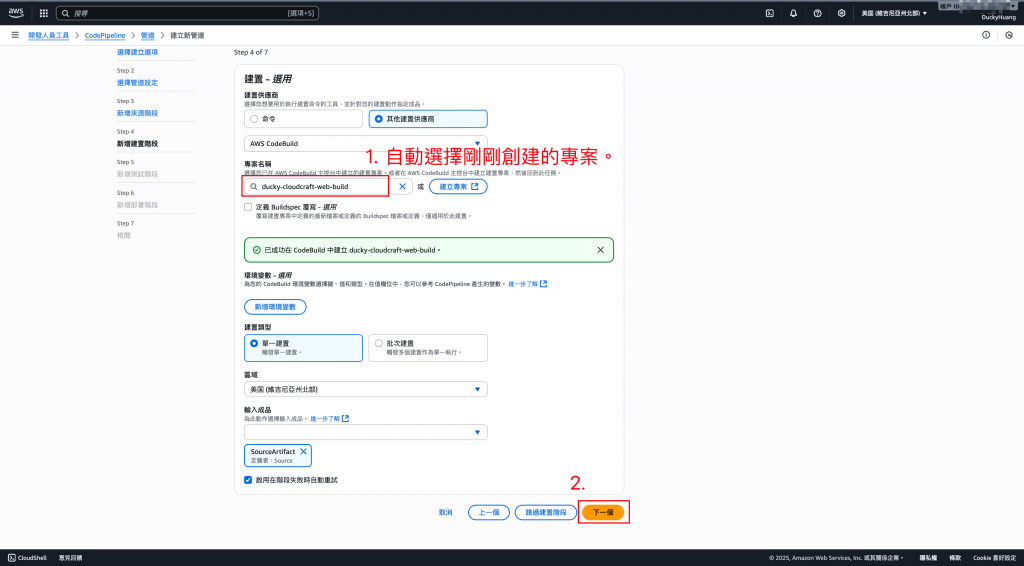
點選下一步。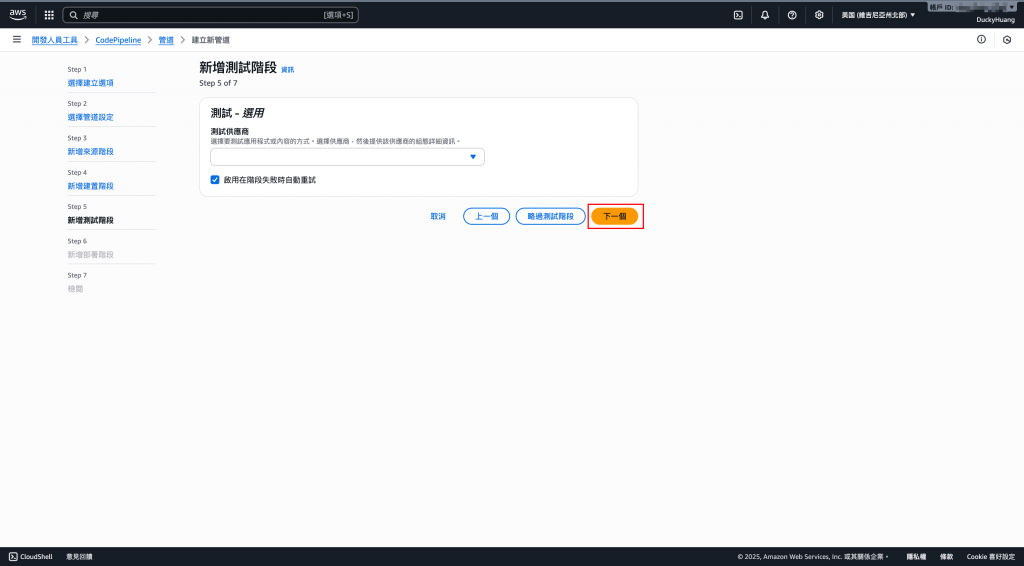
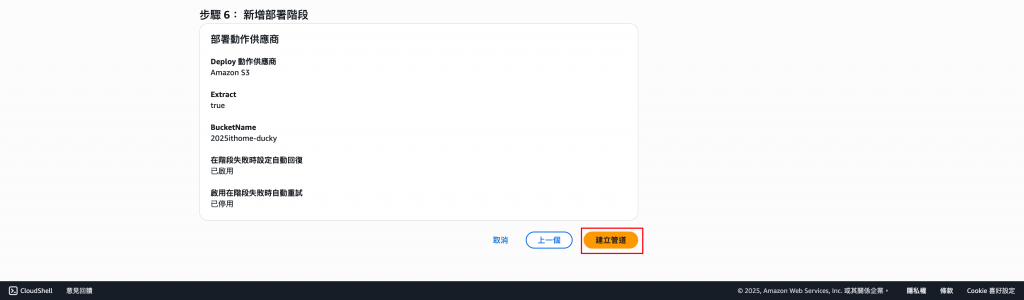
部署到S3儲存庫。
確認創建。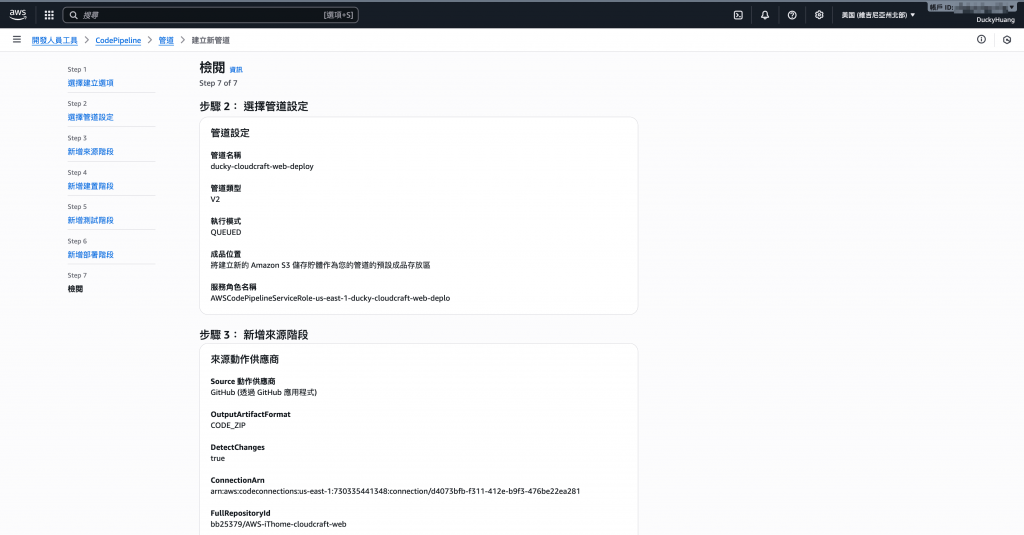
完成畫面。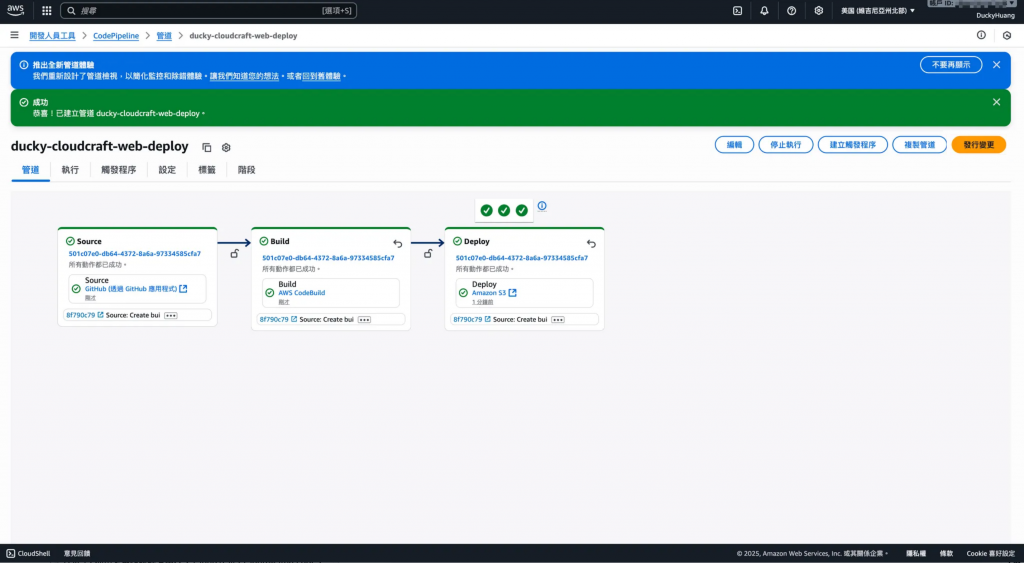
【補充】未來要手動變更時,就只要點一下「發行變更」即可快速自動推送。
點選「發行變更」。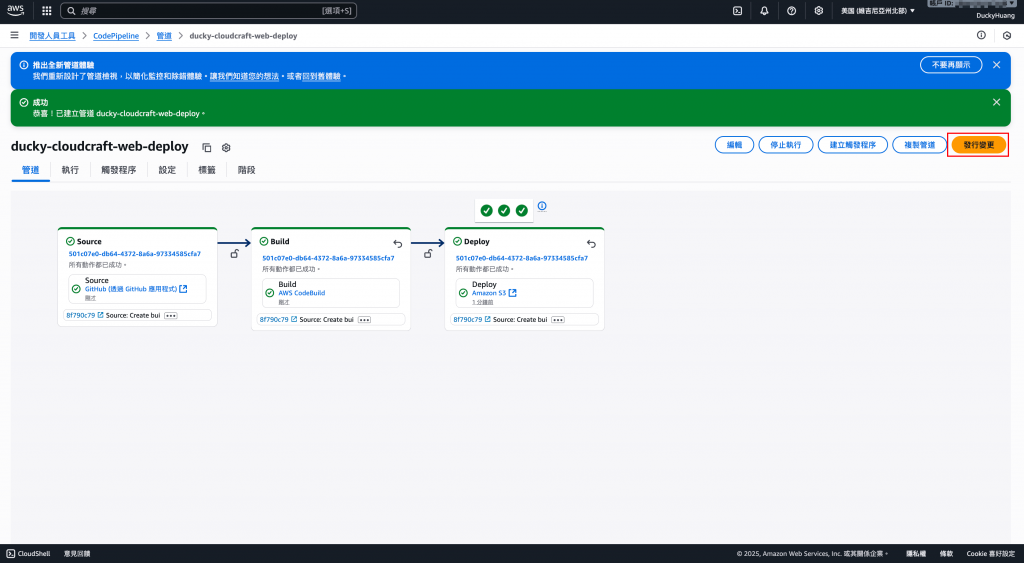
確定覆蓋舊版本。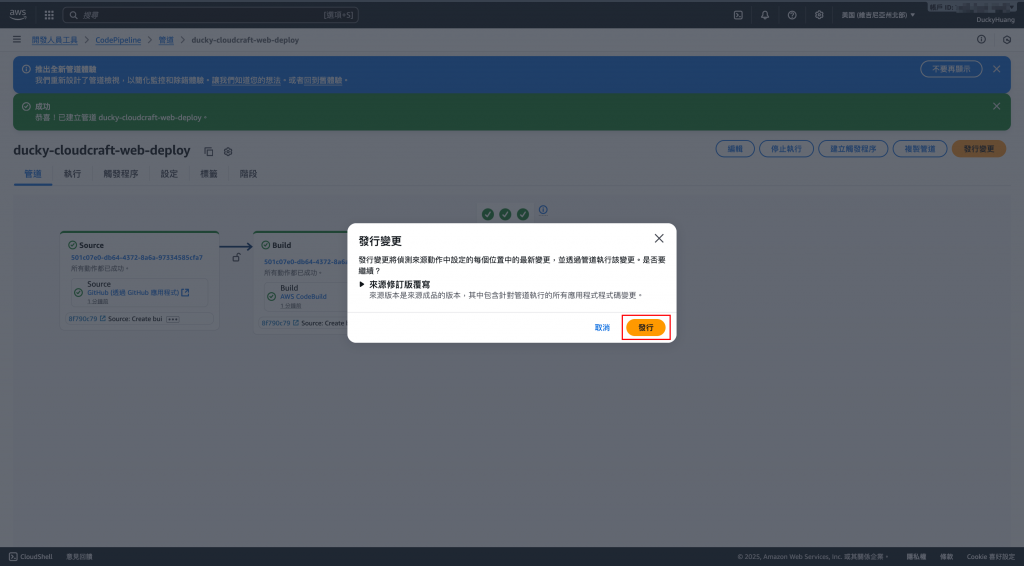
index.html 並 Commit。進入檔案內,點選編輯。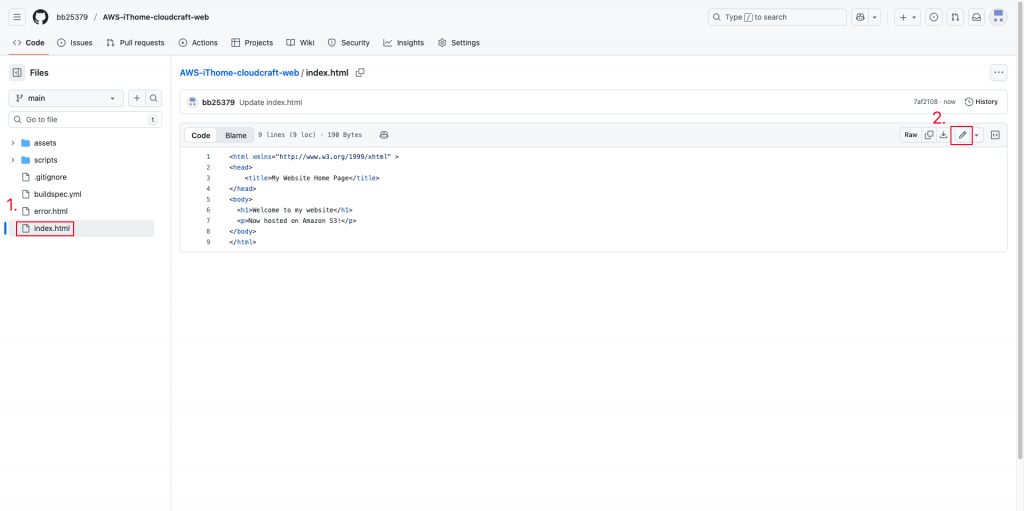
修改內容。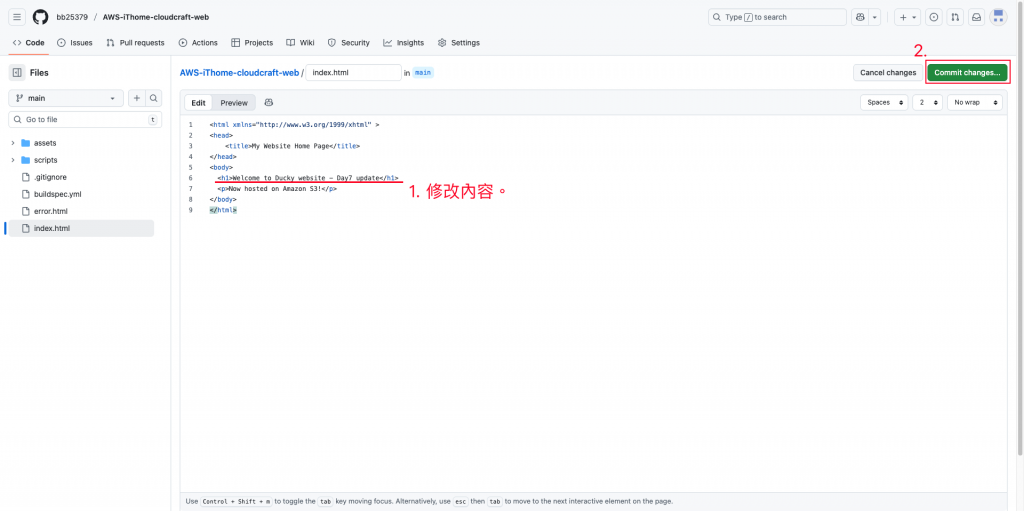
推版。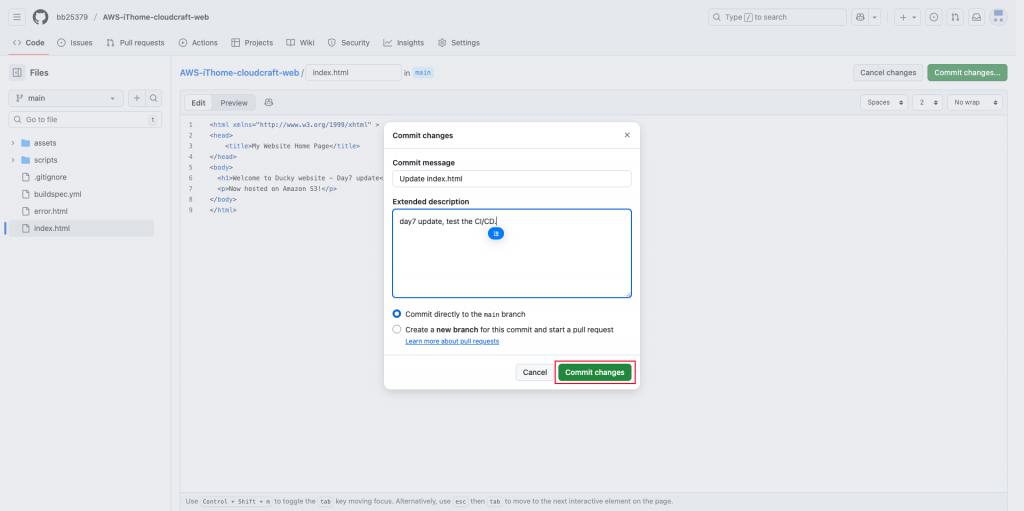
進入Code Pipeline管道內。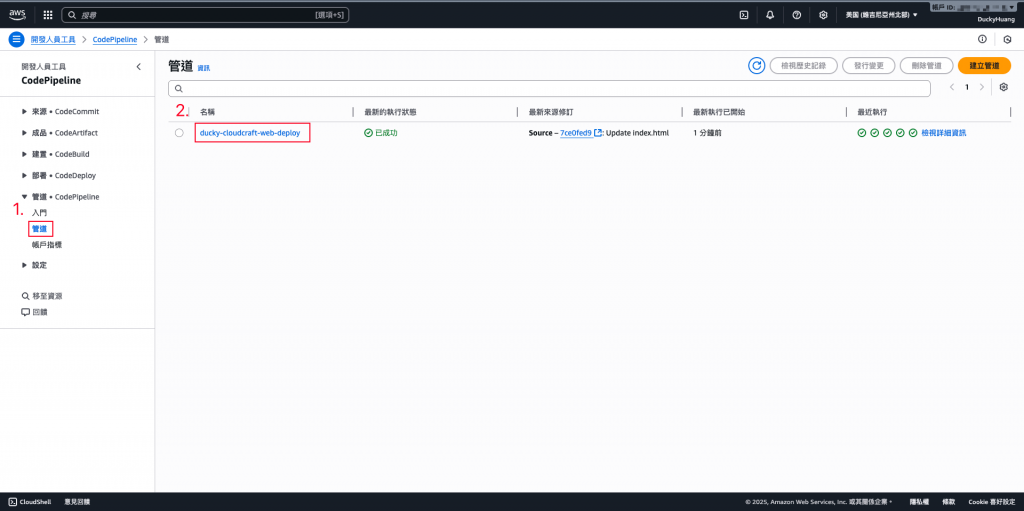
看到目前正在執行部署,等待一段時間後,就會看到部署已完成(如圖)。
進入CloudFront頁面,點選自己的資源。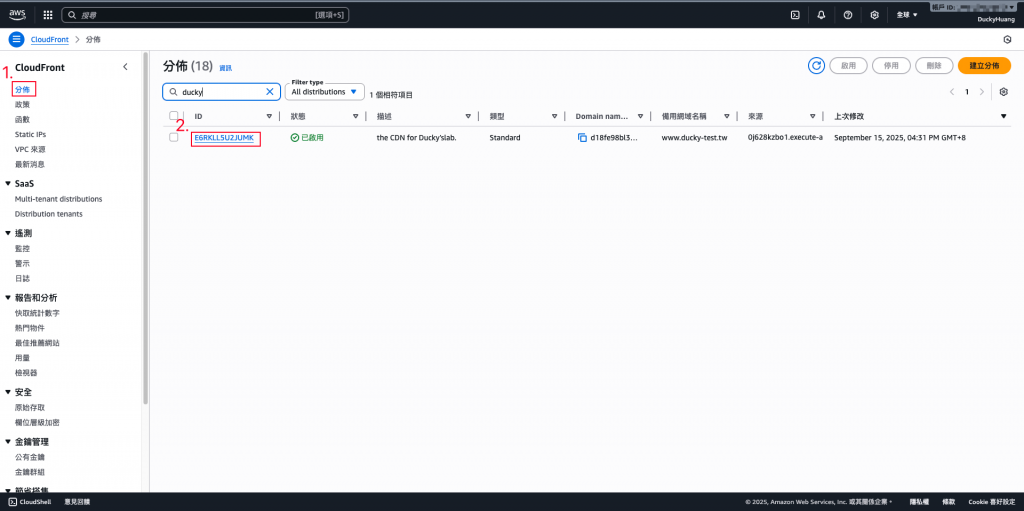
在「無效判定」頁面,點選「建立無效判定」。(無效判定 = 清理快取)
輸入「所有路徑(/*)」,並建立。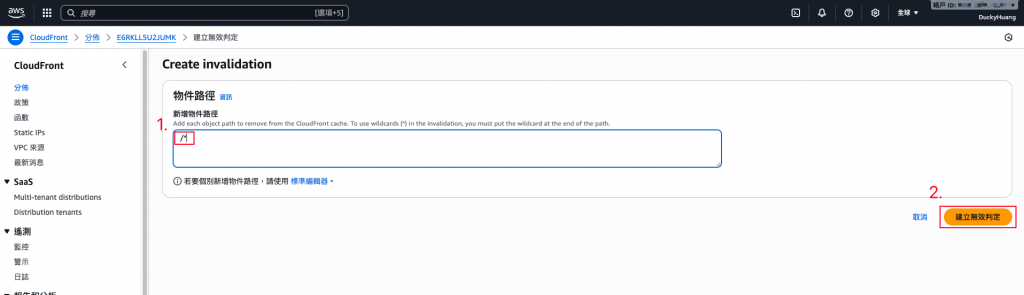
緩存清理中。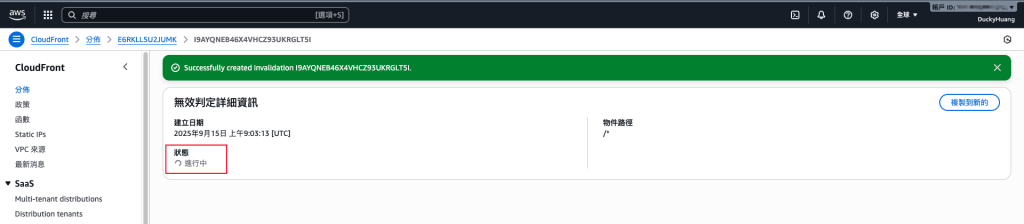
完成畫面。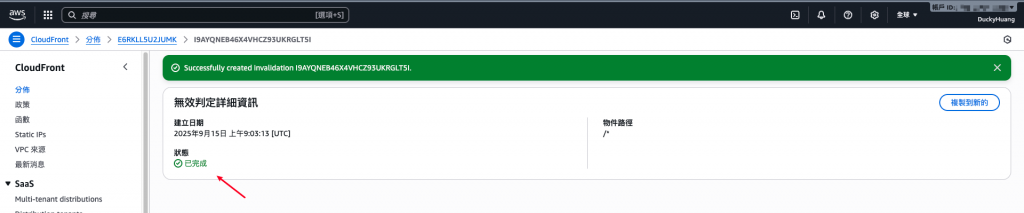
X-Cache 標頭變化)。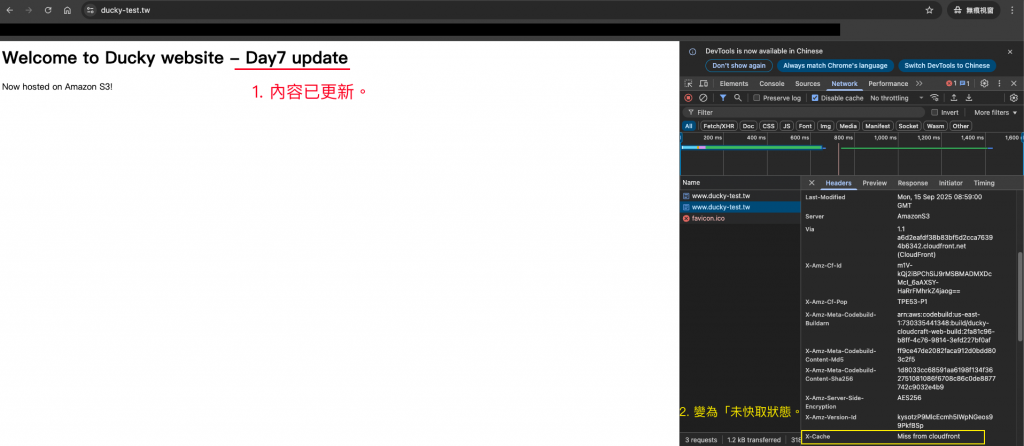
今天完成了 CI/CD 自動化串接,從 GitHub Push 到 AWS 全自動部署,避免了人工操作的風險,提升部署效率與一致性。這讓 Serverless 架構不僅具備高效能(CloudFront + S3),也具備敏捷開發的基礎,達成快速、安全的網站更新流程。
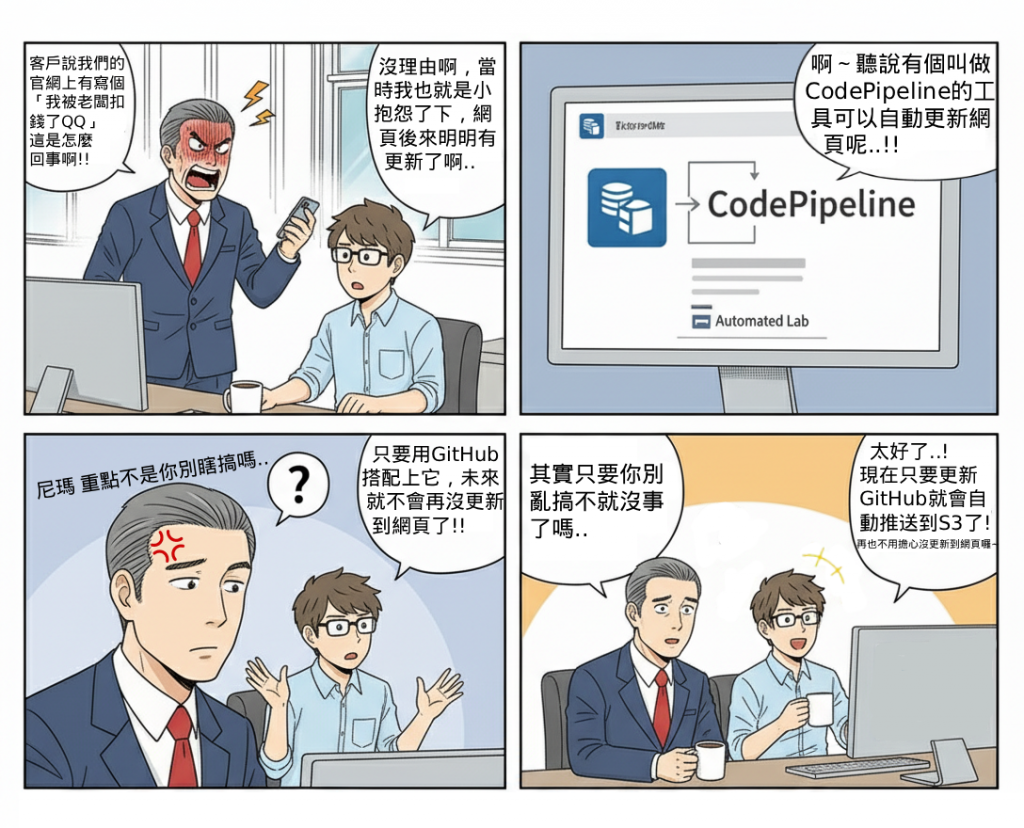
圖片步驟清晰,好用心XD
連 git 建立那邊都全講了 

