iT邦幫忙

2025 iThome 鐵人賽

DAY 13
0
生成式 AI

一塊一塊拼湊的 AI 樂高世界之旅系列 第 13

[Day 13] 對!就是在說你 Ollama!

  • 分享至 

  • xImage
  •  

首先先來到 Ollama Github 頁面,並且根據作業系統選擇對應的安裝方式
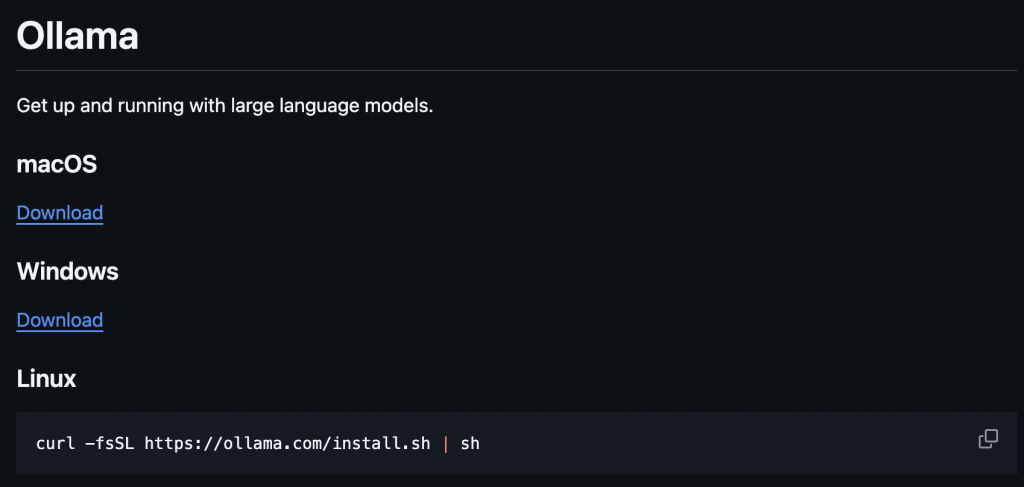
https://ithelp.ithome.com.tw/upload/images/20250927/20161224vBnfTp55MP.png

這邊以 Linux 為範例!

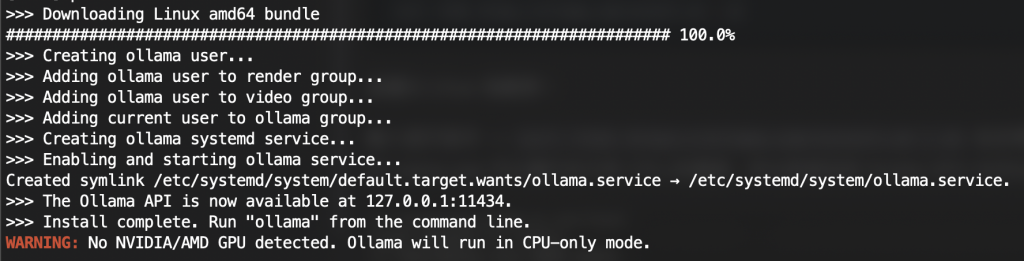
輸入這行指令 -> curl -fsSL https://ollama.com/install.sh | sh 並且等待下載完畢,由於 Llama.cpp 可以運行在只有 CPU 的環境,所以即使沒有 Nvidia GPU 也可以

https://ithelp.ithome.com.tw/upload/images/20250927/20161224X1AwBjJtVg.png

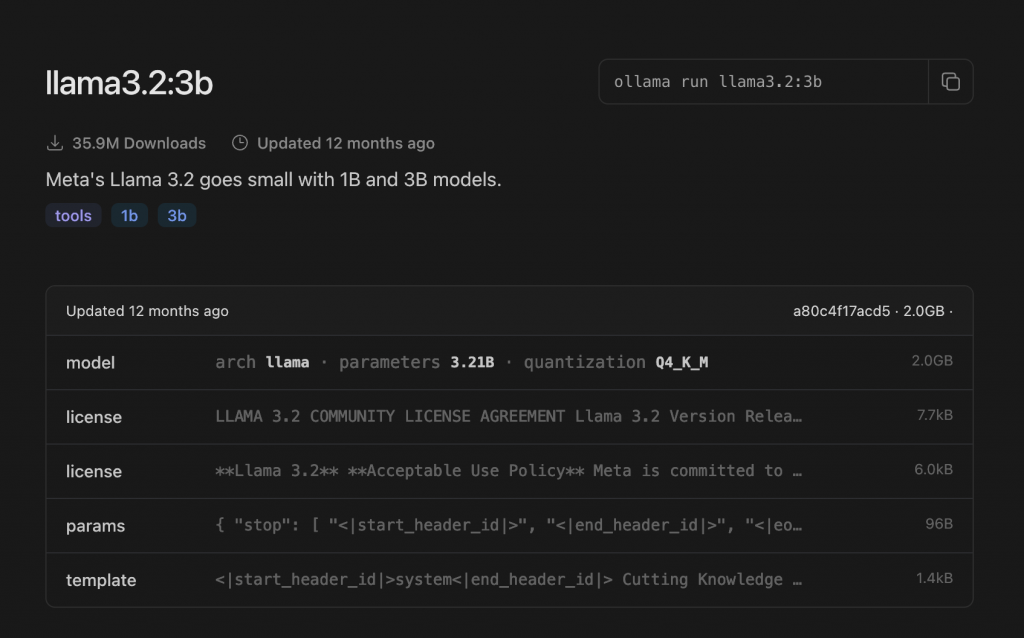
再來我們要下載我們需要使用的模型,這邊以 Meta 的 Llama3.2 3B 來做範例

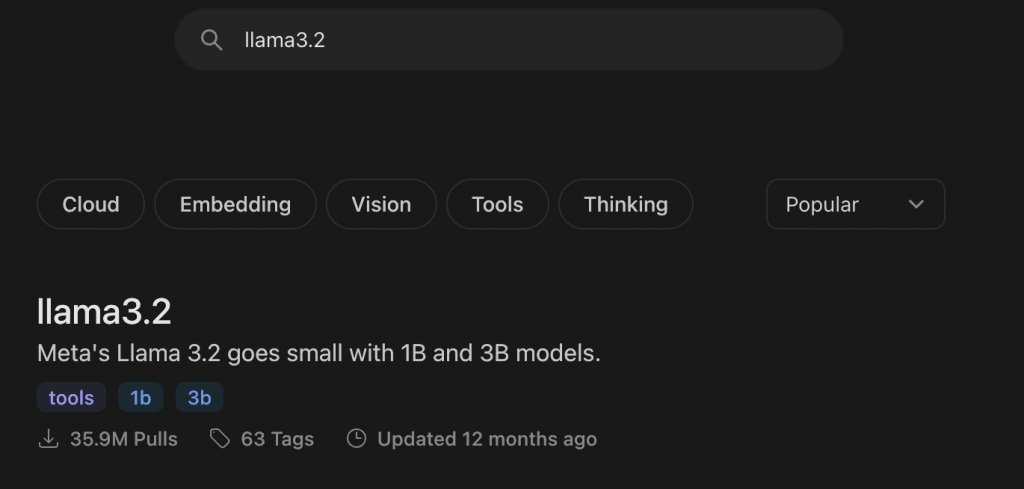
我們來介紹一下,模型的資料庫 Ollama hub,

https://ithelp.ithome.com.tw/upload/images/20250927/20161224i3v0suVs7k.png

這邊存放了幾乎所有可以拿來推理的模型

https://ithelp.ithome.com.tw/upload/images/20250927/20161224nUowtttZ4p.png

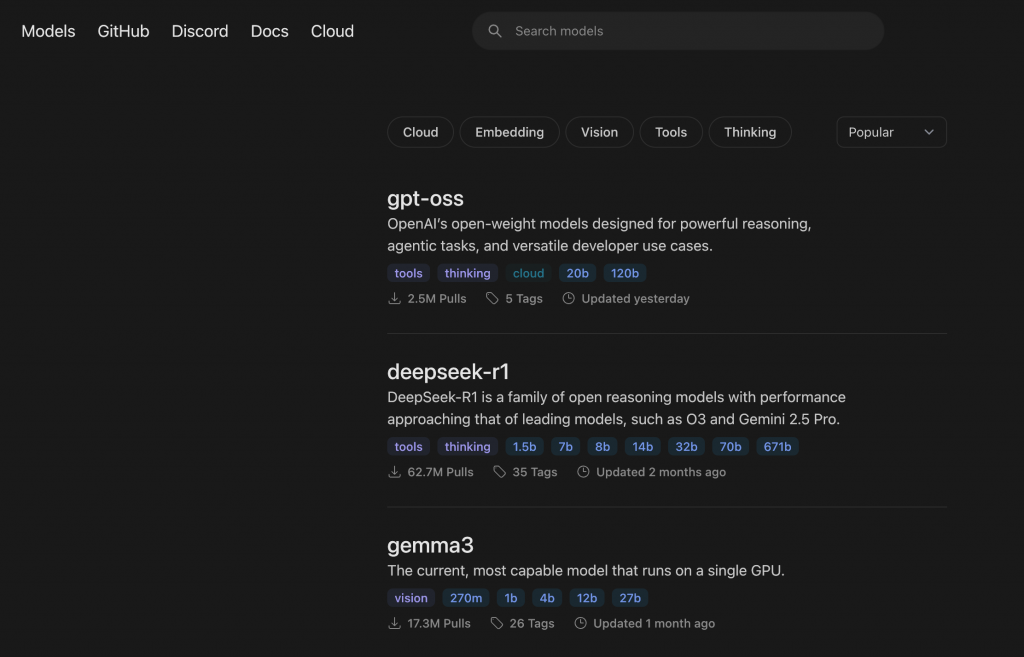
那我們在搜尋框輸入 llama3.2 並且點選搜尋結果,右上角會有一個 ollama pull <model> 的指令,我們將其複製起來,並且貼到終端上面
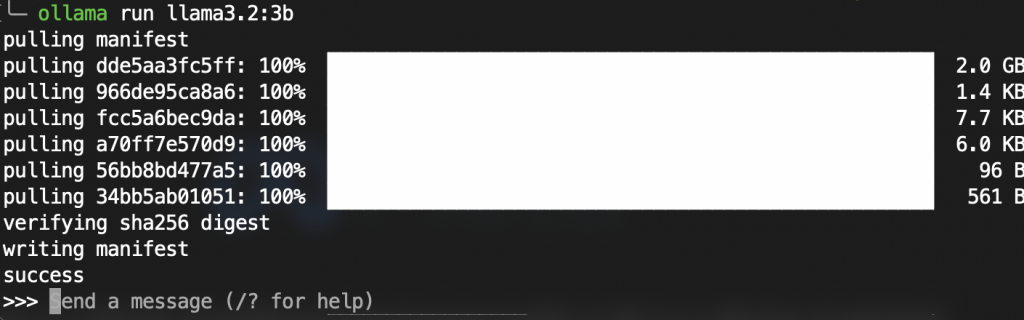
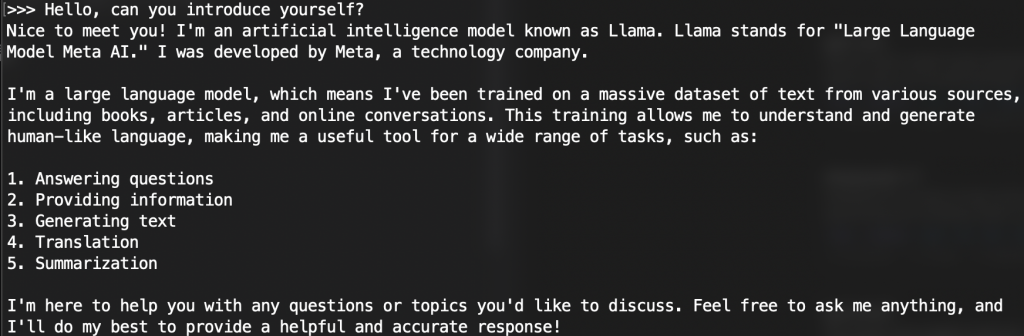
https://ithelp.ithome.com.tw/upload/images/20250927/20161224YVLblcar9b.png
https://ithelp.ithome.com.tw/upload/images/20250927/201612243r8ho4wSLj.png
https://ithelp.ithome.com.tw/upload/images/20250927/20161224cikD7tT3oV.png

在下載過後就能與 llm 模型進行對話

https://ithelp.ithome.com.tw/upload/images/20250927/20161224N9YyBqN1xa.png


那麼至於實作的話,其實也很簡單,這邊也用 Python 去實作

那這邊我們需要先安裝套件

pip install ollama

再來直接上一個範例程式碼

import ollama

client = ollama.Client()

print(client.chat(
    model="llama3.2:3b",
    messages=[{
        "role": "user", 
        "content": "Hello,  can you introduce yourself"
    }]
).message.content)

https://ithelp.ithome.com.tw/upload/images/20250927/201612244VlXXo1HGN.png

我們可以單純的透過程式碼去與 LLM 互動了!


上一篇
[Day 12] LLM Runtime 選擇?目標明確!!
系列文
一塊一塊拼湊的 AI 樂高世界之旅13
圖片
  熱門推薦
圖片
{{ item.channelVendor }} | {{ item.webinarstarted }} |
{{ formatDate(item.duration) }}
直播中

尚未有邦友留言

立即登入留言