

我在 Antigravity CLI 中註冊了 Angular、Firebase、Stitch 和 Chrome DevTool MCP 伺服器。這對我進行全端開發來說已經足夠了。
Angular MCP 伺服器: 啟動和停止開發伺服器、搜尋文件,以及取得最佳 Angular 實作做法
Firebase MCP 伺服器: 管理 Firebase 專案
Stitch MCP 伺服器: 提供建立新 Stitch 專案、建立與編輯畫面,以及下載資產的工具
Chrome DevTool MCP 伺服器: 提供收集效能指標(例如 Lighthouse 稽核和效能追蹤)的工具
MCP 伺服器提供了我可以在 Antigravity CLI 中呼叫的工具,以盡可能減少令人分心的情境切換。
這篇部落格介紹了如何註冊和驗證 Angular、Firebase 和 Stitch MCP 伺服器。Part 2 將介紹 Chrome DevTool MCP 伺服器的註冊。
Antigravity CLI 將 MCP 伺服器的設定儲存在 ~/.gemini/config/mcp_config.json 中。
{
    "mcpServers": {
        /** Insert MCP server configuration here **/
    }
}
"angular-cli": {
    "command": "npx",
    "args": ["-y", "@angular/cli", "mcp"]
}
agy
啟動 Antigravity CLI
提示模型在背景啟動 Angular 應用程式
Start the app
CLI 的輸出結果
- angular-cli/devserver_start(Start Angular dev server)
- angular-cli/devserver_wait_for_build(Wait for Angular build) (ctrl+o to expand)

    🎉 The application has started and built successfully!

    * Status: Success
    * Local Address: http://localhost:53508/
    * Watch Mode: Active (Hot reload is enabled for all workspace changes)

    The bundle compiled cleanly in 1.98s without any errors!
開發伺服器已在本地端提供應用程式服務。
"firebase-mcp-server": {
    "command": "npx",
    "args": ["-y", "firebase-tools@latest", "mcp"]
}
提示模型列出該伺服器的前 3 個工具
List the first three tools of the Firebase MCP Server
CLI 的輸出結果
The first three tools of the Firebase MCP Server
1. firebase_login: ...
2. firebase_logout: ...
3. firebase_validate_seurity_rules:  ...
與 Angular 和 Firebase MCP 伺服器不同,Stitch MCP 需要 API 金鑰進行驗證。
API 金鑰需要先在 Stitch UI 頁面中建立。
導覽至 https://stitch.withgoogle.com/settings,向下捲動以建立 API 金鑰
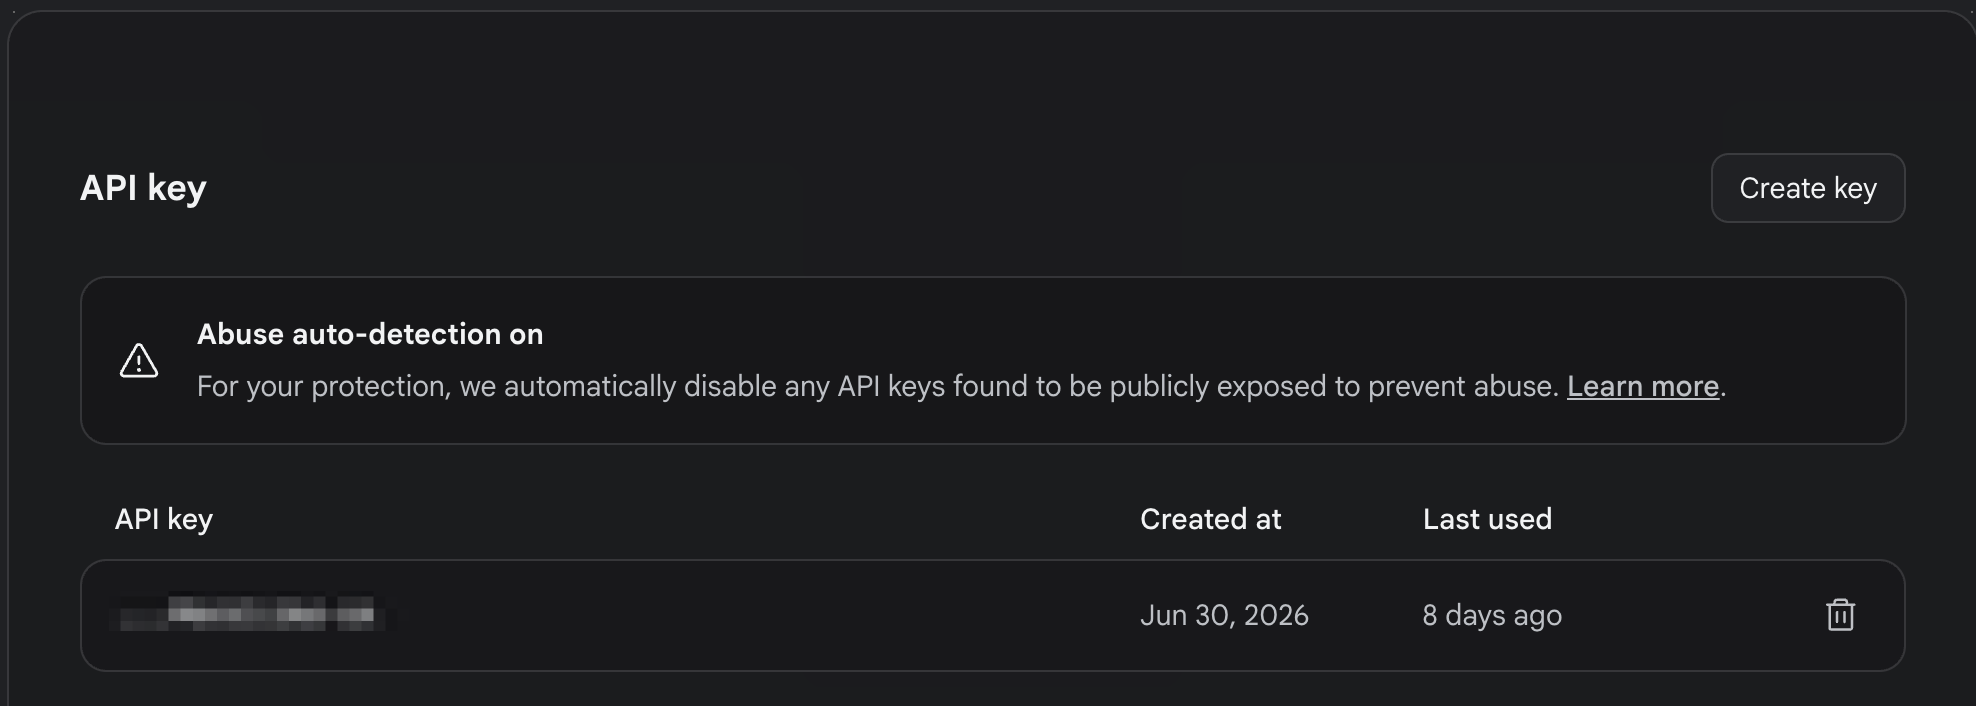
點擊複製圖示以複製 API 金鑰
導覽至 https://github.com/davideast/stitch-mcp#quick-start 以按照 Quick Start 章節的說明進行操作。
# Set up authentication and MCP client config
npx @_davideast/stitch-mcp init
此指令碼會提出一系列問題:
Which MCP client are you using? Antigravity
Authentication Mode: API Key
Where would you like to store your API Key? MCP config
Enter your Stitch API Key: *****************************************************
How would you like to connect to Stitch? Proxy (Recommended for Dev)
這是我筆記型電腦上的 Stitch MCP 伺服器設定。
"stitch": {
    "args": [
        "-y",
        "@_davideast/stitch-mcp@latest",
        "proxy"
    ],
    "command": "npx",
    "env": {
        "CI": "1",
        "DOTENV_CONFIG_QUIET": "true",
        "GOOGLE_CLOUD_PROJECT": "<Google Cloud Project ID>",
        "STITCH_API_KEY": "<Stitch API Key>",
        "STITCH_USE_SYSTEM_GCLOUD": "1"
    }
}
提示模型列出 Stitch 專案
List the stitch projects
CLI 的輸出結果
1. on-device-expense-tracker
2. Hybrid Image Analysis
這是第 3 天的結尾,我已備妥 MCP 伺服器來協助我實作前端、Firebase 基礎設施以及使用者介面設計。明天,我們將繼續進行 Chrome DevTool MCP 伺服器的註冊、驗證與自訂設定。
相關資源:
Angular MCP 伺服器
Firebase MC 伺服器
Stitch MCP 伺服器
Stitch 介面
Chrome DevTool MCP 伺服器


 iThome鐵人賽
 看影片追技術