
工具準備好,接下來是一切懺悔的開始
Node.js 和 npm 安裝完可以檢查一下版本,下面是用 macOS 的結果示意
nicnic@oom ~ % node -v
v24.21.0
nicnic@oom ~ % npm -v
11.19.0
開啟VS Code,安裝方便除錯和格式整理的擴充套件
開啟terminal,建一個資料夾 (這裡取名 day-1),
在底下用這個指令建立 React 專案,npx create-react-router@latest
要注意的是專案會建立一個資料夾在 day-1 底下
預設會使用 vite (什麼是 vite,先挖坑一下,後面再補充)
nicnic@oom day-1 % npx create-react-router@latest
Need to install the following packages:
create-react-router@8.3.1
Ok to proceed? (y) y #確認要建立,輸入 y

         create-react-router v8.3.1

   dir   Where should we create your new project?
         ./day-1-hello-react #詢問專案建立位置,這個要記起來,等一下會用到
      ...
   git   Initialize a new git repository?
         Yes #詢問是否要建立新的git repository,若有版控需求,輸入 y

  deps   Install dependencies with npm?
         Yes #是否要順便安裝依賴套件,就裝吧,遲早都要裝的,輸入 y

 skill   Include the React Router agent skill?
         No #要不要順便裝一下好好用,會上癮的skill,先不要,輸入 n,因為只是hello-react
      ...
      ✔  Dependencies installed

      ✔  Git initialized

  done   That's it! #看到這行表示OK了,歡迎入坑

         Enter your project directory using cd ./day-1-hello-react
         ...
接著就會在VS code看到目錄出現一堆檔案,這就是我們旅程的開始
確定當前 VS Code 開啟的資料夾是 day-1-hello-react,
然後在工具列 (視窗最上面那一排),找到終端機 > 新增終端機,
如果終端機(terminal),當前的目錄是別的地方,要記得切換,
將資料夾切到剛剛記起來的專案位置,mac OS 可以用cd,
windows 開 powershell的話也可以用cd。
cd (change directory 切換目錄):用法例如cd ./day-1-hello-react
在終端機,輸入 npm run dev,就會開始執行。
nicnic@oom day-1-hello-react % npm run dev

> dev
> react-router dev

[restart] Relaunching with NODE_OPTIONS: --conditions=development
  ➜  Local:   http://localhost:5173/ #看到這個表示執行成功
  ➜  Network: use --host to expose
  ➜  press h + enter to show help
開啟瀏覽器,輸入 http://localhost:5173
就可以看到初始畫面。
也可以用VS Code開啟,畫面會像這樣。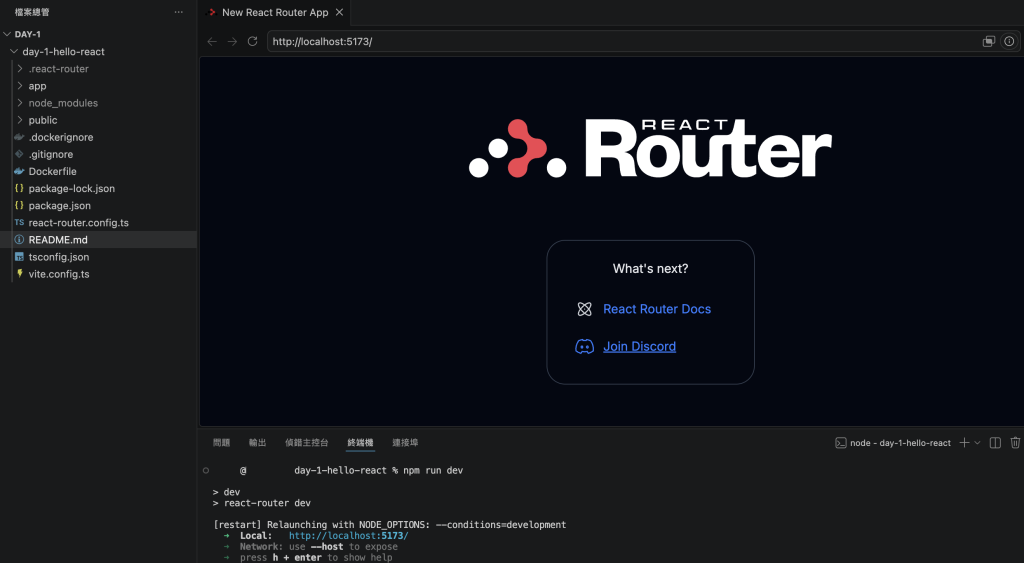
現在我們順利地把開發環境和第一次建立專案做好了,可以稍微小小的修改看效果。
首先找到 welcome.tsx,沒意外的話,位置是在 ./app/welcome 底下。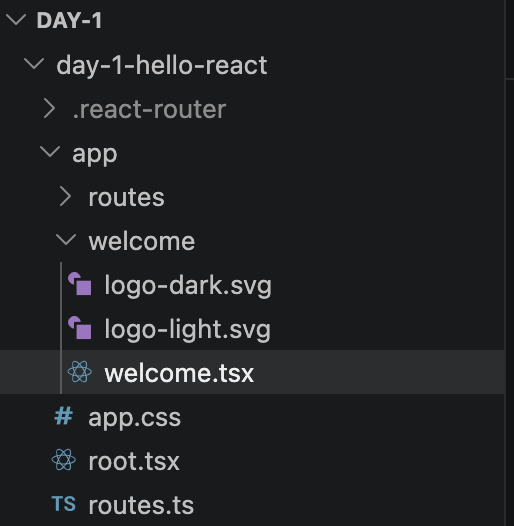
找到 What's next?,把它改成 Hello-React!!,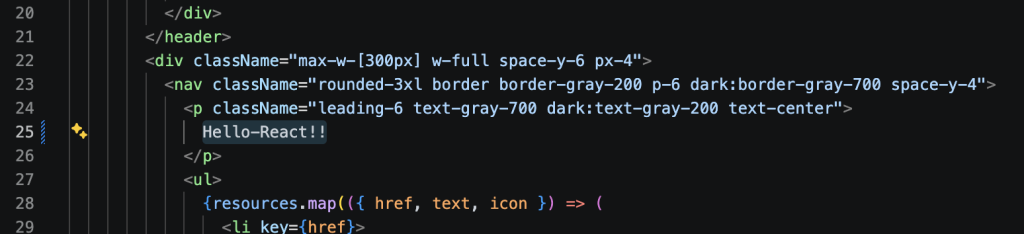
接著存檔,會直接反應結果到畫面上。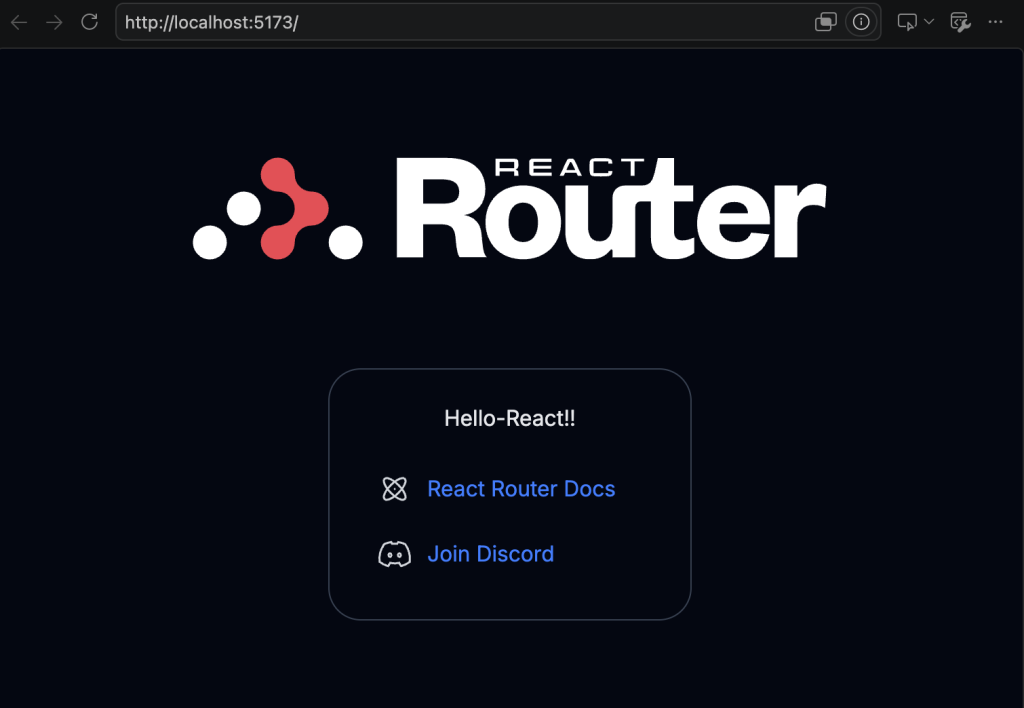
這樣就完成了,歡迎進入 React 的世界。



 iThome鐵人賽
 看影片追技術