首先,先進入https://console.firebase.google.com/
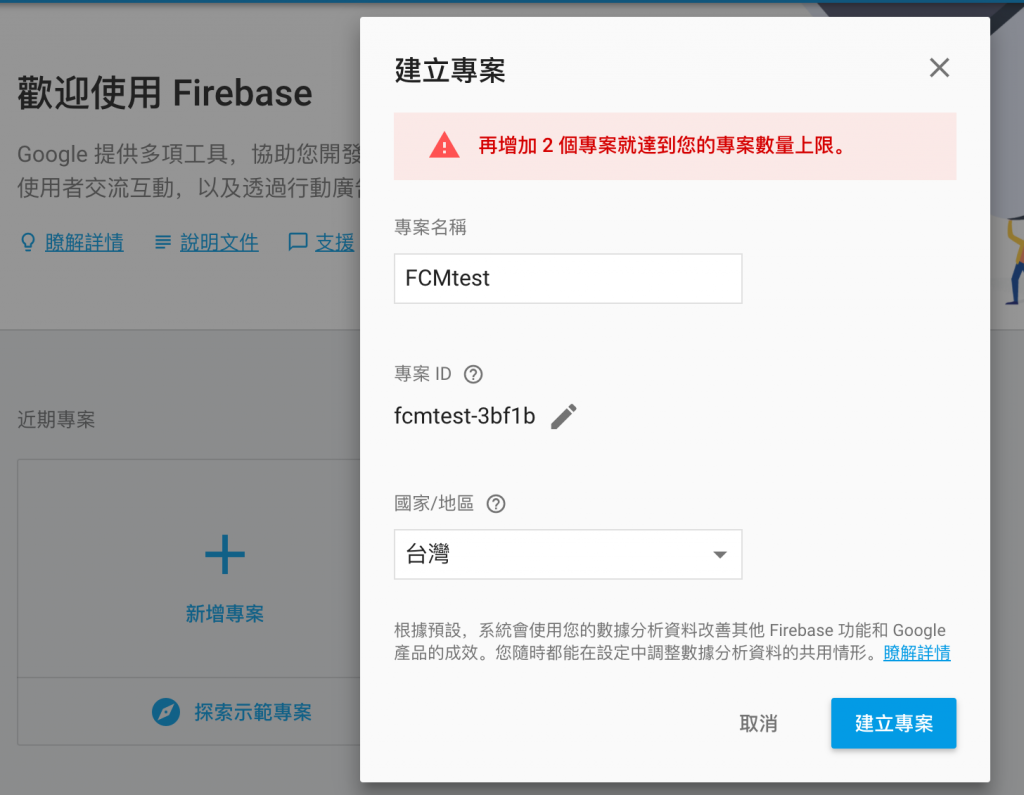
登入後選擇建立專案,名稱就打上你的專案名稱吧(可自訂),專案ID不需更改,完成後點選建立專案。
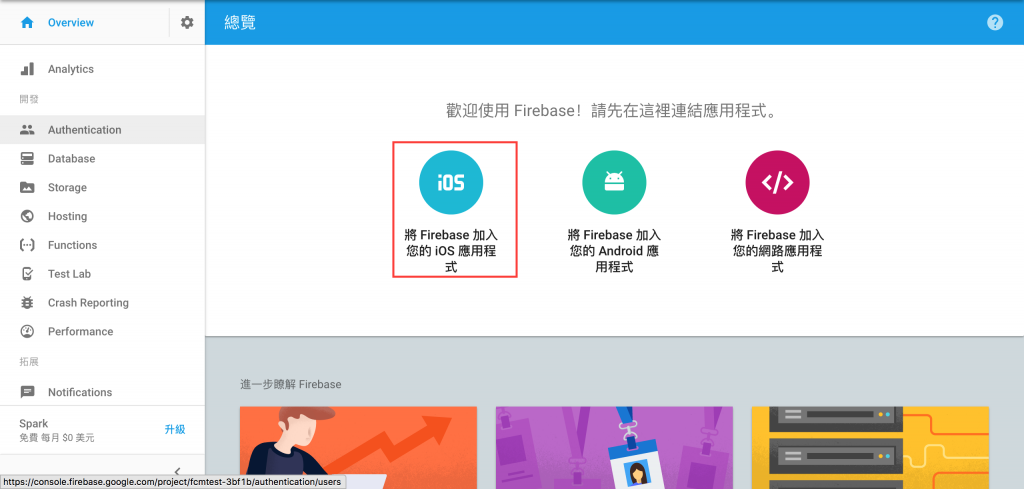
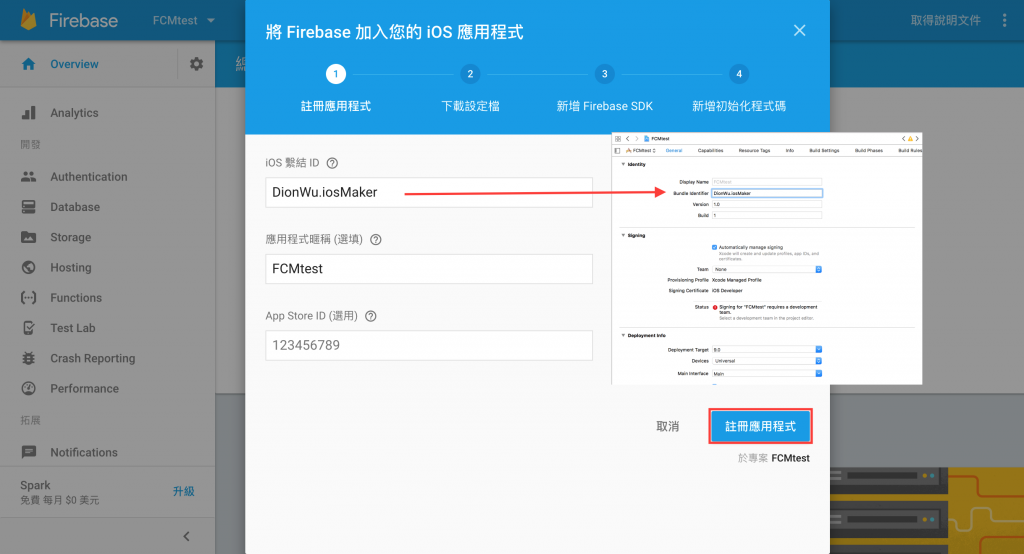
將 Firebase 加入 iOS 的應用程式
iOS繫結ID: 需對應Xcode專案的bundle identifier
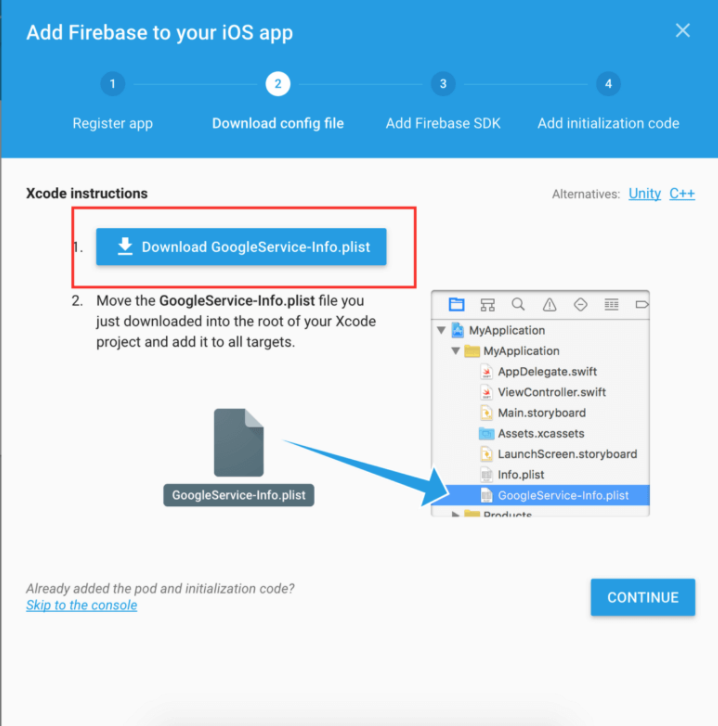
註冊後,下載GoogleService-info.plist,如果你已經有在Xcode建立專案,則直接拉到專案底下;如果還沒建立,那.plist檔先留著,先跟著我繼續做吧!
點選Overview 旁的齒輪 → 專案設定 → Cloud Message → 上傳憑證 → 選擇上篇產出的 .p12 檔

以上已完成Firebase的後台設定了,再來要在 Xcode 裡加入GoogleService-info.plist以及接收遠端通知的程式碼了。
創建專案相信你從第一天學到這邊已經會了,我這邊就教有關於推播的部分。
首先,要先整合Firebase SDK到你的專案,最簡單的方法就是使用CocoaPods。
關閉專案後,打開Terminal,打上專案路徑(或是按住紅色框的圖案,拖移至Terminal,即自動加上路徑)
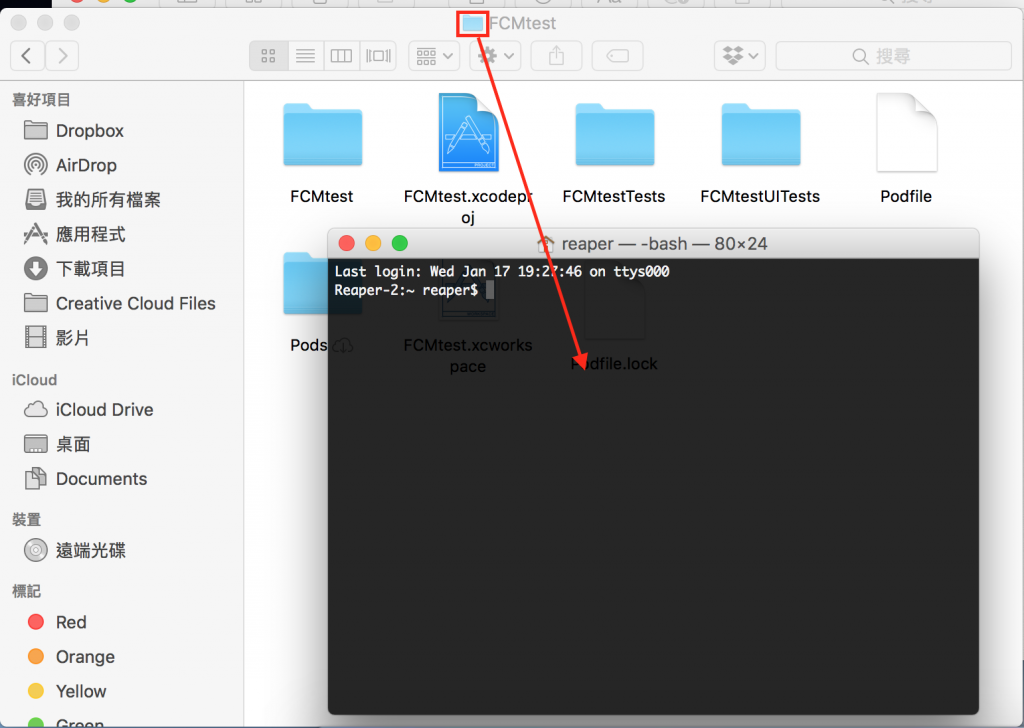
進入專案資料夾後,輸入「pod init」,此時你的專案資料夾底下會新增一個Podfile檔案。
打開Podfile,加入:
pod 'Firebase/Core'
pod 'Firebase/Messaging'
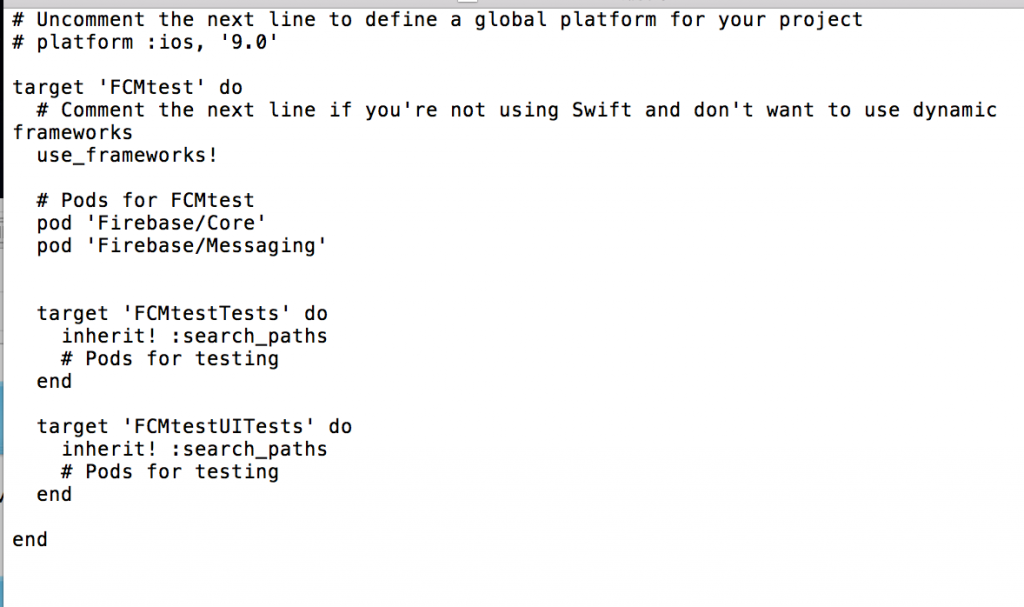
儲存後回到Terminal,輸入「pod install」。
CocoaPods會隨即下載SDK至你的專案並建立一個.xcworkspace。
接著把GoogleService-info.plist移致專案資料夾底下。
完成後,打開.xcworkspace檔來開啟專案。
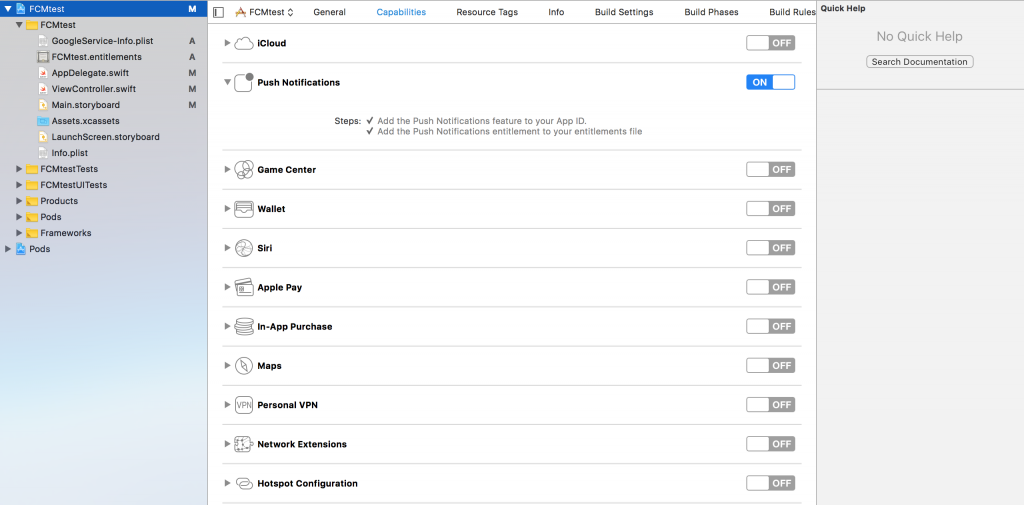
打開 Xcode Push Notification 的選項
選擇專案 → TARGETS → Capabilities → ON
進入AppDelegate.swift,import以下模組。
接著加入協定到你的AppDelegate class
UNUserNotificationCenterDelegate,MessagingDelegate
再來需要設定向使用者請求推播功能,iOS 10.0後有新方法,
故在application(_:didFinishLaunchingWithOptions:)輸入以下程式碼
if #available(iOS 10.0, *) {
            UNUserNotificationCenter.current().delegate = self

            let authOptions: UNAuthorizationOptions = [.alert, .badge, .sound]
            UNUserNotificationCenter.current().requestAuthorization(
                options: authOptions,
                completionHandler: {_, _ in })

        } else {
            let settings: UIUserNotificationSettings =
                UIUserNotificationSettings(types: [.alert, .badge, .sound], categories: nil)
            application.registerUserNotificationSettings(settings)
        }

        application.registerForRemoteNotifications()
        FirebaseApp.configure()
FirebaseApp.configure()即為初始設定Firebase
接著基於MessagingDelegate協定下,實作以下方法。
func application(received remoteMessage: MessagingRemoteMessage) {
        print(remoteMessage.appData)
    }
再來就可以在你的裝置上執行專案了,在App詢問是否允許推播通知時,一定要點Allow才能接收到推播,如果誤點也可以去設定中更改。

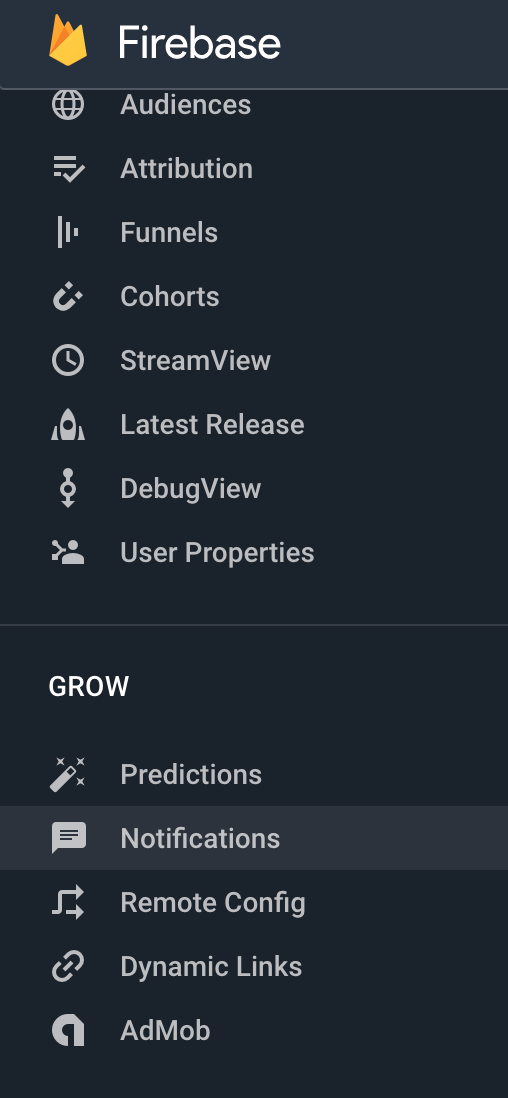
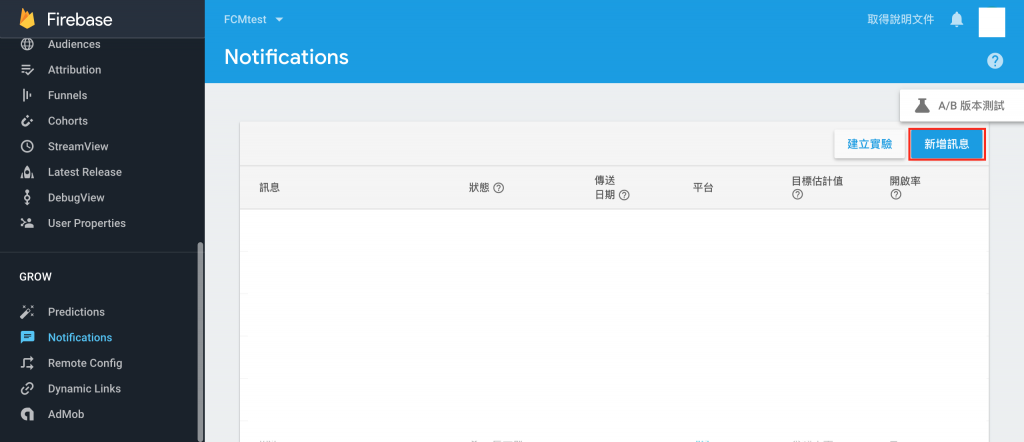
到Firebase後台,左邊列表找到Notifications
選擇「新增訊息」。
填入訊息內容以及選擇目標應用程式。
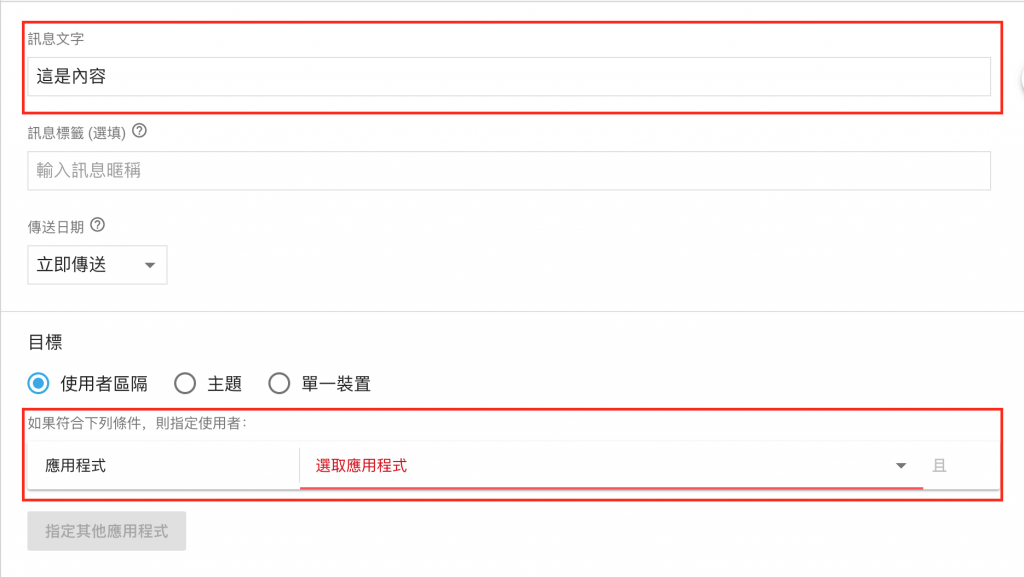
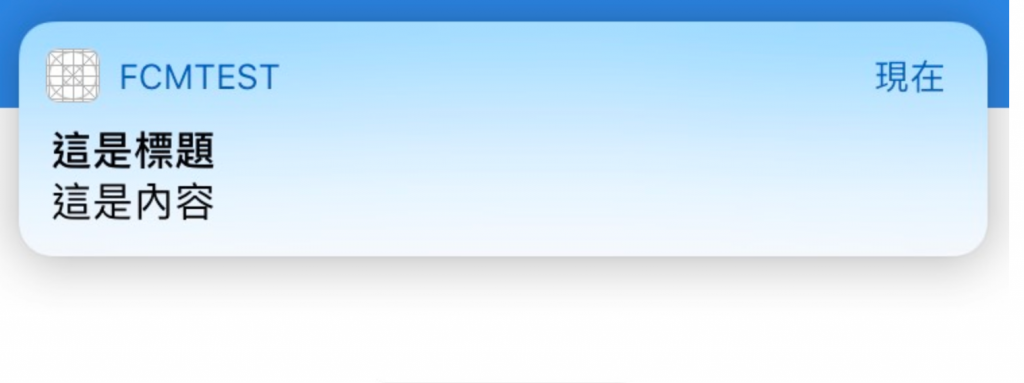
如果要加入標題,往下找可以找到 進階選項->標題,完成後直接按傳送訊息。

傳送!
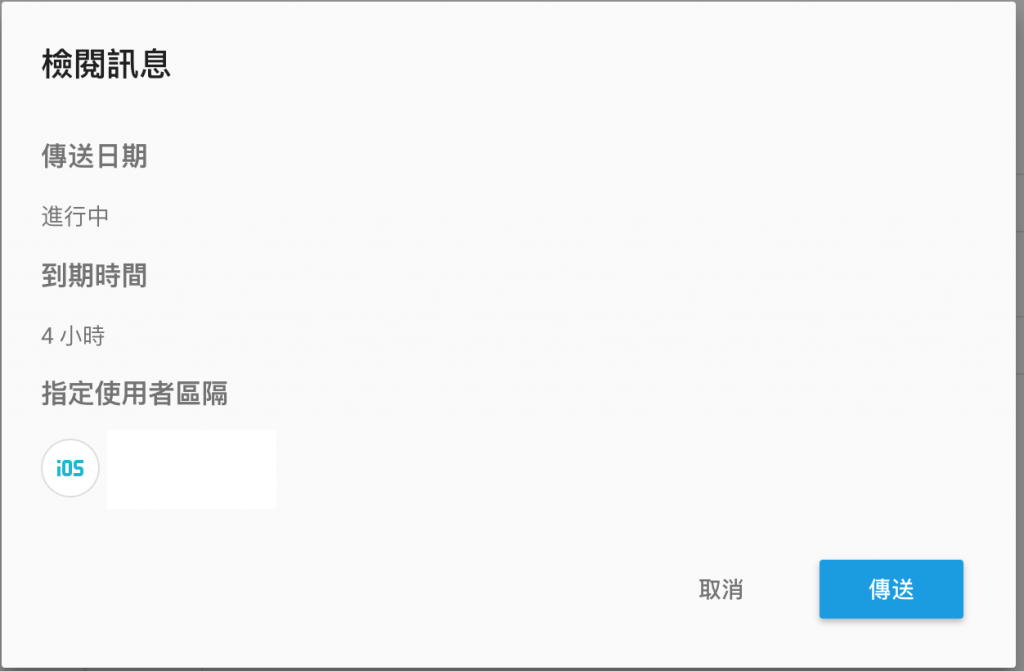
過幾秒裝置就會跳出推播囉
「如何使用Firebase Cloud Messaging在iOS實現推播的功能」就到這邊,明天見囉!


 iThome鐵人賽