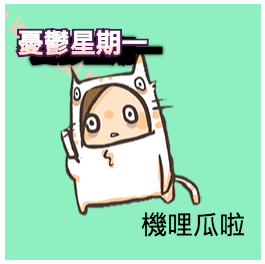
主要是PIXI.Text 和 PIXI.TextStyle,

// 文字樣式
let style = new PIXI.TextStyle({
    fontWeight: 'bold',
    fill: ['#ffffff', '#ffc6b3'],
    stroke: '#4a1850',
    strokeThickness: 5,
    dropShadowColor: '#000000',
    dropShadow: true, //開啟陰影
    dropShadowBlur: 4, //陰影模糊
    dropShadowAngle: Math.PI / 6, //陰影圓角
    dropShadowDistance: 16 // 陰影距離
})
// 普通文字
   let text = new PIXI.Text('機哩瓜啦')

// 加入style的文字
    let text2 = new PIXI.Text('憂鬱星期一', style);
    text2.position.y = 20;
    text2.position.x = 10;
textstyle的寫法很像CSS
另外寫法也可以合在一起寫,拆開的好處就是可以重複使用
let text3 = new PIXI.Text('This is a PixiJS text', {
    fontFamily: 'Arial',
    fontSize: 24,
    fill: 0xffc6b3,
    align: 'center'
});

text3.position.x = 50;
text3.position.y = 50;
text3.anchor.set(0.5);

app.stage.addChild(text3, cat, text, text2)
PIXI.Text承襲自PIXI.Sprite,同樣也可以調整位置、放大縮小等等的屬性,
同樣也可以監聽事件和做動畫
// 設定可互動
text.interactive = true;

app.stage.addChild(text3, cat, text, text2)
 // 監聽事件
text.on('pointerdown', function() {
    text2.position.x += 40;
});

// 旋轉
app.ticker.add(function(delta) {
    text3.rotation += 0.05
});
將所有扣貼上檔案就可以動啦~~~(但請忽略那隻貓
