大家好,我是長風青雲。今天是第二十三天,今天要來說寄信收信的部分。
寄信,就是A將信件寫入資料庫並指名給B。收信,就是B去資料庫取指名給自己的信。
目前功能做的不完全,所以資料庫部分寫得很簡單。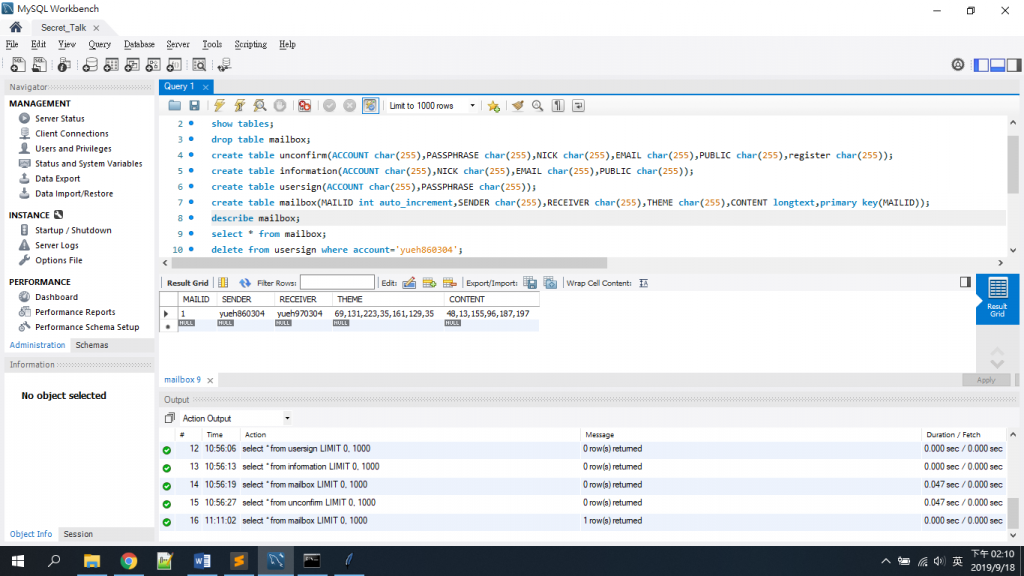
你沒看錯,主旨與內容的部分是一串數字。那是加密過後的文字。
所以今日主題:加密解密信件。
不知道大家還記不記得在Day19的時候我有說過加密解密的過程?
沒關係,我重新說一次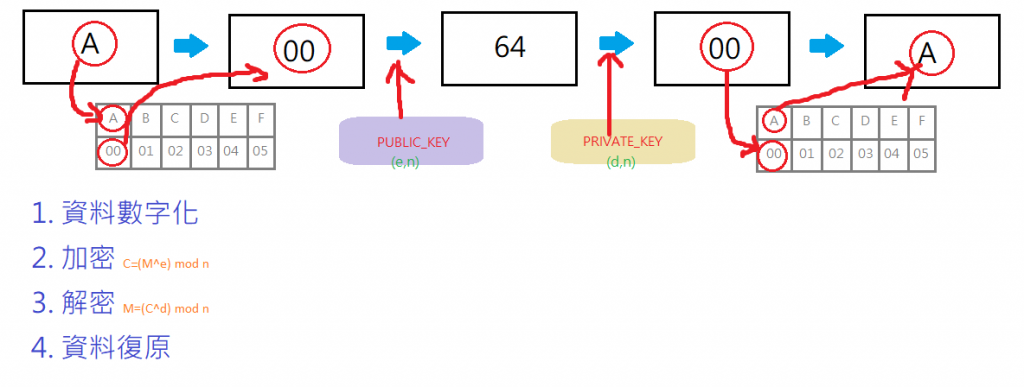
我有沒有畫得很好!媽呀,我看這個覺得我是小天才!用小畫家也能畫的清新脫俗~
看完這張大家應該已經知道過程該是什麼樣子了。
於是我先給大家看看寄信UI的樣子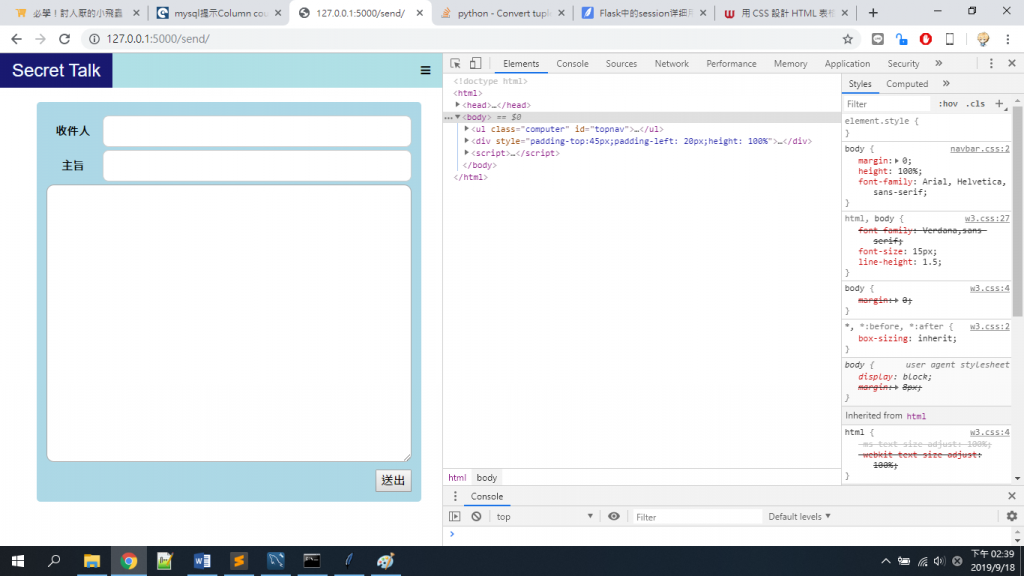
從收件人我們就會去資料表information的地方去獲得對方的public key。
得到public key對我們的主旨及信件內容進行加密再寫入資料庫即可。
那麼就先上程式碼。
@app.route('/send/',methods=['GET','POST'])
def send():
	if request.method=='POST':
		command = "SELECT * FROM information WHERE ACCOUNT='%s'" % request.form['receiver']
		cursor.execute(command)
		result = cursor.fetchone()
		c_theme=encrypt(request.form['title'],result[3])
		c_content=encrypt(request.form['content'],result[3])
		command = "INSERT INTO mailbox(SENDER,RECEIVER,THEME,CONTENT) VALUES (%s,%s,%s,%s)"
		val=(current_user.id,request.form['receiver'],c_theme,c_content)
		cursor.execute(command, val)
		db.commit()
		return redirect(url_for('index'))
	return render_template('send.html')
你是不是有點好奇為什麼前面資料庫中的資料表是明明是
MAILID | SENDER | RECEIVER |THEME | CONTENT
:-----------:|:-----------:|:------------:|: --------:|:------------:
為什麼我INSERT卻只有四個參數,注意看。
雖然很小,但是在我見資料表時MAILID是auto_increment,這意味著每一封信的id都會有所不同也會自行增加。所以他也是我們再mailbox裡面的primary key。
再來給你們看看加密部分。
conversion=['Q','A','Z','W','S','X','E','D','C','R','F','V','T','G','B','Y','H','N','U','J','M','I','K',',','O','L','.','P',';','!', \
'1','2','3','4','5','6','7','8','9','0','?','q','a','z','w','s','x','e','d','c','r','f','v','t','g','b','y','h','n','u','j','m','i', \
'k','o','l','p',' ']
def digitalize(p):
	decimal_string=[]
	for i in range(len(p)):
		decimal_string.append(conversion.index(p[i]))
	return decimal_string
def encrypt(plaintext,public_key):
	e=int(public_key[1:public_key.index(',')])
	n=int(public_key[public_key.index(',')+1:-1])
	decimal_string=digitalize(plaintext)
	cipher=[str(i**e%n) for i in decimal_string]
	return ",".join(cipher)
我並不是使用asciicode,而是看起來較為無序的(其實是是電腦鍵盤順序)排法。我想這樣應該會更有安全性一些吧。
將他數字化、加密後回傳。
這就完成了我們的加密動作。
先上圖。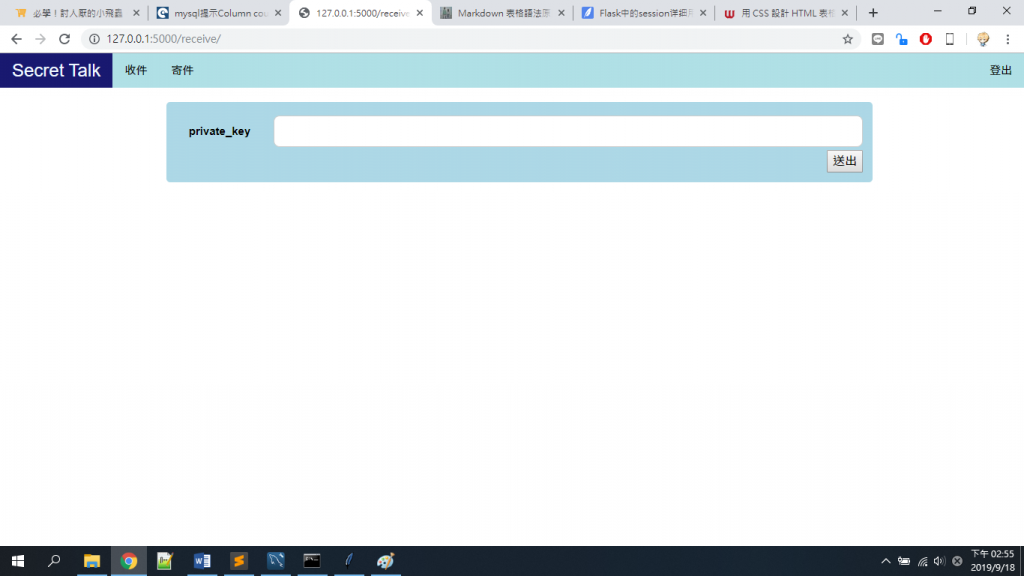
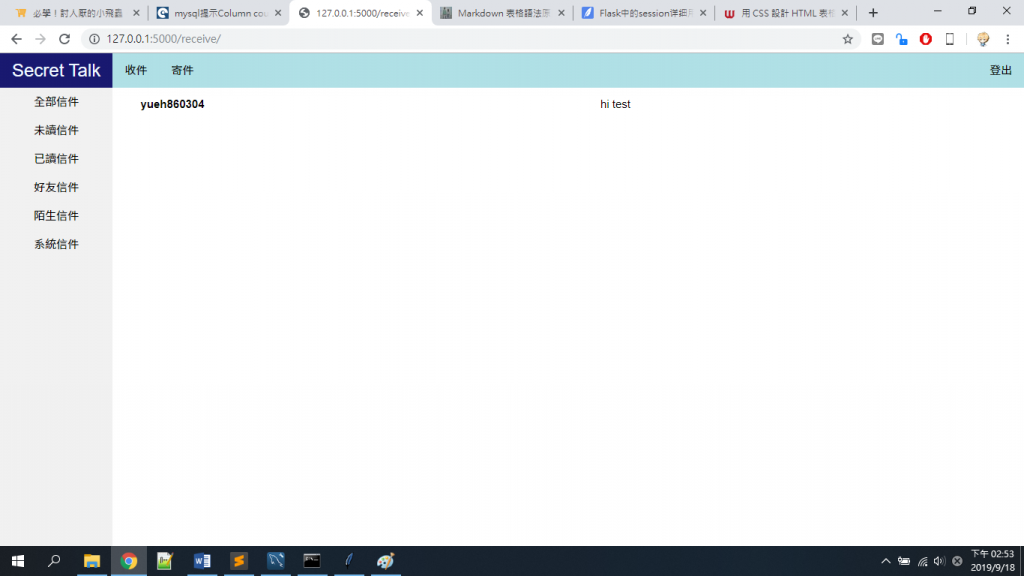
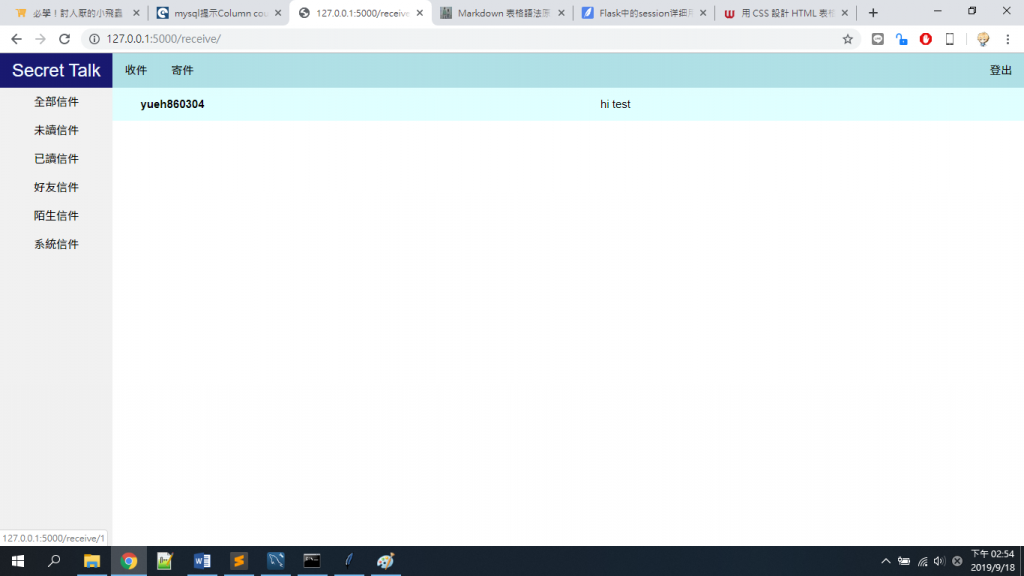
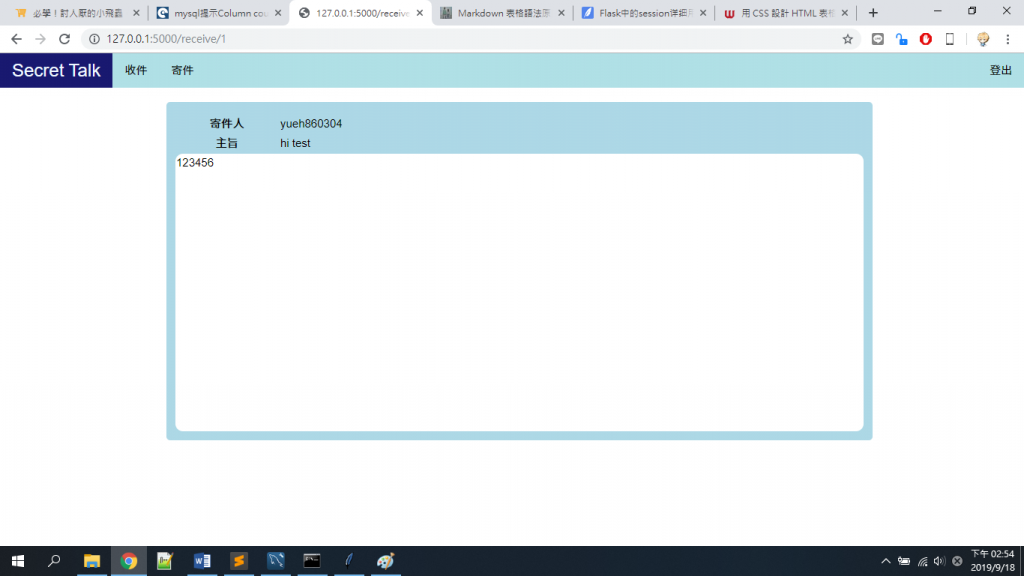
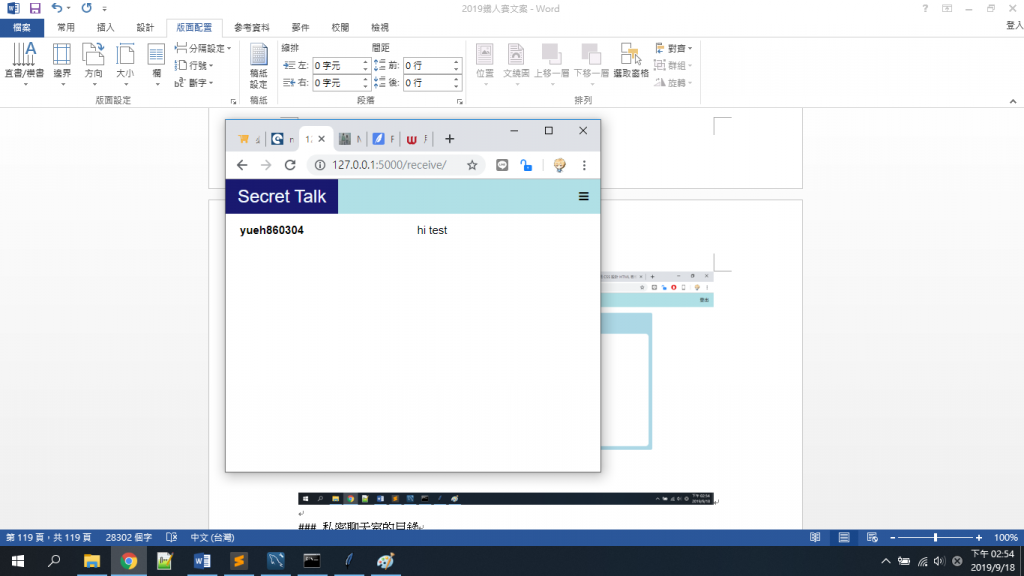
左邊的sidebar目前其實是裝飾品。
知道為什麼這麼多張圖嗎?其實它們總共有三種html但是卻同樣是在receive中。
第一章圖,是在你登入後,如果你想要看收信的部分(意味著一定要解密),那他就會先跳轉到輸入私鑰的html。輸入完後他知道你有私鑰了才會跳入收件夾的html。如果你點選某一封信件的話,他會進入mail.html。
因為今天不說sidebar,所以我佔且不說我對他做了什麼。
比較值得一說的恐怕是右方瀏覽信件的地方,他其實是<ul>,第二第三章就是有沒有hover的差異。
然後我們還看看解密。
@app.route('/receive/',methods=['GET','POST'])
@app.route('/receive/<mailid>',methods=['GET','POST'])
def receive(mailid=None):

	if session['private_key']=='':
		if request.method=='GET':
			return render_template('private_key.html')
		else:
			session['private_key']=request.form['private_key']
	if mailid==None:
		command="SELECT * FROM mailbox WHERE RECEIVER='%s'" % current_user.id
		cursor.execute(command)
		result = cursor.fetchall()
		new_result=[]
		for row in result:
			title=decrypt(row[3],session['private_key'])
			content=decrypt(row[4],session['private_key'])
			new_result.append([row[0],row[1],row[2],title,content])
		return render_template('receive.html',maildict=new_result)
	else:
		command="SELECT * FROM mailbox WHERE MAILID='%s'" % mailid
		cursor.execute(command)
		result = cursor.fetchone()
		title=decrypt(result[3],session['private_key'])
		content=decrypt(result[4],session['private_key'])
		return render_template('mail.html',mailinform=[result[0],result[1],result[2],title,content])
邏輯我大概解釋過了,這裡我使用new_result的原因是因為result雖然是list,但result[0]卻是tuple,不能接受更改。於是我就直接命一個新的了。
def decrypt(ciphertext,private_key):
	d=int(private_key[1:private_key.index(',')])
	n=int(private_key[private_key.index(',')+1:-1])
	ciphertext=ciphertext.split(',')
	plain=[conversion[(int(i)**d)%n] for i in ciphertext]
	return ''.join(plain)
真正解密的地方是在這,不過程式碼非常簡單^w^。
接下來讓我們看看影片吧~
那明天我們就來處理好友的部分~
