
現在要從頭到尾開始時做
上方的篩選Bar不會隨著下面tableview移動
我猜測應該不是tableview的header
所以應該可以單純方一個collectionview在上面
今天就要來時做collectionview以及客製化cell
##cell
新增swift+xib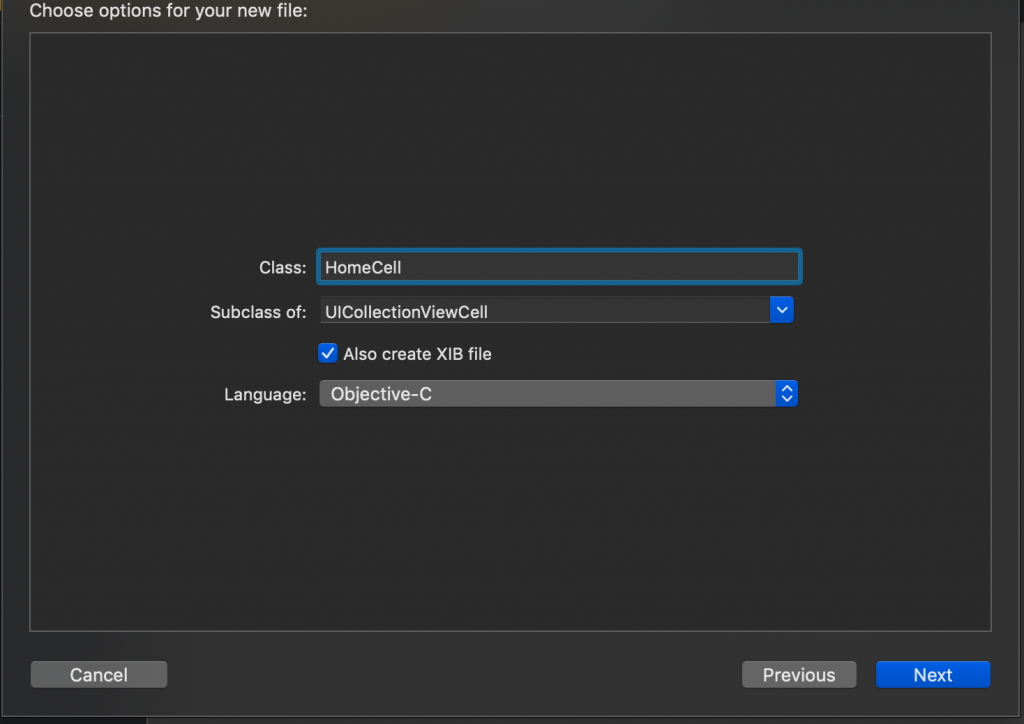
設定你所要的樣式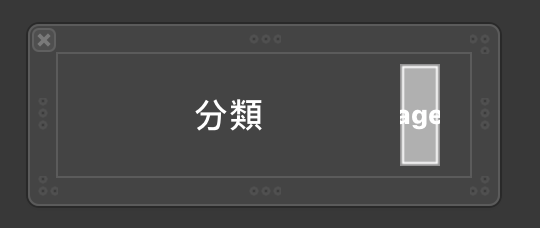
並且宣告好物件
 @IBOutlet var iconImg: UIImageView!
 @IBOutlet var textLabel: UILabel!
首先在你要新增的地方addSubView
override func initIMUI() {
        super.initIMUI()
        self.view.addSubview(self.collectionView)
}
這裡我用了懶加載下去呼叫
因為之前寫OC時會運用到
但目前還沒研究Swift的是否也需要
這之後可能也會再寫一篇研究
呼叫的就是以下程式碼
一些變數可以自己改變
lazy var collectionView: UICollectionView = {
        let layout = UICollectionViewFlowLayout()
        //section的間距
        layout.sectionInset = UIEdgeInsets(top: 0, left: 5, bottom: 0, right: 5)
        //cell間距
        layout.minimumLineSpacing = 5
        //cell 長寬
        layout.itemSize = CGSize(width: 100, height: 30)
		//滑動的方向
		layout.scrollDirection = .horizontal
        //collectionView frame設定 x,y,寬,高
        let collectionView = UICollectionView(frame: CGRect(x: 0, y: kSafeTopPadding + kNavBarHeight, width: KScreenWidth, height: 50),collectionViewLayout: layout)
       //背景顏色
        collectionView.backgroundColor = UIColor.gray
       //你所註冊的cell
        collectionView.register(UINib(nibName:"HomeCell", bundle:nil),
                                forCellWithReuseIdentifier:"myCell")
        //宣告collectionView delegate
        collectionView.delegate = self
        collectionView.dataSource = self

        return collectionView
    }()
加入delegate ,dataSource
class HomeViewController: JGBaseViewController,UICollectionViewDataSource,UICollectionViewDelegate
加入collectionView會使到的一些func
// MARK: - CollectionView
//多少count
func collectionView(_ collectionView: UICollectionView, numberOfItemsInSection section: Int) -> Int {
    return 10;
}

//cell顯示控制
func collectionView(_ collectionView: UICollectionView, cellForItemAt indexPath: IndexPath) -> UICollectionViewCell {
    let cell:HomeCell = collectionView.dequeueReusableCell(withReuseIdentifier: "myCell", for: indexPath)
        as! HomeCell
    return cell
}

//sections數量
func numberOfSectionsInCollectionView(
    collectionView: UICollectionView) -> Int {
    return 2
}

//點擊事件
func collectionView(_ collectionView: UICollectionView, didSelectItemAt indexPath: IndexPath) {
    print("你選擇了第 \(indexPath.section + 1) 組的")
    print("第 \(indexPath.item + 1) ")
}
cell不一定需要再xib設定cellForItemAt也可以分別設置任何 index row的個別樣式cell圓角取cell高度的一半
就可以變成最圓的角
//cell顯示控制
func collectionView(_ collectionView: UICollectionView, cellForItemAt indexPath: IndexPath) -> UICollectionViewCell {
    let cell:HomeCell = collectionView.dequeueReusableCell(withReuseIdentifier: "myCell", for: indexPath)
        as! HomeCell
	    //cell背景顏色
        cell.backgroundColor = UIColor.lightGray
        //圓角
        cell.clipsToBounds = true
        cell.layer.cornerRadius = cell.frame.height/2
        //文字
        cell.textLabel.text = "分類"
        cell.textLabel.textColor = UIColor.black
		//圖片
        cell.iconImg?.image = UIImage.init(named: "icBuyrecordArrowdwn")
        cell.iconImg?.backgroundColor = .clear
    return cell
}
Demo
目前先這樣後續會再做部分微調
