
上方的分類表已經有大概的樣子
接下來下方是一個tableview
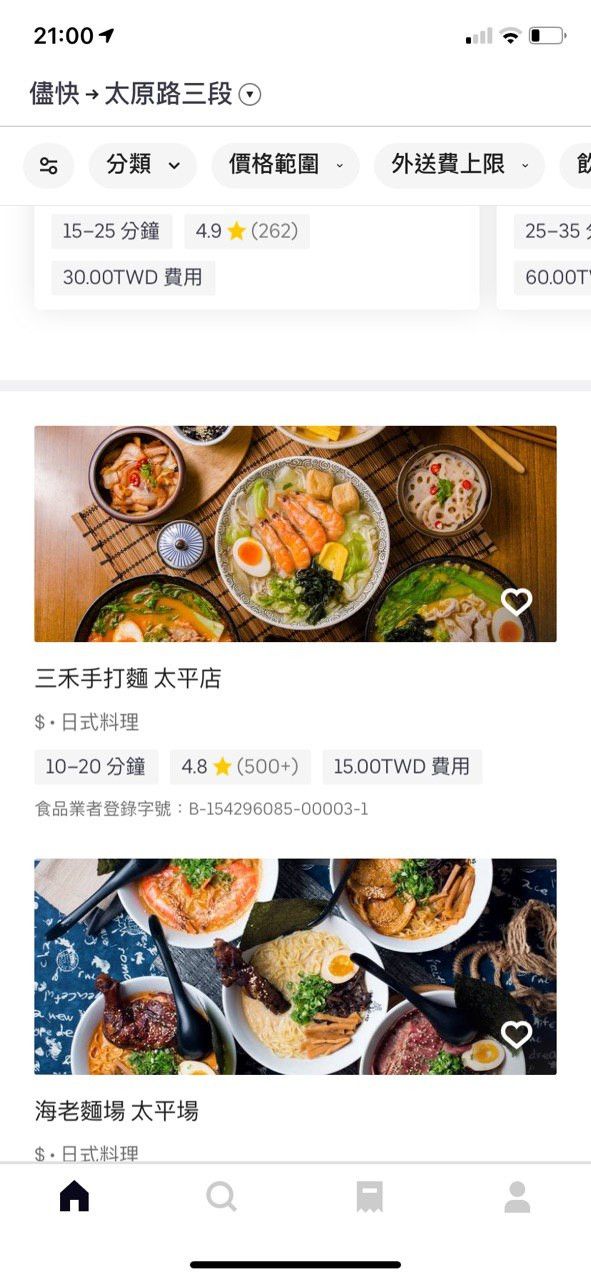
裡面的構造極其複雜
在不同的index row裡面
有塞 banner
有塞 collectionview
以及 普通的客製化 tableview cell
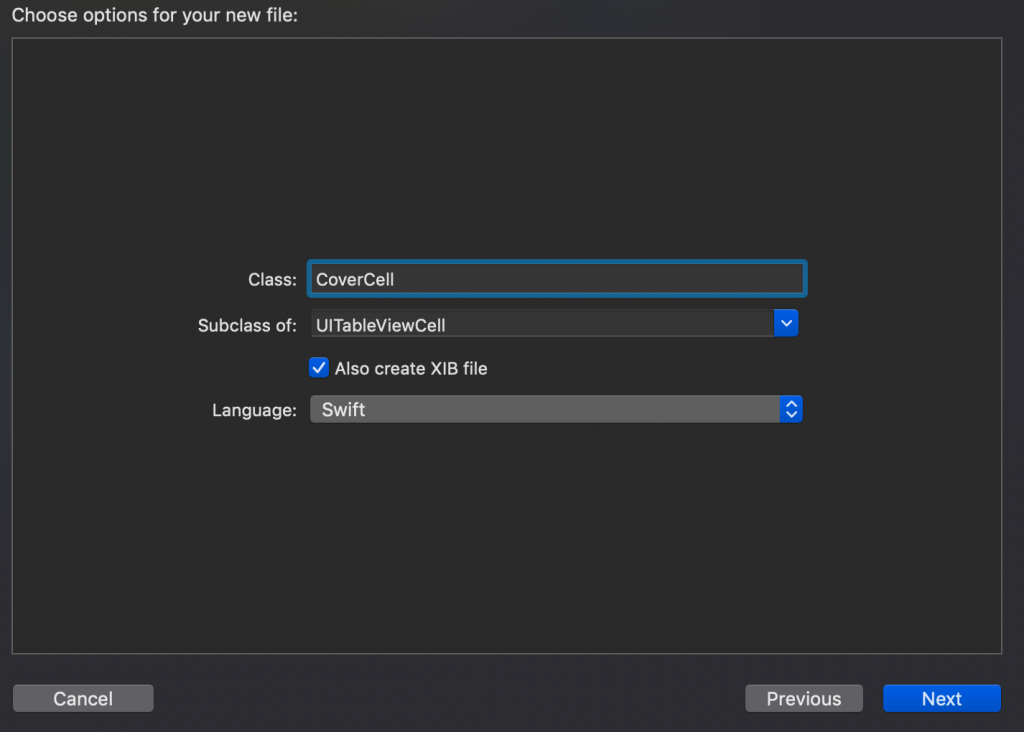
今天就要從最簡單的客製化cell先做起
跟上一篇一下要先新增swift+xib檔案
差別只有collectionview cell 跟 tableview cell
選取不同而已
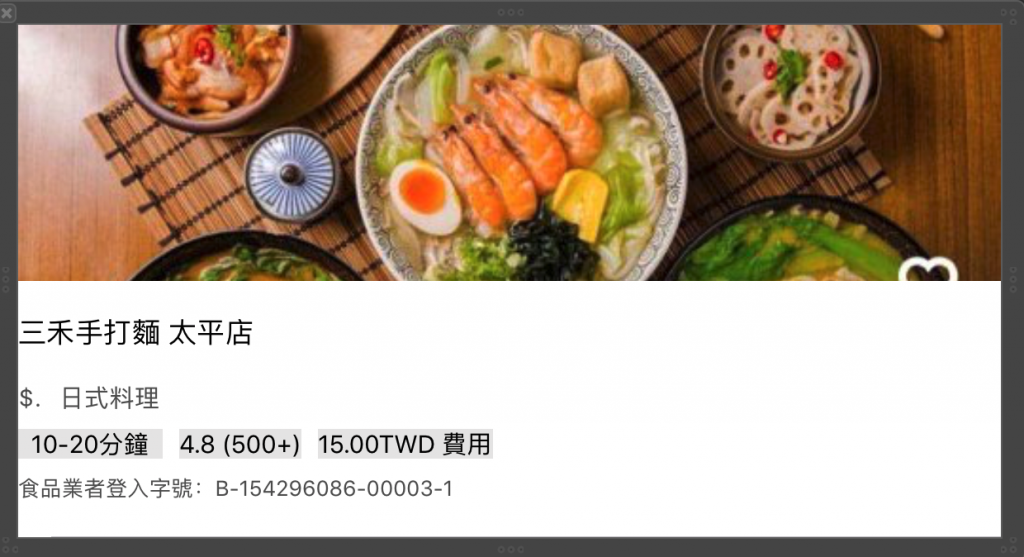
食物商家封面部分
我目前是這設計這樣
上方圖片是cell高度的一半
其他文字平均分配到下半部
這邊也先做addsubview
在原先的initIMUI下面addSubview
override func initIMUI() {
    super.initIMUI()
    self.view.backgroundColor = UIColor.white
    self.view.addSubview(self.collectionView)
    self.view.addSubview(self.tableView)
}
以及設定好你的懶加載tableView
任設有關tableView都設置都在裡面實作
這邊的tableview y設置
因為上方已經有collectionView了
只要設置maxY就可以緊貼在collectionView下方
至於高度要設置 整體高度 - 剛剛的maxY
並且別忘記 你下方還有tabBar
所以tabBar高度也要扣除
總結就是 KScreenHeight - collectionView.frame.maxY - kTabBarHeight
lazy var tableView: UITableView = {
    //初始化
    let tableView = UITableView()
    //tableview方位設置
    tableView.frame = CGRect(x: 20, y:  collectionView.frame.maxY, width: KScreenWidth - 20*2, height: KScreenHeight - collectionView.frame.maxY - kTabBarHeight)
    //delegat,dataSource設置
    tableView.delegate = self
    tableView.dataSource = self
    //註冊客製化cell
    tableView.register(UINib(nibName:"CoverCell", bundle:nil),
                       forCellReuseIdentifier:"myCell")
    return tableView
}()
設置好以後也別忘記
填入頂部的delegate部分
class HomeViewController: JGBaseViewController,UICollectionViewDataSource,UICollectionViewDelegate,UITableViewDelegate, UITableViewDataSource
以及tableView常用的func
// MARK: - tableview
// tableview count 數量
func tableView(_ tableView: UITableView, numberOfRowsInSection section: Int) -> Int {
    return 10;
}

// 設置 cell 的高度
func tableView(_ tableView: UITableView, heightForRowAt indexPath: IndexPath) -> CGFloat {
    return 300
}

// 各index rox cell設定
func tableView(_ tableView: UITableView, cellForRowAt indexPath: IndexPath) -> UITableViewCell {
    // 宣告我們自己的客製化cell
    let cell:CoverCell = tableView.dequeueReusableCell(withIdentifier: "myCell")
        as! CoverCell
    return cell
}
大部分就大功告成了
再來看來下成果

是不是越來越有樣子了
好拉 還好很多要微調
繼續加油
