接續30天Flutter手滑系列 - 聊天室開發(Chat Room)(1),今天來嘗試加入Google帳號登入。
為了讓登入後的帳號有個地方顯示,我們先建立一個Drawer,在Scaffold就有包含drawer的wiget,就從這裡開始建立。
return Scaffold(
    appBar: (...),
    drawer: Drawer()
)
在Drawer內我們先用ListView來包裝接下來的DrawerHeader和ListTile。結構如下
drawer: Drawer(
          child: ListView(
        children: <Widget>[
          DrawerHeader(
            decoration: BoxDecoration(color: Colors.pinkAccent),
            child: Center(
              child: SizedBox(
                width: 60.0,
                height: 60.0,
                child: CircleAvatar(
                  child: Text('RY'),
                ),
              ),
            ),
          ),
          ListTile(
            leading: Icon(Icons.person),
            title: Text('LOGIN'),
            onTap: () {
              Navigator.push(context,
                  MaterialPageRoute(builder: (context) => LoginPage()));
            },
          )
        ],
      )),
此時的結果如圖: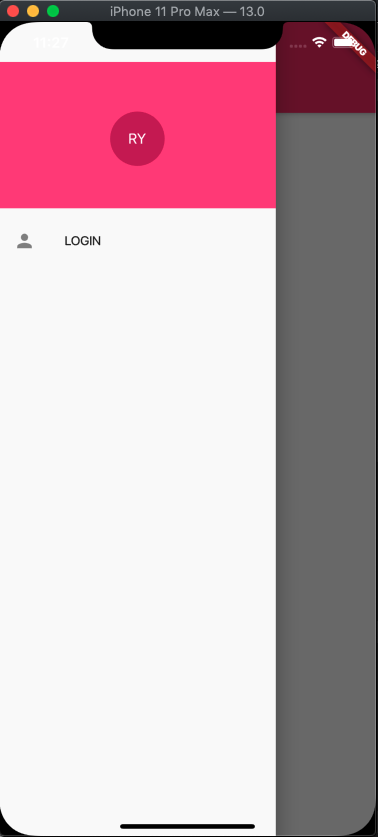
發現上方多了一處空白,要解決這個留白的部分,ListView的padding不能為空值,因此先設為0。
padding: EdgeInsets.zero,
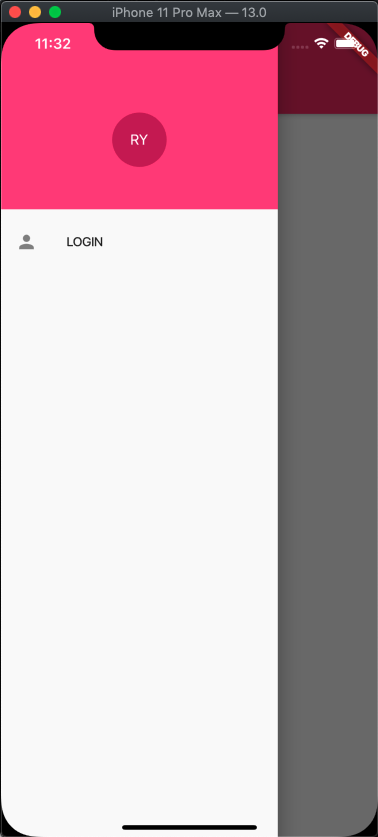
如此一來就解決了空白的問題。
接下來看到LOGIN這裡加入了onTap的事件,我們在這裡會導航到LoginPage去進行登入的動作。
ListTile(
   leading: Icon(Icons.person),
   title: Text('LOGIN'),
   onTap: () {
       Navigator.push(context,
       MaterialPageRoute(builder: (context) => LoginPage()));
   },
)
首先我們先在lib下建立新的資料夾pages,並在目錄下建立另一個login.dart。即/lib/pages/login.dart。
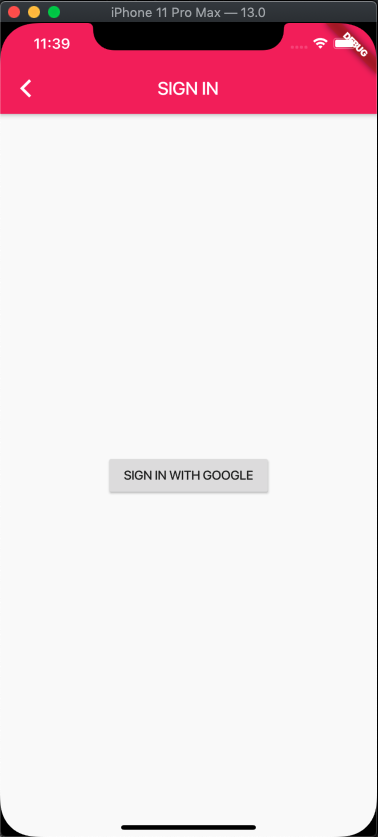
這次主題嘗試用Google帳號登入,因此先放一個簡單的按鈕來預備做串接Google。
Widget build(BuildContext context) {
    return Scaffold(
      appBar: AppBar(
        title: Text('SIGN IN'),
      ),
      body: Center(
        child: RaisedButton(
          child: Text('SIGN IN WITH GOOGLE'),
          onPressed: handleSignIn,
        ),
      ),
    );
  }
由於這邊我們要做與Google端的資料交換,我們可以引用Future,並且加入async的關鍵字來做異步處理。
Future是Dart內建的Widget,用來延遲等待可能回傳的值或錯誤。
在這裡需要在pubspec.yaml多加入一個shared_preferences。
shared_preferences:提供儲存回傳的資料。
.
.
.
然後我在嘗試 GoogleSignInAccount googleUser = await googleSignIn.signIn();的時候APP Crashed了。
經過一番努力,回去看了google_sign_in的說明,才發現在iOS上需要額外做一些設置。
在iOS環境
需要加入CFBundleURLTypes屬性到[my_project]/ios/Runner/Info.plist中。
<key>CFBundleURLTypes</key>
<array>
	<dict>
		<key>CFBundleTypeRole</key>
		<string>Editor</string>
		<key>CFBundleURLSchemes</key>
		<array>
			<!-- 這裡要替換成GoogleService-Info.plist裡面,名稱為REVERSED_CLIENT_ID的key -->
			<string>com.googleusercontent.apps.861823949799-vc35cprkp249096uujjn0vvnmcvjppkn</string>
		</array>
	</dict>
</array>
成功排除後就可以看到Google要求你登入帳號的視窗了。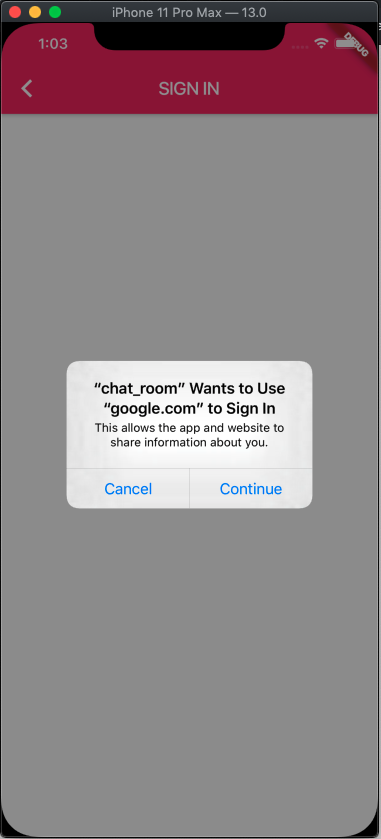
輸入帳號密碼後,如果出現這個錯誤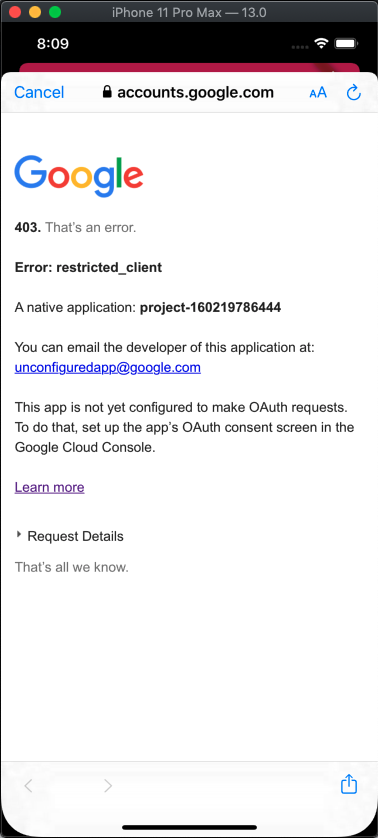
請點選learn more,跳轉進去後上傳一張圖片,並且選取eamil,再按儲存。接下來重啟一次app應該就可以解決。
然後永遠不是那麼順利,又有一個新的錯誤,這個我找半天,回去看了套件的文件還是沒辦法解決。
這邊解法是,要到Firebase內的Authentication去啟用Google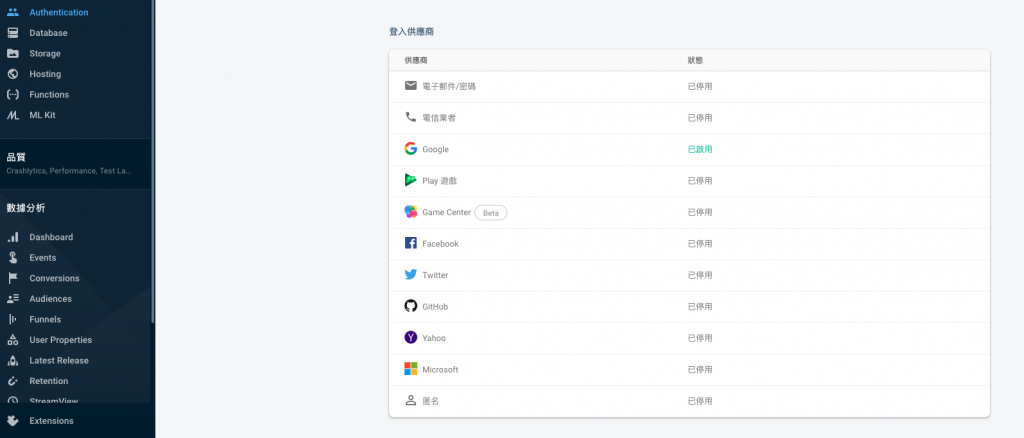
啟用後再重新跑一次Flutter專案,終於可以看到成功登入的訊息。 !
!
https://juejin.im/post/5be5356bf265da61602c6f68
https://api.flutter.dev/flutter/dart-async/Future-class.html
https://dart.dev/codelabs/async-await
https://www.itread01.com/content/1544423595.html


 iThome鐵人賽