在昨天我們談完Day23-多頁面App和資料傳遞後,今天我們來談談如何運用Flow Layout
的Collection view製作照片牆
實做步驟 :
1.首先在MainStoryBoard按 + , 加入 collection view controller , 並且設定collection view
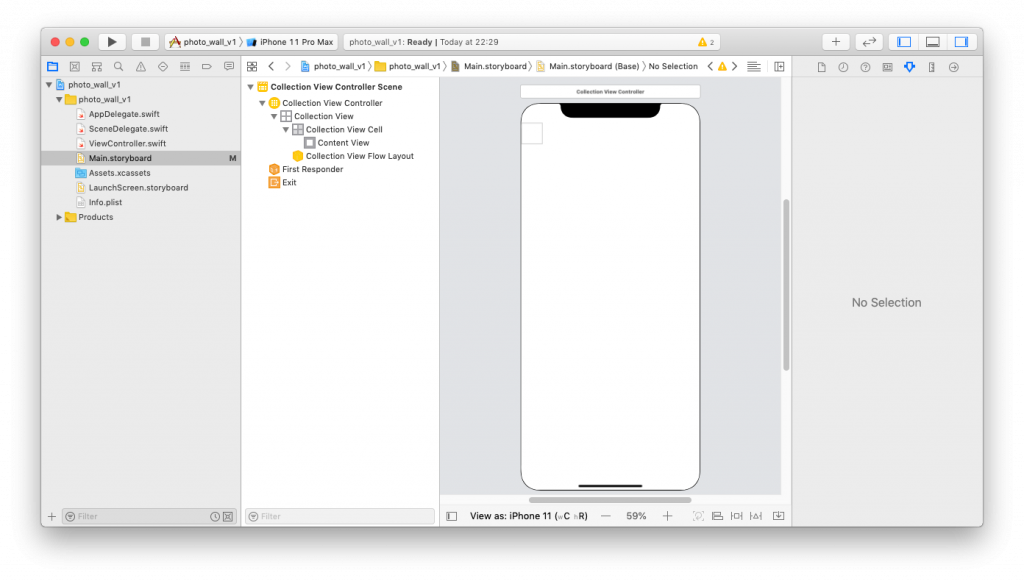
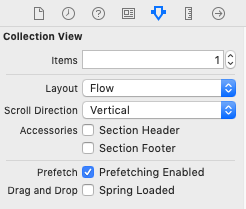
預設的layout為flow layout,Scroll Direction Vertical 代表它是上下捲動的 collection view。
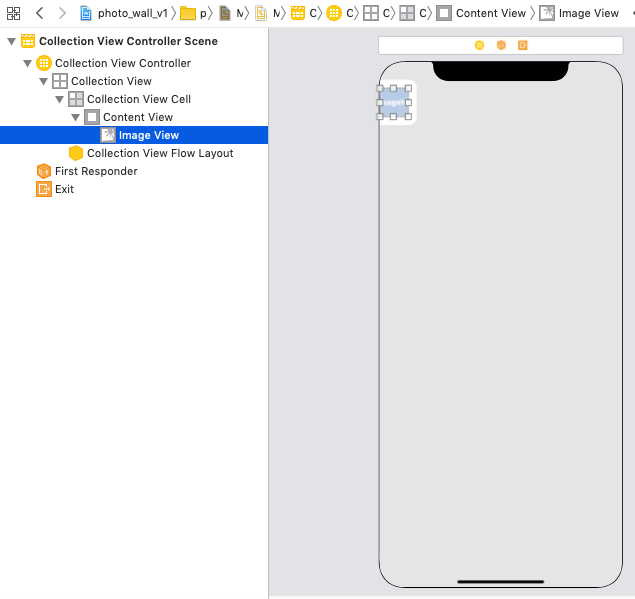
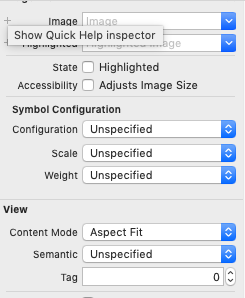
2.在cell 裡加入 image view , 將 image view 的 Content Mode 設為 Aspect Fill
3.設定 cell 之間的間距(Min Spacing For Cells / Min Spacing For Lines)

4.產生自訂的 collection view controller & collection view cell 類別
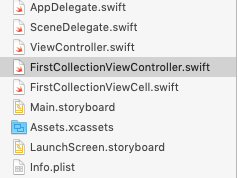
5.將 collection view controller & collection view cell 的類別設為自訂類別
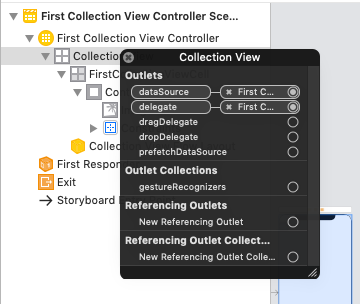
6.設定 collection view 的 data source &遵從 protocol UICollectionViewDataSource
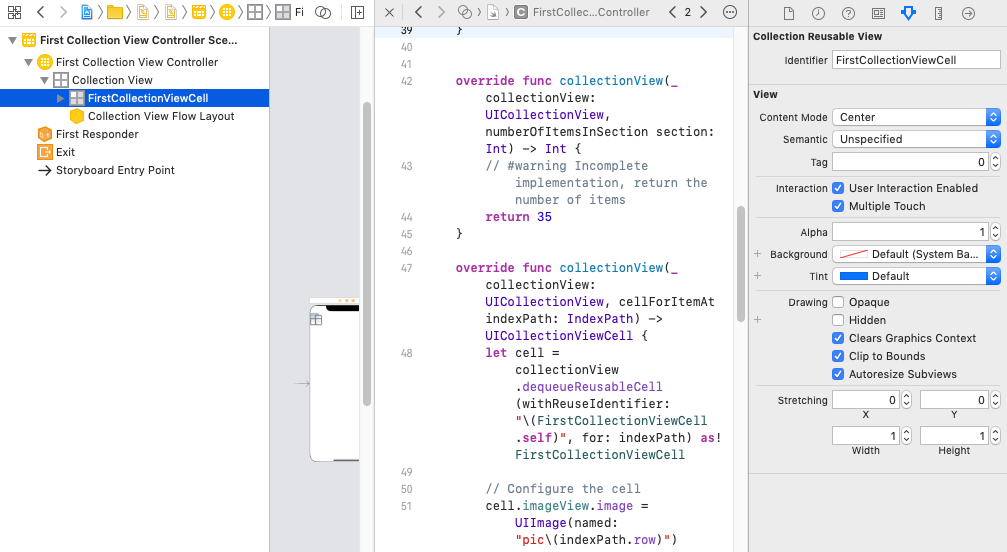
7.設定 cell 的 Reuse Identifier
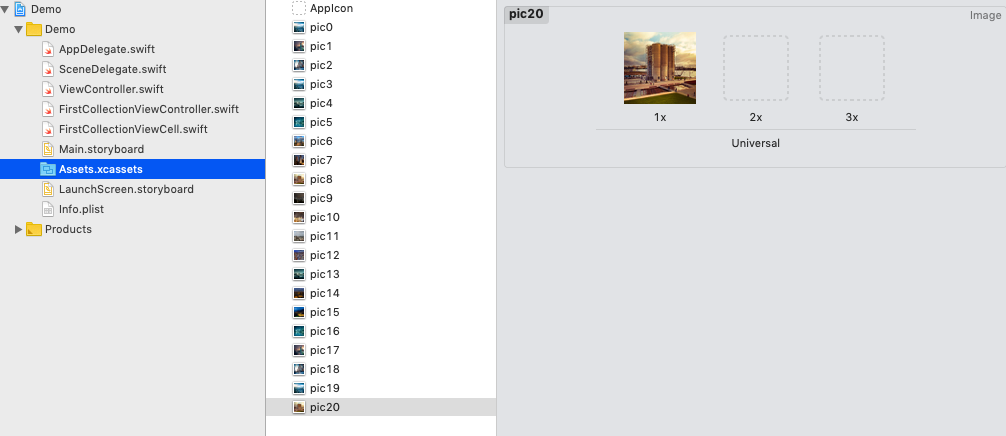
8.連結 cell 上圖片的 outlet imageView , Assets.xcassets加圖片
class FirstCollectionViewCell: UICollectionViewCell {
 @IBOutlet weak var imageView: UIImageView!
}
9.設定 section & item 的數量
override func numberOfSections(in collectionView: UICollectionView) -> Int {
   return 1
}
override func collectionView(_ collectionView: UICollectionView, numberOfItemsInSection section: Int) -> Int {
   return 30
}
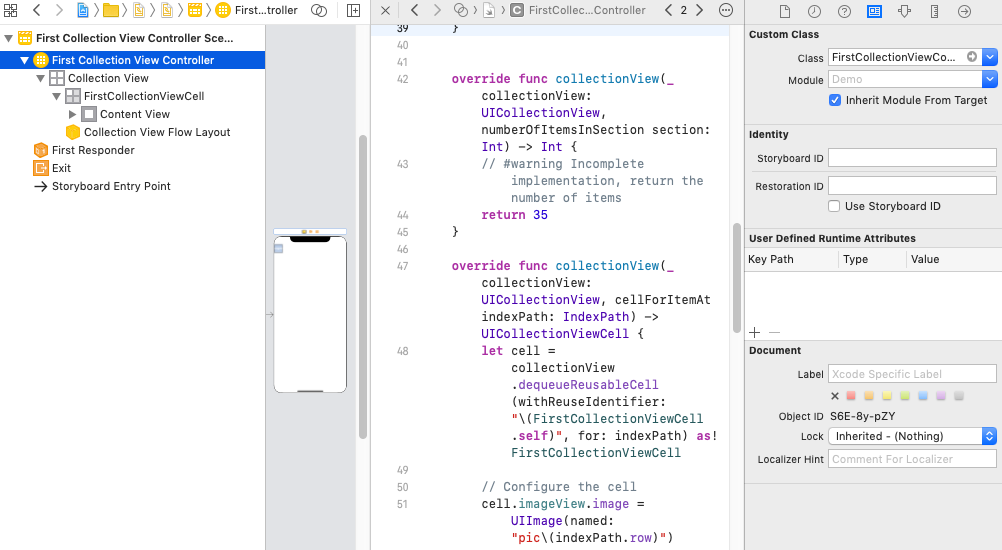
10.設定 cell 的內容
 override func collectionView(_ collectionView: UICollectionView, cellForItemAt indexPath: IndexPath) -> UICollectionViewCell {
   let cell = collectionView.dequeueReusableCell(withReuseIdentifier: "\(FirstCollectionViewCell.self)", for: indexPath) as! FirstCollectionViewCell
   cell.imageView.image = UIImage(named: "pic\(indexPath.row)")
   return cell
}
11.設定 cell 的大小
override func viewDidLoad() {
   super.viewDidLoad()
   let width = (collectionView.bounds.width - 1 * 2) / 3
   let flowLayout = collectionViewLayout as? UICollectionViewFlowLayout
   flowLayout?.itemSize = CGSize(width: width, height: width)
   flowLayout?.estimatedItemSize = .zero
}
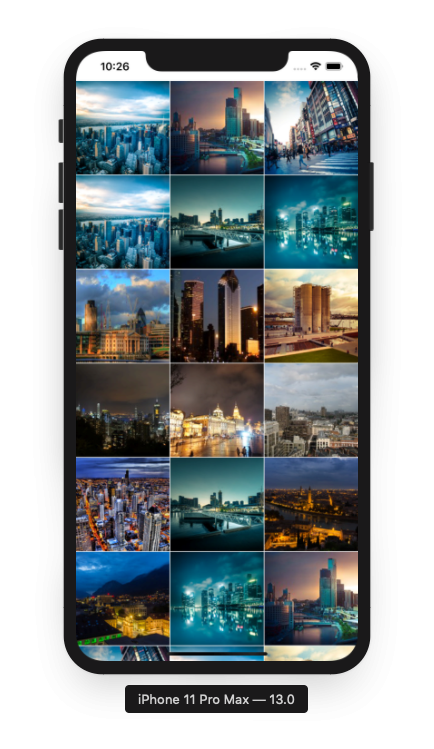
12.按Play,執行iPhone 11 Pro Max模擬器,即可看到照片牆結果
弄了3小時總算看到


 iThome鐵人賽