Python 有一個輕量的 Web 框架,Flask,他具有高度彈性與各種 extensions,可以用來開發各種小型的網頁服務,也可以寫 RESTful API 服務、資料庫管理、HTTP接介等等,今天我就來簡單介紹 Flask 的基本用法。
首先創建虛擬環境與安裝 Flask 套件
pipenv --python 3.7
pipenv shell
pipenv install flask
我們直接從一個 Hello flask 程式碼開始:
from flask import Flask
app = Flask(__name__)

@app.route("/")
def hello():
    return "Hello Flask!"

if __name__ == "__main__":
    app.run()
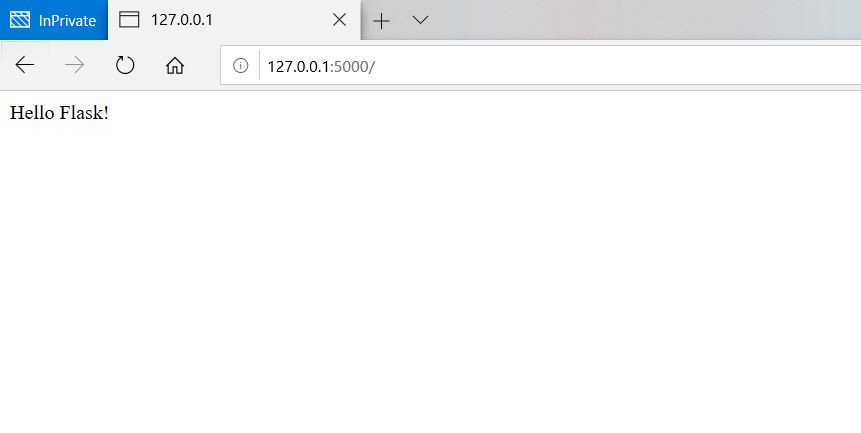
接著執行 python hello.py 在瀏覽器上訪問 http://127.0.0.1:5000 就會看到程式執行結果。

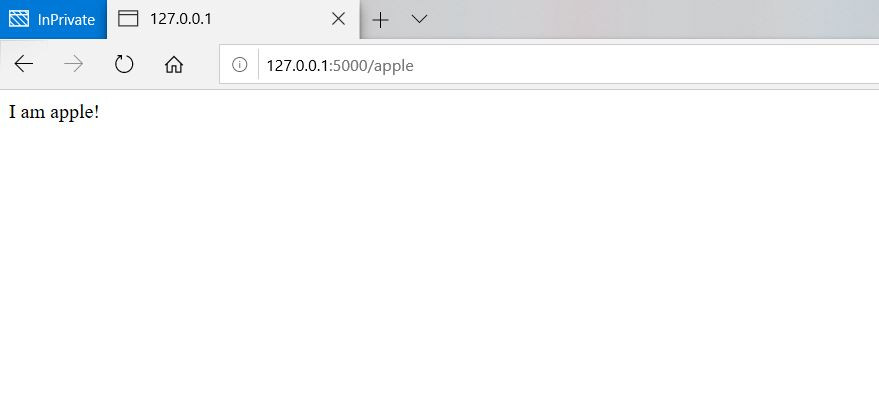
其他路徑我們可以透過 @app.route() 來設定,若 @app.route("/test") 就是 root 之下的 test,訪問方式為 http://127.0.0.1/test ,我以下用 apple 稍微修改程式碼作為範例
from flask import Flask
app = Flask(__name__)

@app.route("/")
def hello():
    return "Hello Flask!"

@app.route("/apple")
def apple():
    return "I am apple!"

if __name__ == "__main__":
    app.run()

注意呦,@app.route() 裡面要加 web root 的那個斜線,例如@app.route("/apple"),若我們寫成 @app.route("apple") 程式就會回報錯誤(ValueError: urls must start with a leading slash)。
Traceback (most recent call last):
  File "hello.py", line 8, in <module>
    @app.route("apple")
    ...略
    raise ValueError("urls must start with a leading slash")
ValueError: urls must start with a leading slash
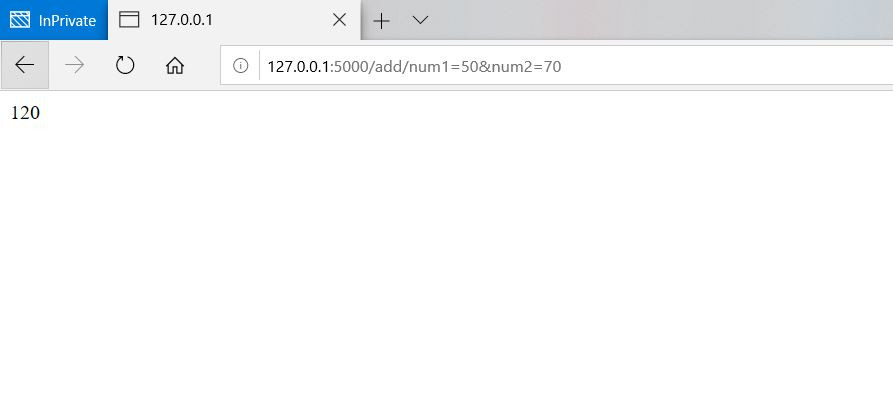
接著我們來看看如果我們想要透過網址把參數傳進 flask 那該怎麼做呢? 我透過以下的程式碼示範如何透過網址參數傳入兩個數字並在網頁上回傳兩數之和,重點在於 @app.route 中以<>包住想要傳入的變數,後面加上傳入參數的方法,這邊是使用 HTTP GET,所以寫 methods=['GET'],要小心的是回傳值必須要是 String 型態,所以 return 前要用 str() 進行轉型。
from flask import Flask
app = Flask(__name__)

@app.route("/")
def hello():
    return "Hello Flask!"

@app.route('/add/num1=<num1>&num2=<num2>', methods=['GET'])
def add(num1,num2):
    print(num1 + num2)
    return str(int(num1) + int(num2))

if __name__ == "__main__":
    app.run()
程式輸出,仔細觀察網址列
那如果我們想要回應使用者一個我們事先寫好的 HTML 檔呢? 我們總不可能總是利用 python 程式裡面的 string 來寫網頁吧!
首先,我們先在專案資料夾中新增一個名為 templates,就要這樣取名喔!這是 Flask 內建的模板放置位置,如果不這樣做等等程式會找不到檔案喔!再來寫一個 01.html 到 templates 裡面,Python 主程式如下:
from flask import Flask
from flask import render_template

app = Flask(__name__)

@app.route('/')
def index():
    #路徑不須加 templates
    return render_template(r"01.html")

if __name__ == '__main__':
    app.run()
01.html
<!DOCTYPE html>
<html lang="en">
<head>
    <meta charset="UTF-8">
    <meta name="viewport" content="width=device-width, initial-scale=1.0">
    <meta http-equiv="X-UA-Compatible" content="ie=edge">
    <title>Flask HTML</title>
</head>
<body>
    <h1>This header is from HTML file!</h1>
</body>
</html>
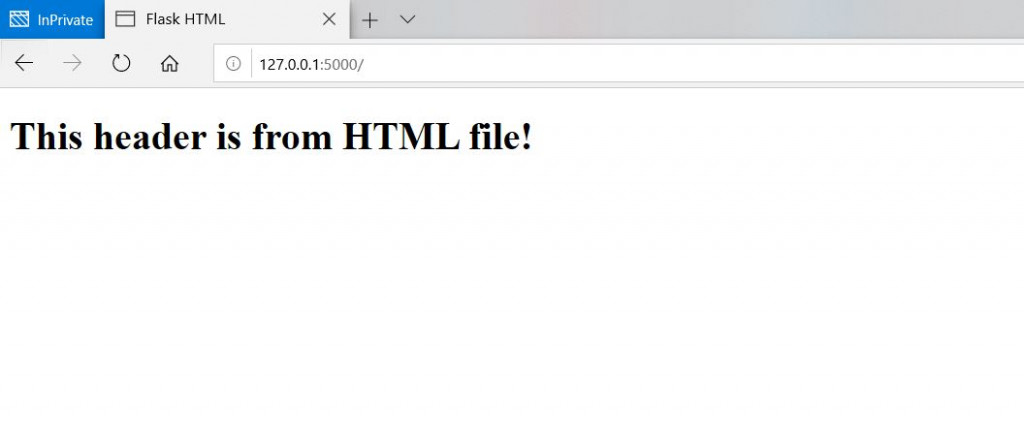
程式輸出:
今天先介紹這幾個操作,明天還會有一篇介紹 Flask 的文章,再來講述一些比較應用上的進階例子~
參考資料
https://github.com/kdchang/flask101.git
https://blog.techbridge.cc/2017/06/03/python-web-flask101-tutorial-introduction-and-environment-setup/
https://blog.csdn.net/weixin_36380516/article/details/80008496
https://www.jianshu.com/p/8df0fbe4e64e
https://hackmd.io/@shaoeChen/HJkOuSagf?type=view
