嘿大家好,今天我們繼續昨天關於 Flask 框架的介紹,如果對 Flask 完全不了解的朋友可以從我昨天的文章 Day18-Python Web 服務初體驗I Flask 框架開始閱讀喔!
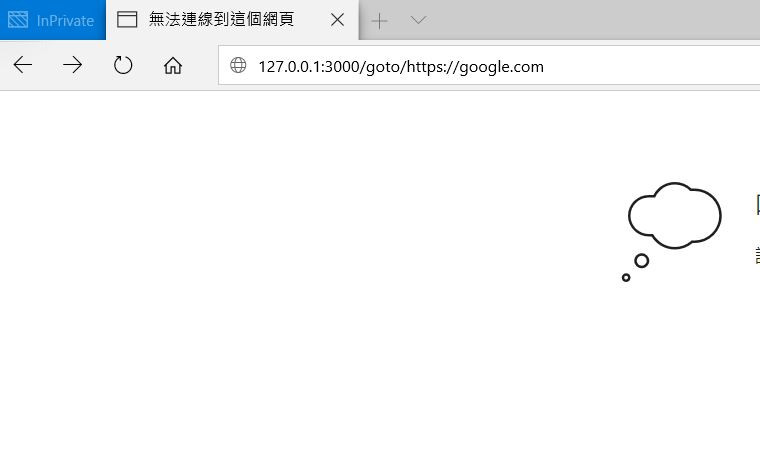
再來介紹一個方便的函式 redirect (),這個可以讓使用者重新導向就像 JavaScript 的 location 一樣,程式碼中 goto 路徑傳入參數<path:url>是因為傳入網址含有斜線,若用 string 傳入會有問題,所以我們指定要用 path。
| 型別 | 作用 |
|---|---|
| 無 | 字串,不能有 / |
| int | 整數 |
| float | 浮點數 |
| path | 字串,可以有 / |
用法 <TYPE:VAR>
接著透過 _goto() 呼叫 redirect(url) 進行 HTTP 302 轉址。
注意,此程式碼會被 open redirection attack,未經進一步保護不要公開到外網伺服器上!
from flask import Flask
from flask import redirect

app = Flask(__name__)

@app.route("/")
def hello():
    return "Flask on port 3000."

@app.route("/goto/<path:url>", methods=['GET'])
def _goto(url):
    return redirect(url)

if __name__ == "__main__":
    app.run(host="0.0.0.0", port=3000)
執行結果:
Flask 預設使用 port 5000,如果我們想要更換使用的網路埠呢?
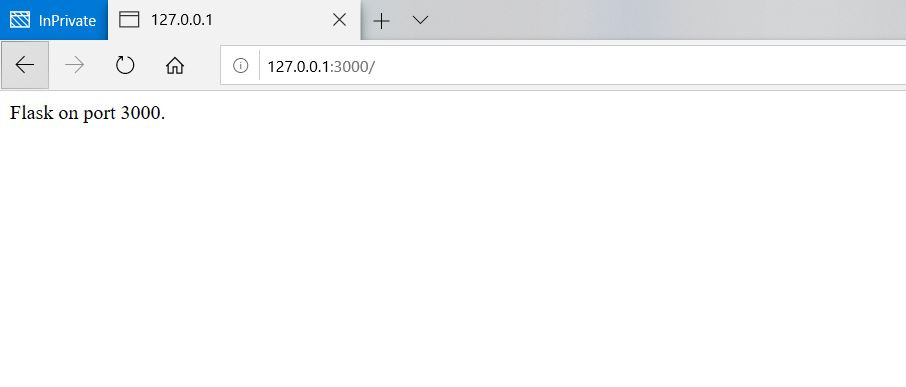
我們可以在 app.run() 的函式上動手腳,傳入指定 port 的參數即可,範例如下,會把 port 改到 3000:
from flask import Flask
app = Flask(__name__)

@app.route("/")
def hello():
    return "Flask on port 3000."

if __name__ == "__main__":
    app.run(host="0.0.0.0", port=3000)
關鍵就在
app.run(host="0.0.0.0", port=3000)
裡面傳入 host 參數可以指定允許訪問的主機IP,0.0.0.0 為所有主機的意思,而後面則是自訂網路埠號的參數。
執行結果:
有發現我們會在執行的內容前加上 @app.route()嗎?這個的意思是指定這部分程式碼的路由,讓我們可以透過不同的網址列執行不同的服務,但是這樣動態設計的網址也會讓程式網址維護變得困難,Flask 設計了一個 url_for() 來解決這個問題,以及如何引用CSS。
首先我們先新增 static 資料夾,Flask 中的靜態檔案都要放在這邊,接著在裡面新增 main.css
.mh {
    padding: 60px;
    text-align: center;
    background: #1abc9c;
    color: white;
    font-size: 30px;
  }
再來,再昨天說過的 template 資料夾中新增 css.html 模板,並且使用url_for 定位到我們 CSS 檔案的靜態位置,寫在模板中外面要加兩個大括弧包住喔!{{ url_for('static', filename='main.css') }}
<!DOCTYPE html>
<html lang="en">
<head>
    <meta charset="UTF-8">
    <meta name="viewport" content="width=device-width, initial-scale=1.0">
    <meta http-equiv="X-UA-Compatible" content="ie=edge">
    <title>CSS test</title>
    <link rel="stylesheet" href="{{ url_for('static', filename='main.css') }}">
</head>
<body>
    <h1 class="mh">CSS Test</h1>
</body>
</html>
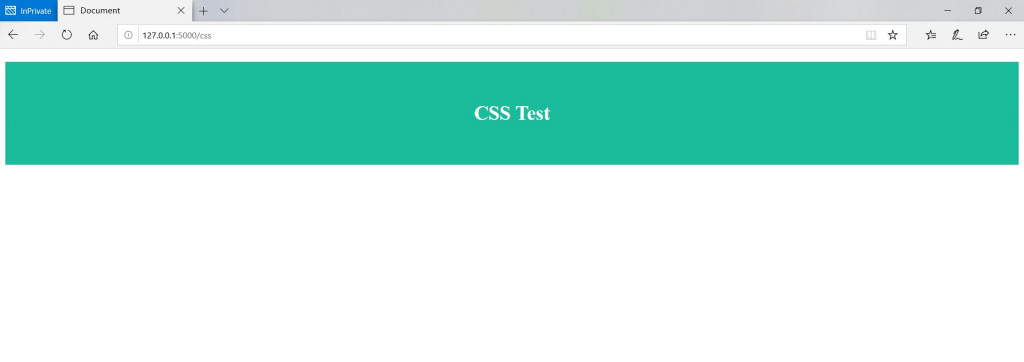
最後來寫 Python Flask 後端程式,當使用者訪問路徑 /css 時將會回傳 css.html 模板,並從 static/main.css 取得樣式來渲染標題。
from flask import Flask
from flask import render_template
app = Flask(__name__)

@app.route("/")
def hello():
    return "Hello Flask!"

@app.route("/css")
def css():
    return render_template(r"css.html")

if __name__ == "__main__":
    app.run()
執行結果:
參考資料
https://www.itread01.com/content/1542892450.html
http://www.bjhee.com/flask-2.html
