
現在Google Map應該是很多人都會使用
不管是APP或是Web都很好用
查詢地點規劃路線公車資訊 要搭幾號車
其實上面都有呈現
還有路段的壅塞程度
更棒得是電腦與手機的紀錄可以同步
已紀錄的地點 在手機內也可看到
這點應該是現在Apple Map比較不足的地方
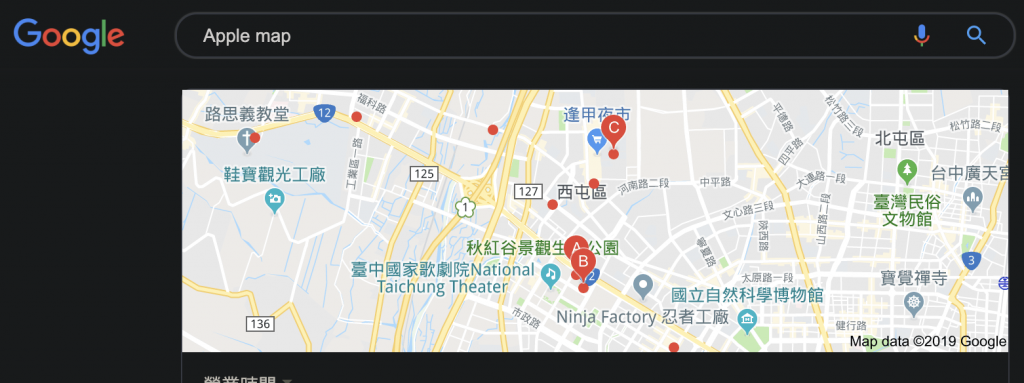
前幾年還聽說Apple Map開放網頁版
結果現在去搜尋Apple Map什麼都找不到SEO直接顯示Apple總公司的Google Map位置
格外諷刺 所以今天就來介紹Google Map SDK
Google Map SDK是需要金鑰
且要使用Cocoapod 安裝
Map API部分並不是免費的 請注意
超過一定流量是要收費得

//https://console.developers.google.com/apis/dashboard?project=maptest-1570257246222&folder=&organizationId=
接下來請到以下連結
Google API
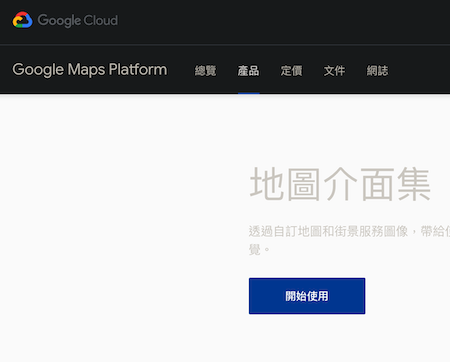
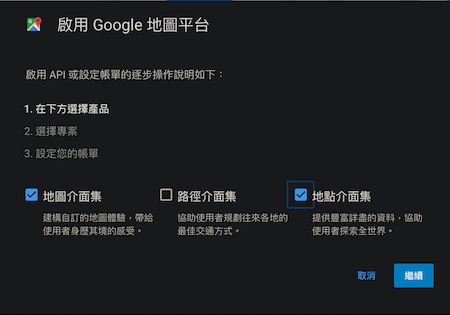
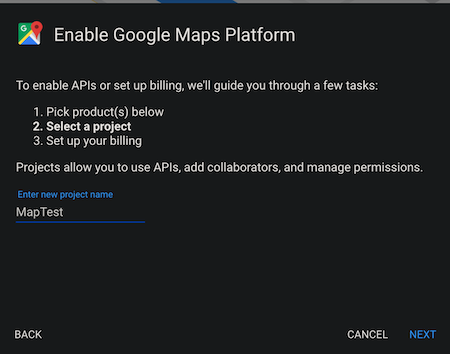
接下來一直按下一步
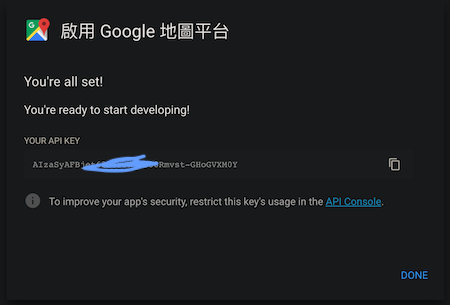
金鑰很重要請妥善保管
如果你沒有裝cocoapad的話
開啟mac 裡面的 終端機cd 到你得iOS 專案資料夾
然後下指令
pod init
接下來就會在資料夾內部
長出Profile 文件
打開 並且新增 Google Map的SDK
pod 'GoogleMaps'
pod 'GooglePlaces'
儲存文件 回到剛剛的 終端機
開始安裝
pod install

大致上就可以了
接下來打開你新長出來的.xcworkspace檔案
ppDelegate 部分添加剛剛申請的金鑰
利用GMSServices.provideAPIKey 添加進去
之後所有class都可以使用Google Map SDK
import UIKit
import GoogleMaps
@UIApplicationMain
class AppDelegate: UIResponder, UIApplicationDelegate {
    let apiKey = "A12IzaSyCYxLMPG2xasv9c2Dfx1Lay1aR9n35eo"
    func application(_ application: UIApplication, didFinishLaunchingWithOptions launchOptions: [UIApplication.LaunchOptionsKey: Any]?) -> Bool {
        // Override point for customization after application launch.
        GMSServices.provideAPIKey(apiKey)
        return true
    }
}
Google Map的地圖新增
跟一般的差不多物件名稱是GMSMapView
let mapView = GMSMapView()
mapView.frame = CGRect.init(x: 0, y: 0, width: self.view.frame.width, height: self.view.frame.height)
self.view.addSubview(mapView)
GMSCameraPosition.camera 可設定自己的位置
withLatitude 經度longitude 緯度zoom 地圖大小 數值越小東西越小比如設置為 1
let camera = GMSCameraPosition.camera(withLatitude: 25.034012, longitude: 121.564461, zoom: 1.0)
mapView.camera = camera
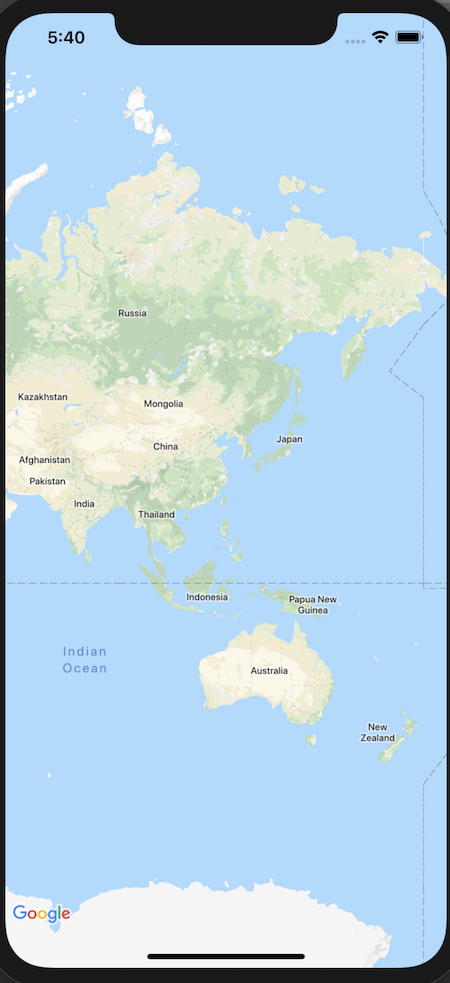
地圖就會拉得非常遠
所以如果要進一點建議設置15
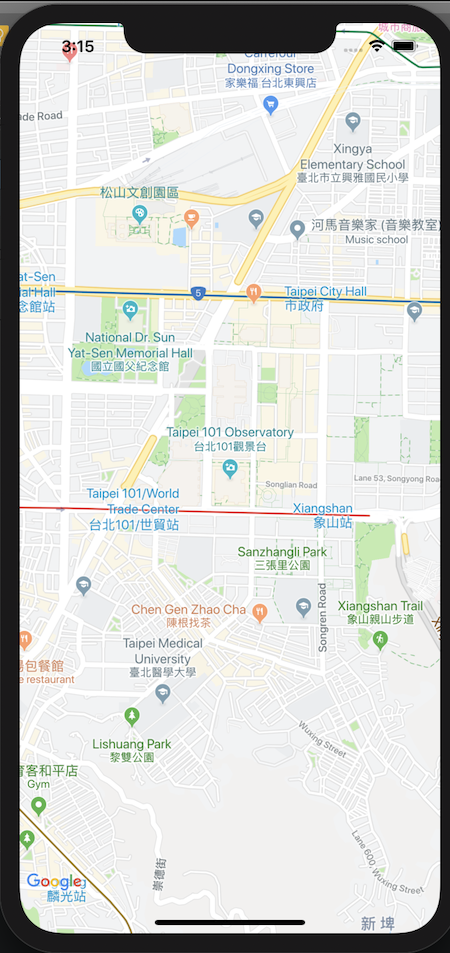
我們這邊用台北101為定位
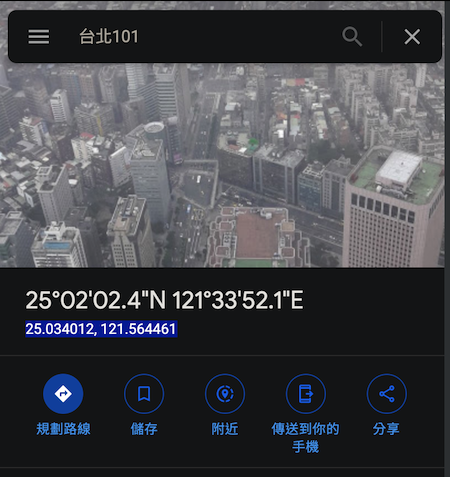
let camera = GMSCameraPosition.camera(withLatitude: 25.034012, longitude: 121.564461, zoom: 15.0)
mapView.camera = camera
接下來只剩下標記
差大頭針而已
這邊是使用GMSMarker來實作
也是可以設置主標題title以及副標題snippet
let marker = GMSMarker()
marker.position = CLLocationCoordinate2DMake(25.034012, 121.563461)
marker.map = mapView
marker.title = "標題1"
marker.snippet = "副標題1"

let marker2 = GMSMarker()
marker2.position = CLLocationCoordinate2DMake(25.034012, 121.566461)
marker2.map = mapView
marker2.title = "標題2"
marker2.snippet = "副標題2"
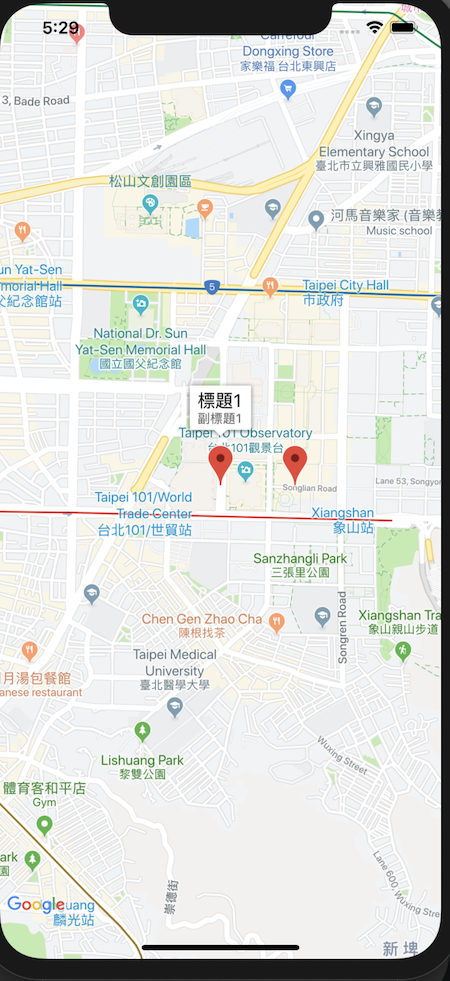
完成
