今天來實作昨天討論的AutoEncoder,簡單複習一下,AutoEndoer的架構其實就如同下圖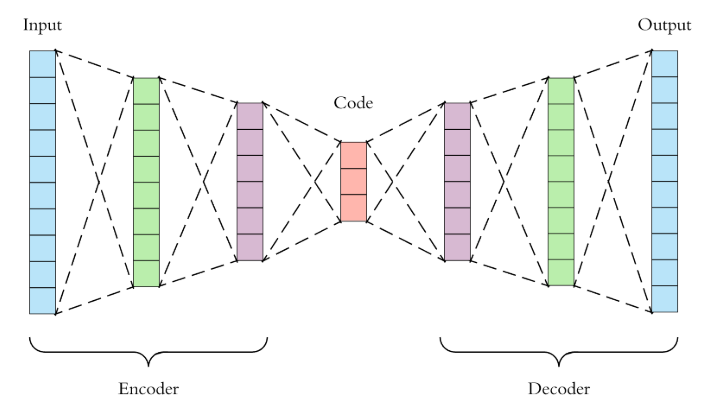
source
Input 資料後,會放到Neural Network,並降維 (Enocde) 到您所想要的維度 (or 概念) ,接下來在把降完後的維度升維 (Decode),並希望Input的資料跟Output的資料非常接近。
接下來,我們開始今天的Lab!
今天所使用的資料集也是之前有試過的Fashion MNIST,這樣大家在做的時候比較有感覺。
首先是讀取資料的部分,在做AutoEnoder的時候,記得是不需要使用Label (Unsupervised)。因此當轉乘Tensor的時候只需要轉 x 的部分。
(x,y),(x_test,y_test) = datasets.fashion_mnist.load_data()
data = tf.data.Dataset.from_tensor_slices(x)
data = data.map(feature_scale).shuffle(10000).batch(128)

data_test = tf.data.Dataset.from_tensor_slices(x_test)
data_test = data_test.map(feature_scale).batch(128)
接下來就是AutoEncoder的本體了!可以透過Sequential來定義Model主體。這邊我們使用 layer.Dense來呈現NN的部分。這次的架構是簡單的
Input -> 256 -> 128 -> 10 -> 128 -> 256 -> Output (= Input)
class AE(keras.Model):
  def __init__(self):
    super(AE,self).__init__()
    #encoder
    self.model_encoder = Sequential([layers.Dense(256,activation=tf.nn.relu),
                             layers.Dense(128,activation=tf.nn.relu),
                             layers.Dense(dim_reduce,activation=tf.nn.relu) ])
    #decoder
    self.model_decoder = Sequential([layers.Dense(128,activation=tf.nn.relu),
                             layers.Dense(256,activation=tf.nn.relu),
                             layers.Dense(784,activation=tf.nn.relu)])

  def call(self, inputs, training=None):
    x = self.model_encoder(inputs)
    x = self.model_decoder(x)
    return x
其實就是很簡單的去疊Dense層。記得Encoder跟Decoder要分開來寫。當到時候你想output Encoder的結果時,才比較方便去Output。
model = AE()
model.build(input_shape=(None,784))
model.summary()
這時候我們可以看到兩個Sequential的Model,並且呈現參數量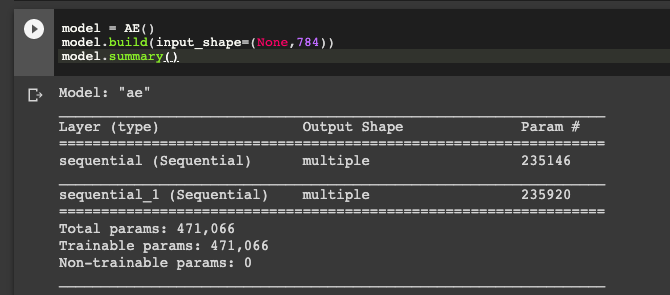
最後就是Train Model了,可以跟之前所說的方式一樣來train。記得在AutoEncoder裡面就不需要One-hot Label。就是直接使用binary_crossentropy 來衡量input跟output的差異!
optimizer = optimizers.Adam(lr=lr)
for i in range(10):
  for step,x in enumerate(data):
    x = tf.reshape(x,[-1,784])
    with tf.GradientTape() as tape:
      logits = model(x)
      loss = tf.losses.binary_crossentropy(x,logits,from_logits=True)
      loss = tf.reduce_mean(loss)
    grads = tape.gradient(loss,model.trainable_variables)
    optimizer.apply_gradients(zip(grads,model.trainable_variables))
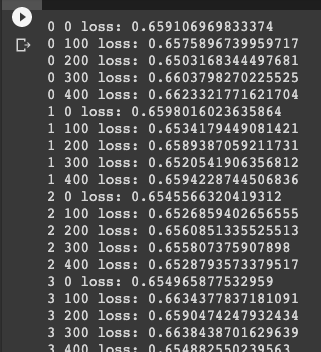
比較一下用AutoEncoder (train - 10 epoch)而已。 其實已經看得出來大概的樣子。但還是不太行XD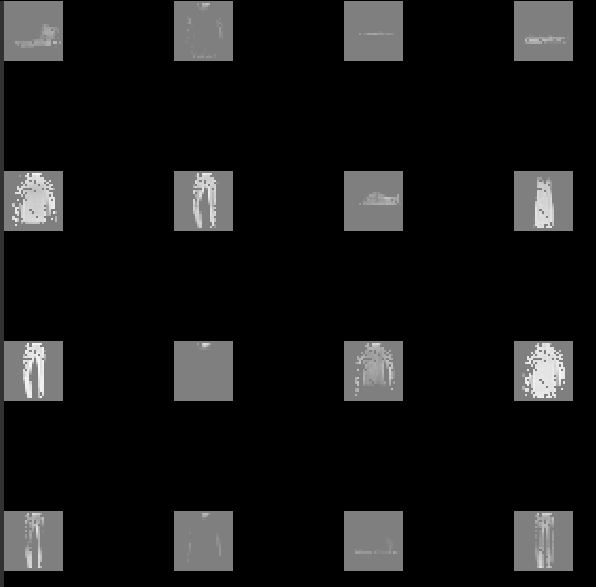
原圖疊起來比較一下: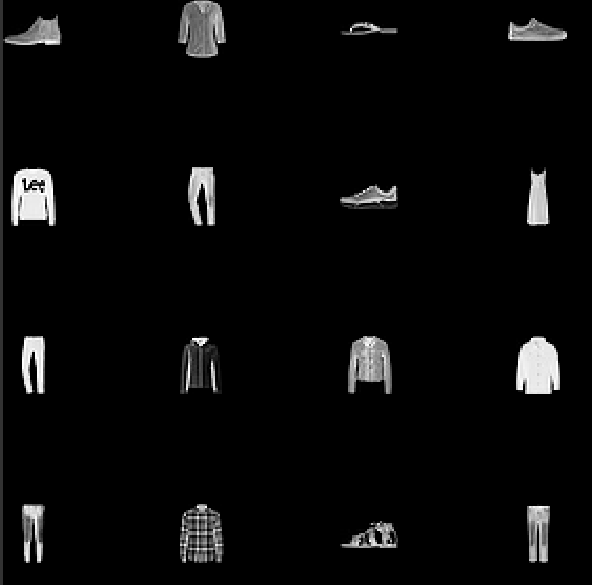
今天的AutoEncoder蠻好玩的的吧,明天來討論VAE的部分,AutoEncoder的加強版。感謝大家漫長的閱讀~
