參考資料:
今天是第29天,也是倒數第二天
#接續昨天的專題~今天是處理鏡頭的辨識,所以來講有用到的部分:
#1其他方式啟用樹莓派
我之前是有設備齊全的情況下(有螢幕滑鼠鍵盤...)詳情:[ROS#5]於Raspberry pi 3實作
但既然要更靈活的使用,不要每次都有這些設備,所以來分享其他狀況:
(I) 直接 連接到 另外一部電腦(用網路線)
(II) Raspberry Pi 的基礎 -沒螢幕、沒鍵盤、沒網路,居然也能設定 Wi-FI 連線
這兩個都是滿簡易的方式
#2安裝鏡頭sudo raspi-config
選則第 5 項 Enable Camera:
選擇 Enable,啟動相機功能。
關機>安裝>測試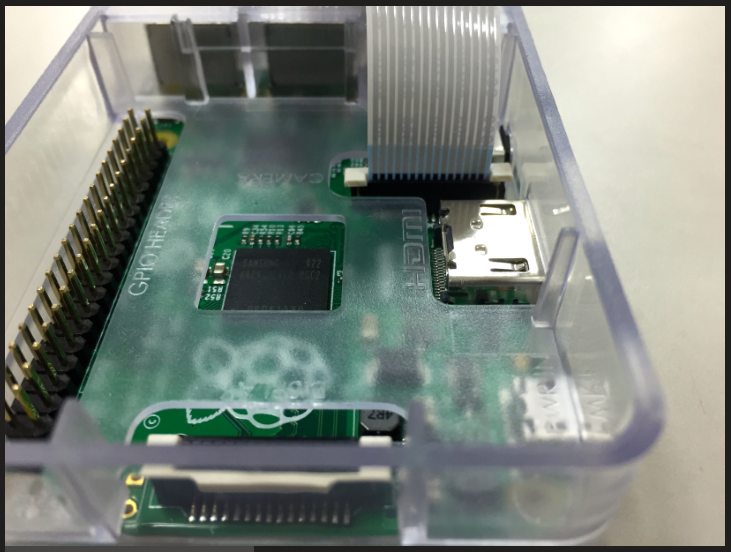
raspistill -o image.png
image 是照片的檔名,.png 是照片格式,兩個都可以隨意更換,比如改成 pic.jpg。
#3開始玩
使用ROS的find_object_2d --> 參考資料1、2。$ sudo apt-get install ros-kinetic-find-object-2d
或用yolo --> [AI#9]交通號誌辨識mkidr -p catkin_ws/srccd catkin_ws/srcgit clone --recursive https://github.com/leggedrobotics/darknet_ros.gitcd ..catkin_make -DCMAKE_BUILD_TYPE=Release
...參考資料5。