Google Map已經成為現代人不可或缺的一個常用工具之一,像我幾乎每天都會打開Google Map查看路況,或是午餐不知道要吃什麼就打開Google Map,看看附近有哪些餐廳。有許多App也會嵌入Google Map plugin增加功能性與互動性,那麼要如何在Flutter中使用Google Map呢?今天就來分享如何添加Google Maps Flutter plugin到你的Flutter App裡~
和之前Day25-在iPhone上實現Video Player添加video_player plugin的做法一樣在pubspec.yaml加入google map plugin dependencies
dependencies:
  flutter:
    sdk: flutter
  google_maps_flutter: ^0.5.11  //加這行
存檔後在終端機執行flutter pub get,下載安裝plugin
要使用Google Maps首先要取得API key。進到Google Cloud Platform Console網站
點擊"建立"創一個新專案: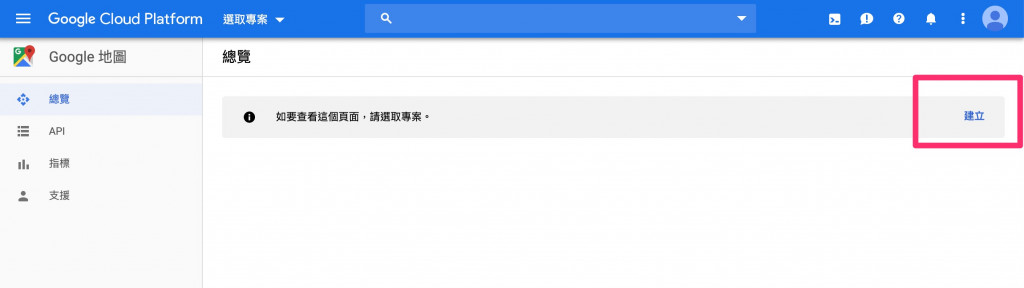
輸入專案名: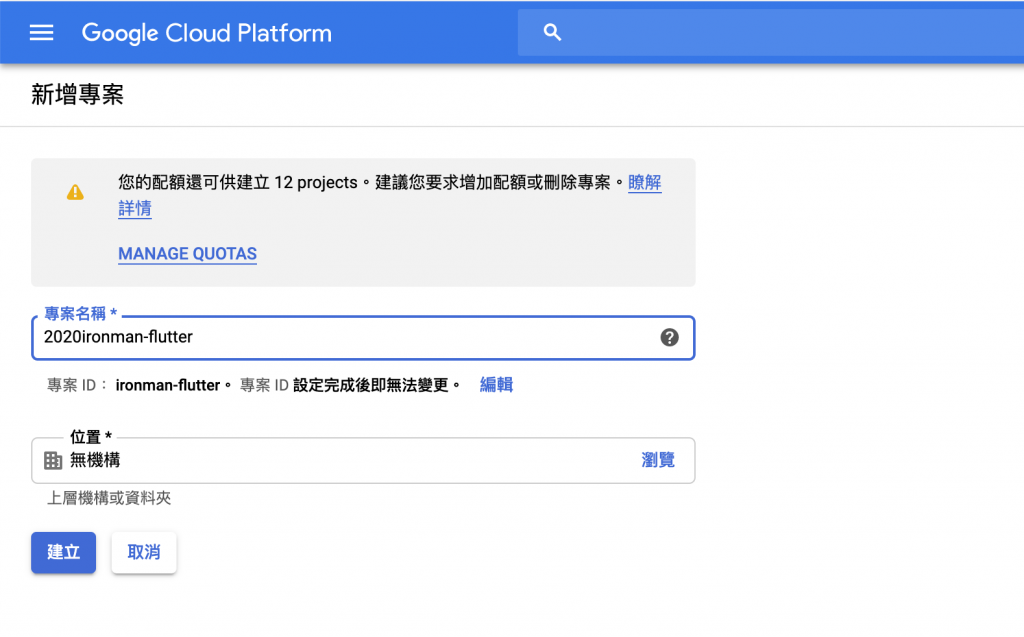
然後點選"建立憑證 > API金鑰"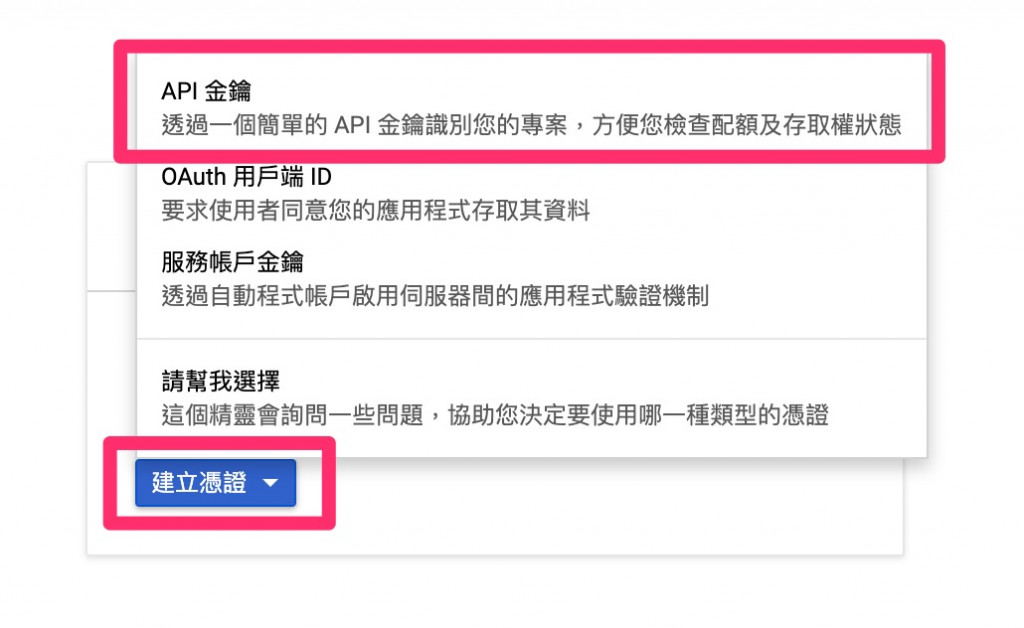
完成後就會給你一串金鑰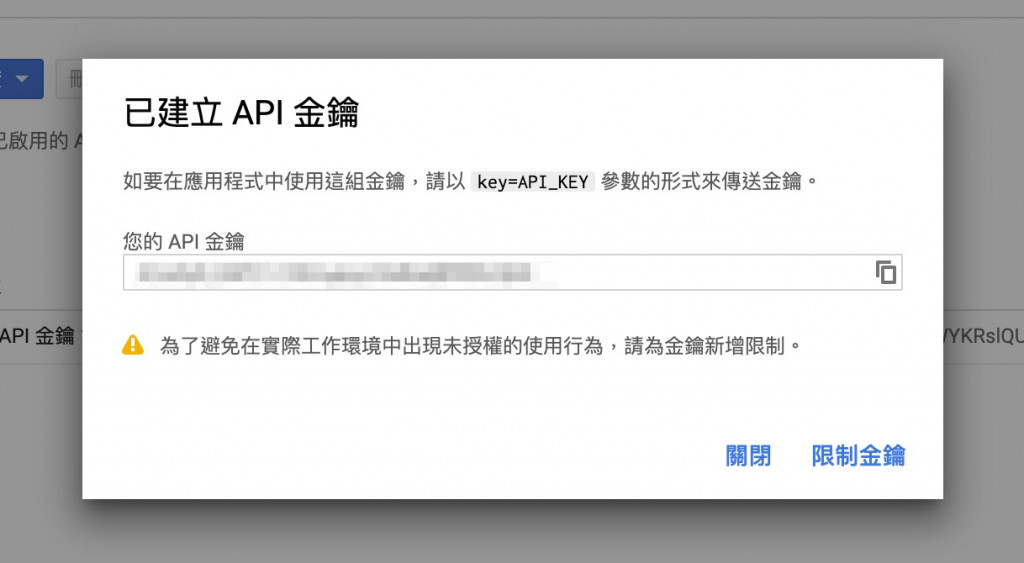
接下來這個步驟常常會忘記,我們要啟用Maps SDK,沒做的話就會看不到地圖!我第一次測試時沒啟用,就只看得到google地圖的底色QQ:打開漢堡選單,點選"API和服務 > 資料庫"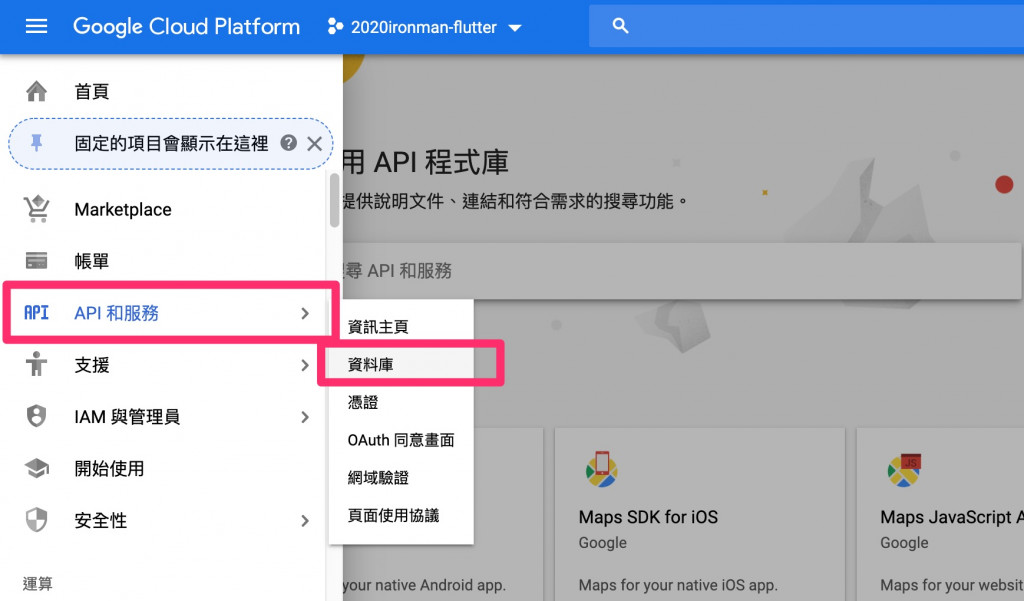
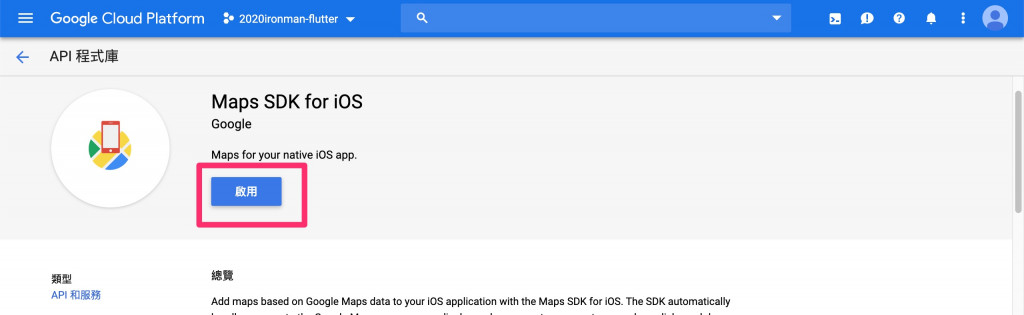
啟用Maps SDK for Android / Maps SDK for iOS,看要裝在哪個系統上就啟用哪個,我只有先做iOS的。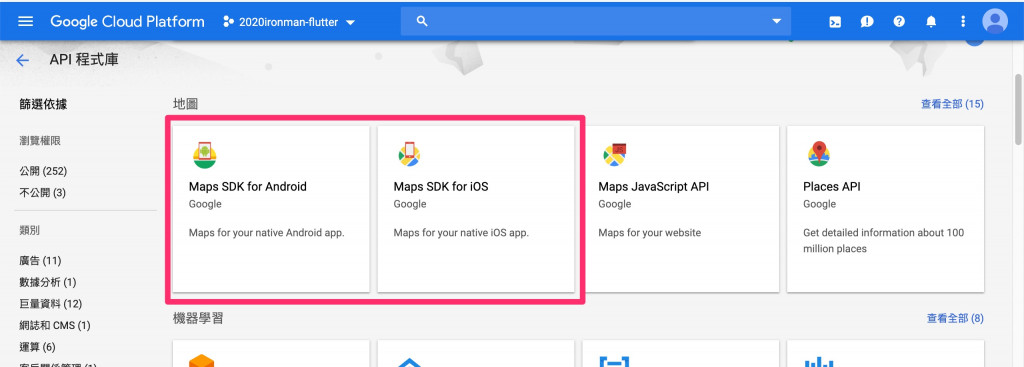
回到VS code要在iOS添加API key,我們需要編輯ios/Runner/AppDelegate.swift文件
加入以下代碼,要記得補上剛剛申請的API key
#import "AppDelegate.h"
#import "GeneratedPluginRegistrant.h"
// Add the following import.
#import "GoogleMaps/GoogleMaps.h"

@implementation AppDelegate

- (BOOL)application:(UIApplication *)application
    didFinishLaunchingWithOptions:(NSDictionary *)launchOptions {
  [GeneratedPluginRegistrant registerWithRegistry:self];
  // Add the following line, with your API key
  [GMSServices provideAPIKey: @"YOUR-API-KEY"];
  return [super application:application didFinishLaunchingWithOptions:launchOptions];
}
@end
上面這個步驟是官方教學的做法,他是加在AppDelegate.m這份文件,但我的flutter專案裡沒有這個檔案,照著貼這段code也沒用,後來一直run失敗,去stackoverflow才找到解決方法->這裡。
如果跟我一樣是用swift的人,可以這樣做:
import GoogleMaps //加這行

@UIApplicationMain
@objc class AppDelegate: FlutterAppDelegate {
  override func application(
    _ application: UIApplication,
    didFinishLaunchingWithOptions launchOptions: [UIApplication.LaunchOptionsKey: Any]?
  ) -> Bool {
    GeneratedPluginRegistrant.register(with: self)
    GMSServices.provideAPIKey("YOUR_API_KEY")  //加這行
    return super.application(application, didFinishLaunchingWithOptions: launchOptions)
  }
}
接著編輯ios/Runner/Info.plist文件,<dict>裡加入以下
<key>io.flutter.embedded_views_preview</key>
<true/>
這樣前置作業就完成了!
今天又是一篇不斷失敗嘗試後的血淚文,真的要實際做過才知道問題在哪裡,按照官方的教學操作有時候也是會遇到問題 明天再來分享GoogleMap widget要怎麼去玩它~