專案初始化之後,第一件事情其實是加入版控,
因為版控可以讓你知道自己修改的哪一些程式,
方便管理自己的程式碼,在多人合作開發時更是不可少的工具,
這邊使用常見的Git版本控制。
到 Git官網下載檔案安裝
MacOS 使用 brew 來安裝git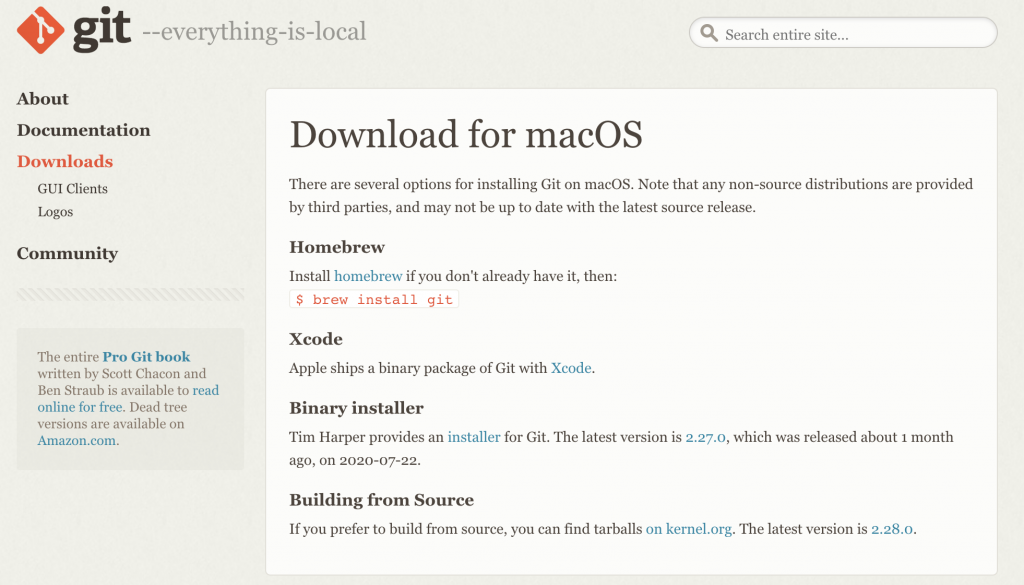
MacOS環境安裝
brew install git
這邊幫大家列出常用的幾個基礎指令
| 指令 | 說明 | 範例 |
|---|---|---|
| init | 初始化 | git init |
| status | 查看狀態 | git status |
| add | 加入索引 | git add . |
| commit | 提交 | git commit -m "first commit" |
| log | 查看提交紀錄 | git log |
| diff | 查看檔案差異 | git diff file.txt |
| tag | 標籤 | git tag v1.0 |
| branch | 分支功能 | git branch |
| checkout | 切換分支或還原檔案 | git checkout file.txt |
| fetch | 同步遠端 | git fetch |
| pull | 下載遠端到本地 | git pull |
| push | 上傳本地到遠端 | git push |
除了上面列的幾個常用指令,大家也可以善用 --help 來查看指令說明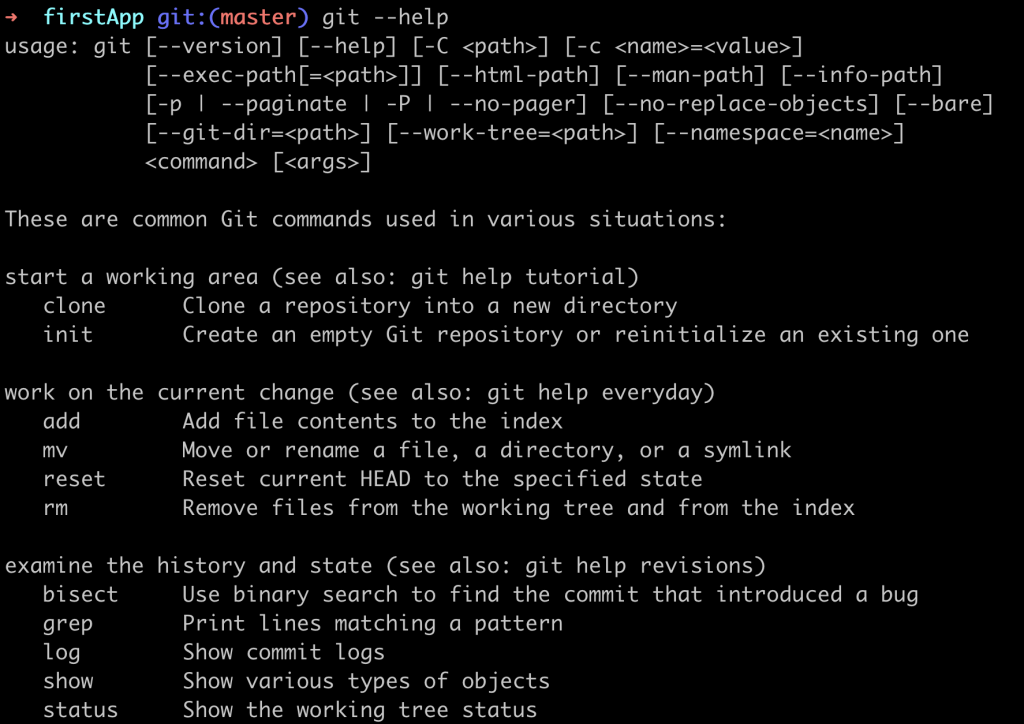

專案加入Git版控,我們先初始化Git
git init
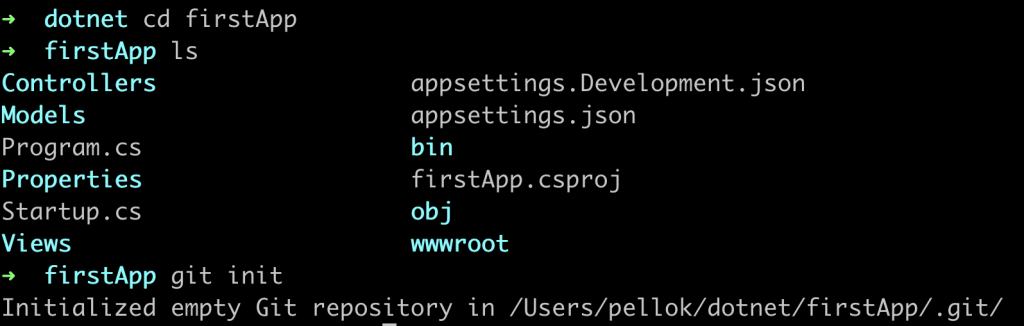
預設會在專案目錄下創建.git資料夾,裡面是Git的資料檔
其中config檔案是比較常會用到的,裡面記錄遠端倉庫的資訊
現在還看不到,要等加入遠端倉庫才有以下內容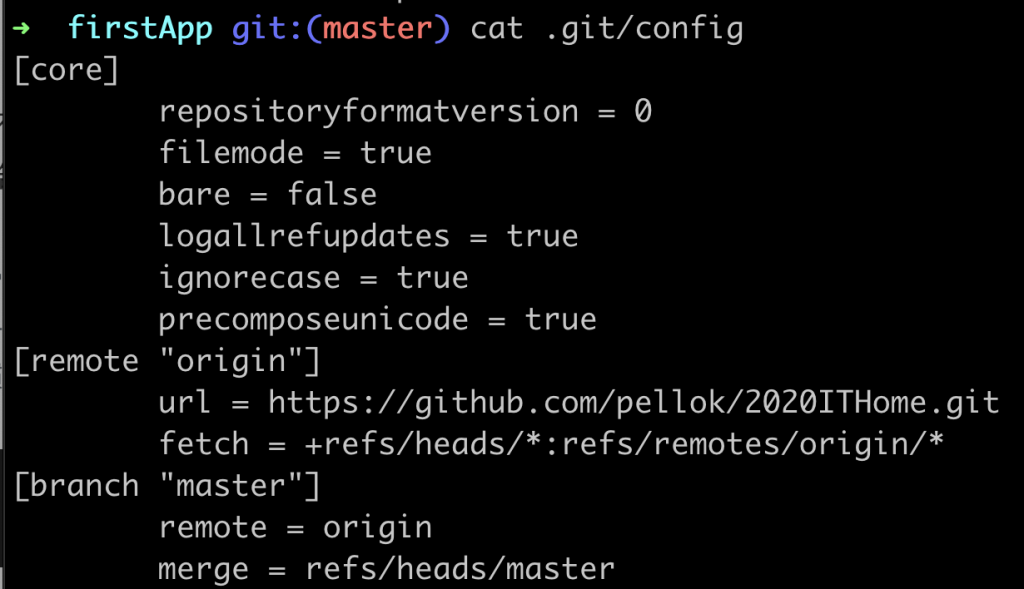
我們會把原始碼加入到版控裡面,但是不希望環境檔或暫存檔也加入進去,
所以我們需要創建一個.gitignore檔案來告訴Git哪一些檔案要忽略
新手常會把暫存檔也加入到版控,這常常是災難的開始,
因為在多人開發的時候,你的環境檔一定會和同事的環境檔打架,
就會造成兩邊互相影響,所以好的習慣是一開始加入版控就把環境檔排除。
vim .gitignore
加入
bin/*
obj/*
.vscode/*
查看狀態
git status
發現沒有bin、obj和.vscode檔案,這就是我們要的效果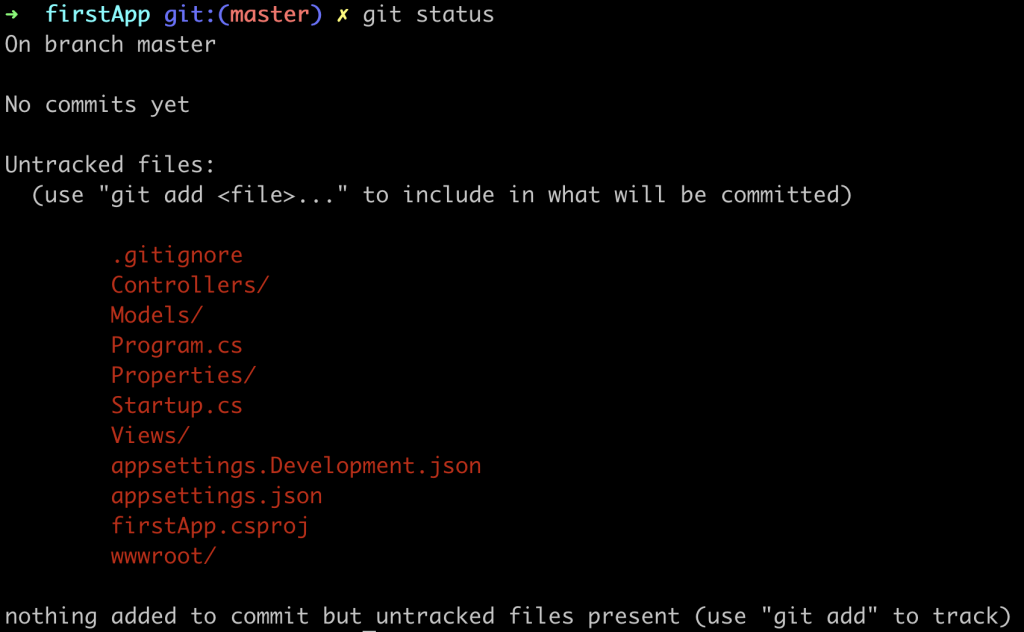
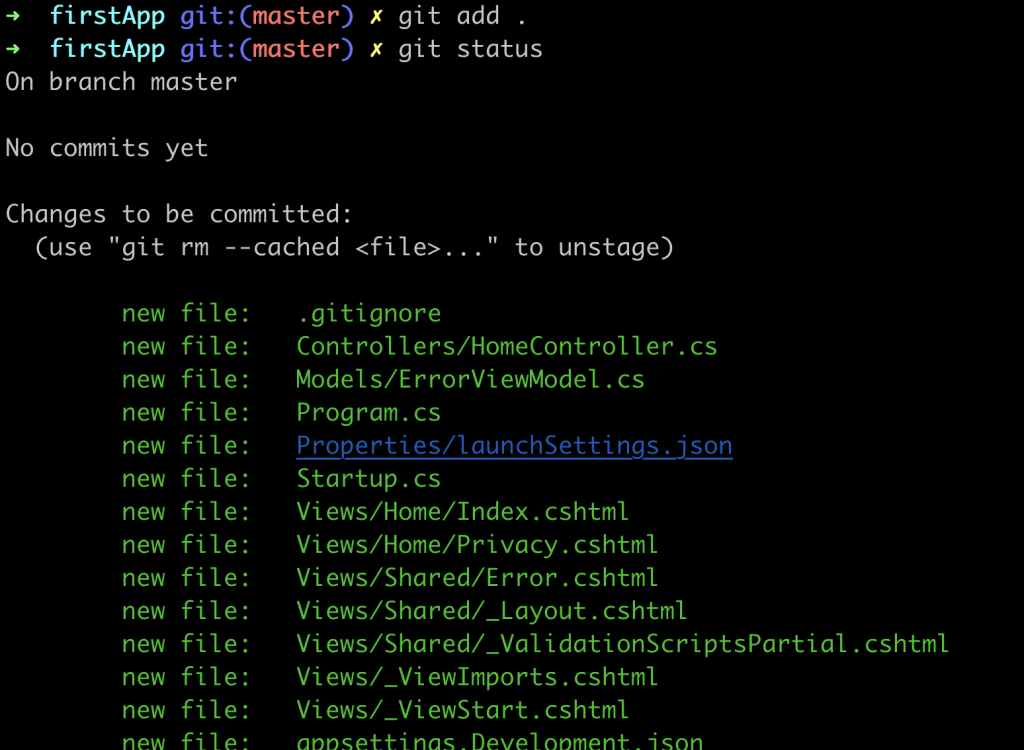
再來要把檔案加入到索引,
add 指令後面可以接單一檔名,或是使用 . 來加入所有檔案
git add firstApp.csproj
or
git add .
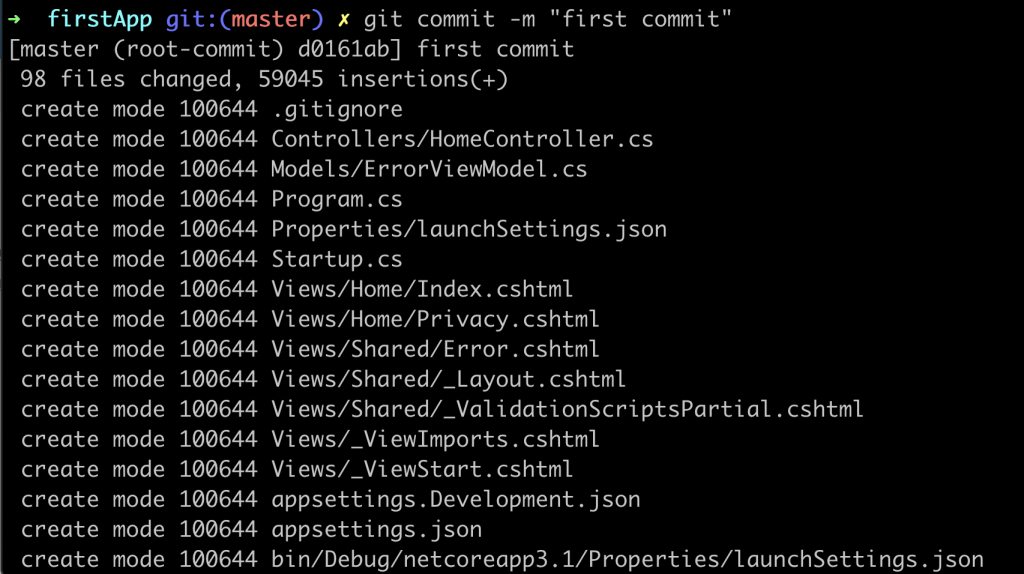
加入完成後,讓我們來提交一個版本,
使用 -m 後面接提交的說明,
好的說明可以讓你更清楚程式提交的資訊
git commit -m "first commit"
再次查看狀態,如果顯示"nothing to commit, working tree clean"代表目前的修正都已提交
git status

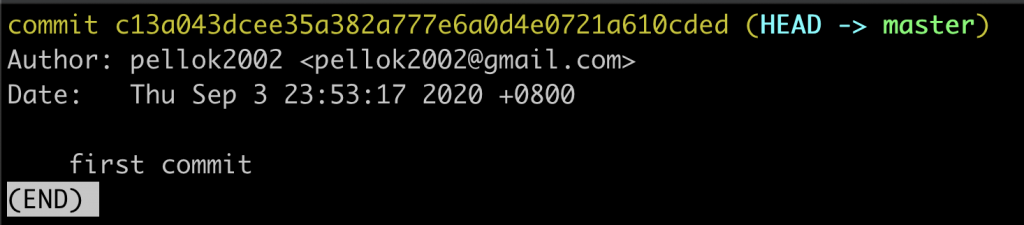
最後可以查看提交紀錄,如果要離開請按q
git log
以上動作完成專案加入Git版控的過程,接下來我們要上傳雲端倉庫(GitHub),
當如雲端倉庫有很多不錯的選擇,可能公司也會有自己的倉庫,但是我們使用公開的GitHub來做說明。
到 GitHub,創建一個倉庫(Repository),
如果沒有GitHub帳號的朋友可以自行申請,只需要Email就可以免費申請
點選 New 進入創建頁面,填寫名稱:2020ITHome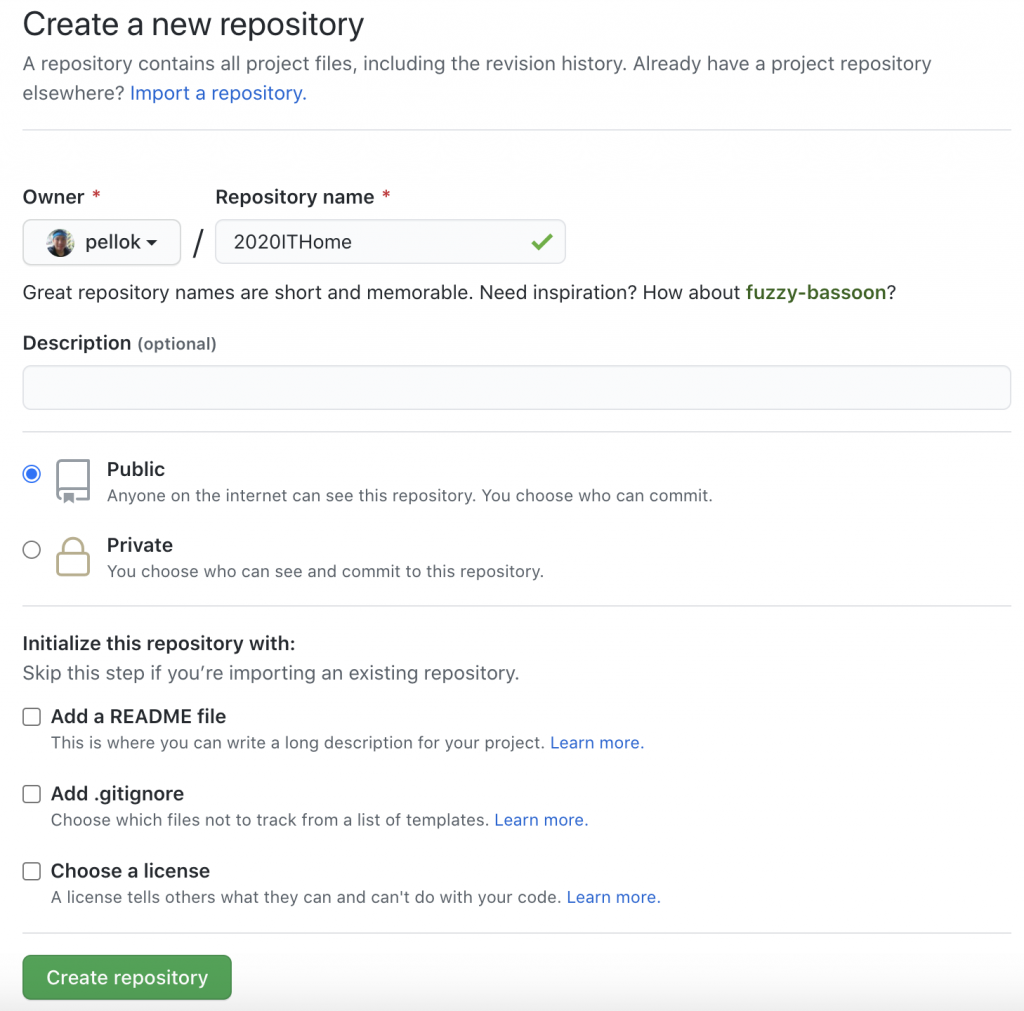
點選創建按鈕看到一下畫面代表已創建完成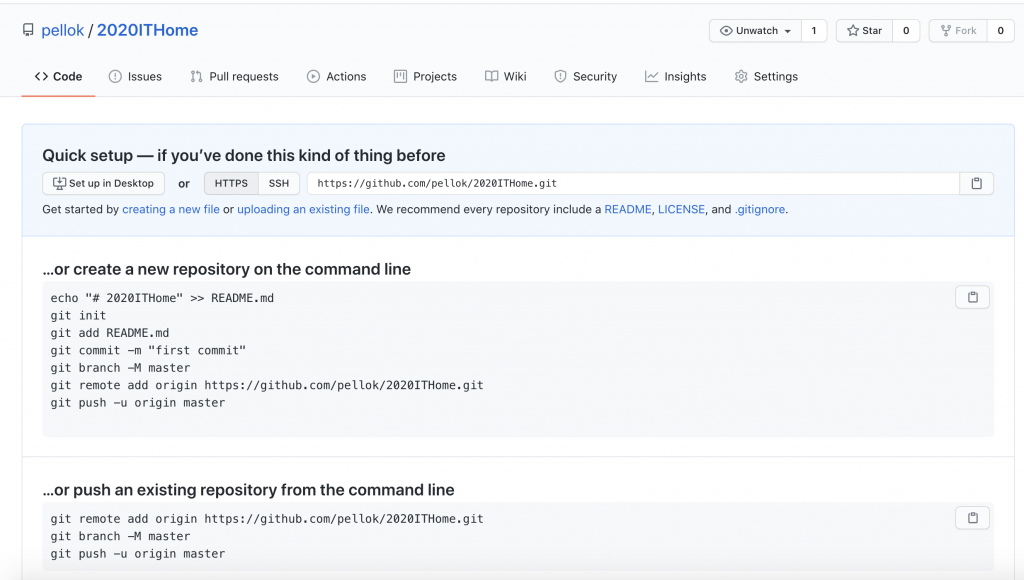
初始頁面很貼心的跟你說,如果全新的專案需要哪一些動作,已有的專案上傳需要哪一些動作,
個人是覺得很方便,大家可以仔細看看"create a new repository on the command line"
裡面的指令我們上面都已經做過了,只差 remote add 和 push 指令而已。
echo "# 2020ITHome" >> README.md
git init
git add README.md
git commit -m "first commit"
git branch -M master
git remote add origin https://github.com/pellok/2020ITHome.git
git push -u origin master
本地專案加入遠端倉庫連結
git remote add origin https://github.com/pellok/2020ITHome.git
上傳到遠端倉庫
git push -u origin master

查看遠端倉庫,重新整理頁面,看到檔案都上傳上來拉!
有了 GitHub-2020ITHome 就可以分享給朋友或同事一起來開發專案嚕!
上一篇 Day05 MVC 專案建置
下一篇 Day07 WebApp服務-原始碼部署


 iThome鐵人賽