在我們設定了許多第三方套件後,今天終於又可以好好來寫 code 了,看看我們目前的 homePgae 好像有點空,也不知道怎麼開始使用這個 app,這時候導覽頁面就會派上用場了,上面可以顯示使用者的資訊還有轉換至其他頁面的清單,這樣就可以讓使用者更加清楚有哪些功能可以使用囉。
drawer 的加入方式,透過 Scaffold.drawer 屬性加入到頁面上
Scaffold(
    drawer: Drawer(),
    appBar: ...
    .
    .
)

drawer 的 child 屬性可以使用 ListView 來建構
Scaffold(
    drawer: Drawer(
        child: ListView(
            children: <Widget>[
                Text("title"),
                Text("title"),
                Text("title"),
            ],
        ),
     ),
)
我們可以透過ListView.children來生成清單列,傳入的型態是List<Widget>,裡面塞三個 text 看看會怎樣顯示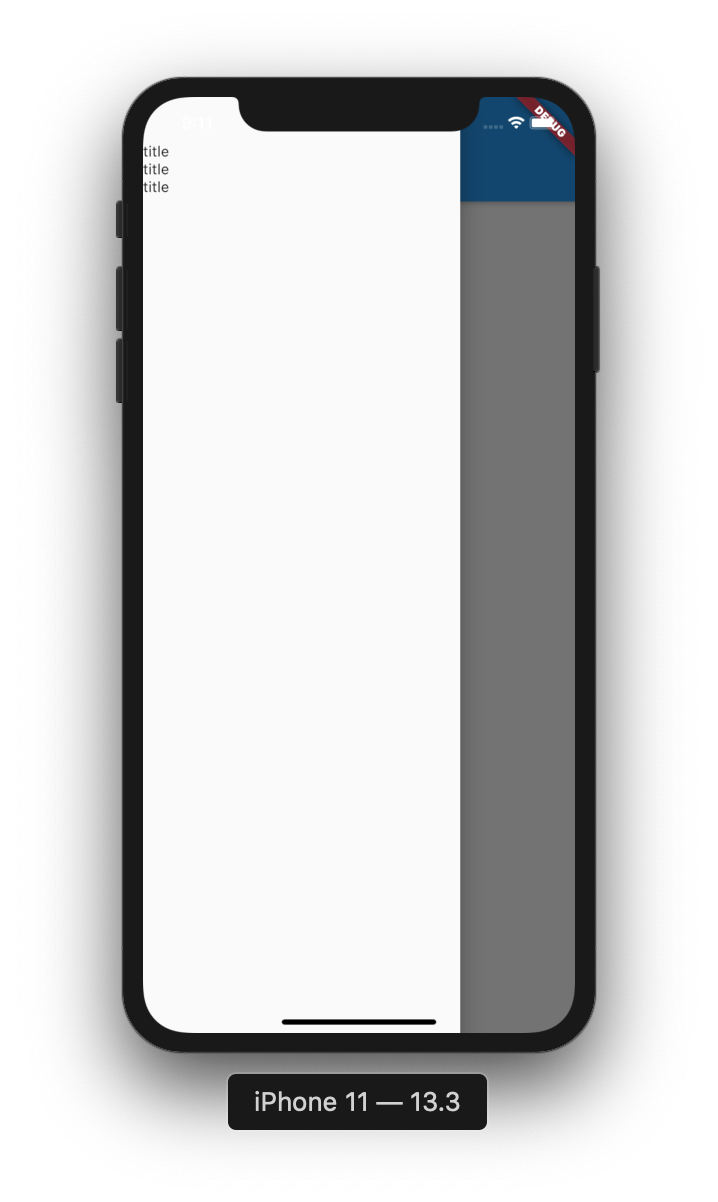
在 listView 中我們可以自行生成自己需的元件放入,但是如果要實作的元件不是太複雜,可能有 Icon、title、content,那ListTile應該能滿足我們的需求。
//主要包含了以下這幾種屬性,可以自行搭配或傳入不同的元件到這些區塊中
ListTile(
    leading: FlutterLogo(size: 72.0),
    title: Text('ListTile'),
    subtitle: Text(
        'subtitle .'
    ),
    trailing: Icon(Icons.more_vert),
),
//可以把 ListView 裡的 Text 替換掉看看

官方提供的各種使用方法
ListView(
  children: const <Widget>[
    Card(child: ListTile(title: Text('One-line ListTile'))),
    Card(
      child: ListTile(
        leading: FlutterLogo(),
        title: Text('One-line with leading widget'),
      ),
    ),
    Card(
      child: ListTile(
        title: Text('One-line with trailing widget'),
        trailing: Icon(Icons.more_vert),
      ),
    ),
    Card(
      child: ListTile(
        leading: FlutterLogo(),
        title: Text('One-line with both widgets'),
        trailing: Icon(Icons.more_vert),
      ),
    ),
    Card(
      child: ListTile(
        title: Text('One-line dense ListTile'),
        dense: true, //變密集一些
      ),
    ),
    Card(
      child: ListTile(
        leading: FlutterLogo(size: 56.0),
        title: Text('Two-line ListTile'),
        subtitle: Text('Here is a second line'),
        trailing: Icon(Icons.more_vert),
      ),
    ),
    Card(
      child: ListTile(
        leading: FlutterLogo(size: 72.0),
        title: Text('Three-line ListTile'),
        subtitle: Text(
          'A sufficiently long subtitle warrants three lines.'
        ),
        trailing: Icon(Icons.more_vert),
        isThreeLine: true,
      ),
    ),
  ],
)
參考 : https://api.flutter.dev/flutter/material/ListTile-class.html#material.ListTile.1
提供給我們一個快速顯示使用者資訊的元件,通常會放在 Drawer 中的最上面一個。
我們使用 UserAccountsDrawerHeader 來顯示使用者資料
UserAccountsDrawerHeader(
    accountName: Text("Leo"),
    accountEmail: Text("xxx@gmail.com"),
    currentAccountPicture: CircleAvatar(
        child: Text("L"),
    ),
),
參考範例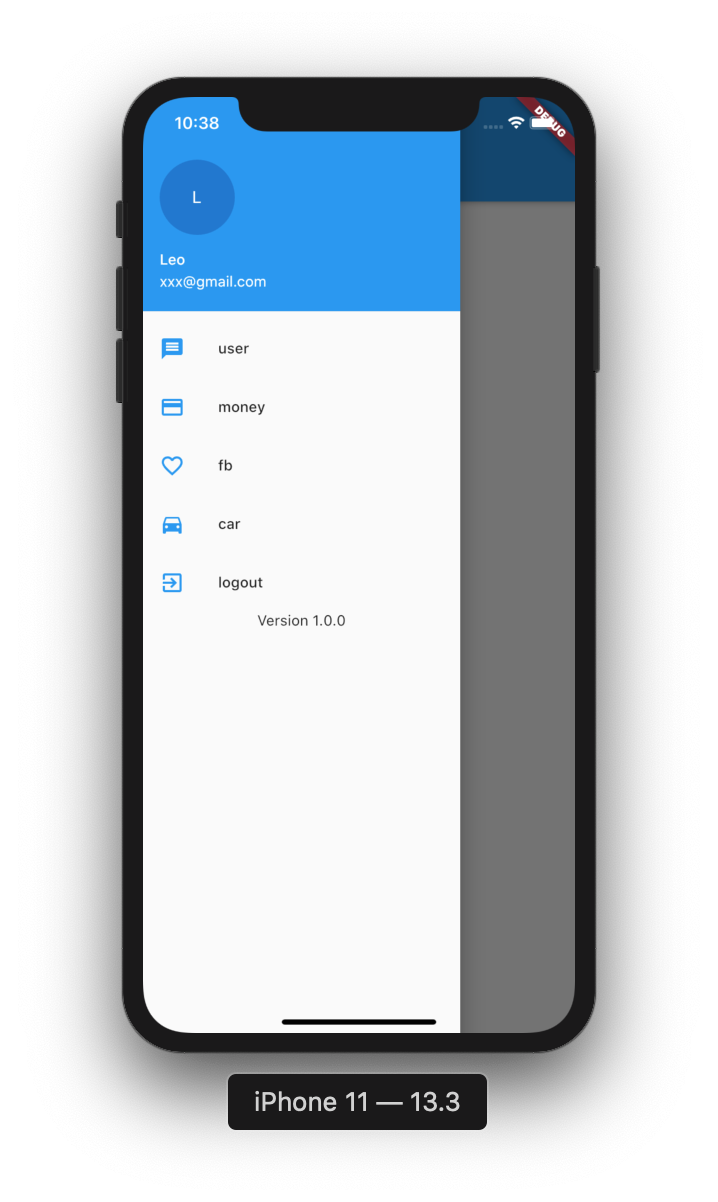
讓我們嘗試把畫面實作出來吧
@override
  Widget build(BuildContext context) {
    return Scaffold(
      drawer: Drawer(
        child:
            ListView(
              padding: EdgeInsets.only(),//需要把padding設定為 0 不然上方會有留白
              children: <Widget>[
                UserAccountsDrawerHeader(
                  accountName: Text("Leo"),
                  accountEmail: Text("xxx@gmail.com"),
                  currentAccountPicture: CircleAvatar(
                    child: Text("L"),
                  ),
                ),
                ListTile(
                  title: Text("user"),
                  leading: Icon(Icons.message,color: Theme.of(context).accentColor),
                  onTap: (){
                    //ListTile也有提供 onTap 功能
                  },
                ),
                ListTile(
                    title: Text("money"),
                    leading: Icon(Icons.payment,color: Theme.of(context).accentColor),
                    onTap: (){

                    }
                ),
                ListTile(
                    title: Text("fb"),
                    leading: Icon(Icons.favorite_border,color: Theme.of(context).accentColor),//設定 icon 顏色為主要使用的顏色
                    onTap: (){

                    }
                ),
                ListTile(
                    title: Text("car"),
                    leading: Icon(Icons.directions_car,color: Theme.of(context).accentColor),
                    onTap: (){

                    }
                ),
                ListTile(
                  title: Text("logout"),
                  leading: Icon(Icons.exit_to_app,color: Theme.of(context).accentColor),
                  onTap: (){

                  },
                ),

                Center(child: Text("Version 1.0.0"),)

          ],
        ),
      ),
      appBar: AppBar(
        title: Text("Home"),
      ),
      body: Center(
        child: FlatButton(
           child: Text('POP'),
           onPressed: () {Navigator.pop(context,"result data");},
        ),
      ),
    );
  }