應用程式的模型類別會使用 Entity Framework Core (EF Core) 來處理資料庫,EF Core 是物件關聯式對應程式 (O/RM) 可簡化資料存取。
## 新增名為 Models 的資料夾。
mkdir Models
touch Models/Article.cs
我們稍微修改一下Table名稱和欄位名稱
namespace RazorPagesMovie.Models 改為 namespace PellokITHome.Models
Models 改為 Article
Genre 改為 Link
Price 改為 Count
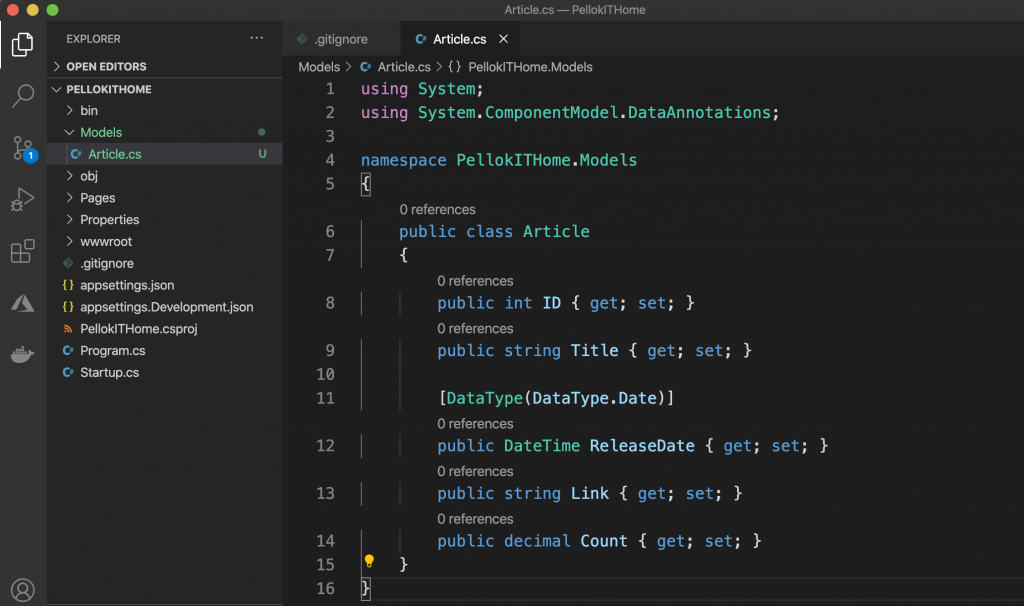
using System;
using System.ComponentModel.DataAnnotations;

namespace PellokITHome.Models
{
    public class Article
    {
        public int ID { get; set; }
        public string Title { get; set; }

        [DataType(DataType.Date)]
        public DateTime ReleaseDate { get; set; }
        public string Link { get; set; }
        public decimal Count { get; set; }
    }
}
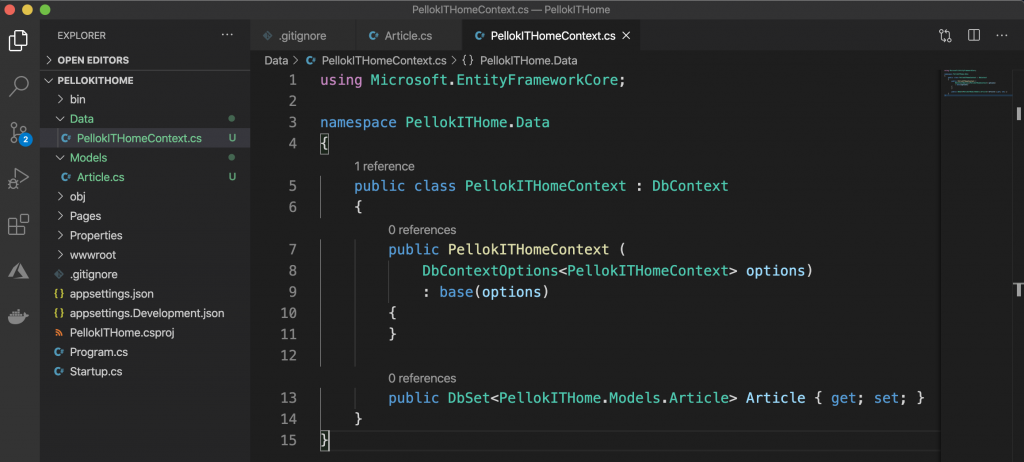
mkdir Data
touch Data/PellokITHomeContext.cs
RazorPagesMovie 改成 PellokITHome
Movie 改成 Article
using Microsoft.EntityFrameworkCore;

namespace PellokITHome.Data
{
    public class PellokITHomeContext : DbContext
    {
        public PellokITHomeContext (
            DbContextOptions<PellokITHomeContext> options)
            : base(options)
        {
        }

        public DbSet<PellokITHome.Models.Article> Article { get; set; }
    }
}
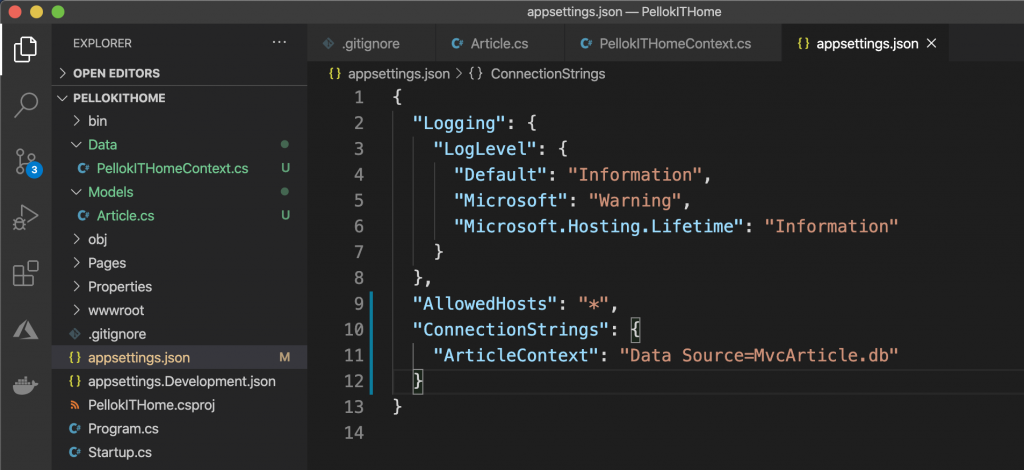
將連接字串新增至 appsettings.json 檔案
  "ConnectionStrings": {
    "ArticleContext": "Data Source=MvcArticle.db"
  }
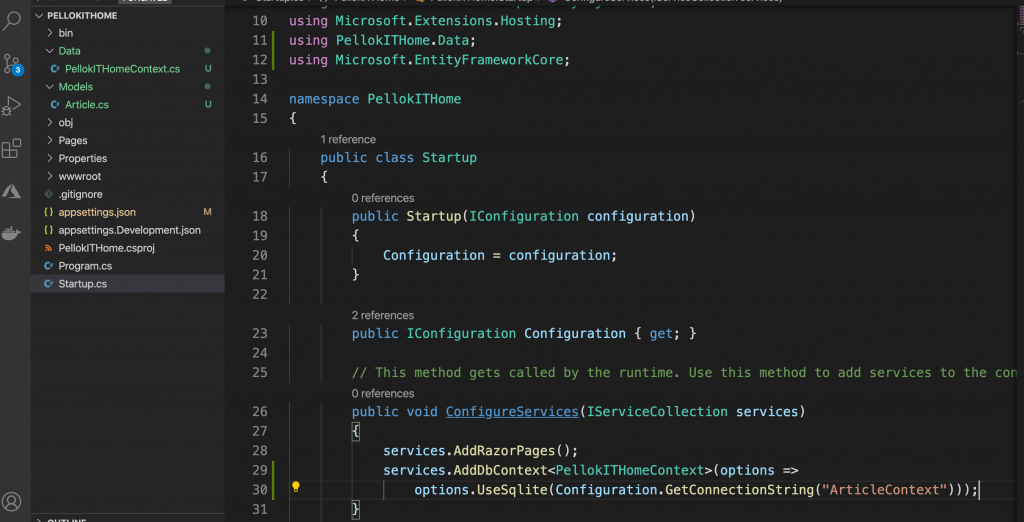
在 Startup.cs 最上方新增下列 using 陳述式
using PellokITHome.Data;
using Microsoft.EntityFrameworkCore;
使用相依性插入容器,在 Startup.ConfigureServices 中註冊資料庫內容。
public void ConfigureServices(IServiceCollection services)
        {
            services.AddRazorPages();

            services.AddDbContext<PellokITHomeContext>(options =>
                options.UseSqlite(Configuration.GetConnectionString("ArticleContext")));

        }
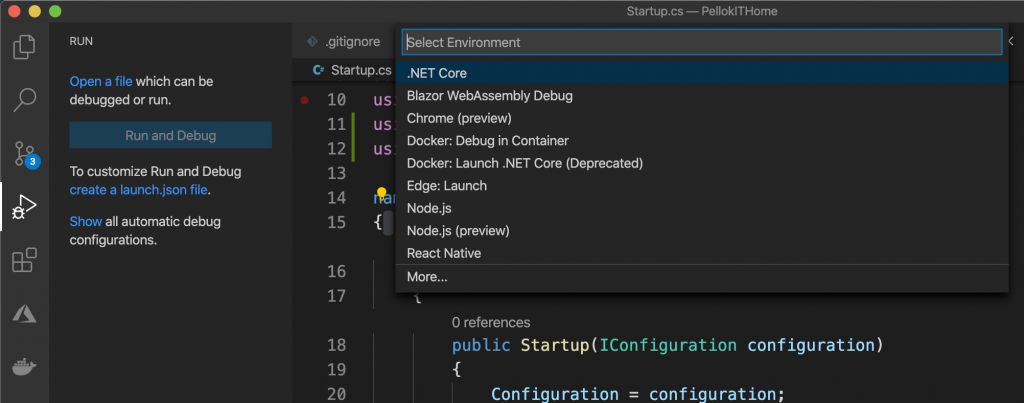
初次執行 vscode 時,會需要創建 launch.json,告訴 vscode 這是什麼專案
執行專案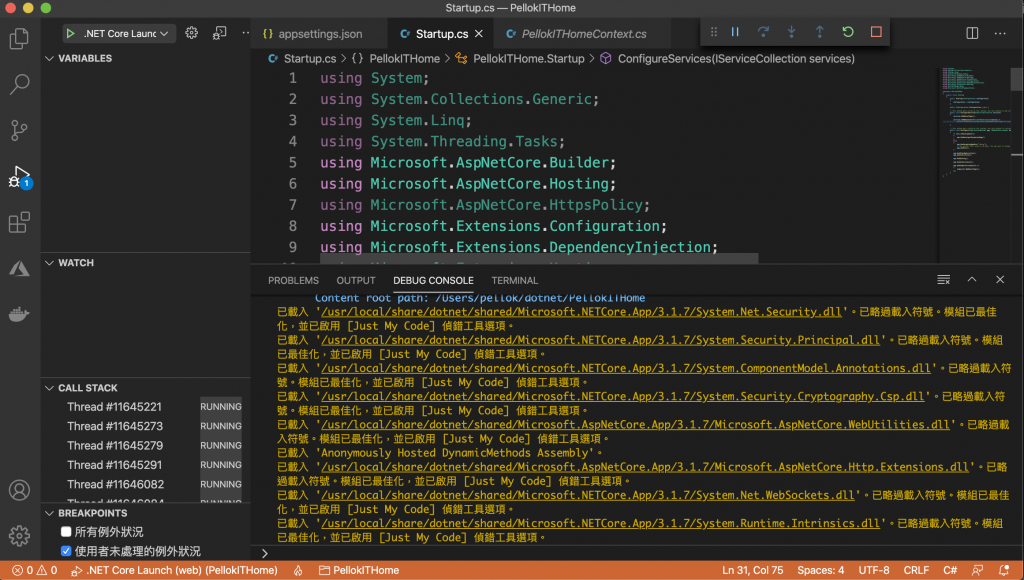
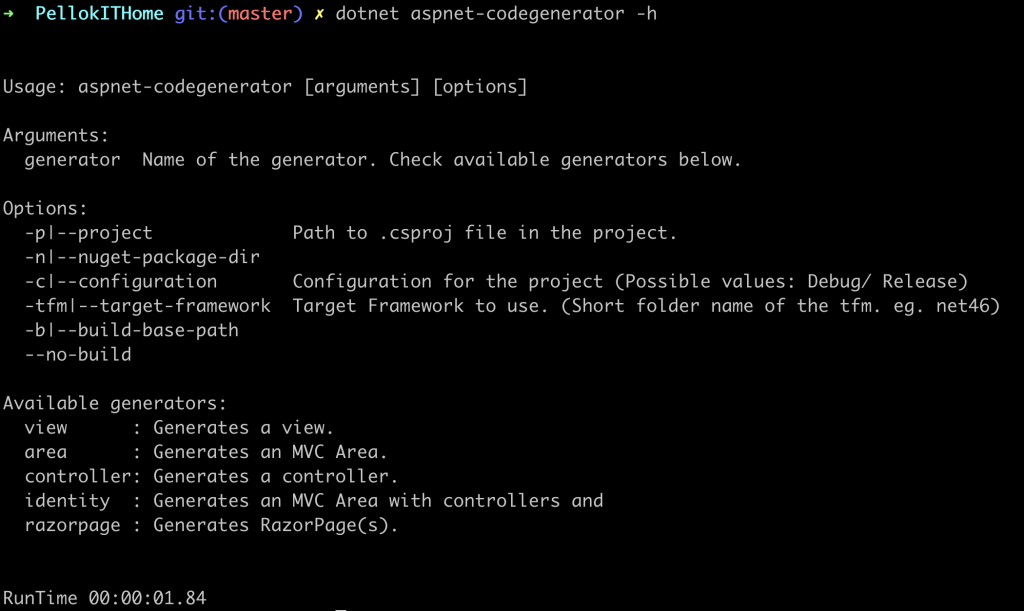
dotnet aspnet-codegenerator 官方指令文件
查看 aspnet-codegenerator 指令說明
dotnet aspnet-codegenerator -h
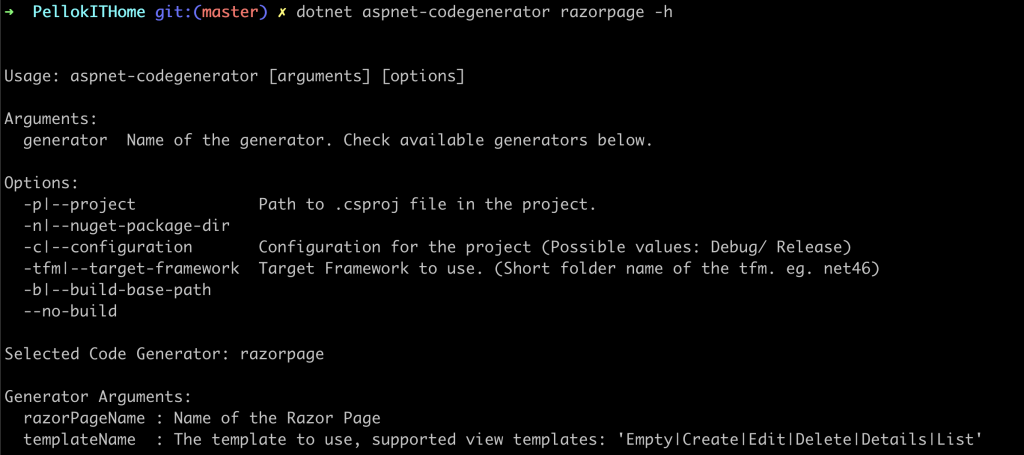
我們使用 razorpage 所以,再來查看 razorpage 的用法
dotnet aspnet-codegenerator razorpage -h
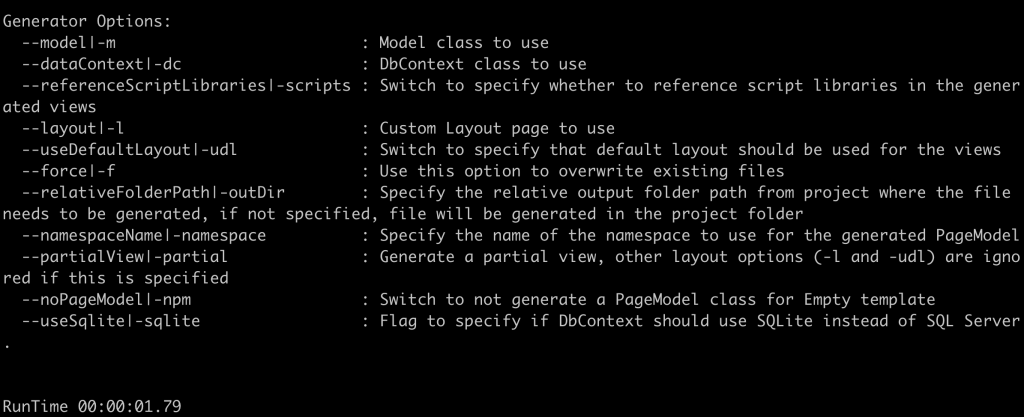
由上面的說明我們調整指令參數:
Model Class(-m): Article
DbContext Class(-dc): PellokITHomeContext
輸出路徑(-outDir): Pages/Articles
使用預設Layout (-udl)
--referenceScriptLibraries
dotnet aspnet-codegenerator razorpage -m Article -dc PellokITHomeContext -udl -outDir Pages/Articles --referenceScriptLibraries
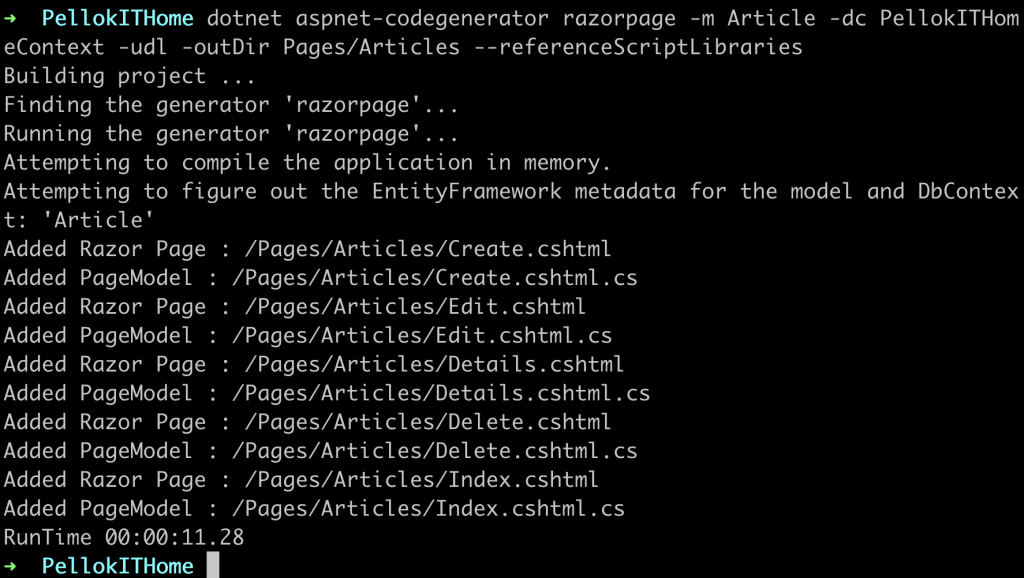
建立的檔案
Scaffold 處理序會建立下列檔案:
Pages/Movies:建立、刪除、詳細資料、編輯和索引。
跑aspnet-codegenerator指令前記得先把服務關閉喔!
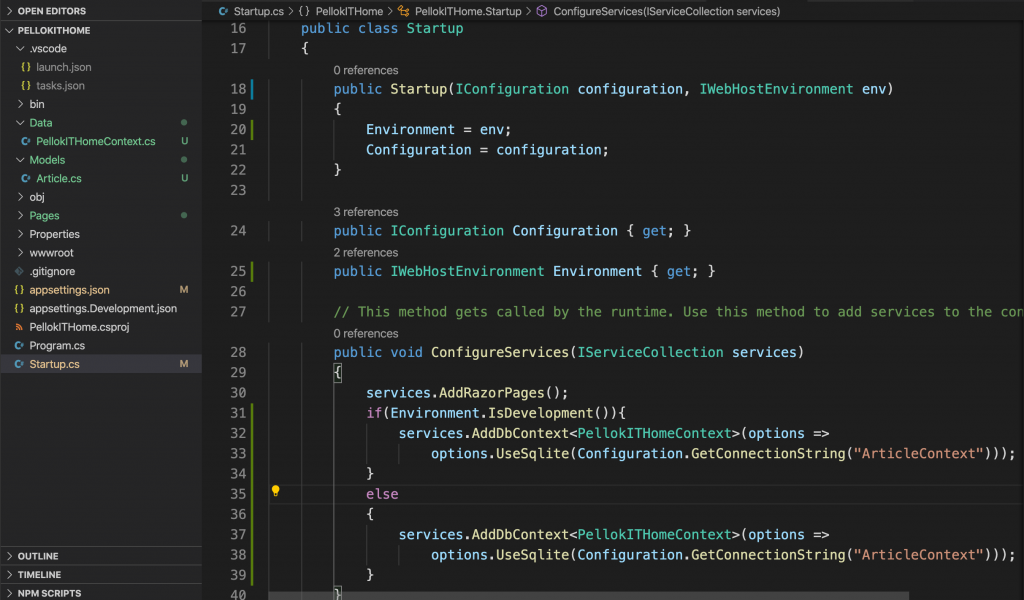
修改 Startup.cs
public Startup(IConfiguration configuration, IWebHostEnvironment env)
{
    Environment = env;
    Configuration = configuration;
}

public IConfiguration Configuration { get; }
public IWebHostEnvironment Environment { get; }
// This method gets called by the runtime. Use this method to add services to the container.
public void ConfigureServices(IServiceCollection services)
{
    services.AddRazorPages();
    if(Environment.IsDevelopment()){
        services.AddDbContext<PellokITHomeContext>(options =>
            options.UseSqlite(Configuration.GetConnectionString("ArticleContext")));
    }
    else
    {
        services.AddDbContext<PellokITHomeContext>(options =>
            options.UseSqlite(Configuration.GetConnectionString("ArticleContext")));
    }

}
Entity Framework Core tools reference - .NET Core CLI
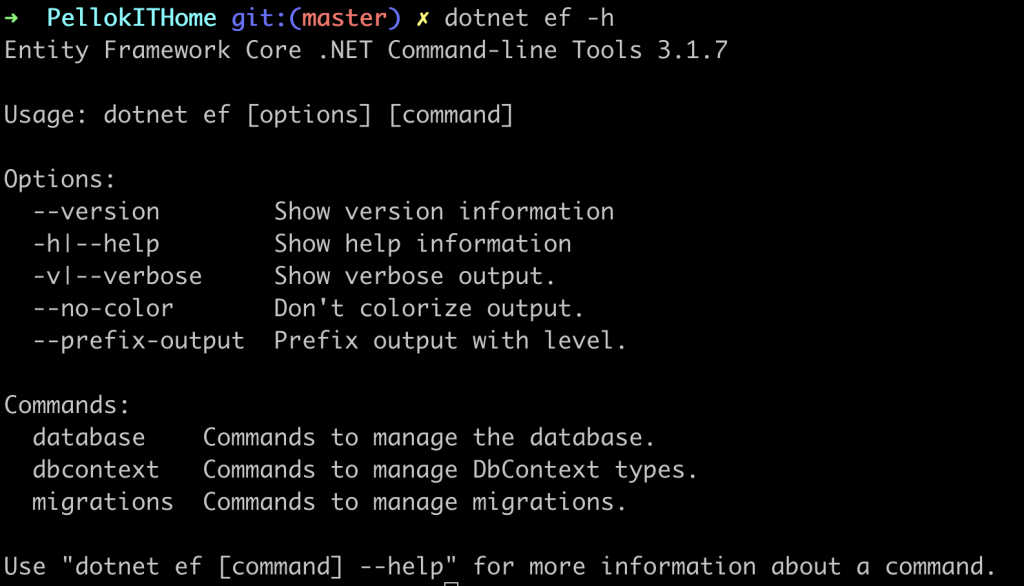
查看 dotnet ef 指令說明
dotnet ef -h
查看 ef migrations 移轉指令說明
dotnet ef migrations -h
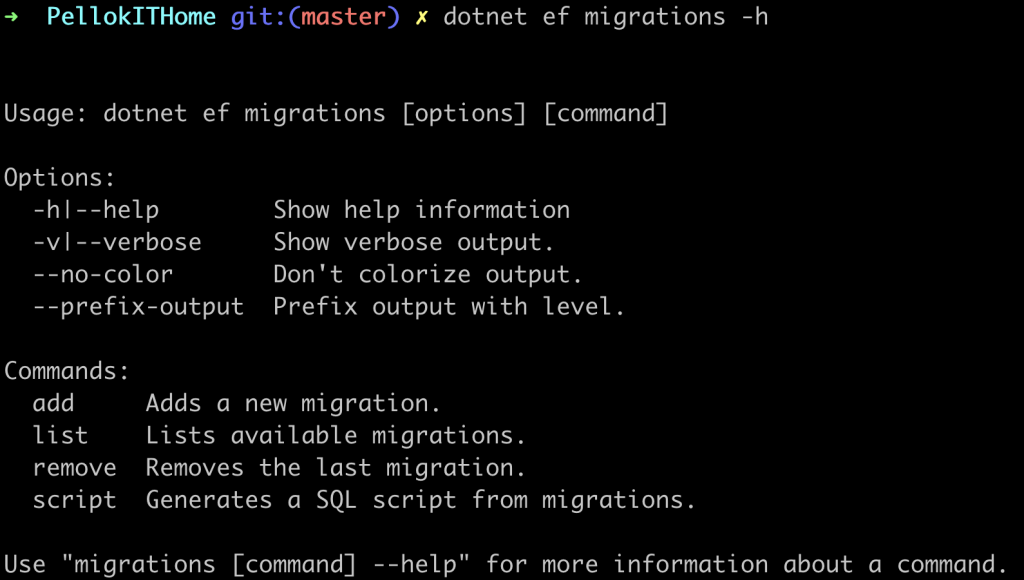
| 指令 | 說明 | 範例 |
|---|---|---|
| add | 增加移轉 | dotnet ef migrations add InitialCreate |
| list | 查看移轉列表 | dotnet ef migrations list |
| remove | 刪除移轉 | dotnet ef migrations remove InitialCreate |
| script | 產生SQL腳本 | dotnet ef migrations script |
如果對於DB有欄位異動或增加資料表,
可以使用移轉指令來對資料庫做管理,
上面幾個指令大家可以玩玩看。
使用 dotnet ef 指令,記得先把專案停止
初始移轉
dotnet ef migrations add InitialCreate

查看 ef database 指令說明
dotnet ef database -h
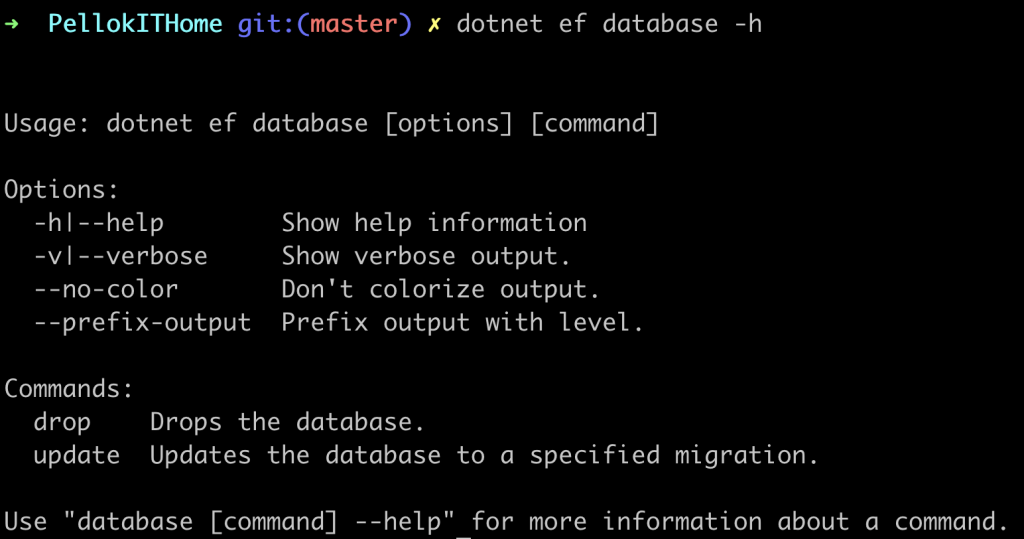
| 指令 | 說明 | 範例 |
|---|---|---|
| drop | 刪除資料庫 | dotnet ef database drop |
| update | 創建或更新資料庫 | dotnet ef database update |
創建或更新資料庫
dotnet ef database update

啟動服務,檢查頁面功能是否正常
https://localhost:5001/Articles/create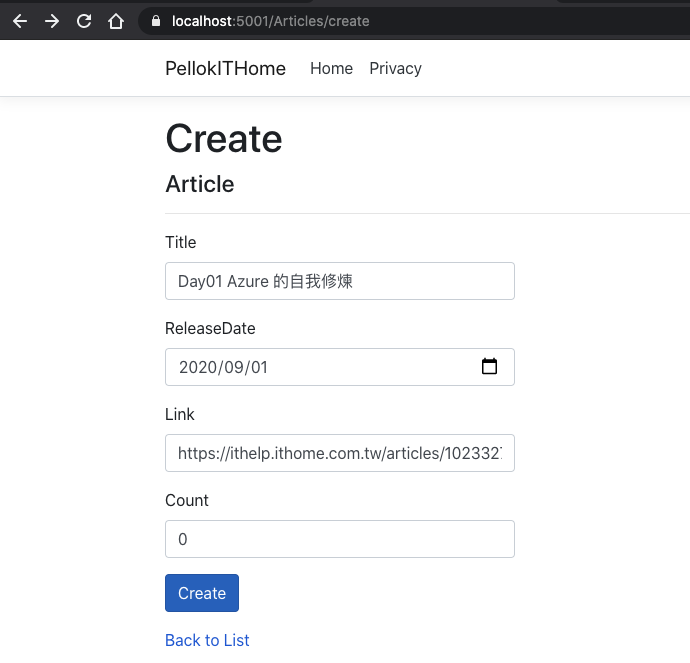
https://localhost:5001/Articles/index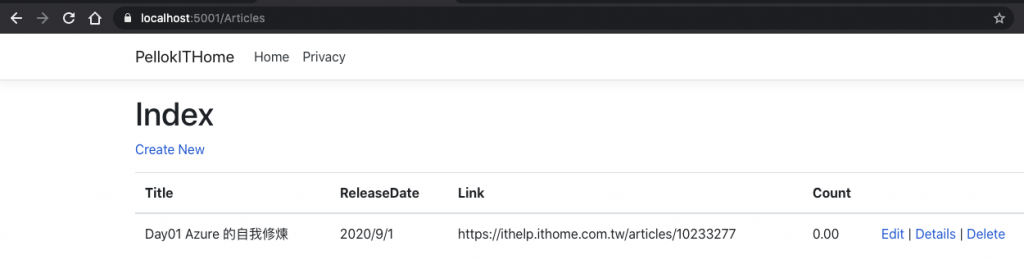
在vscode 安裝 vscode-sqlite,就可以查看SQLite db了
點選[commnad+shift+p] 叫出工具列,輸入"SQLite: open databae"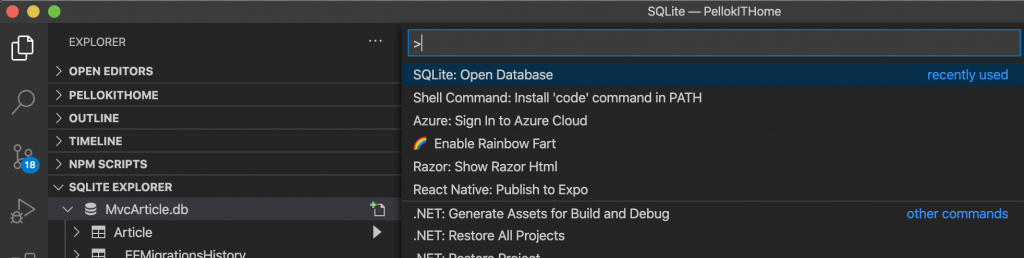
點選MvcArticle.db
左側欄會有SQLITE EXPLORER 頁籤,就可以查看我們剛剛創建的一筆文章資料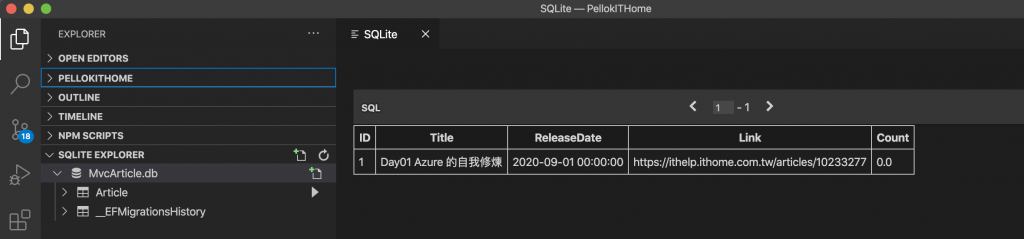
把 db 加入到 .gitignore 檔案,
db不是程式碼,不要加入Git版控。
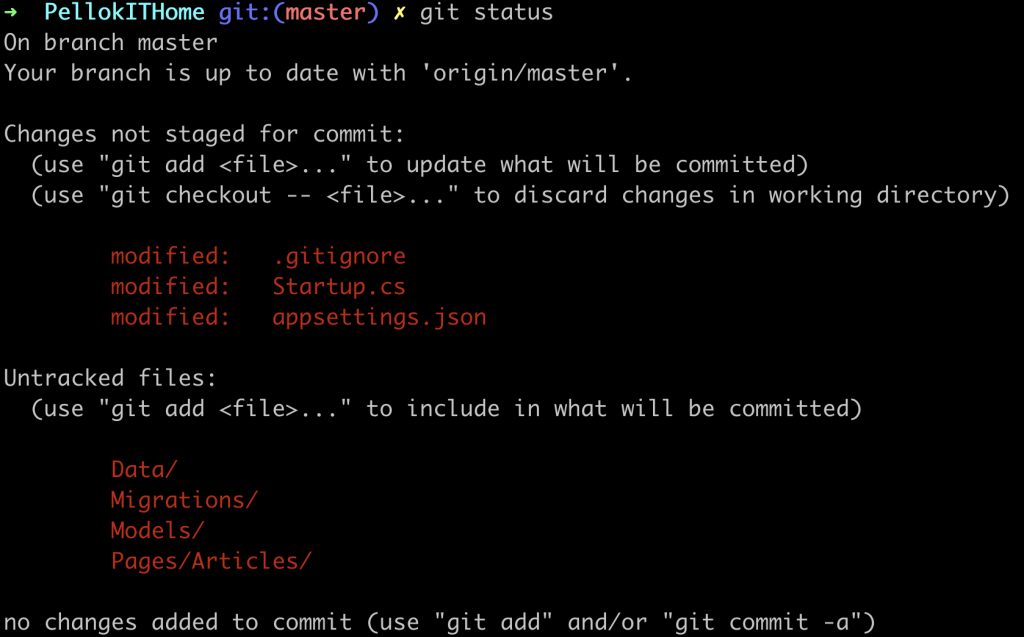
查看檔案修改記錄
git status
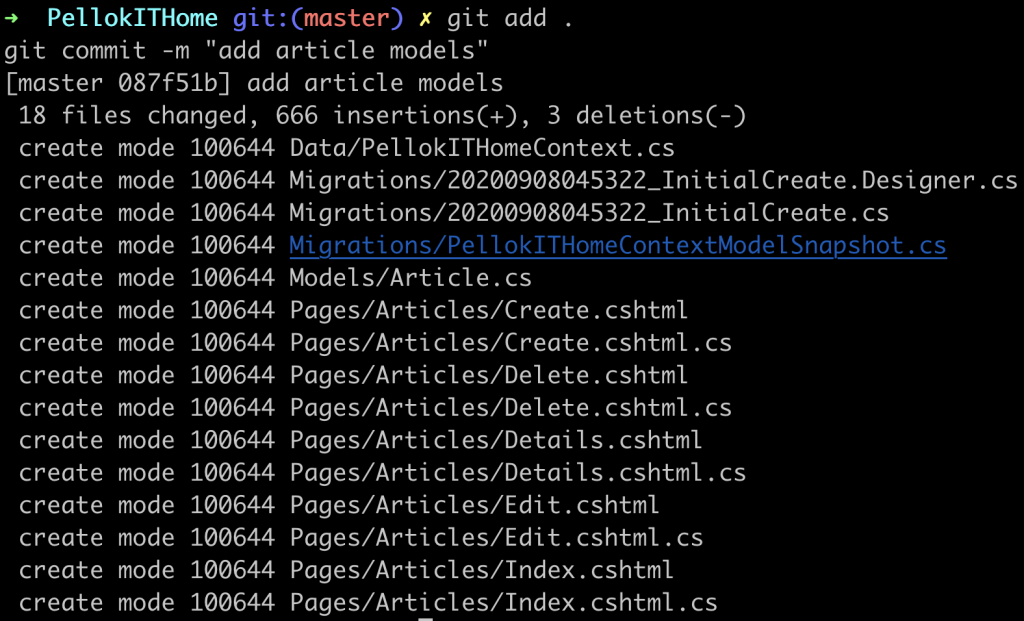
加入索引,提交版本
git add .
git commit -m "add article models"
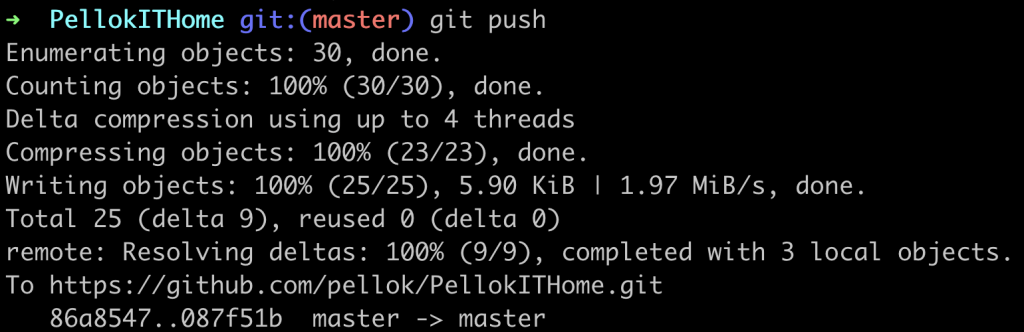
上傳到GitHub
git push
上一篇 Day09 實作官網 ASP.NET Core 教學(一)
下一篇 Day11 實作官網 ASP.NET Core 教學(三)